more hats

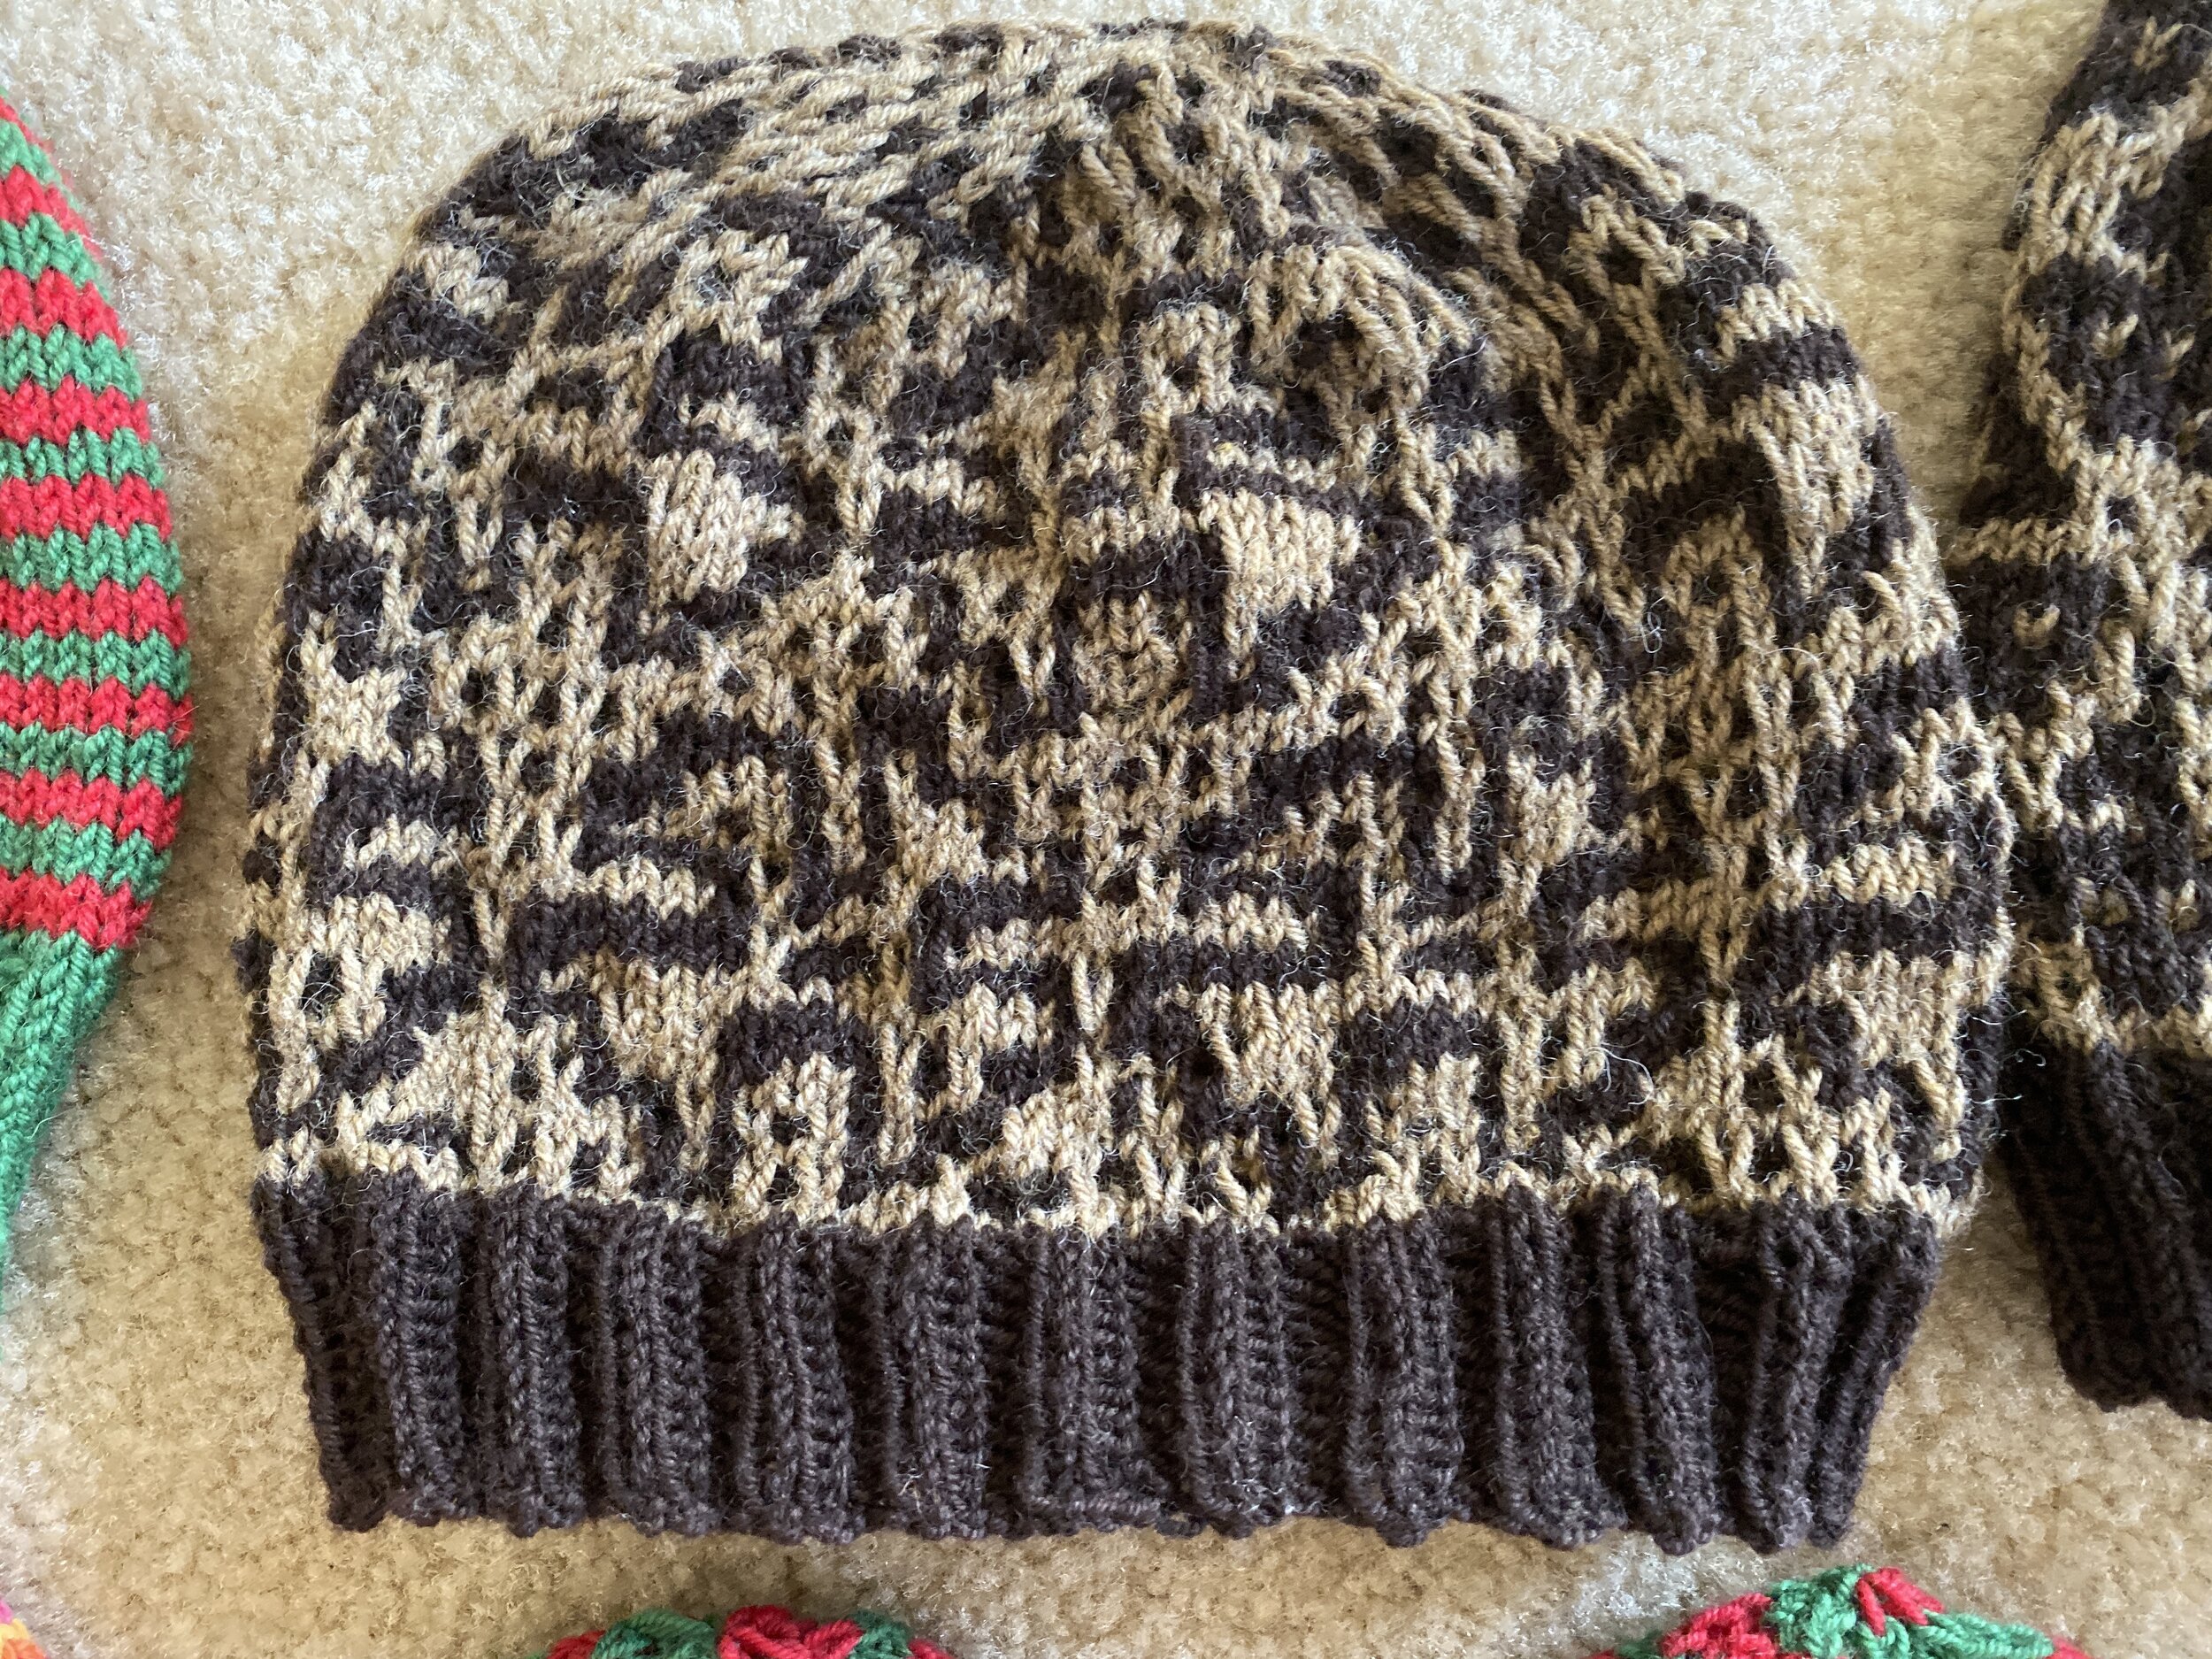
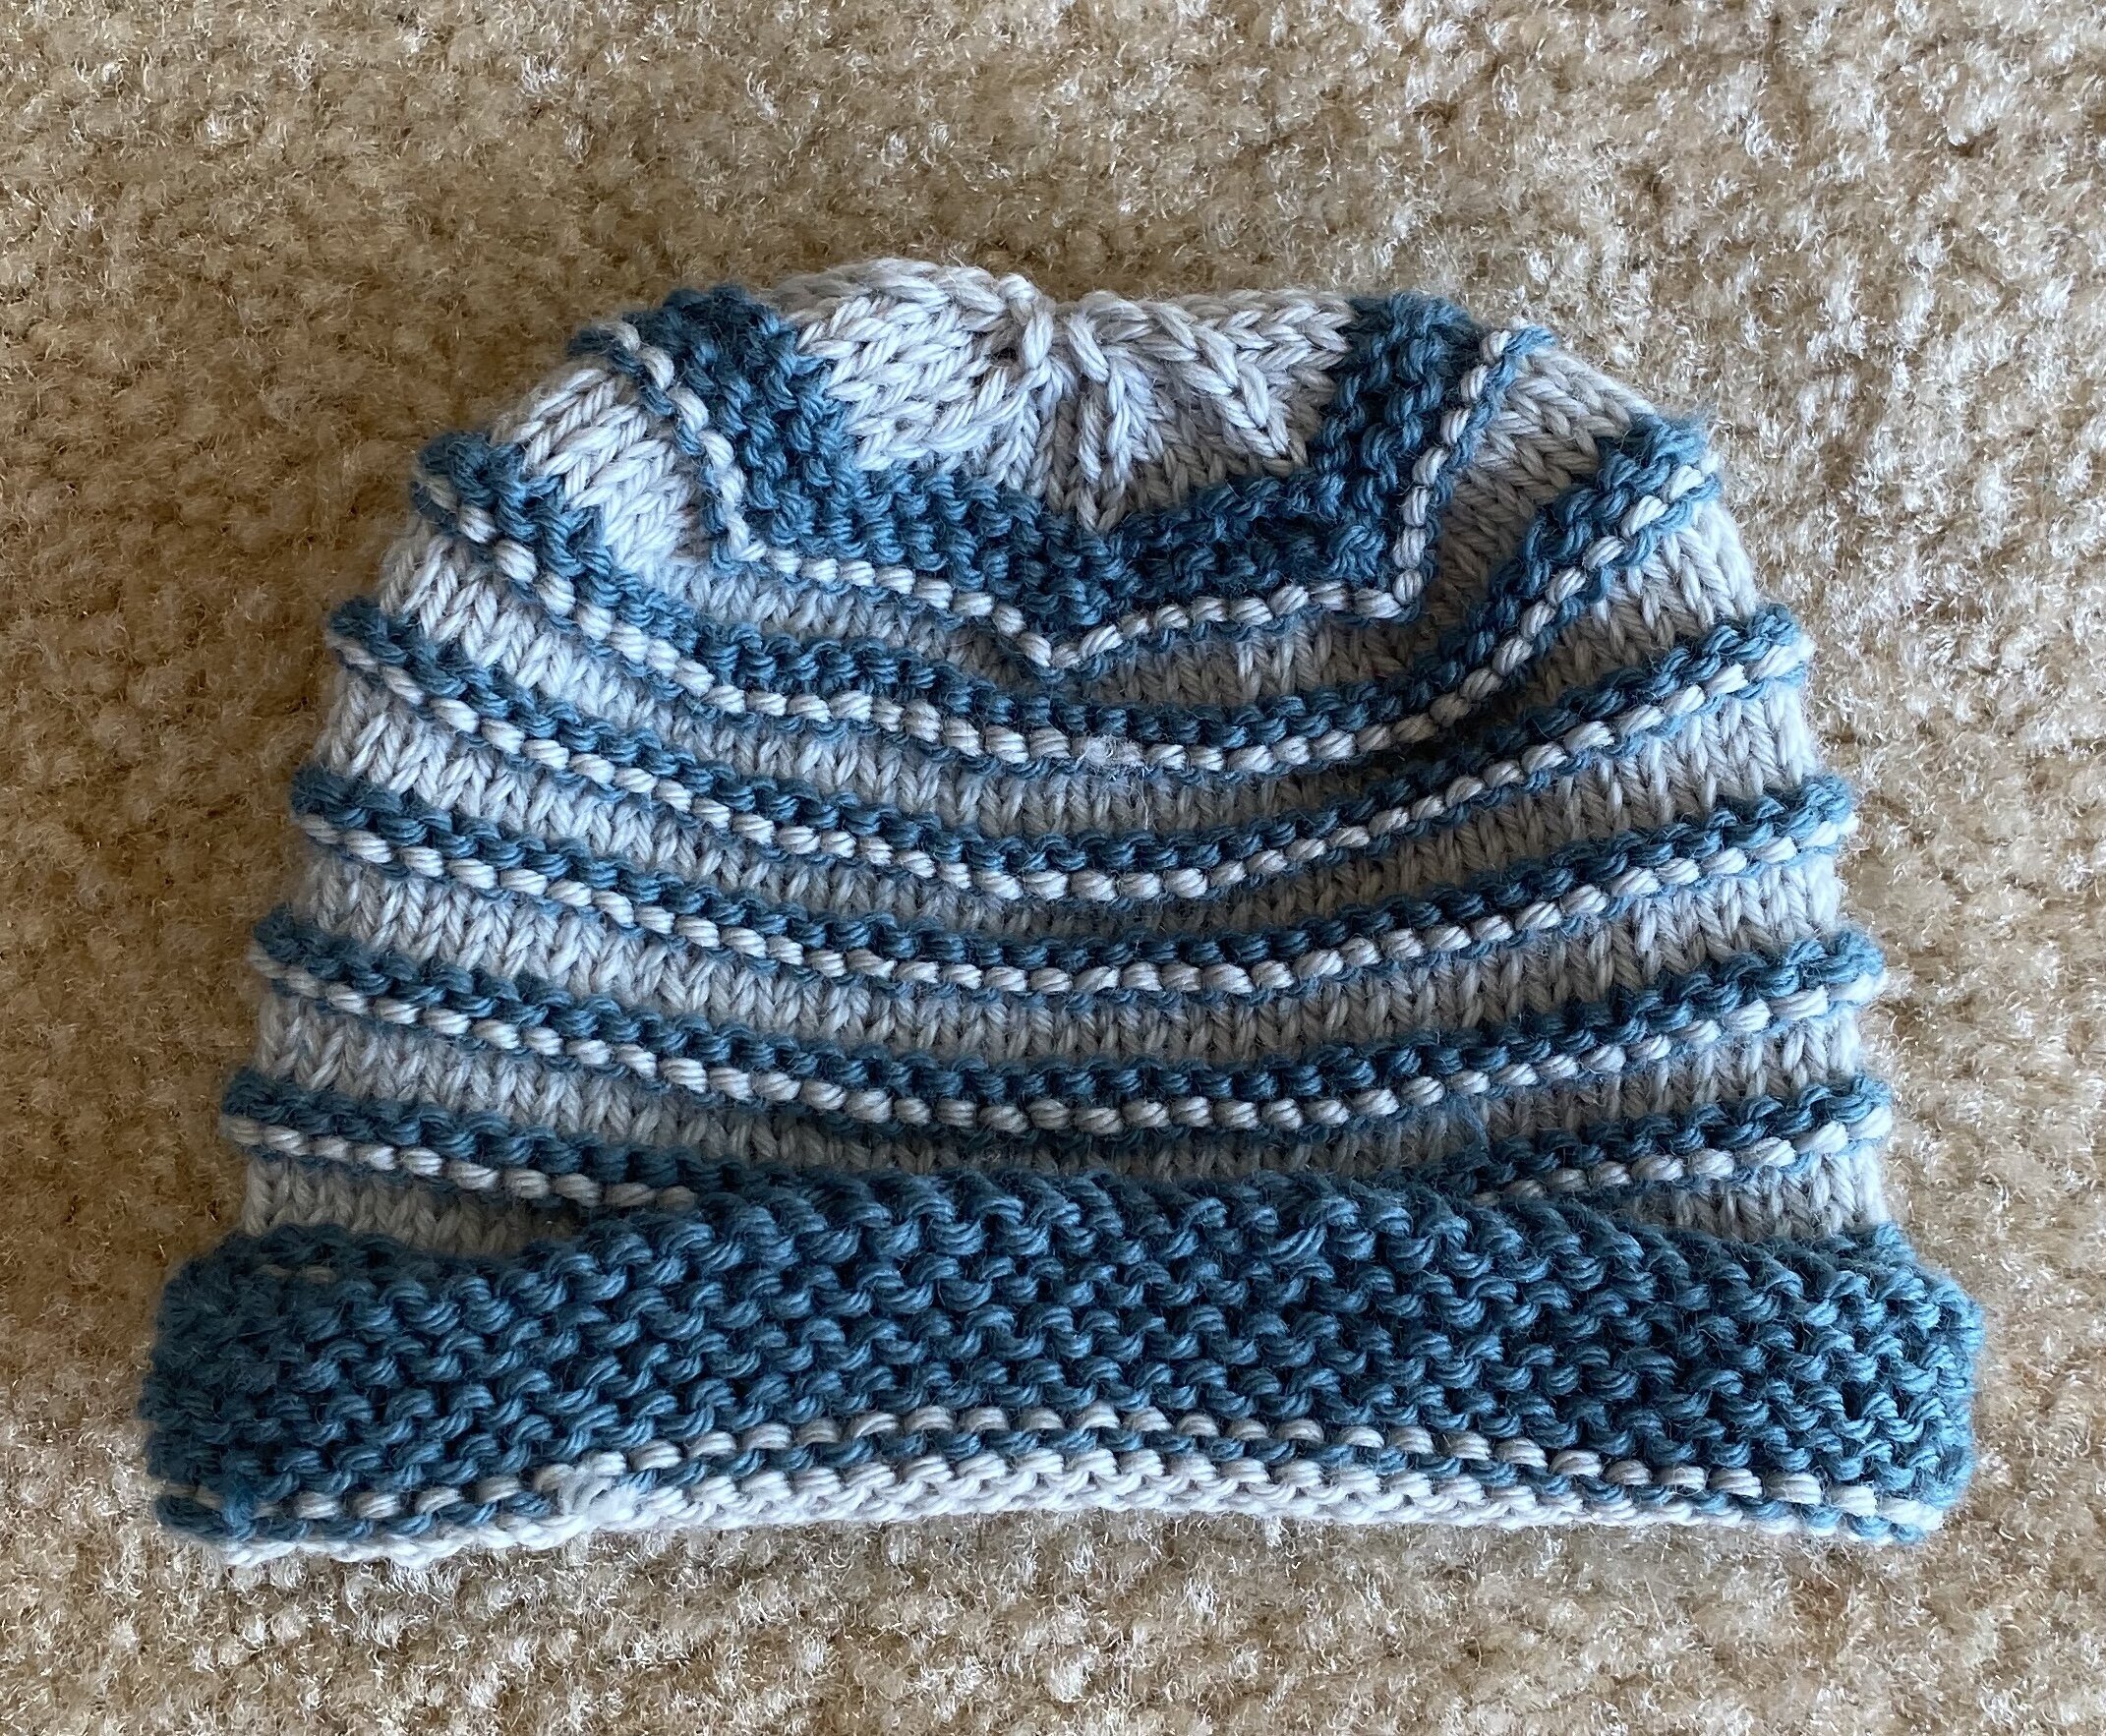
After making all the fruit and vegetable hats, I went on to make quite a few more hats. I tried out a new mosaic pattern (plus variation) that I developed during a meeting-good thing they couldn’t see my doodling! I’m calling these two variations ‘the lollipop guild’ (the one with periscopes/lollipops between the figures) and ‘heigh ho’ (the original). The yarn is knitpicks chroma worsted, and I was really pleased with how the colors worked for mosaic knitting.

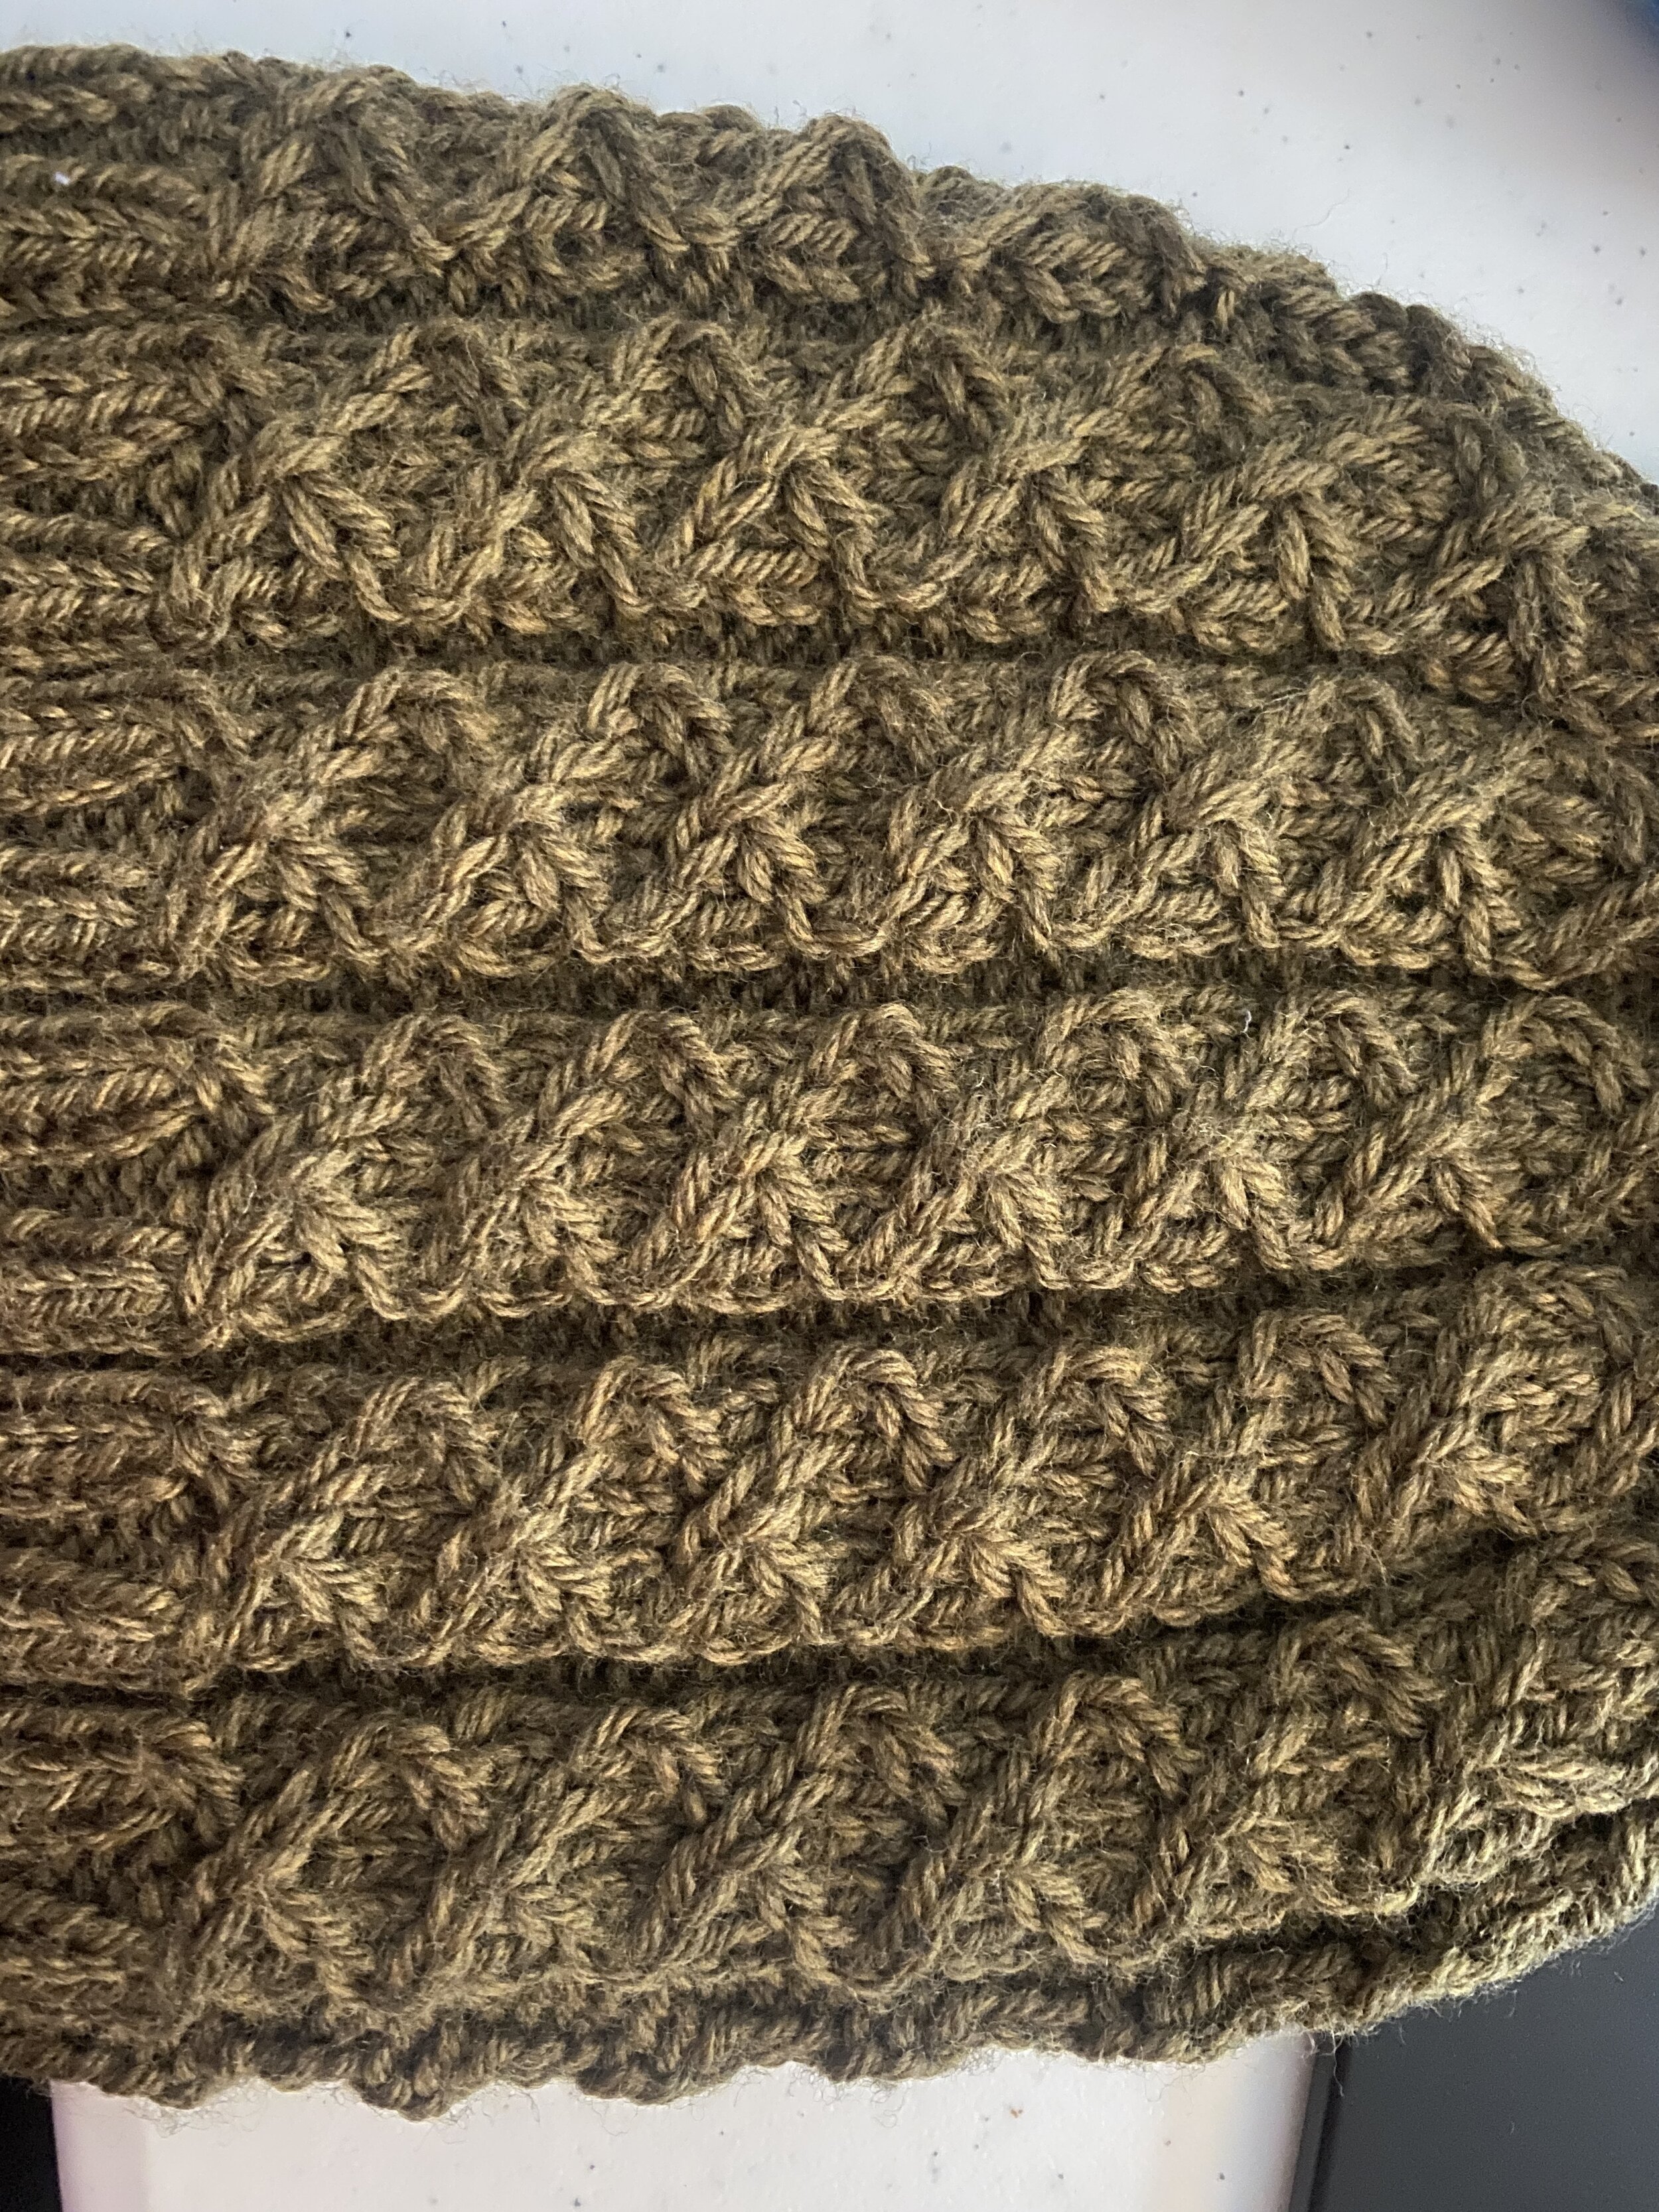
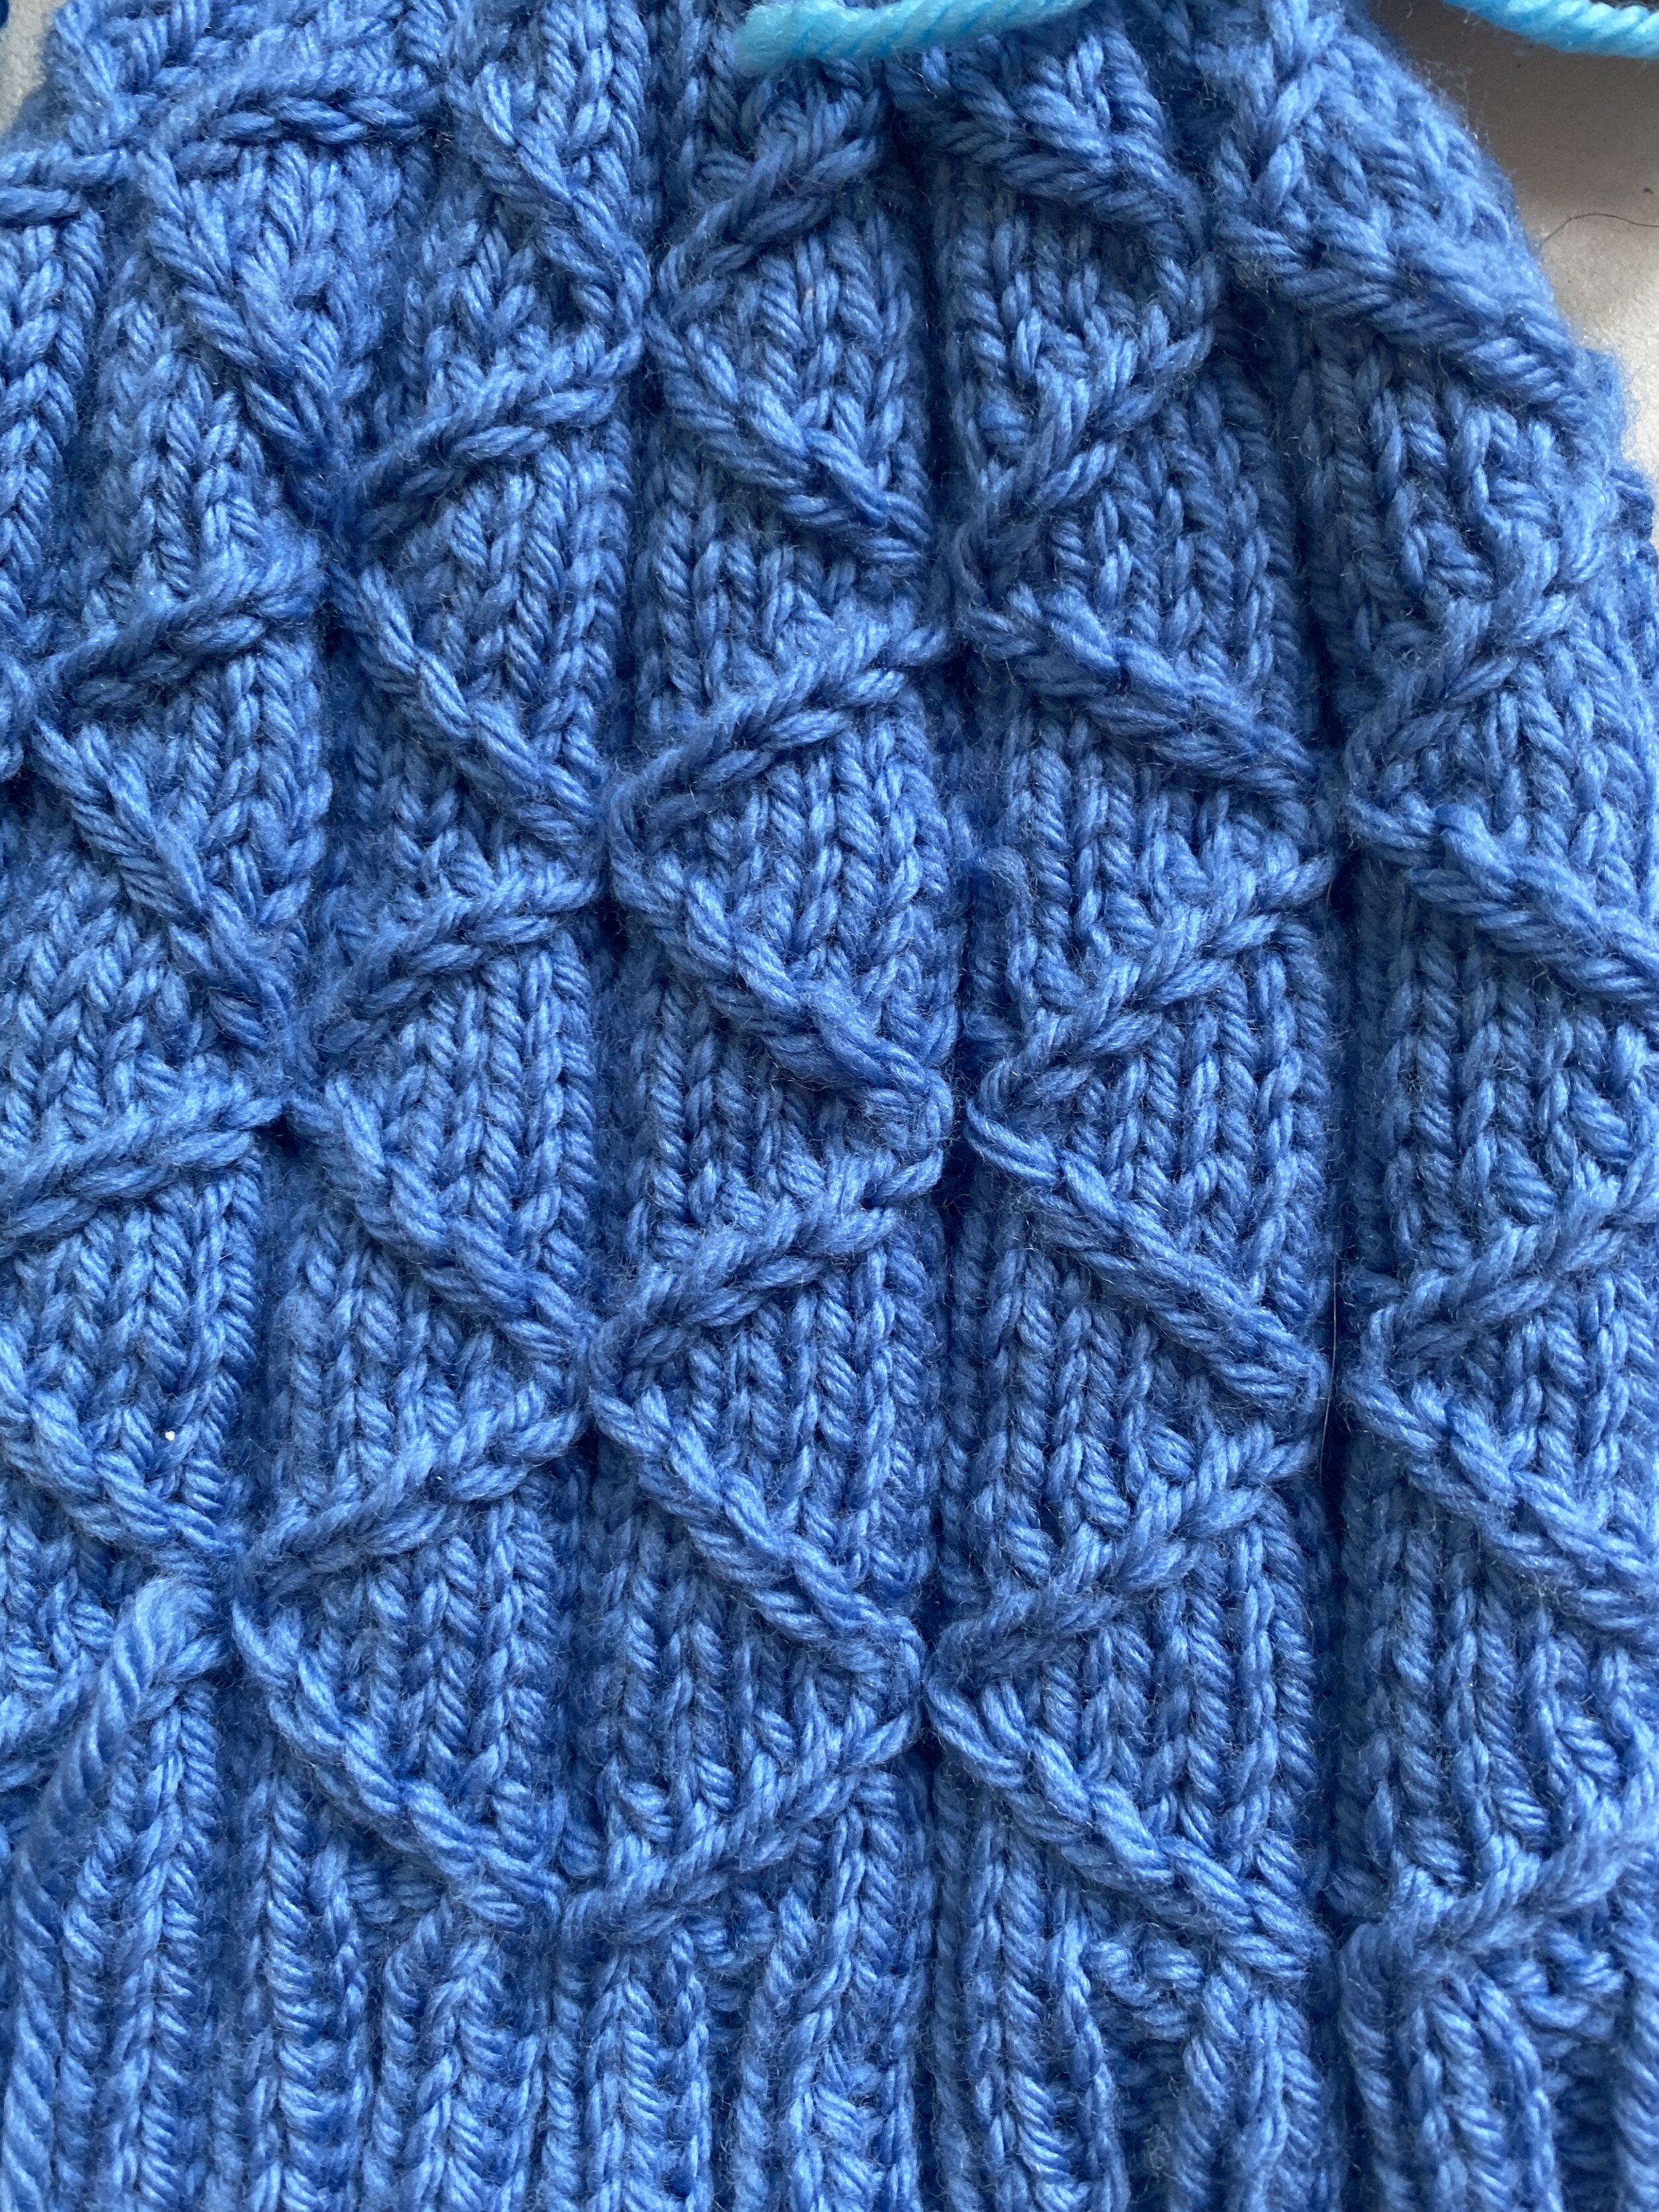
The other batch of hats is based on a sock design I’d seen in a picture, which I turned into a hat pattern, and then did quite a few variations. The original pattern has all the cables going diagonally, so I decided to see how zig-zags would look, and how it would look if I did two diagonals right after each other. I’m not sure which is my favorite variation-I think it’s easier to pick a favorite hat color! I really like how some of them look in the decreases at the top though, almost like a flower.

My mum visited us in the fall, and we ended up doing a bit of a photoshoot on the front porch. It was cold and wet that day, but the lighting was good, and she got to play with the feature on my phone that makes the background all fuzzy. We had a pile of around 10 hats to photograph, and we ended up getting what shots to take down to a science.

fruit/vegetable hats

With various friends and family having babies this year, I had an excuse to make more hats. I had a specific request for fruit/vegetable baby hats, and I used that as an excuse to perfect my designs. I really like using KnitPicks Swish and Shine for baby hats, since they’re both machine washable, and they aren’t super expensive. I tried to use these hats as an excuse to use up my stash of swish, but I just found myself ordering some more since I need even more baby hat gifts!


My blueberry is very simple, being just a blue hat with a greenish/brown stem. I was so excited to go blueberry picking right after finishing this hat, in part because I will happily eat blueberries all day, and also because it meant I could take this picture of my blueberry hat on a pile of blueberries.


My apple hats are also fairly straightforward, with really only the addition of a leaf and a stem (with the appropriate coloring, of course). I did try a few different leaf types, playing with the number of yarnovers, and I’m not sure I have a favorite. My least favorite is the yarnovers down the whole length of the leaf, but I still think it works well enough as a hat decoration. For these hats I knit the leaf separately, then sew on the leaf. I try to make sure that it won’t twist around too much by attaching it in two places at the base.


My pumpkin pattern is also fairly simple. Since we don’t typically see pumpkins with leaves I don’t bother trying to make a large pumpkin leaf, but I do some purl columns to get the pumpkin ribs. I’ve decided that the rolled brim just doesn’t work as well with the ribs, since it requires switching between straight knitting and the ribbing. Inevitably when I see these on a kid, the brim is rolled down to the extent that you can see where I’ve switched, which I don’t like.


I spent a bit of effort in perfecting my eggplant hat. I know there are lots of free patterns where the leaves are done as colorwork, but I’m not quite happy with how those turn out for me. I wanted more three dimensional leaves, so I played around with different ways to create little leaf flaps, while leaving the top of the hat solid green. What I settled on as my favorite final result is somewhat complicated, but reduced the transition between the sticking out leaves and the top of the hat. I knit the purple as a tube, and when it comes time to start the decreases I get a new set of needles and do a provisional cast on in green. After one row of straight knitting, I start knitting the leaves. I’ve been doing 5 leaves, and for each leaf I decrease two stitches every right side row until they’re all gone. To join the leaves and the purple tube, I then knit together a green stitch and a purple stitch all the way around. It seems to work better than my first attempt of simply switching to green for the decreases and coming back to pick up stitches and knit leaf flaps.


New for me this summer was knitting rutabaga hats. Every year in Ithaca NY (where I spent several years at grad school) there is the International Rutabaga Curling Championship. As an avid attendees, my partner (note his excellent modeling job) and I determined that his friends needed a whole family of rutabaga hats to celebrate their firstborn. The baby got a simple rolled hem, but I played with a stockinette and ribbed interior hem (not that they’ll really need the extra warmth in central California, but… I like making hats with thick brims to keep ears toasty warm!). It was a bit of a challenge to determine how best to do the stalks on the top, and there were so many ends to sew in! I really like the final results though, and there will probably be more rutabaga hats in my future…

Stash busting hats

I decided that one of my projects while teleworking would be to do some spiral/helical knitting, and that the best way to practice it would be to make some hats out of stash yarn. I’m up to 13 hats (two didn’t make the group photo), and I’ve definitely made a dent in my stash of this yarn! All but one of the hats are made out of an overspun Knitpicks yarn I got years ago on sale.

Spiral/helical knitting is a method of doing multiple color knitting without a jog when switching from row to row. When we knit in the round we’re actually knitting on a spiral, like a slinky. This method basically takes multiple slinkys and interlaces them. I started with just two yarns, with the pink hat, and then increased the number of yarns. For the red and green hat with variable stripe widths I had 10 yarns going-I decided that was too much. In order to get a stripe that’s two rows tall, I use two balls of that color. You can see that to some extent at the boundary between the cuff and the main bit of the hat, where which color touches the brim changes around the hat.

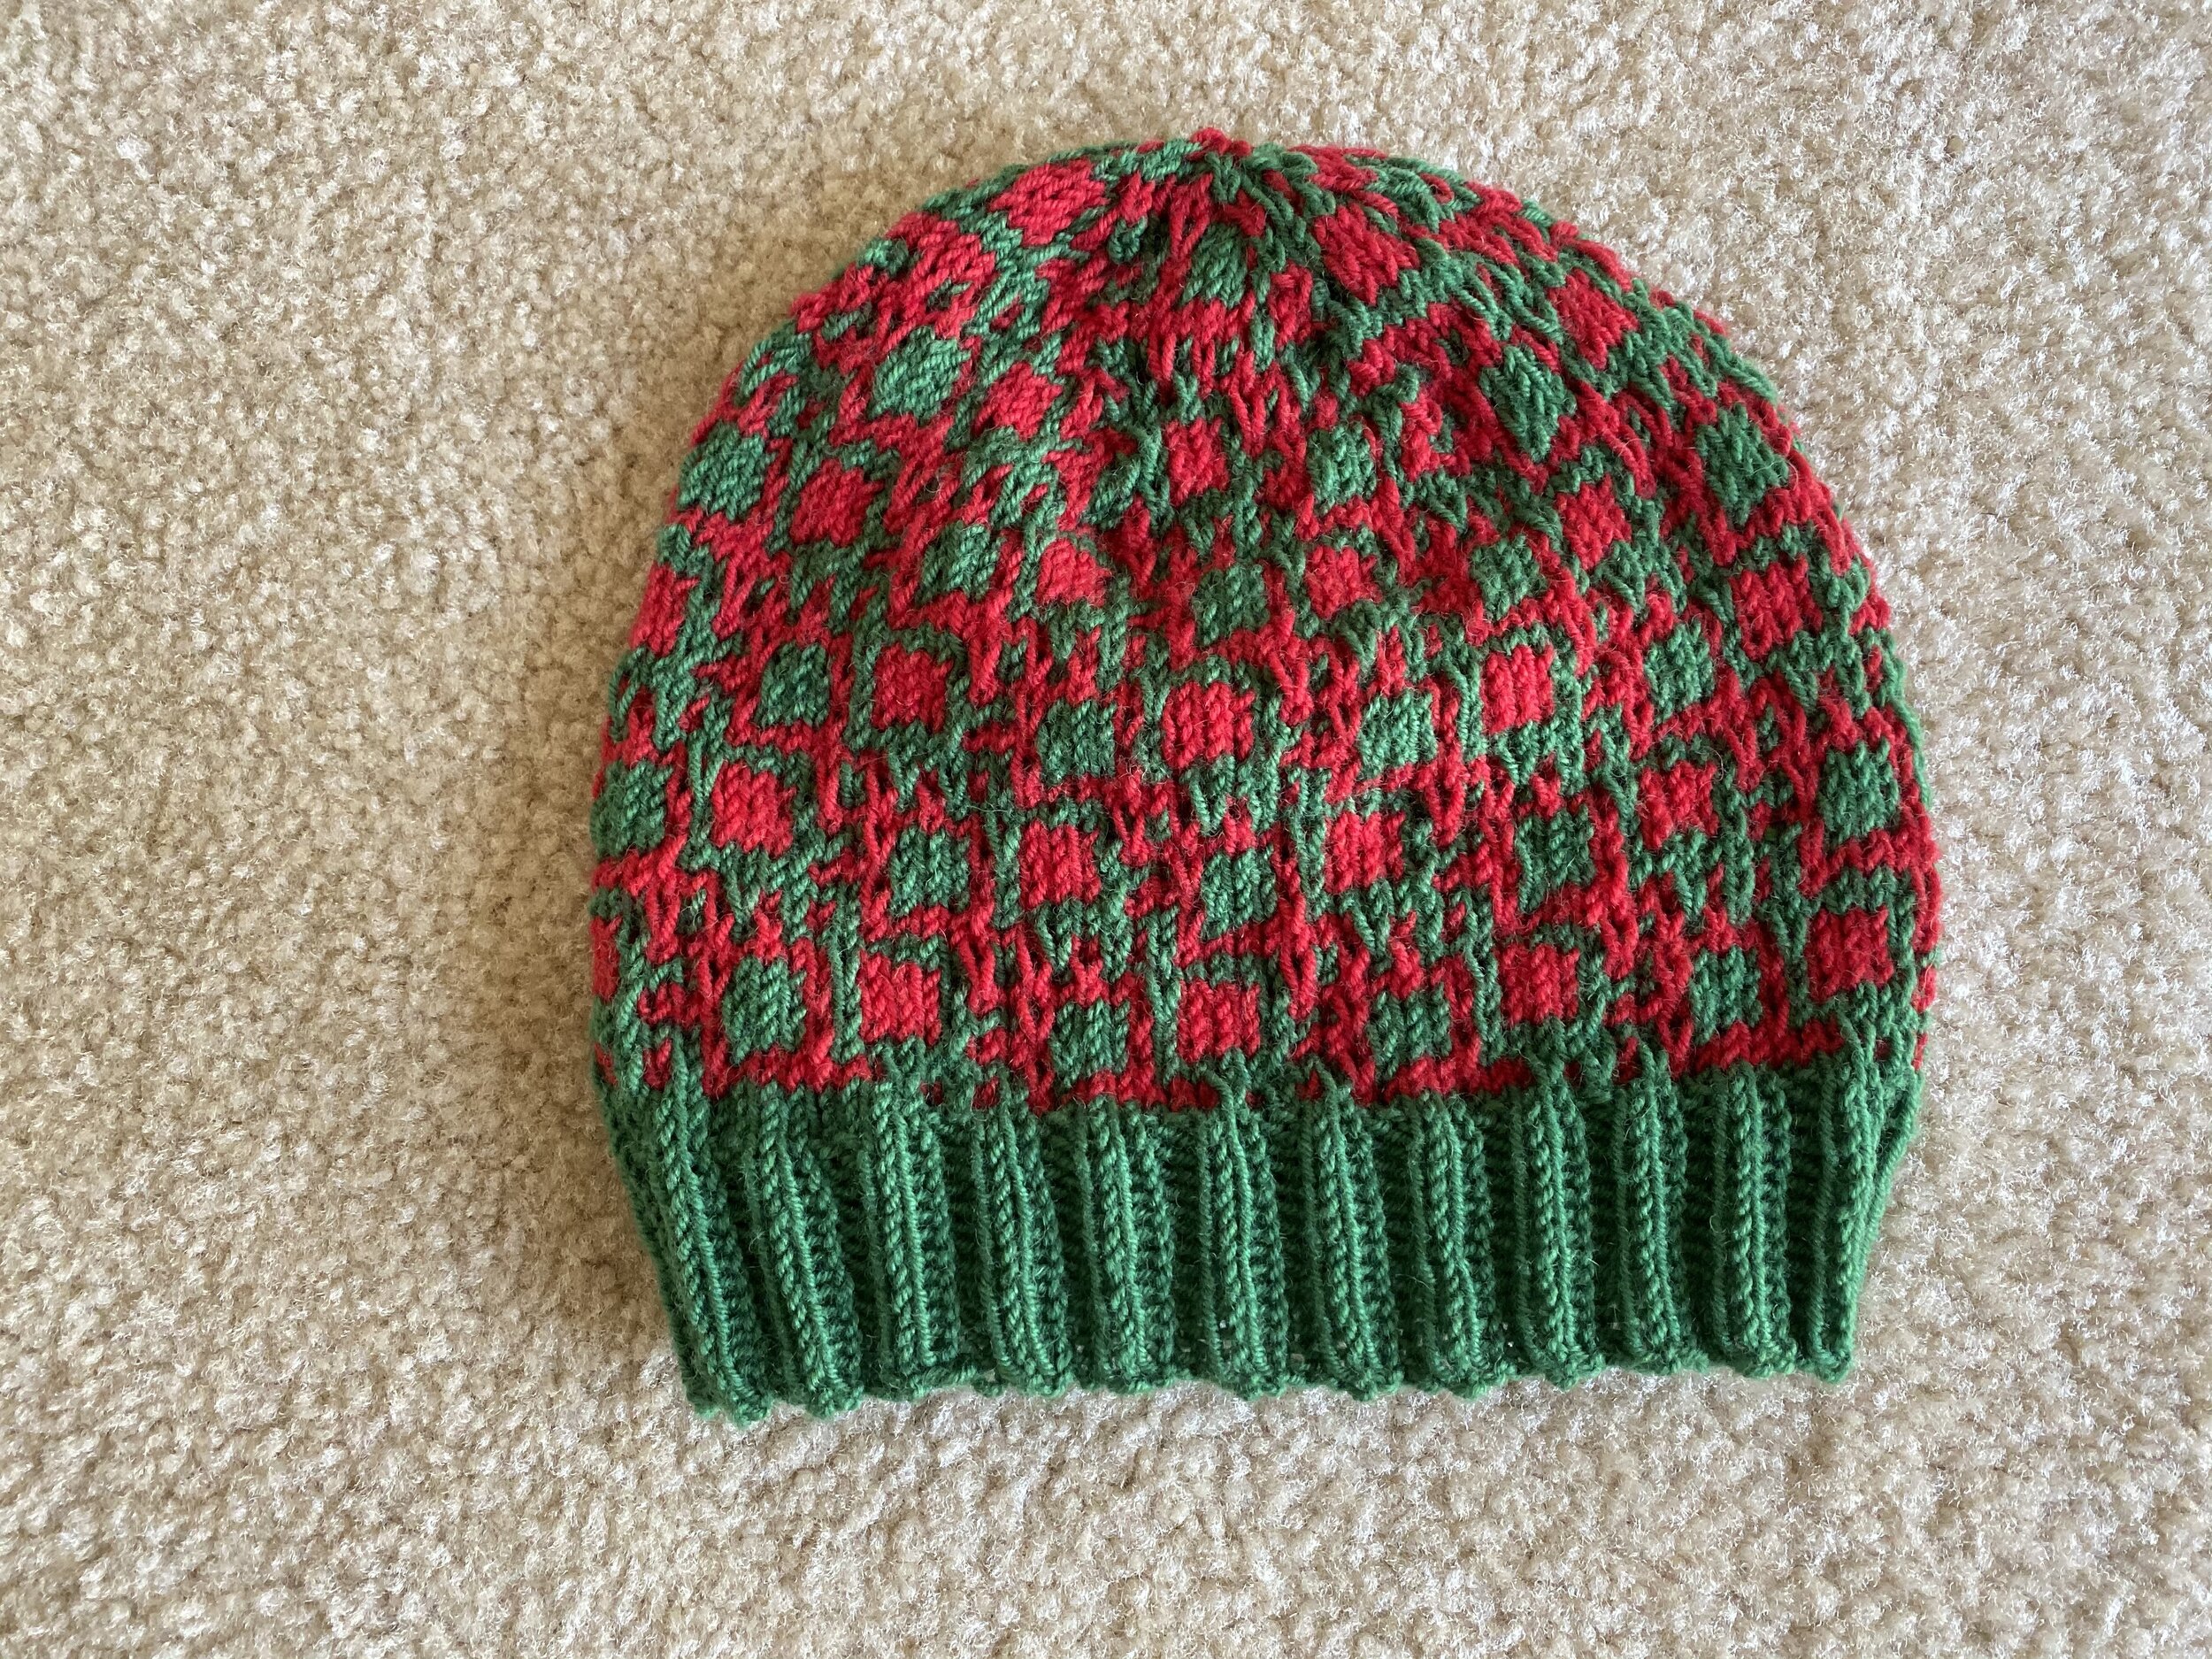
After making 11 hats with the spiral knitting, I decided to try doing spiral mosaic knitting (red and green patterned hat). I do not recommend this, for several reasons. It turns out it is way more challenging to do mosaic when spiral knitting-there is so much more to keep track of in terms of where you are in the pattern, and I struggled a lot at first with that. The bigger issue though is that, for doing the type of all over pattern I was using for this hat, it is pointless.

I’ve got enough experience with mosaic knitting that I can generally make the beginning/end of row spot fairly seamless. I typically do this by starting my row in a slightly different spot (within 4 stitches from the true start of row) to hide the jog by putting it somewhere where there’s already a color change or something similar. So basically, there was no problem to fix, at least for this style of pattern. The effect of doing spiral knitting with mosaic ended up meaning that, while I didn’t have to fuss over a jog, the pattern didn’t line up properly. If you look closely, you can see some ‘8’s at the join for the spiral knitting, when the overall pattern didn’t have that. That’s because the mosaic pattern is designed for you to knit in rows, but when using spiral knitting you’re emphasizing the spiral nature of knitting in the round, and effectively shifting the pattern relative to itself at the join. To my eye, the spiral knitting mosaic just looks like I consistently made a mistake at that point in the pattern.

spiral mosaic knitting

regular mosaic knitting

Now that I’d started doing some mosaic though, I decided to try out two designs I made-one of birds and the other of boats. I wanted to make sure that they worked in mosaic knitting, and I’m pretty happy with how they turned out! I’m debating whether either need a pom-pom on top. I don’t have enough of the light brown to do anything with, other than as a bit of interest in a pom-pom, so it would help me to fully use up all of my light brown yarn.

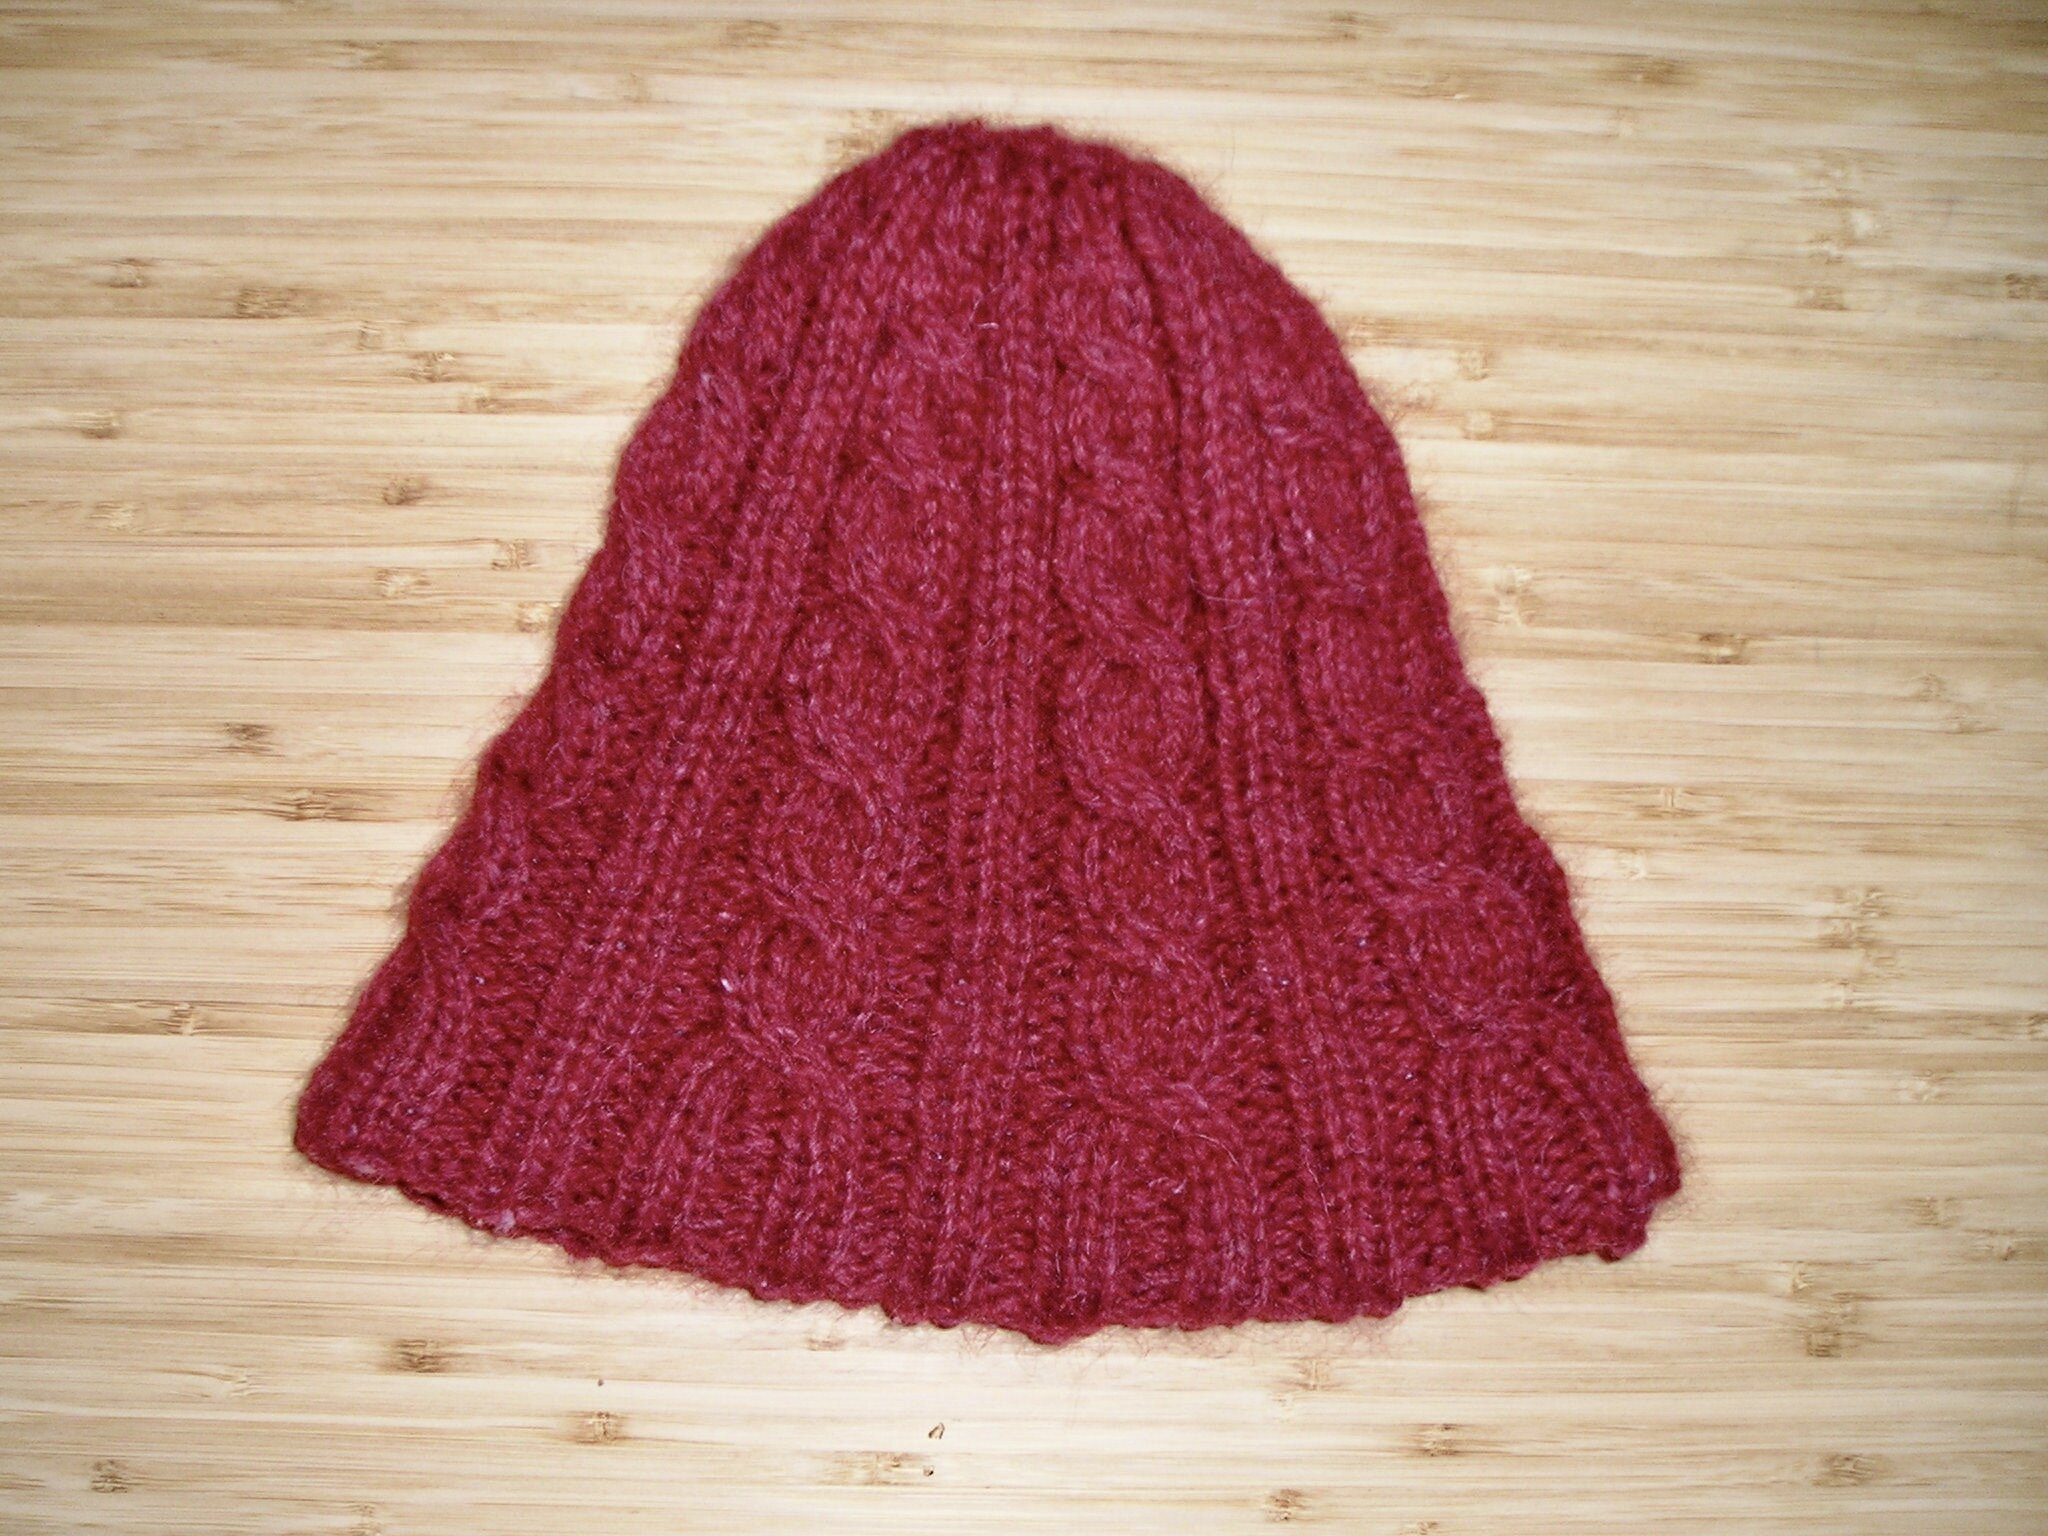
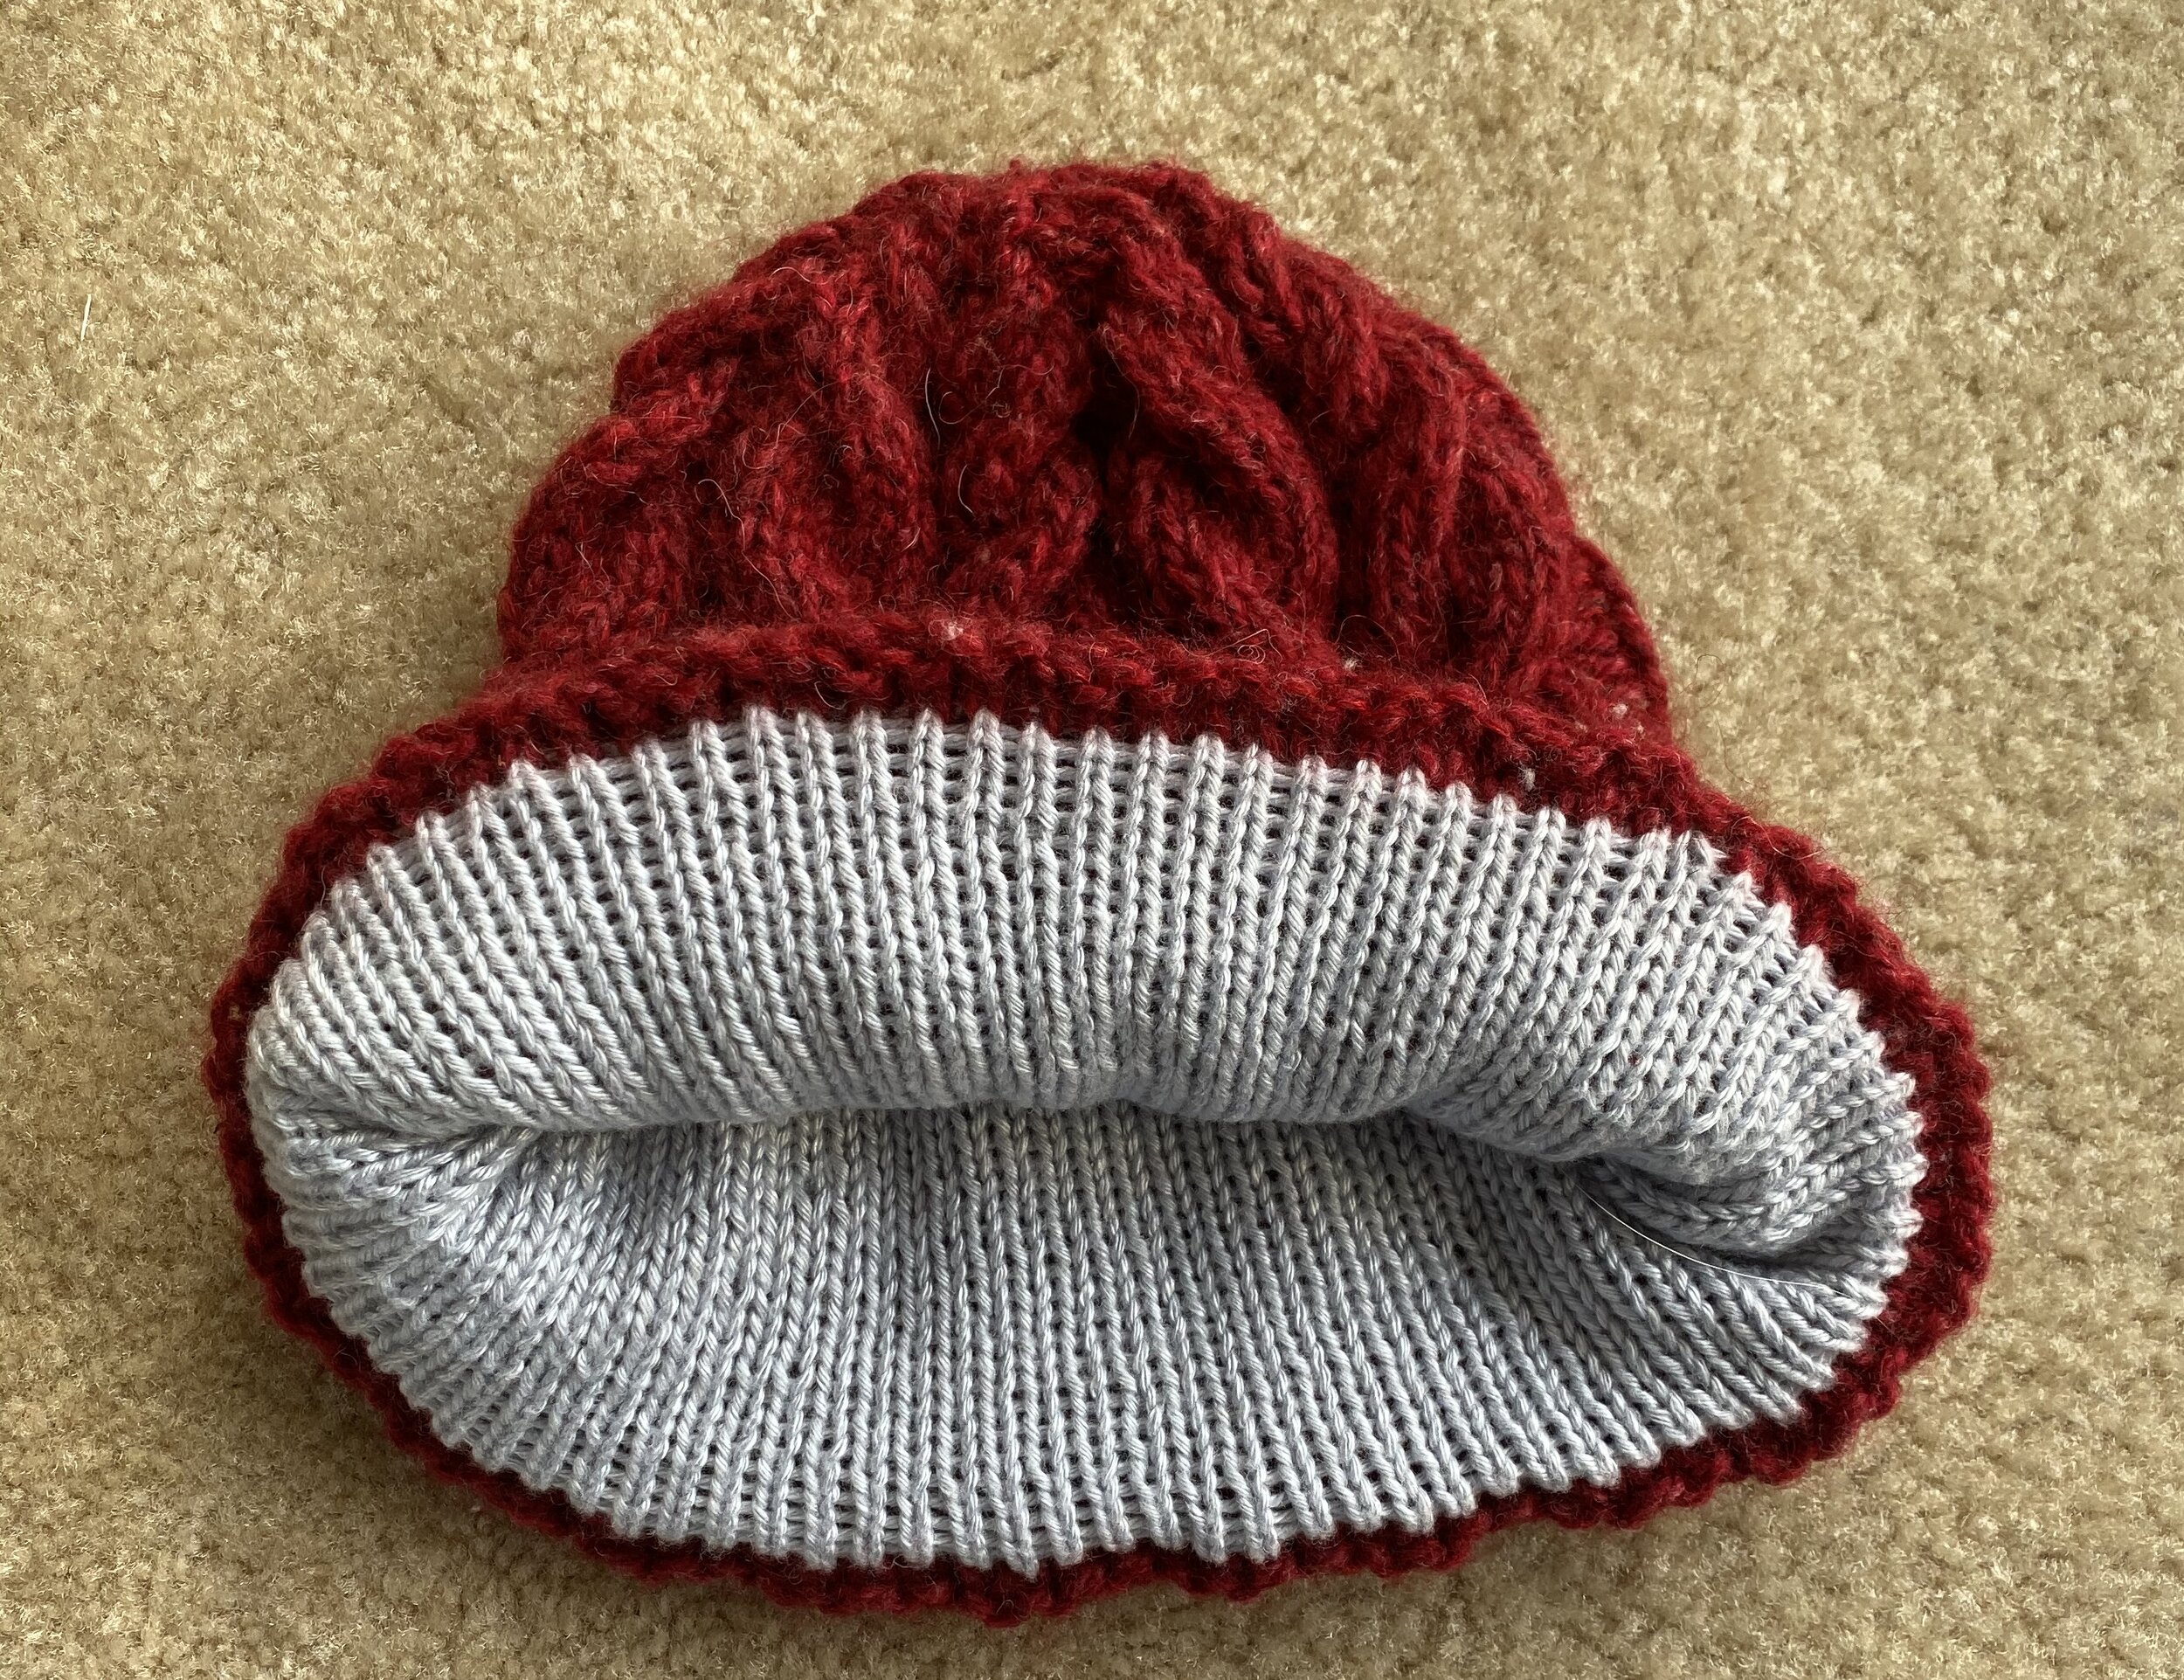
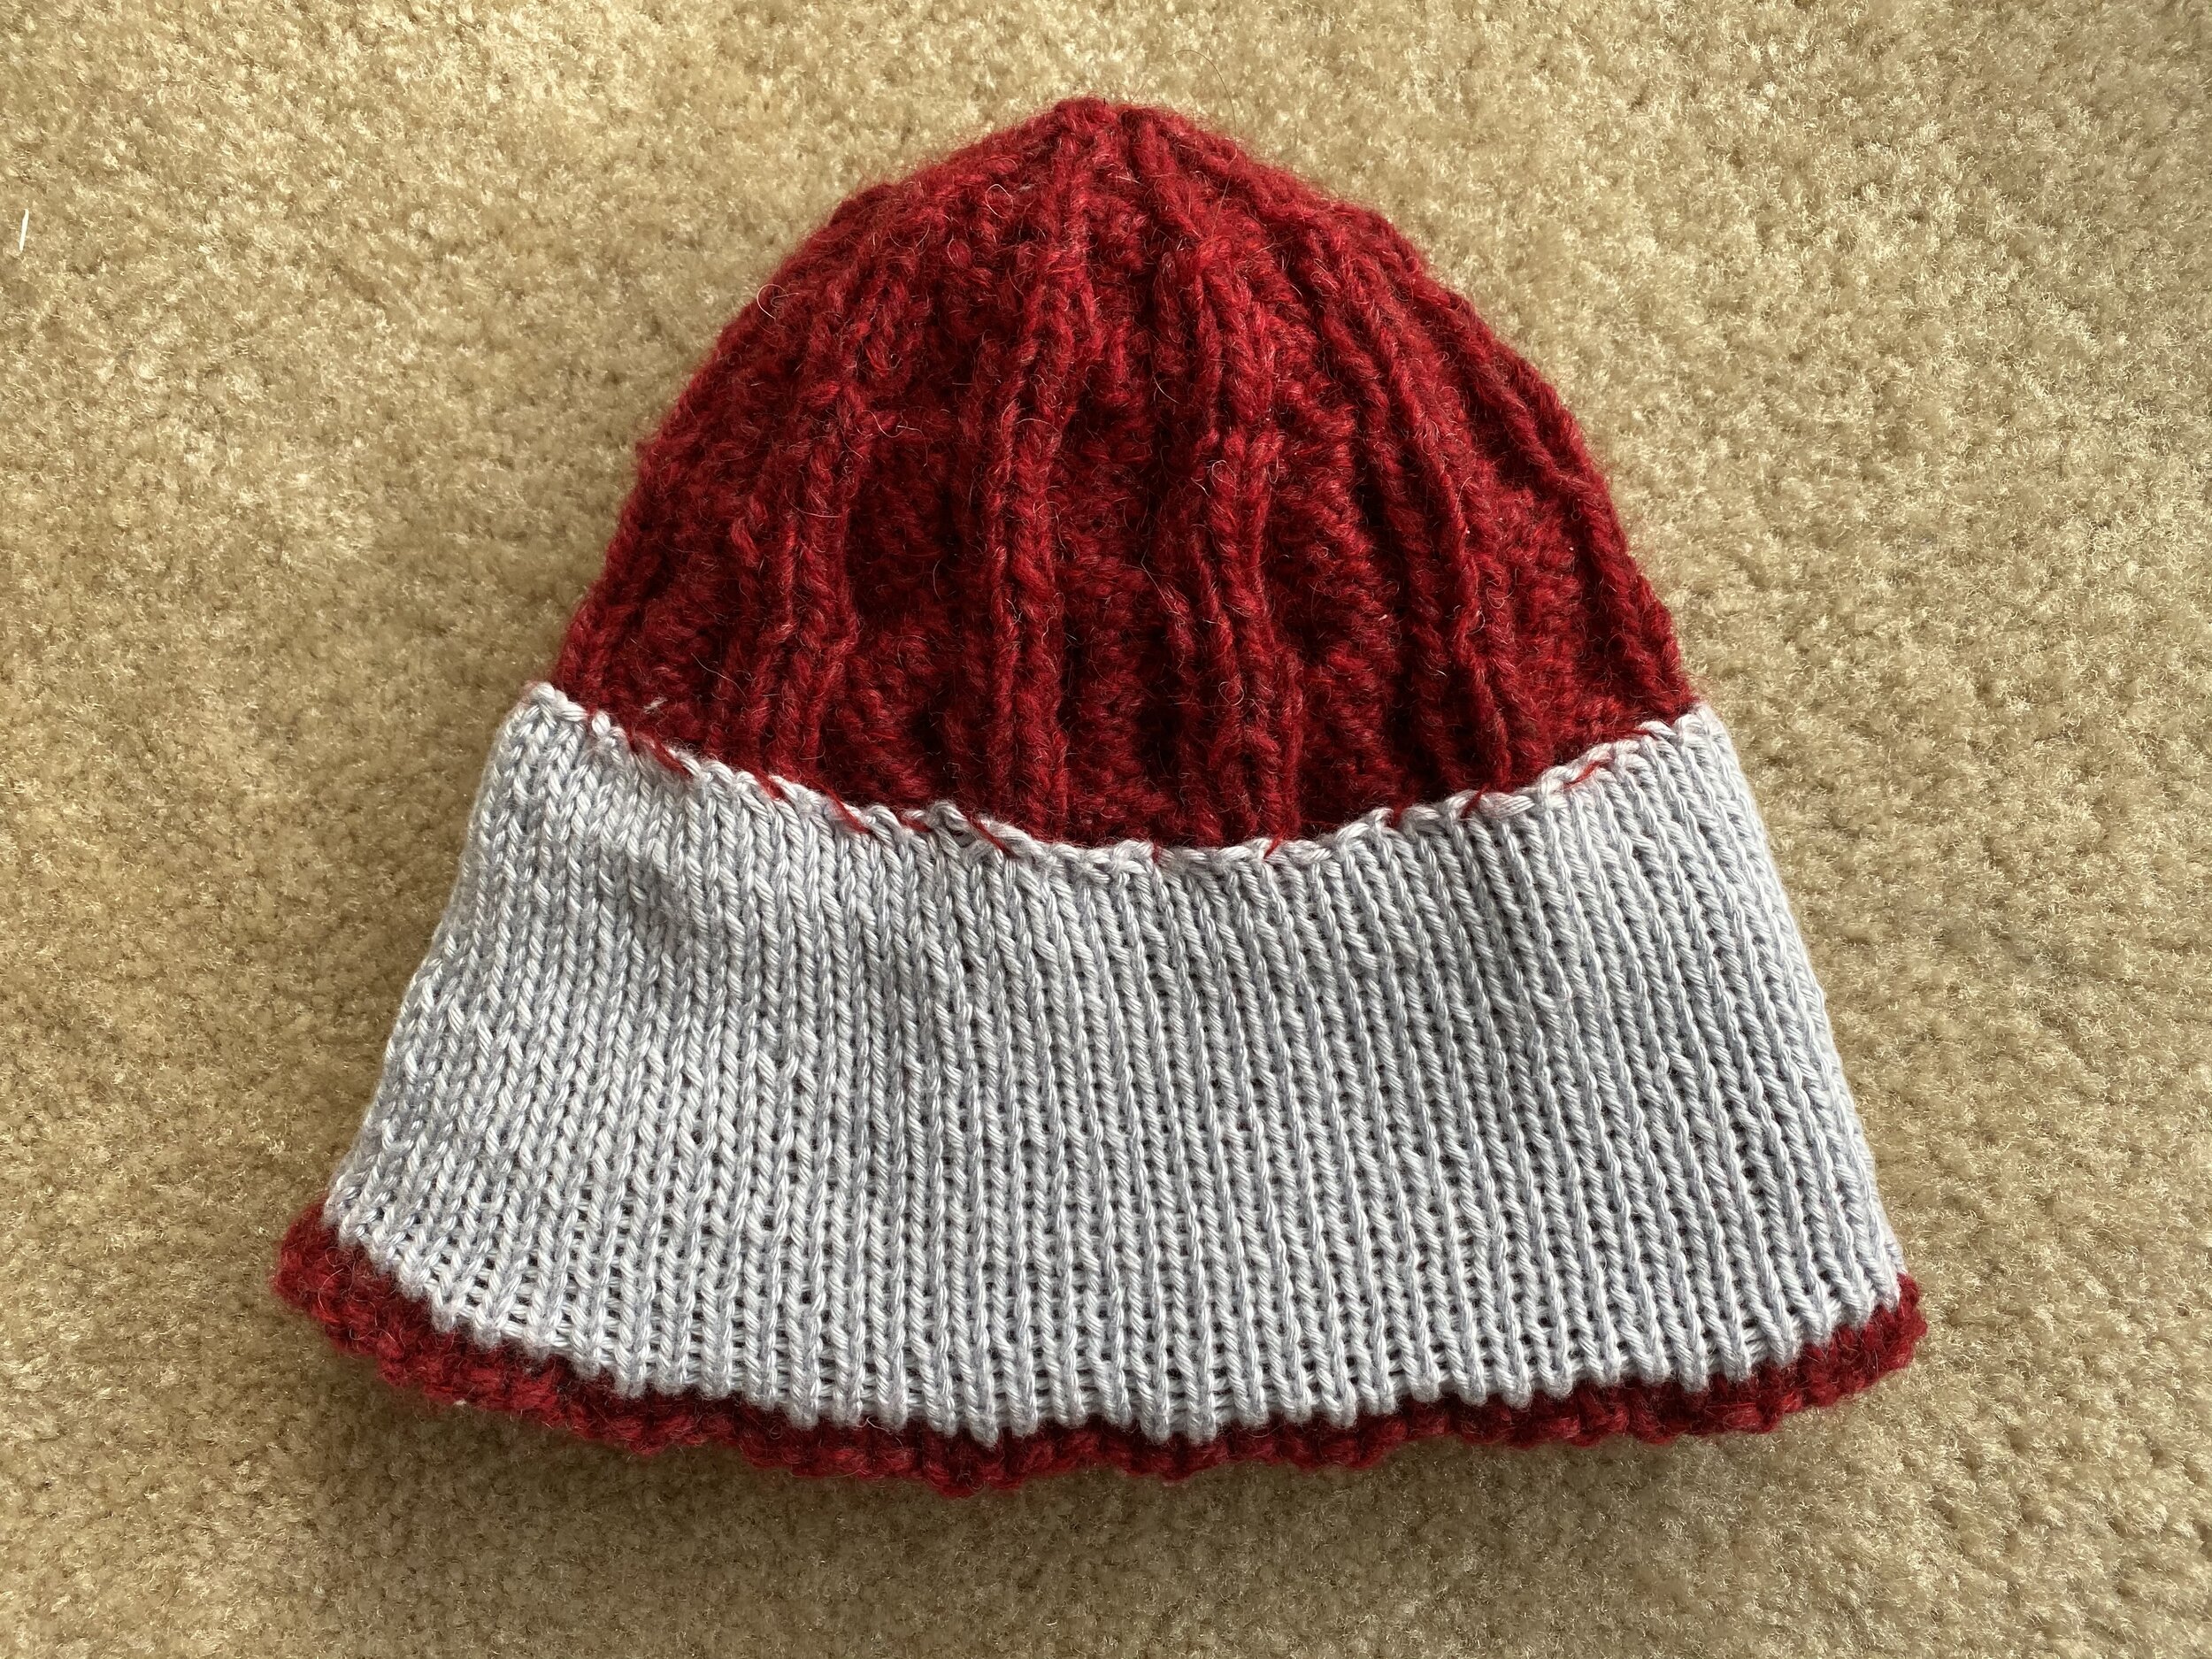
Red Shaker hats

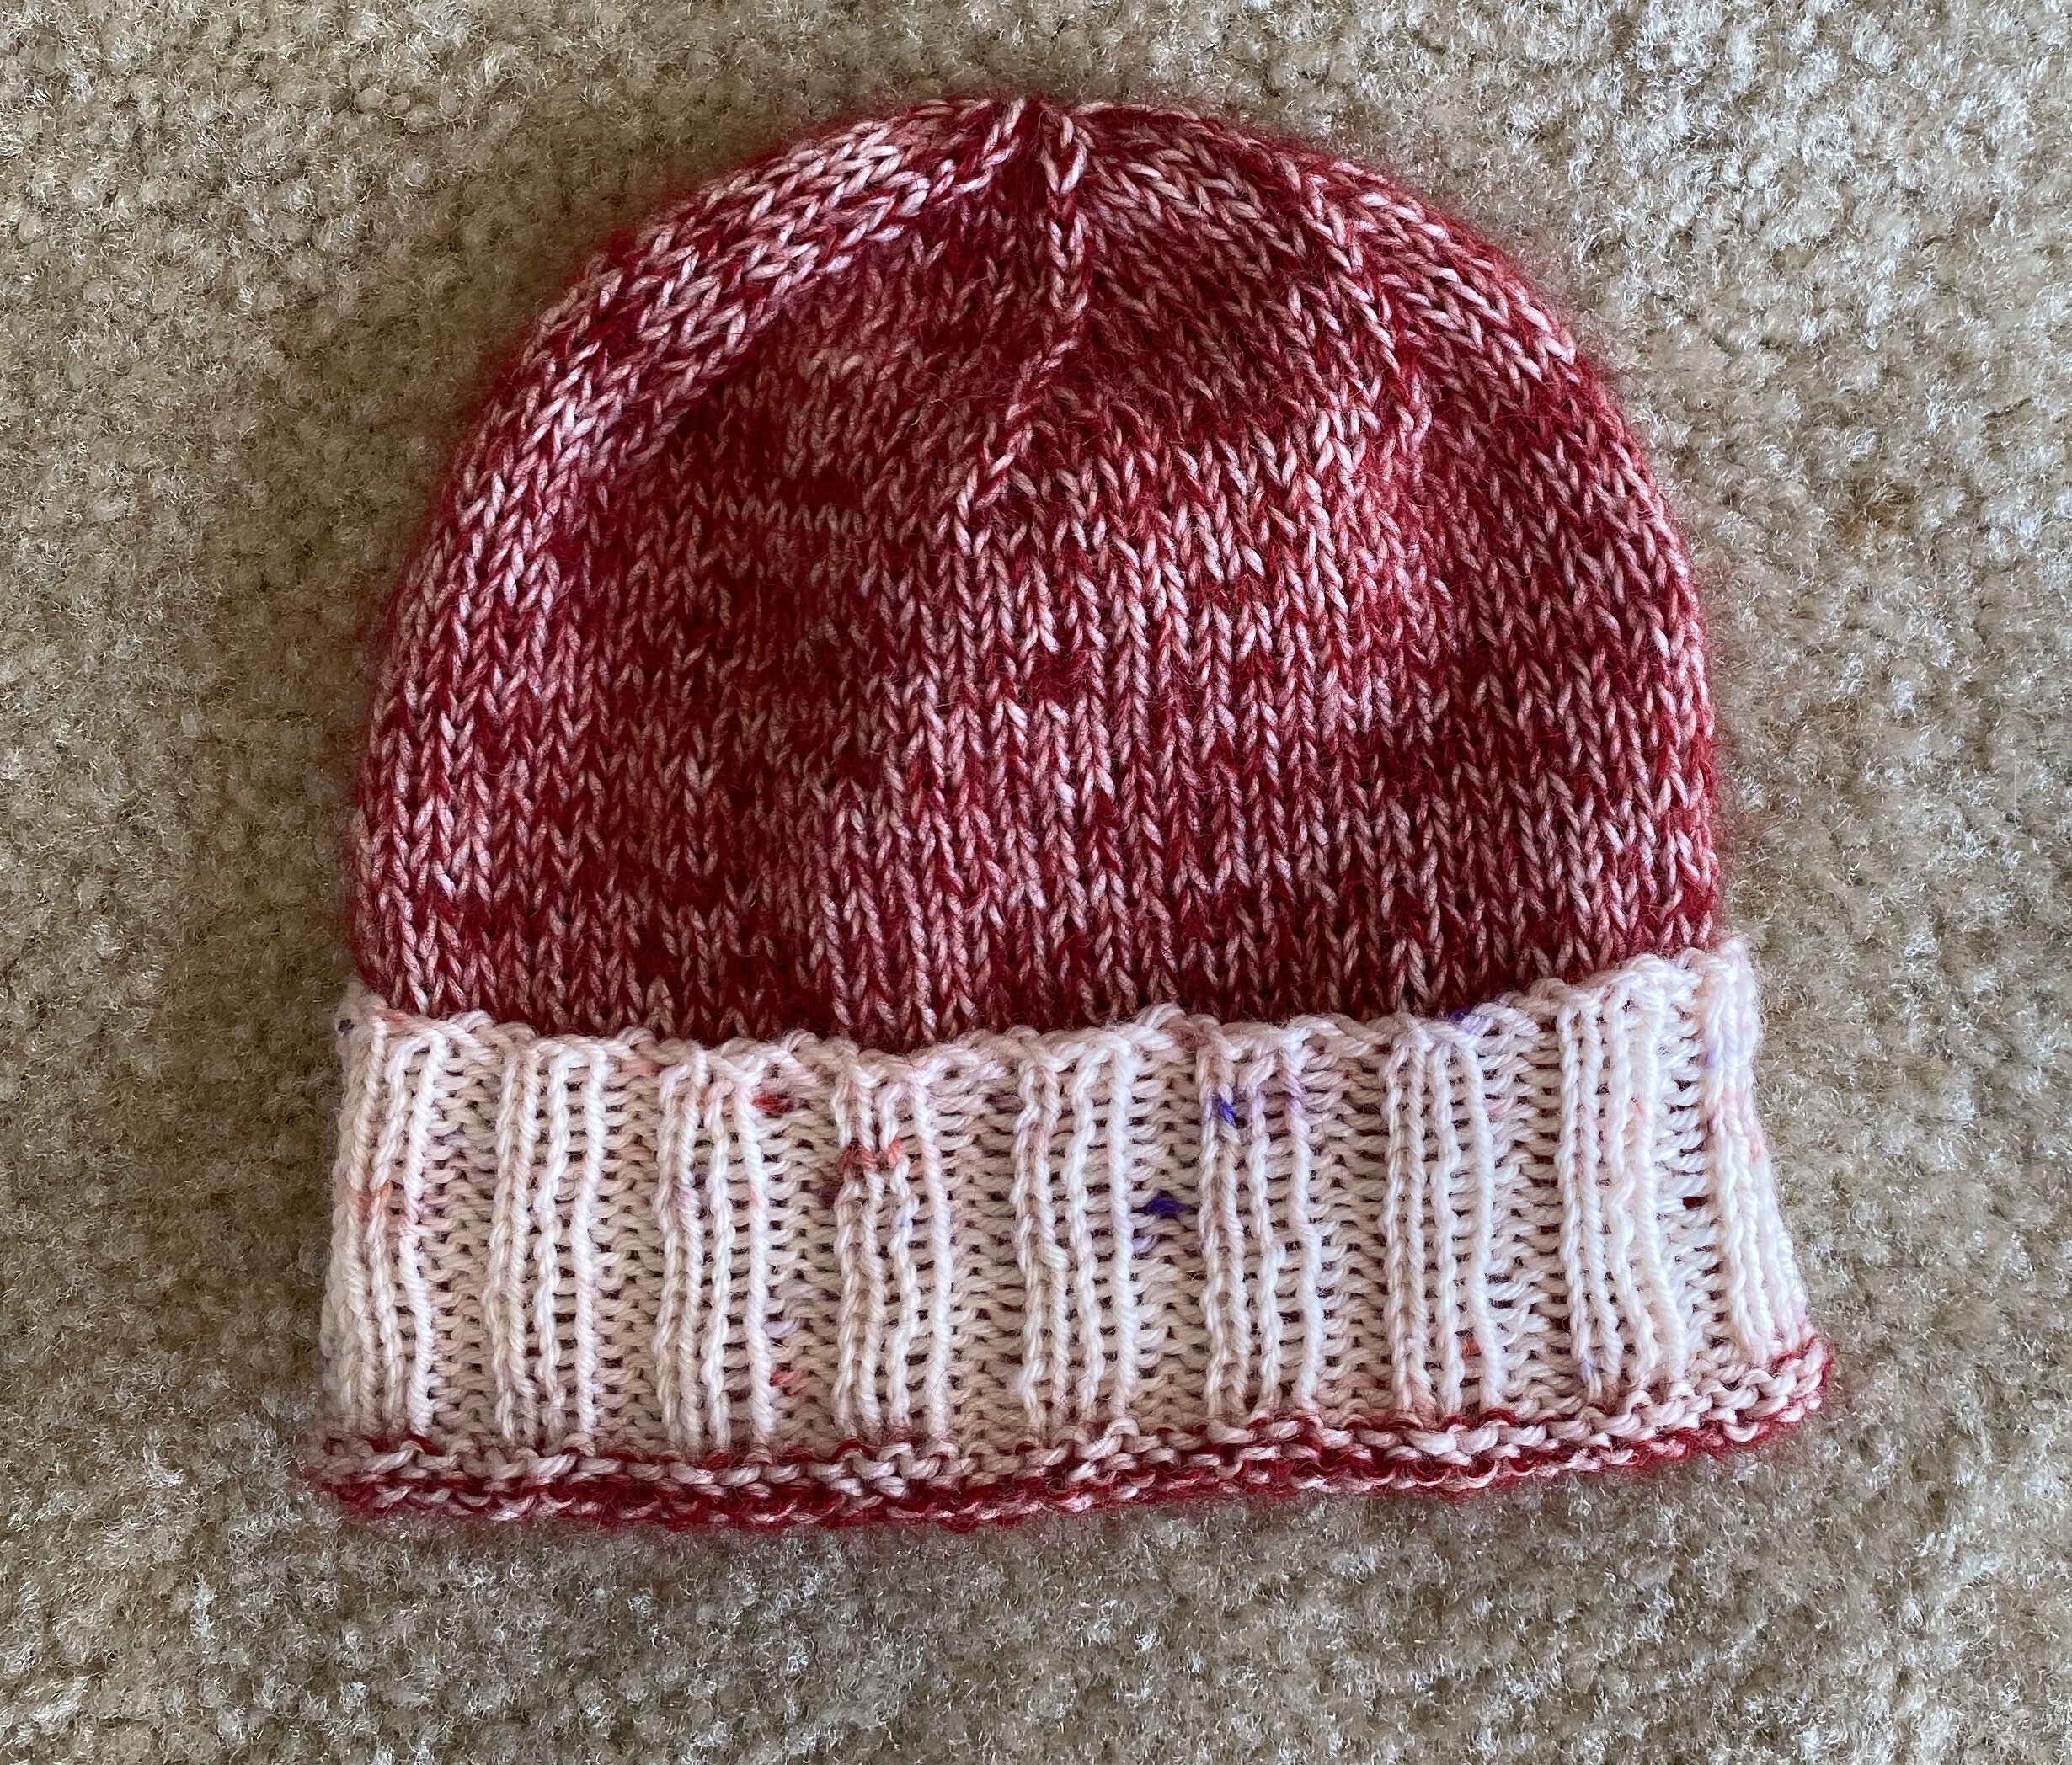
Some friends went to Maine, and brought me back three skeins of ‘Finest 2-ply SHAKER YARN’ from New Gloucester Maine. It’s a worsted weight, and might well be the most scratchy yarn I’ve played with yet. The colors are great though, and it was immediately suggested that I could make a hat out of it. Someone just wanted a new hat, I think.

To make it wearable, I lined the lower portion of the hat(s) with a soft yarn-in this case left over 100% milk fiber yarn from my Angel Wings shawl. I also held the red yarn double with left over mohair from the Bain de Soil shawl-the colors are so close that you really have to look carefully to see that there are two yarns. This has been a great project for using up some of my leftovers!

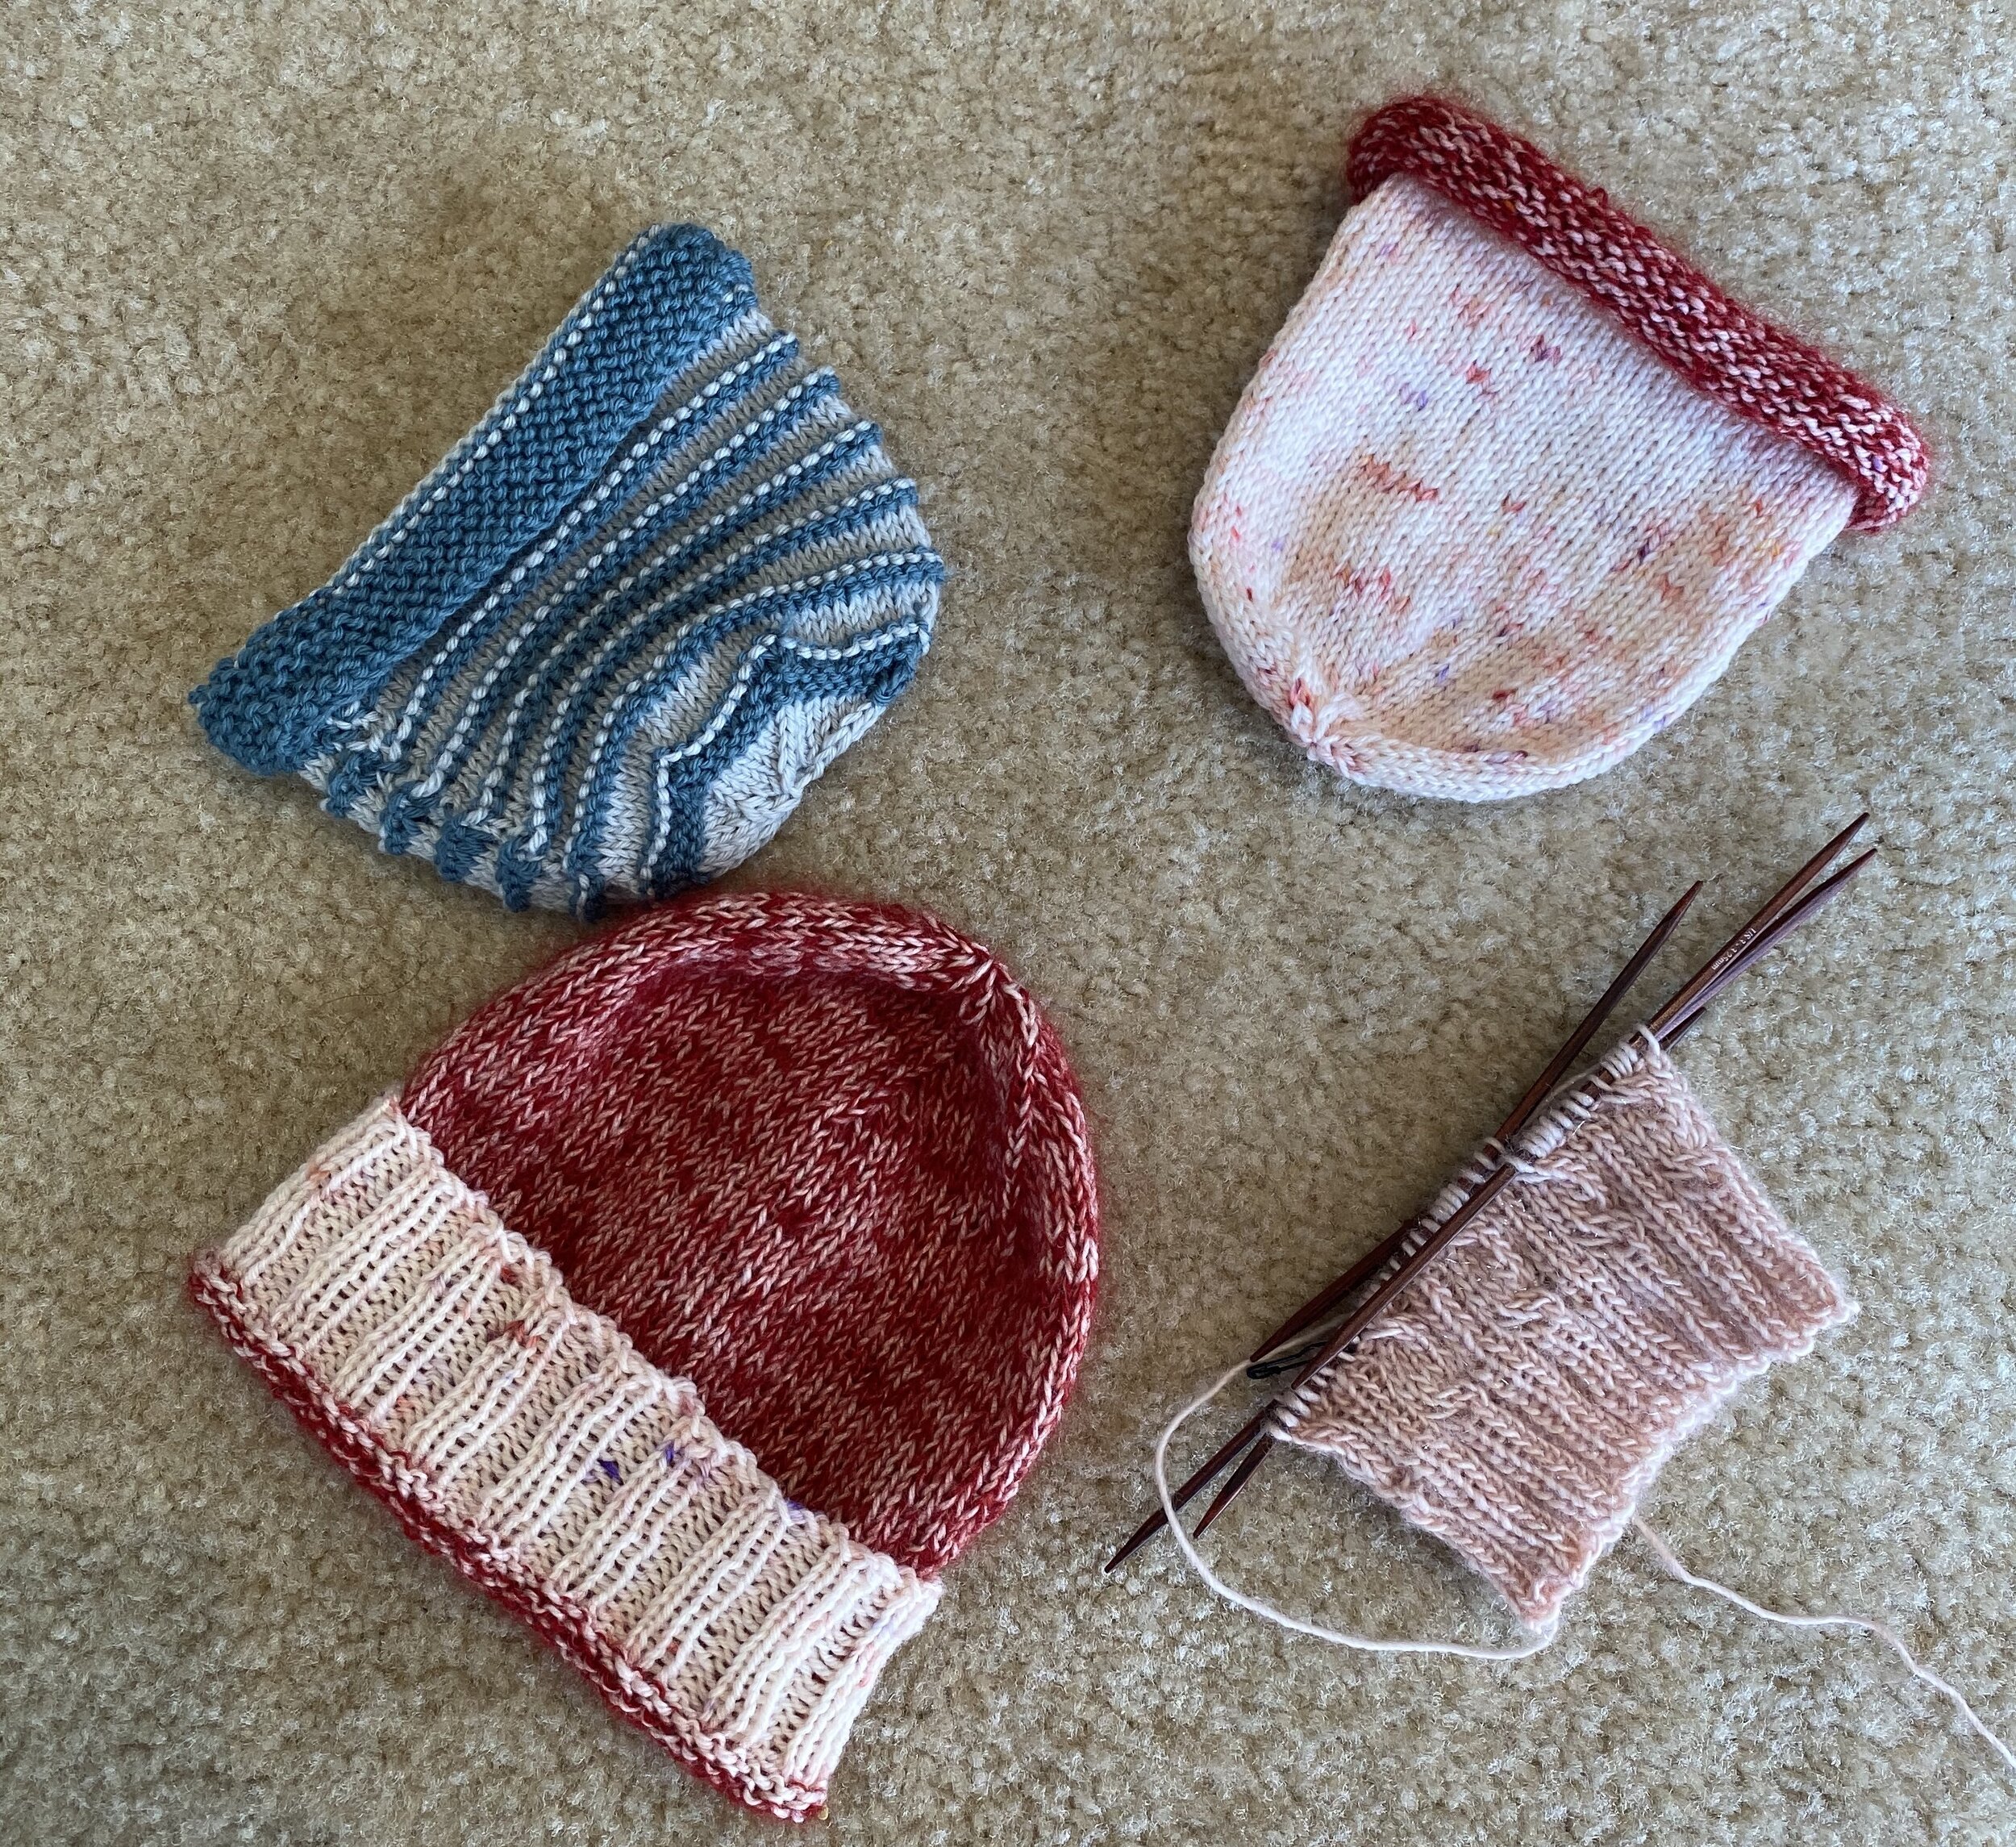
The last picture is of the next two skeins. I can make two hats from a skein, so hopefully there will be four more hats soon! I’m planning on holding the blue mohair (left over from a weaving project) with the blue yarn, and debating whether to use it on the aqua too.

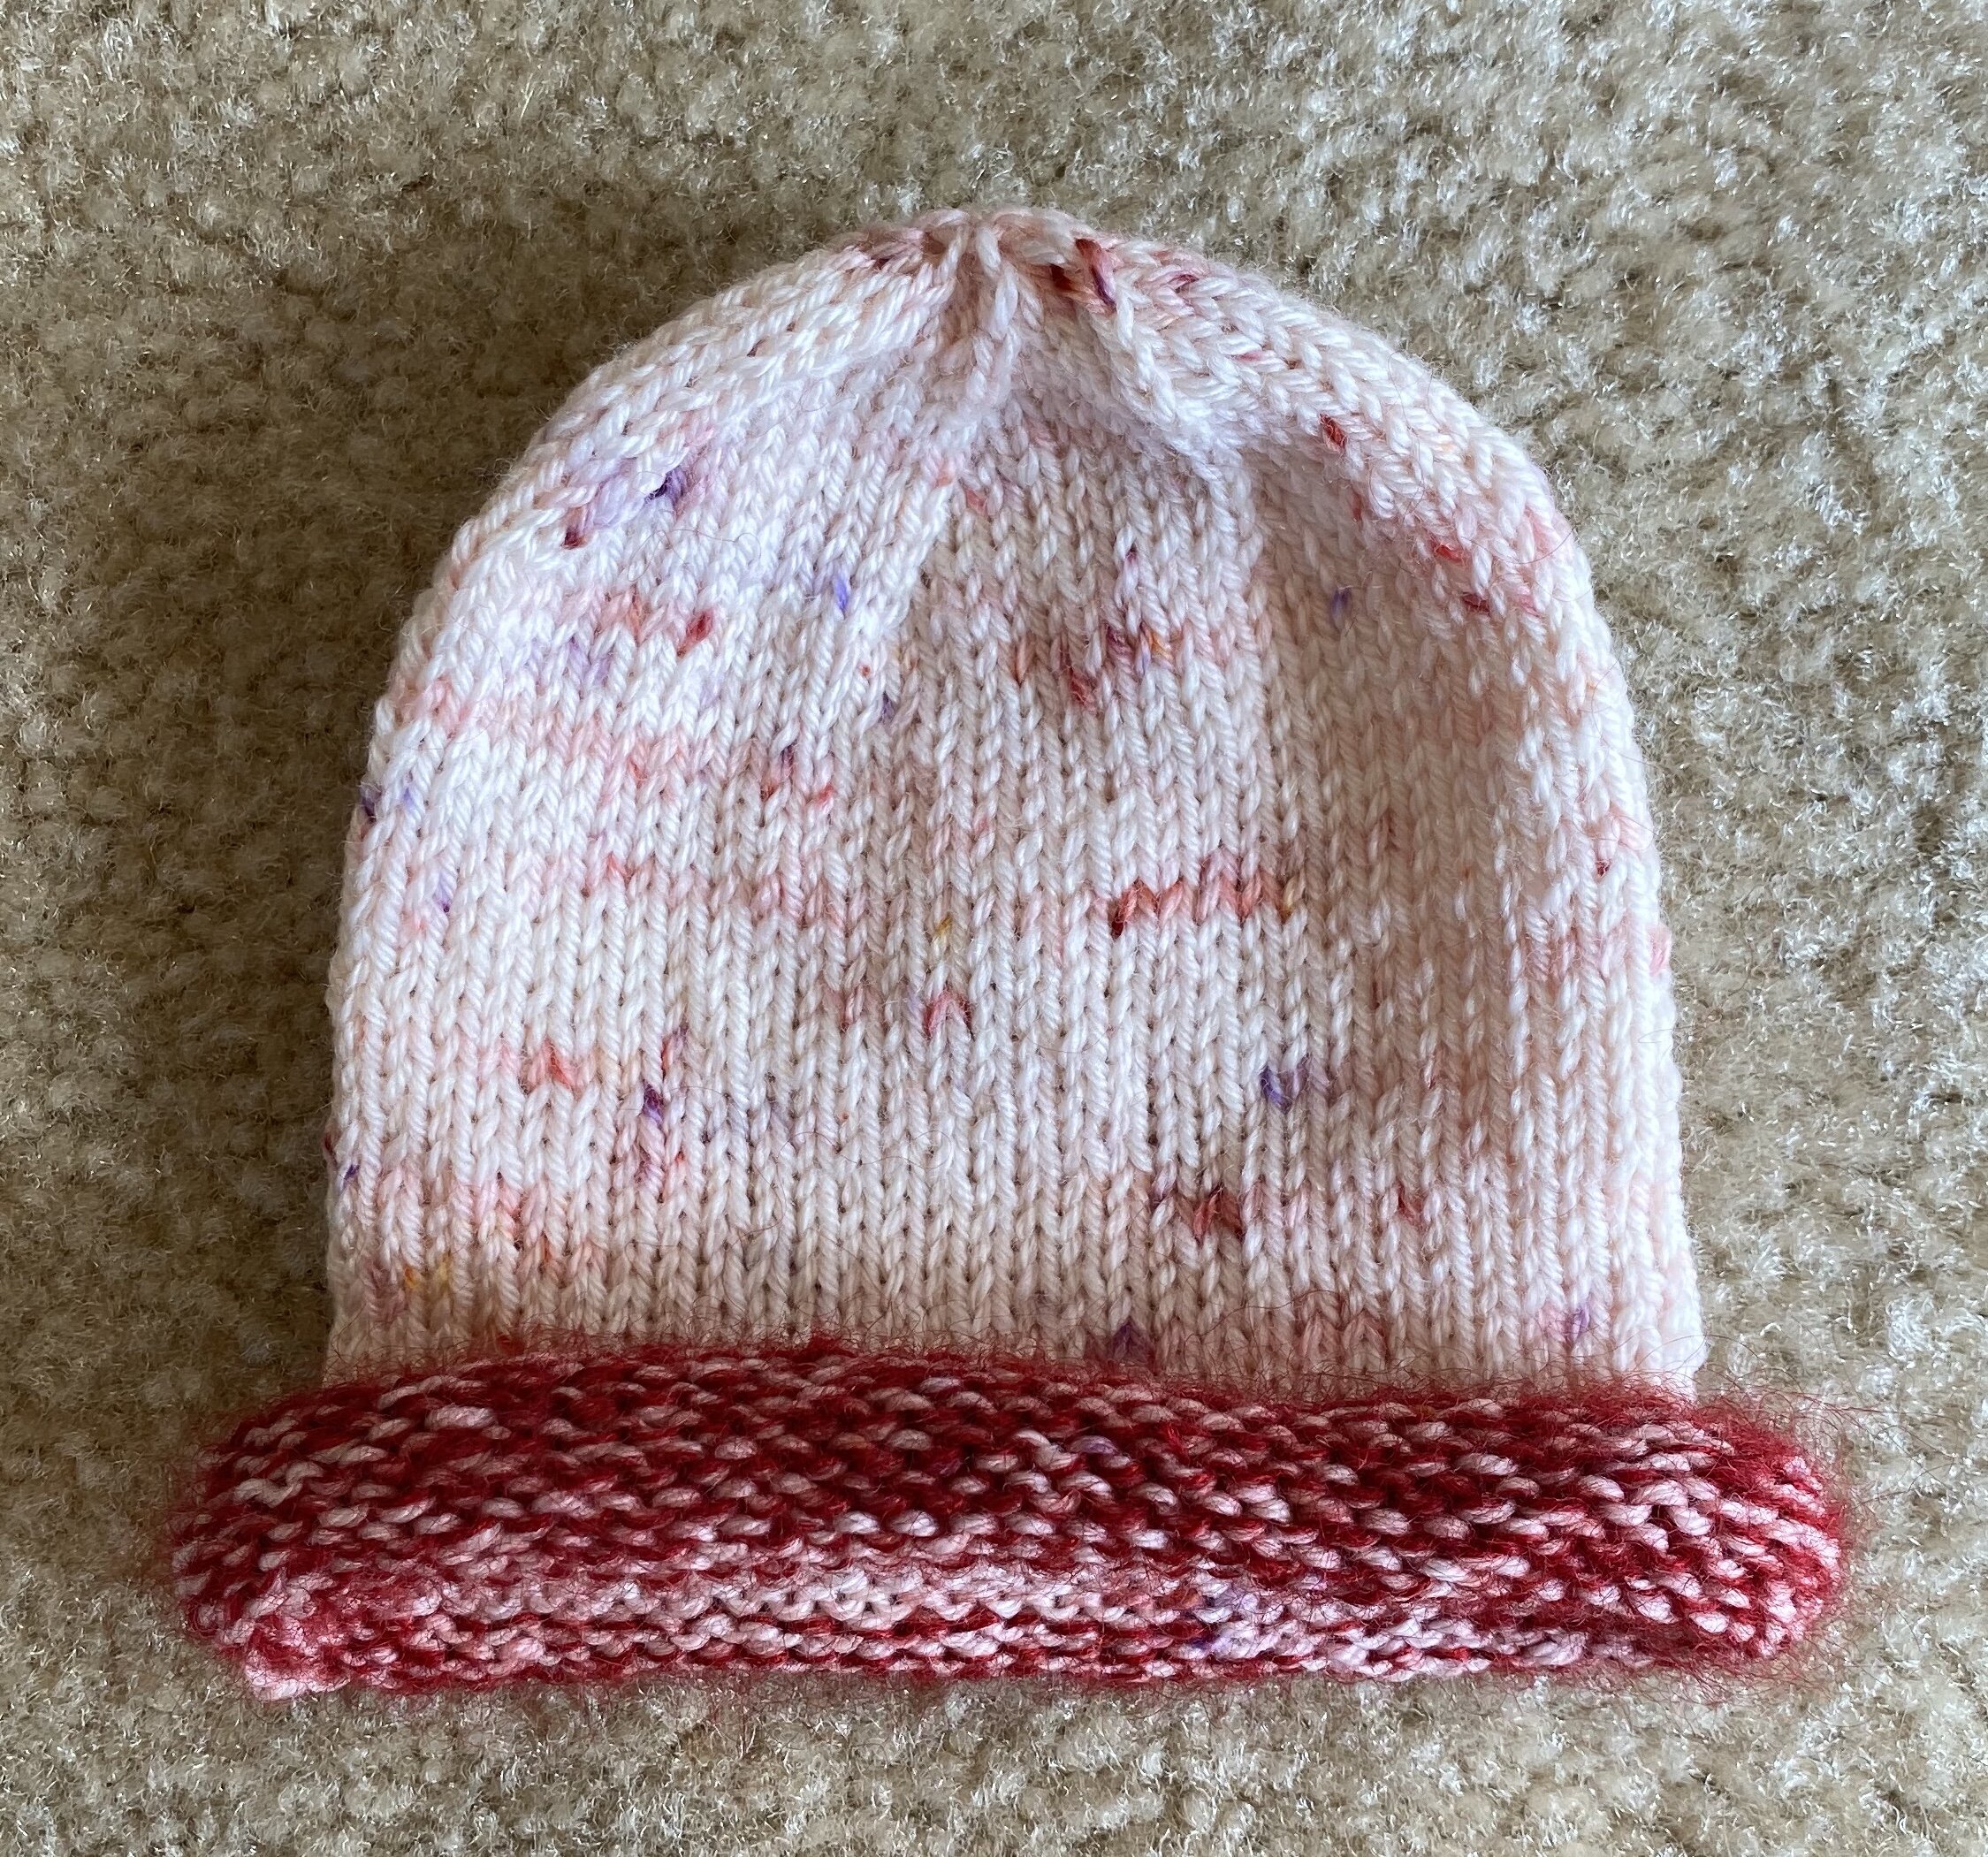
Baby hats

I have been working on quite a few big shawls lately, and was a bit frustrated with how long it had been since I last finished something. Then I managed to finish two shawls (Arcade and Rosemary) both in the same day, so I topped it off with two little hats for preemies out of the leftovers from some of the recent shawls. These are lots of fun to knit, and super quick!

Mini hat

The local yarn store had a hat making party this weekend, with hat themed treats and a free stitch marker for those making hats out of store purchased yarn. I just finished making a bunch of hats, and so decided to make a mini ornamental hat. This is the result. Now it just needs a sweater and some socks and mittens to keep it company! 

IMG_7768.JPG

Cabled hats

It’s holiday knitting time! And this holiday season, people will be receiving hats. Luckily they’re presents for people who either a) already know they’re getting a hat, or b) people who don’t read this blog.

This is a pattern I developed, and I’m really happy with it. It has a turned up brim on the inside, giving two layers over the ears. I really like that way of doing a brim, so that I can have all the pretty pattern on the outside, and that keeps the brim from rolling up and letting my ears get cold.