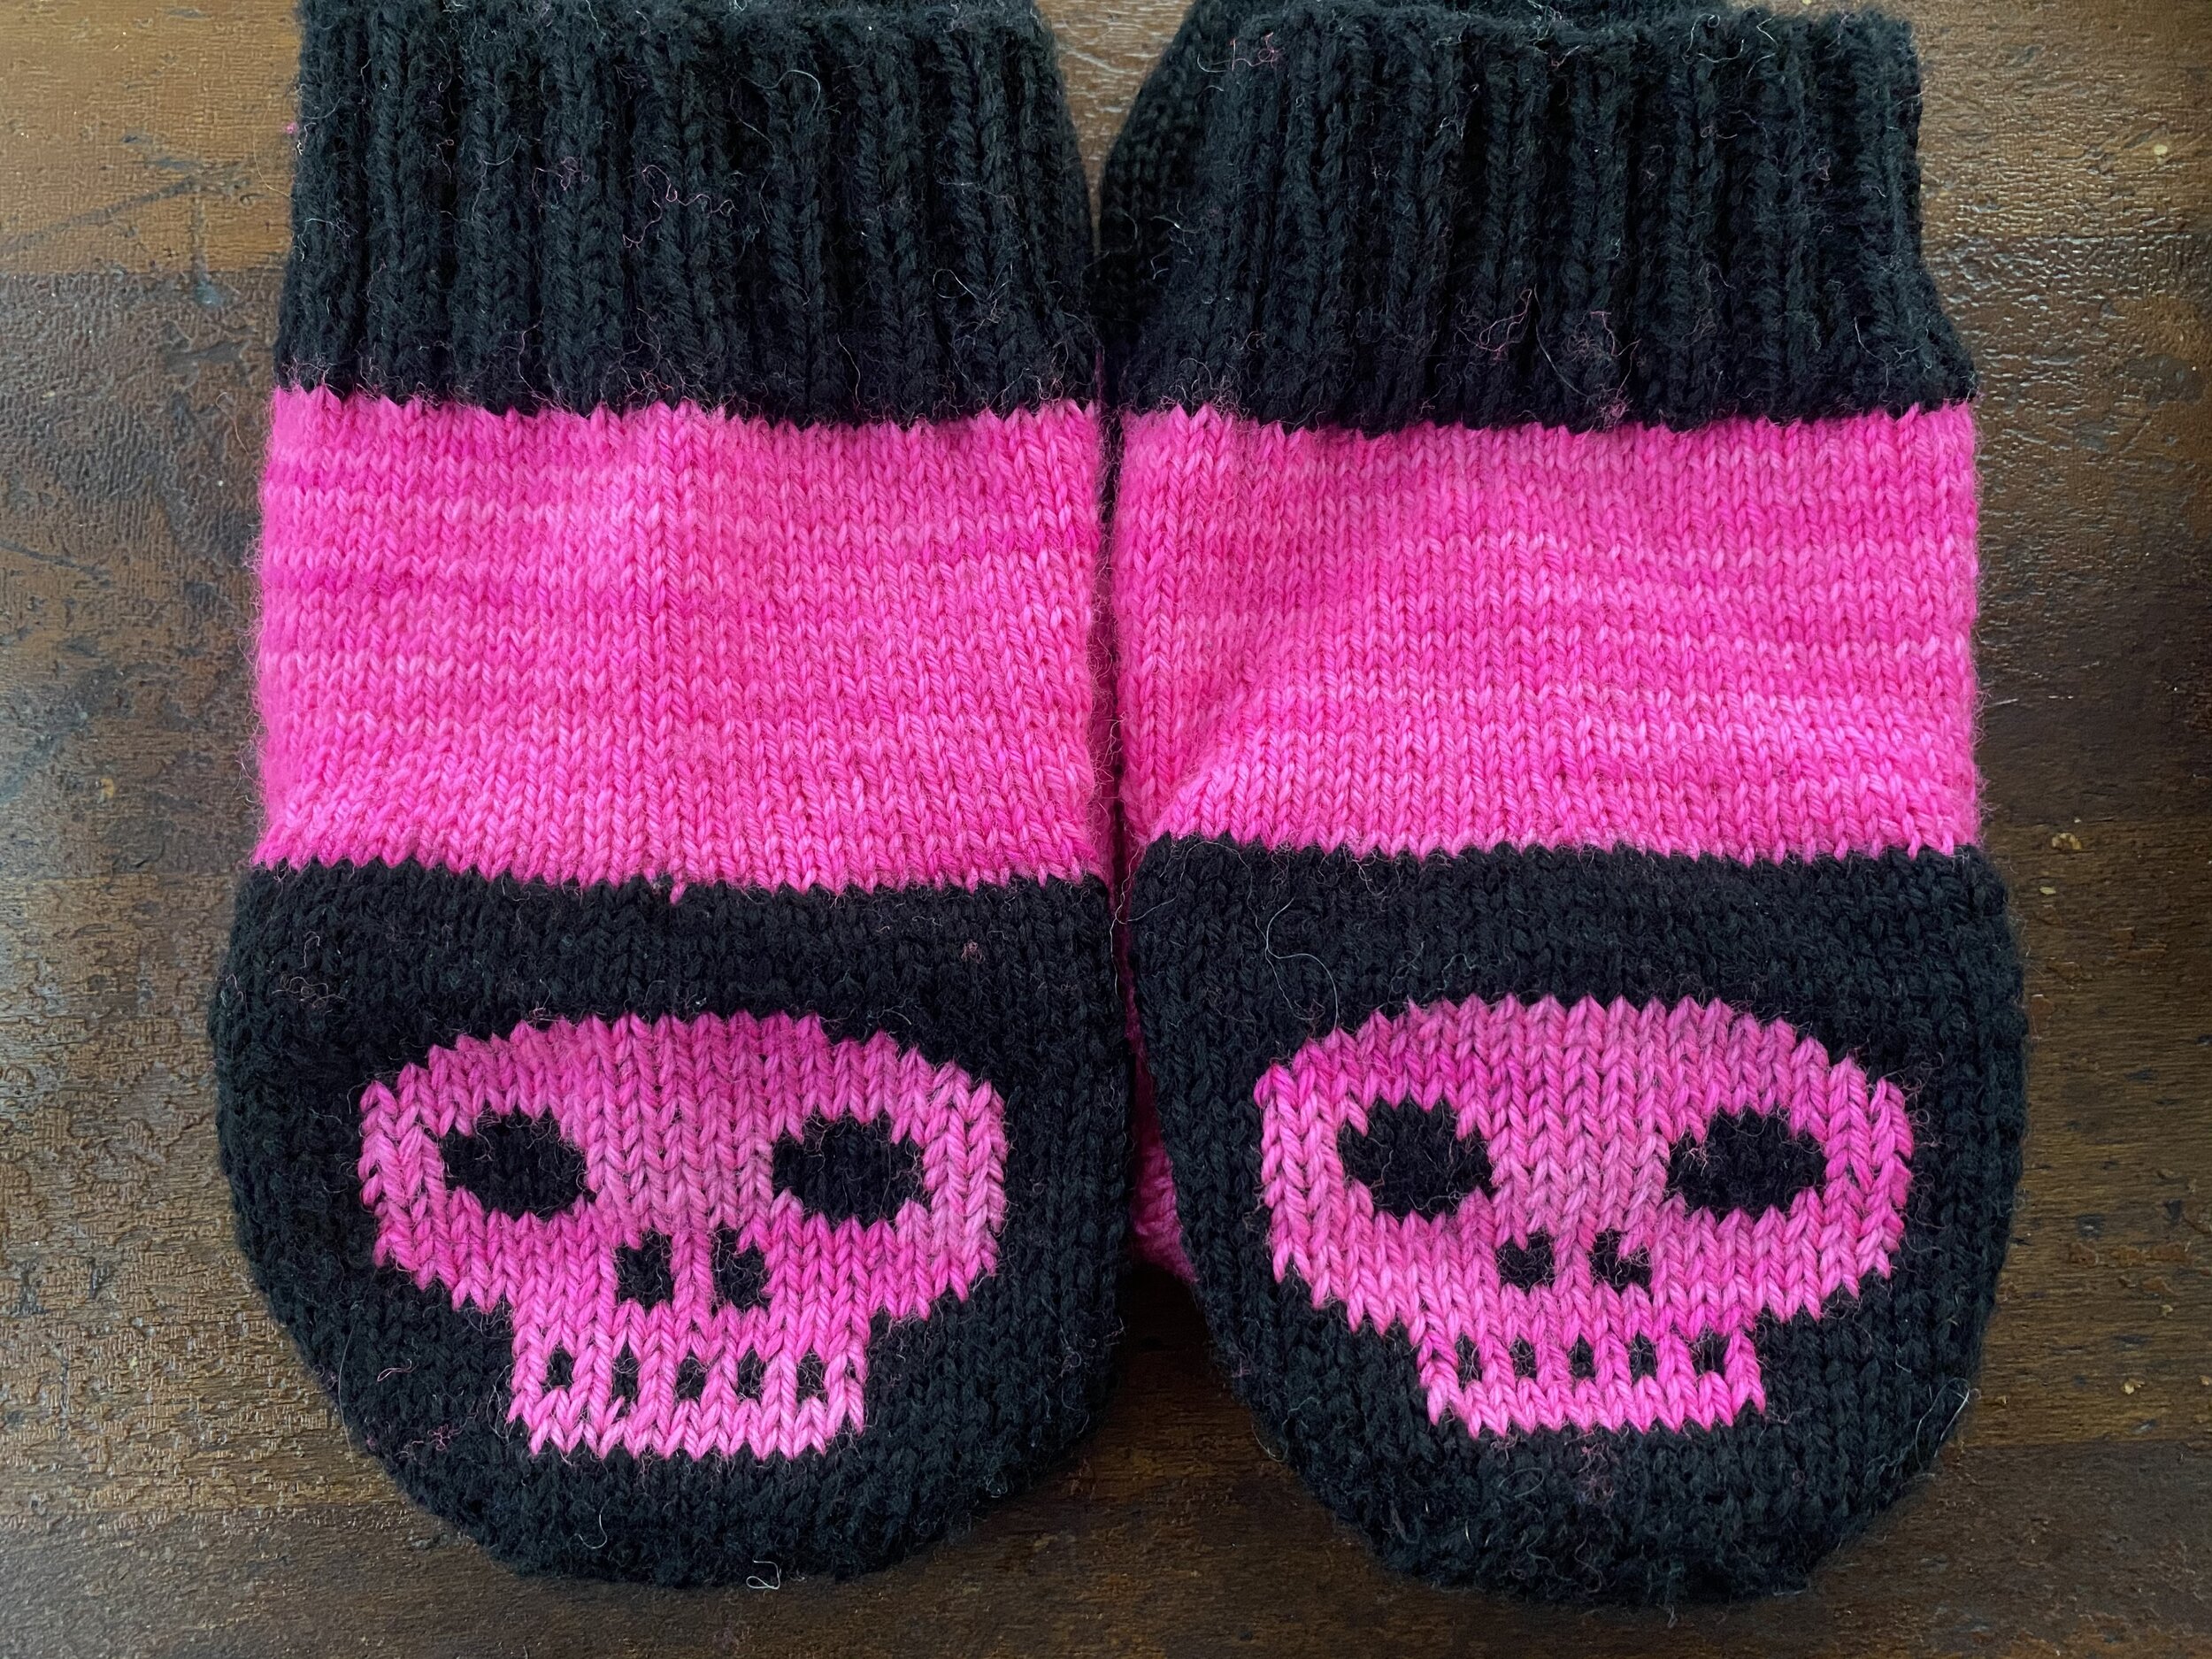
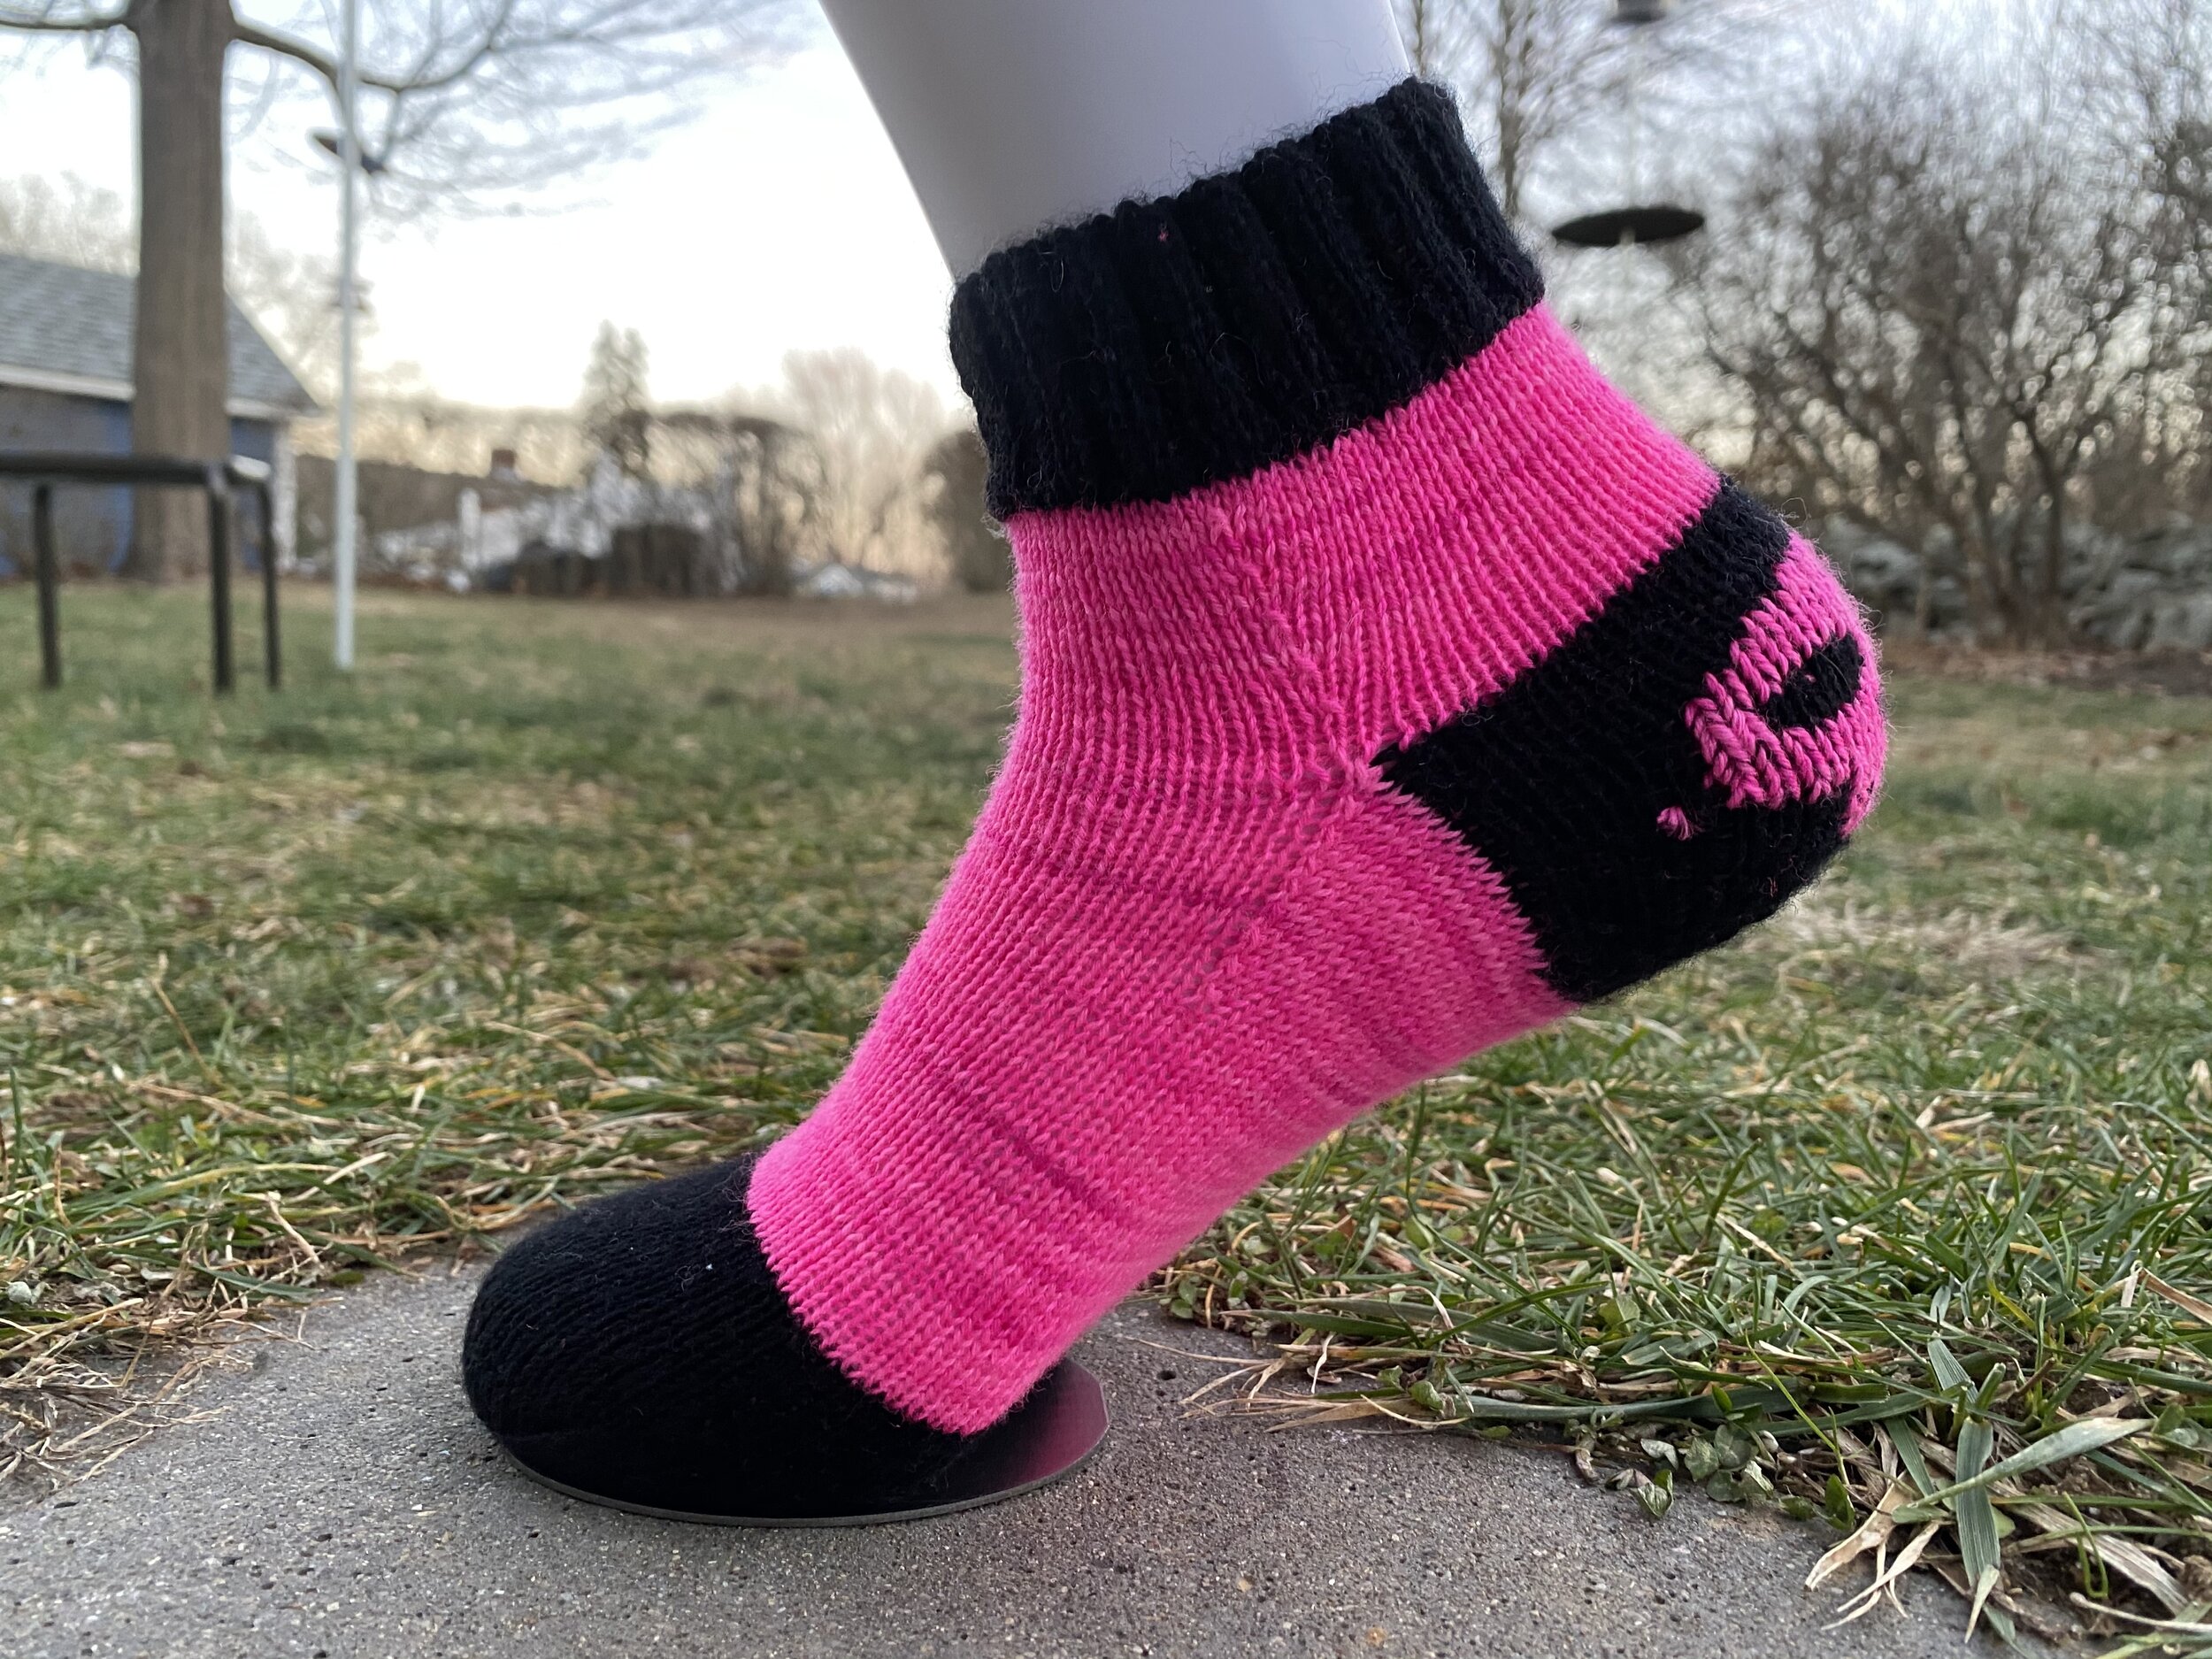
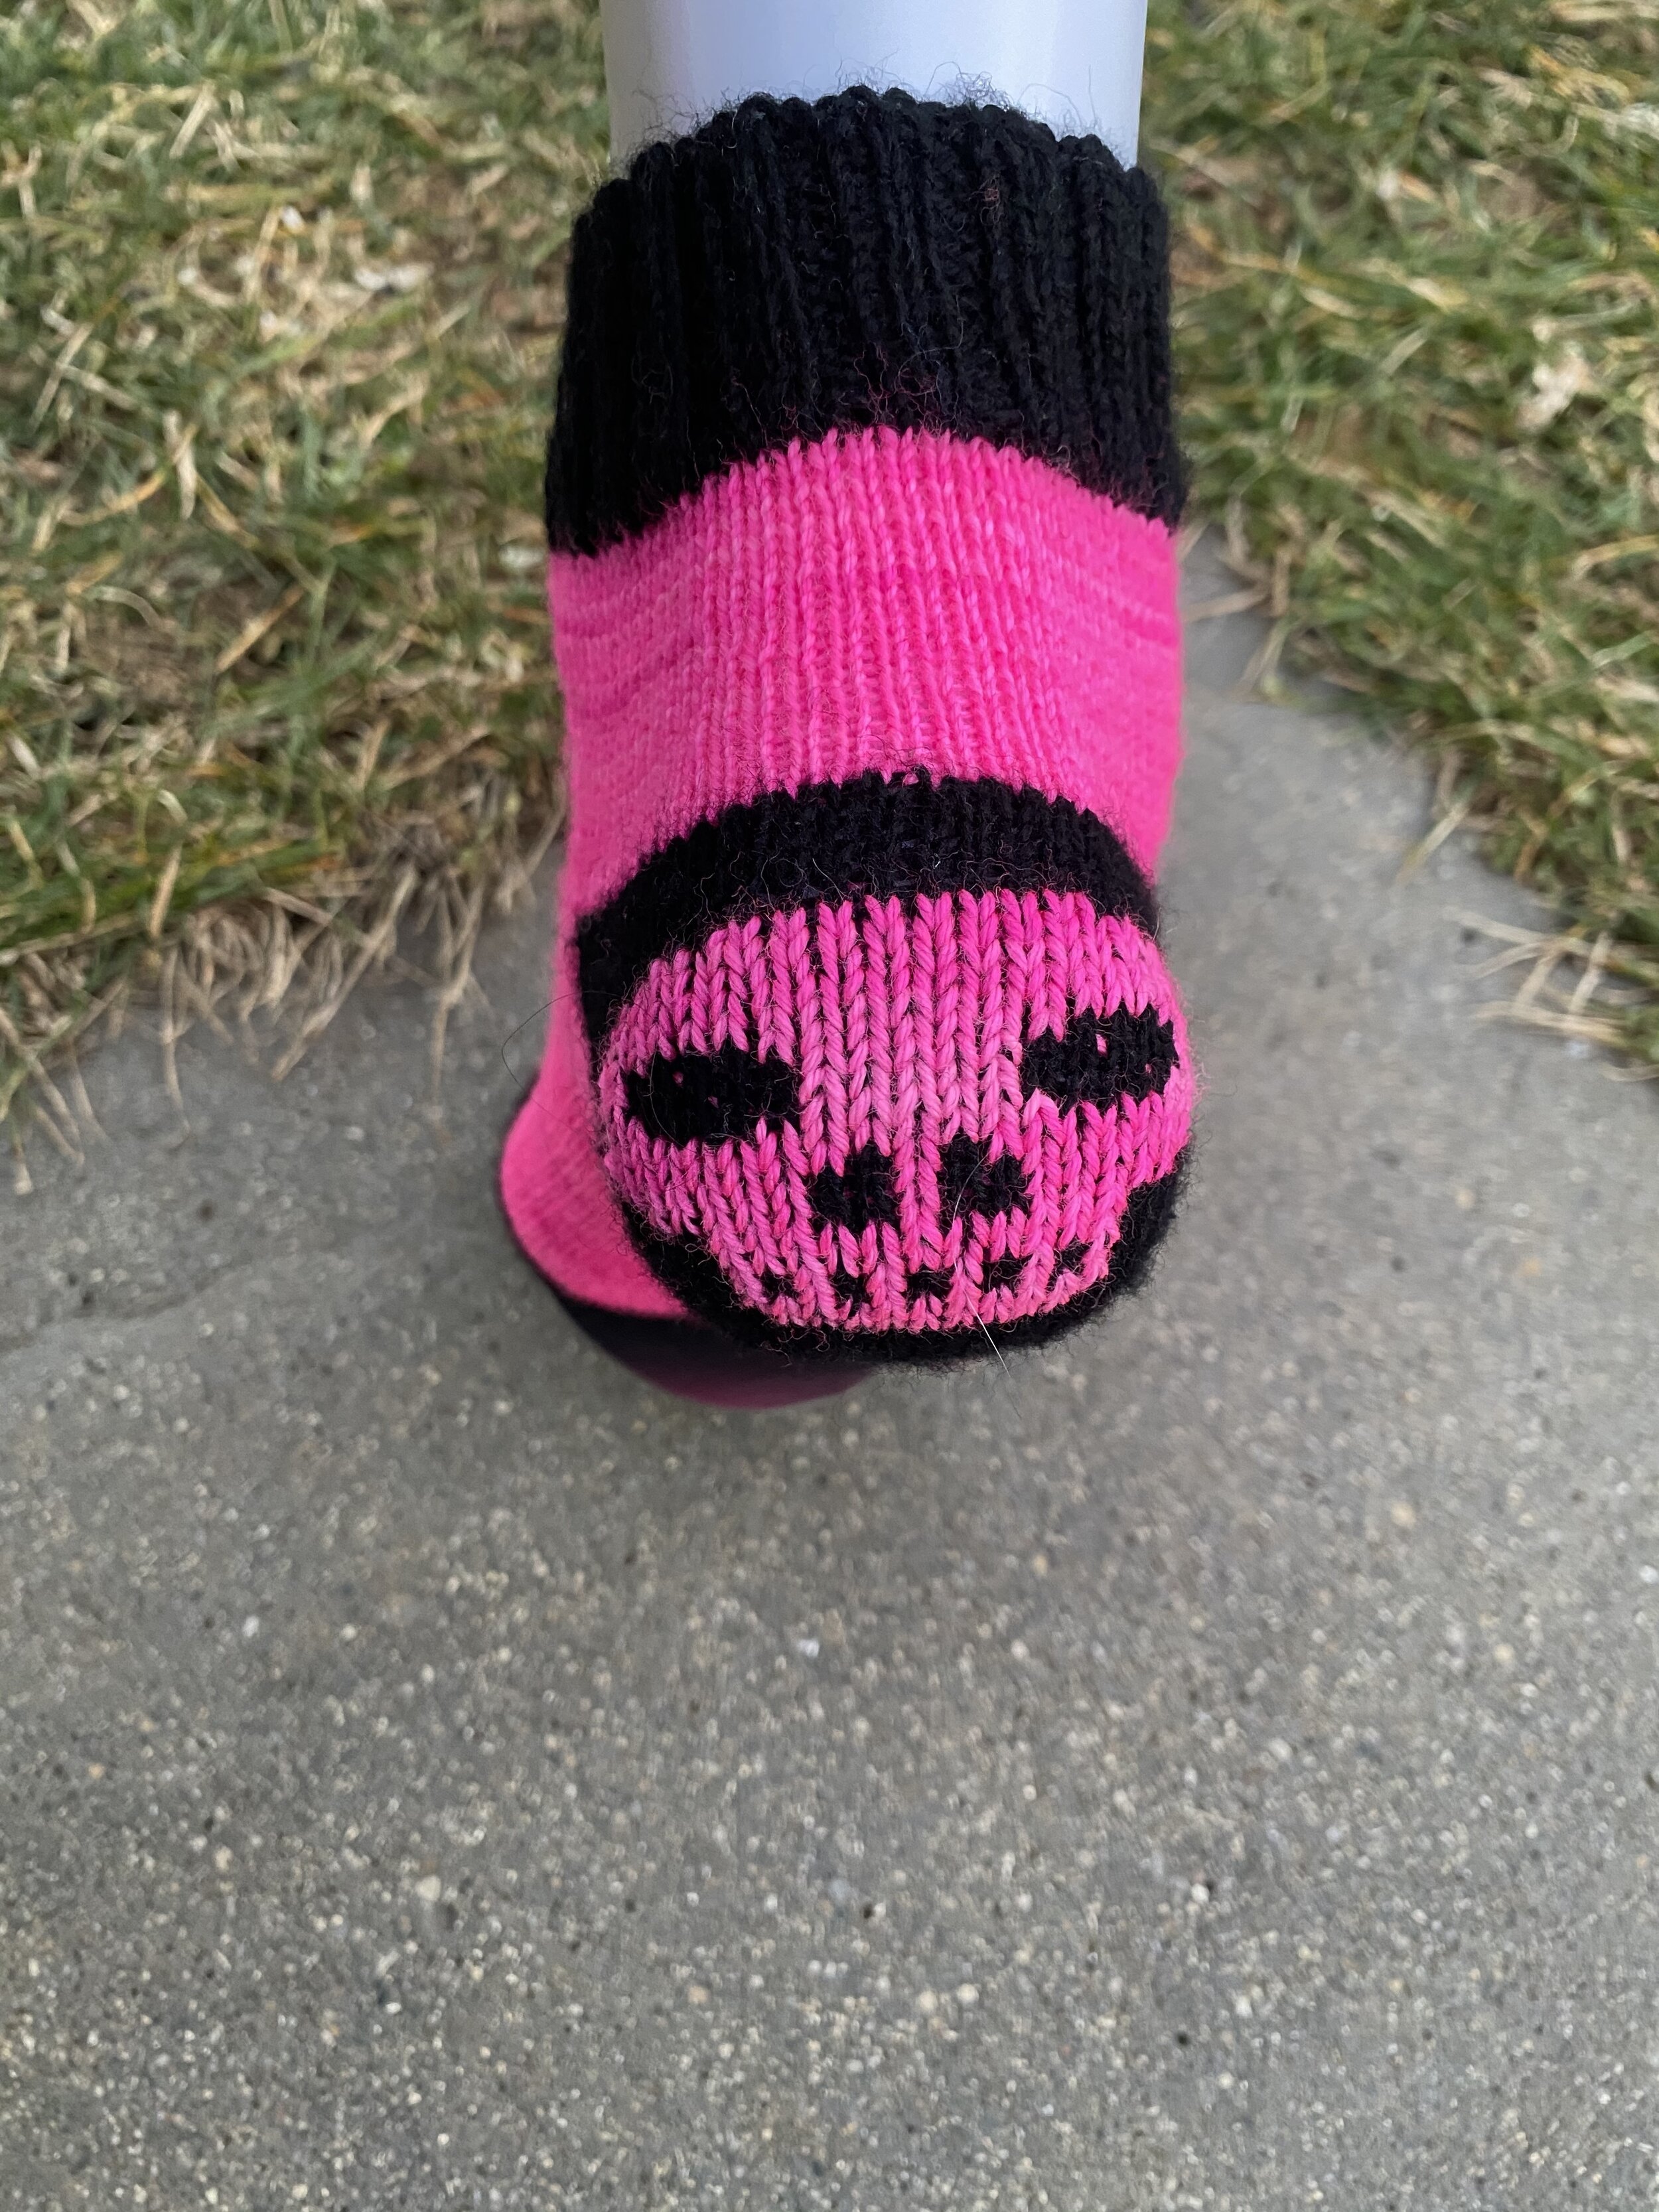
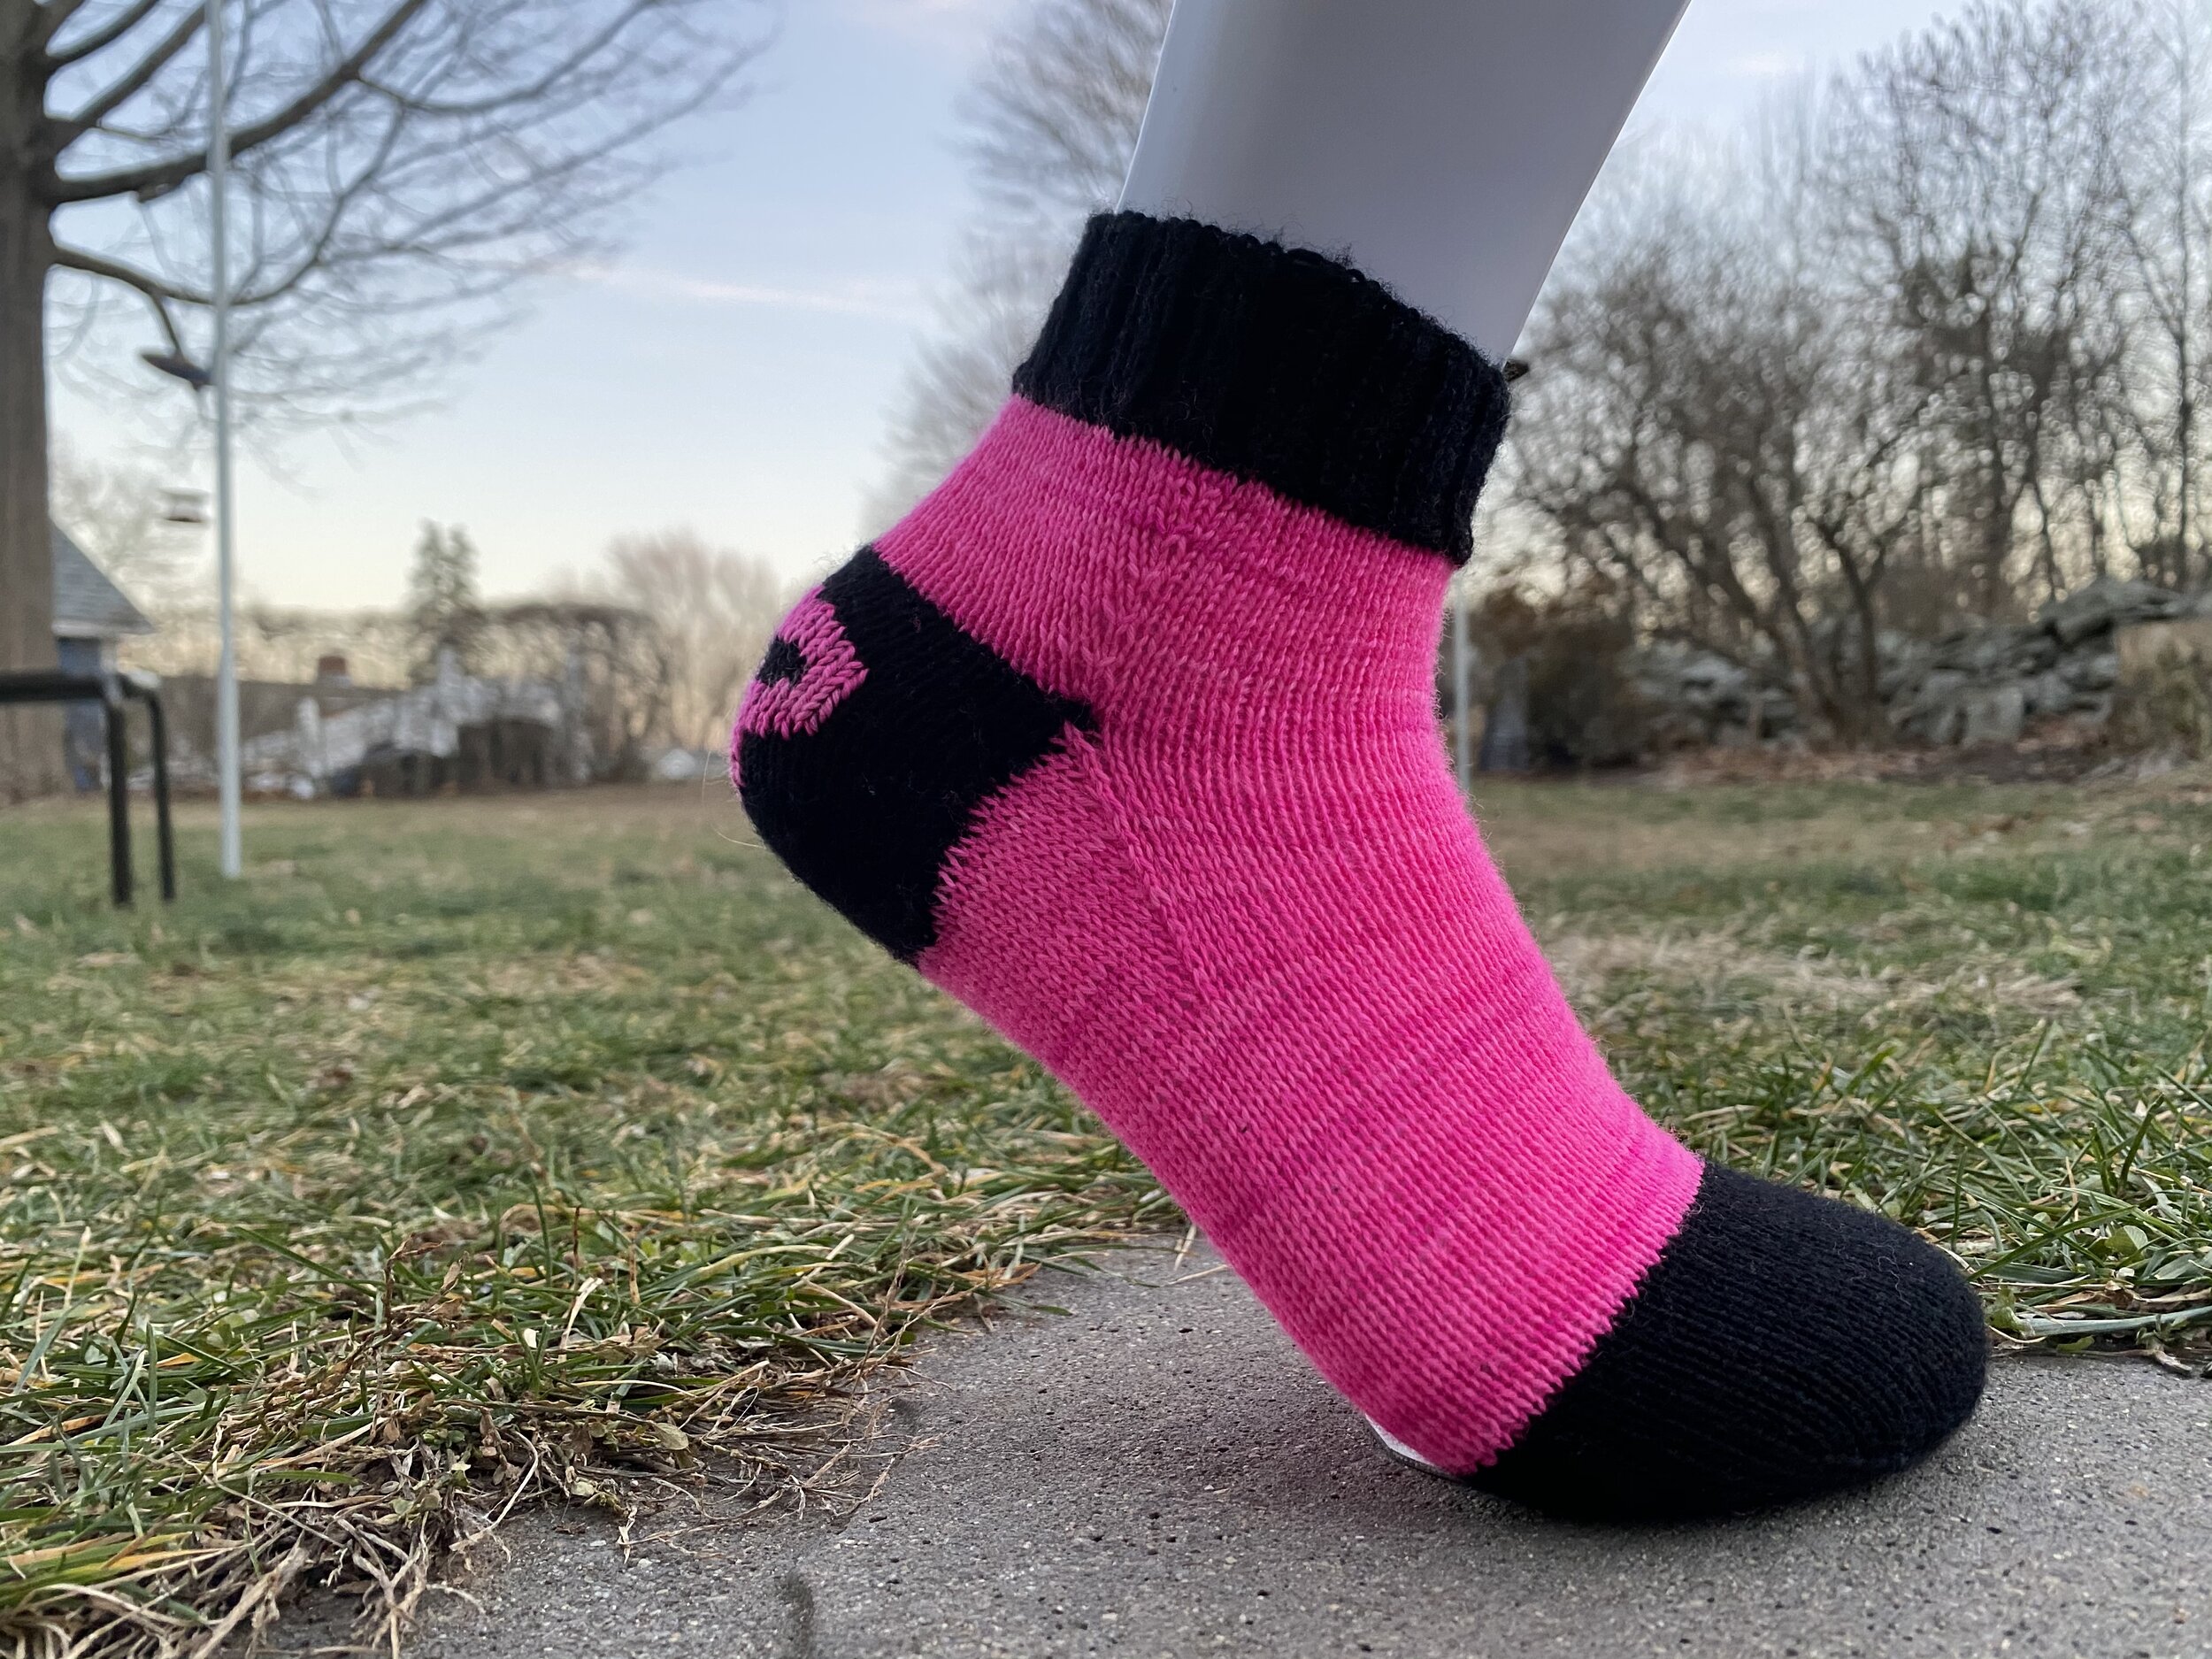
These cheerful little guys were for another friend, and similar to the bee socks, also involved duplicate stitch. It turns out that I’m not always good at following patterns. Like with this pattern. From the whole pattern, I only ended up using the chart for the skulls. Even the size of the heel flap is different. I did originally try to make the heel according to the pattern, but it unfortunately did not turn out well. Second try, using duplicate stitch, turned out great, even though the pink yarn is a bit finer than the black. To try and account for that, I cheated and had my mom knit the heel flaps for me, since she’s a super tight knitter. I think we even went down a needle size. We debated using different yarns and techniques, but we both really loved the contrast between the hot pink and true black.
bee socks!
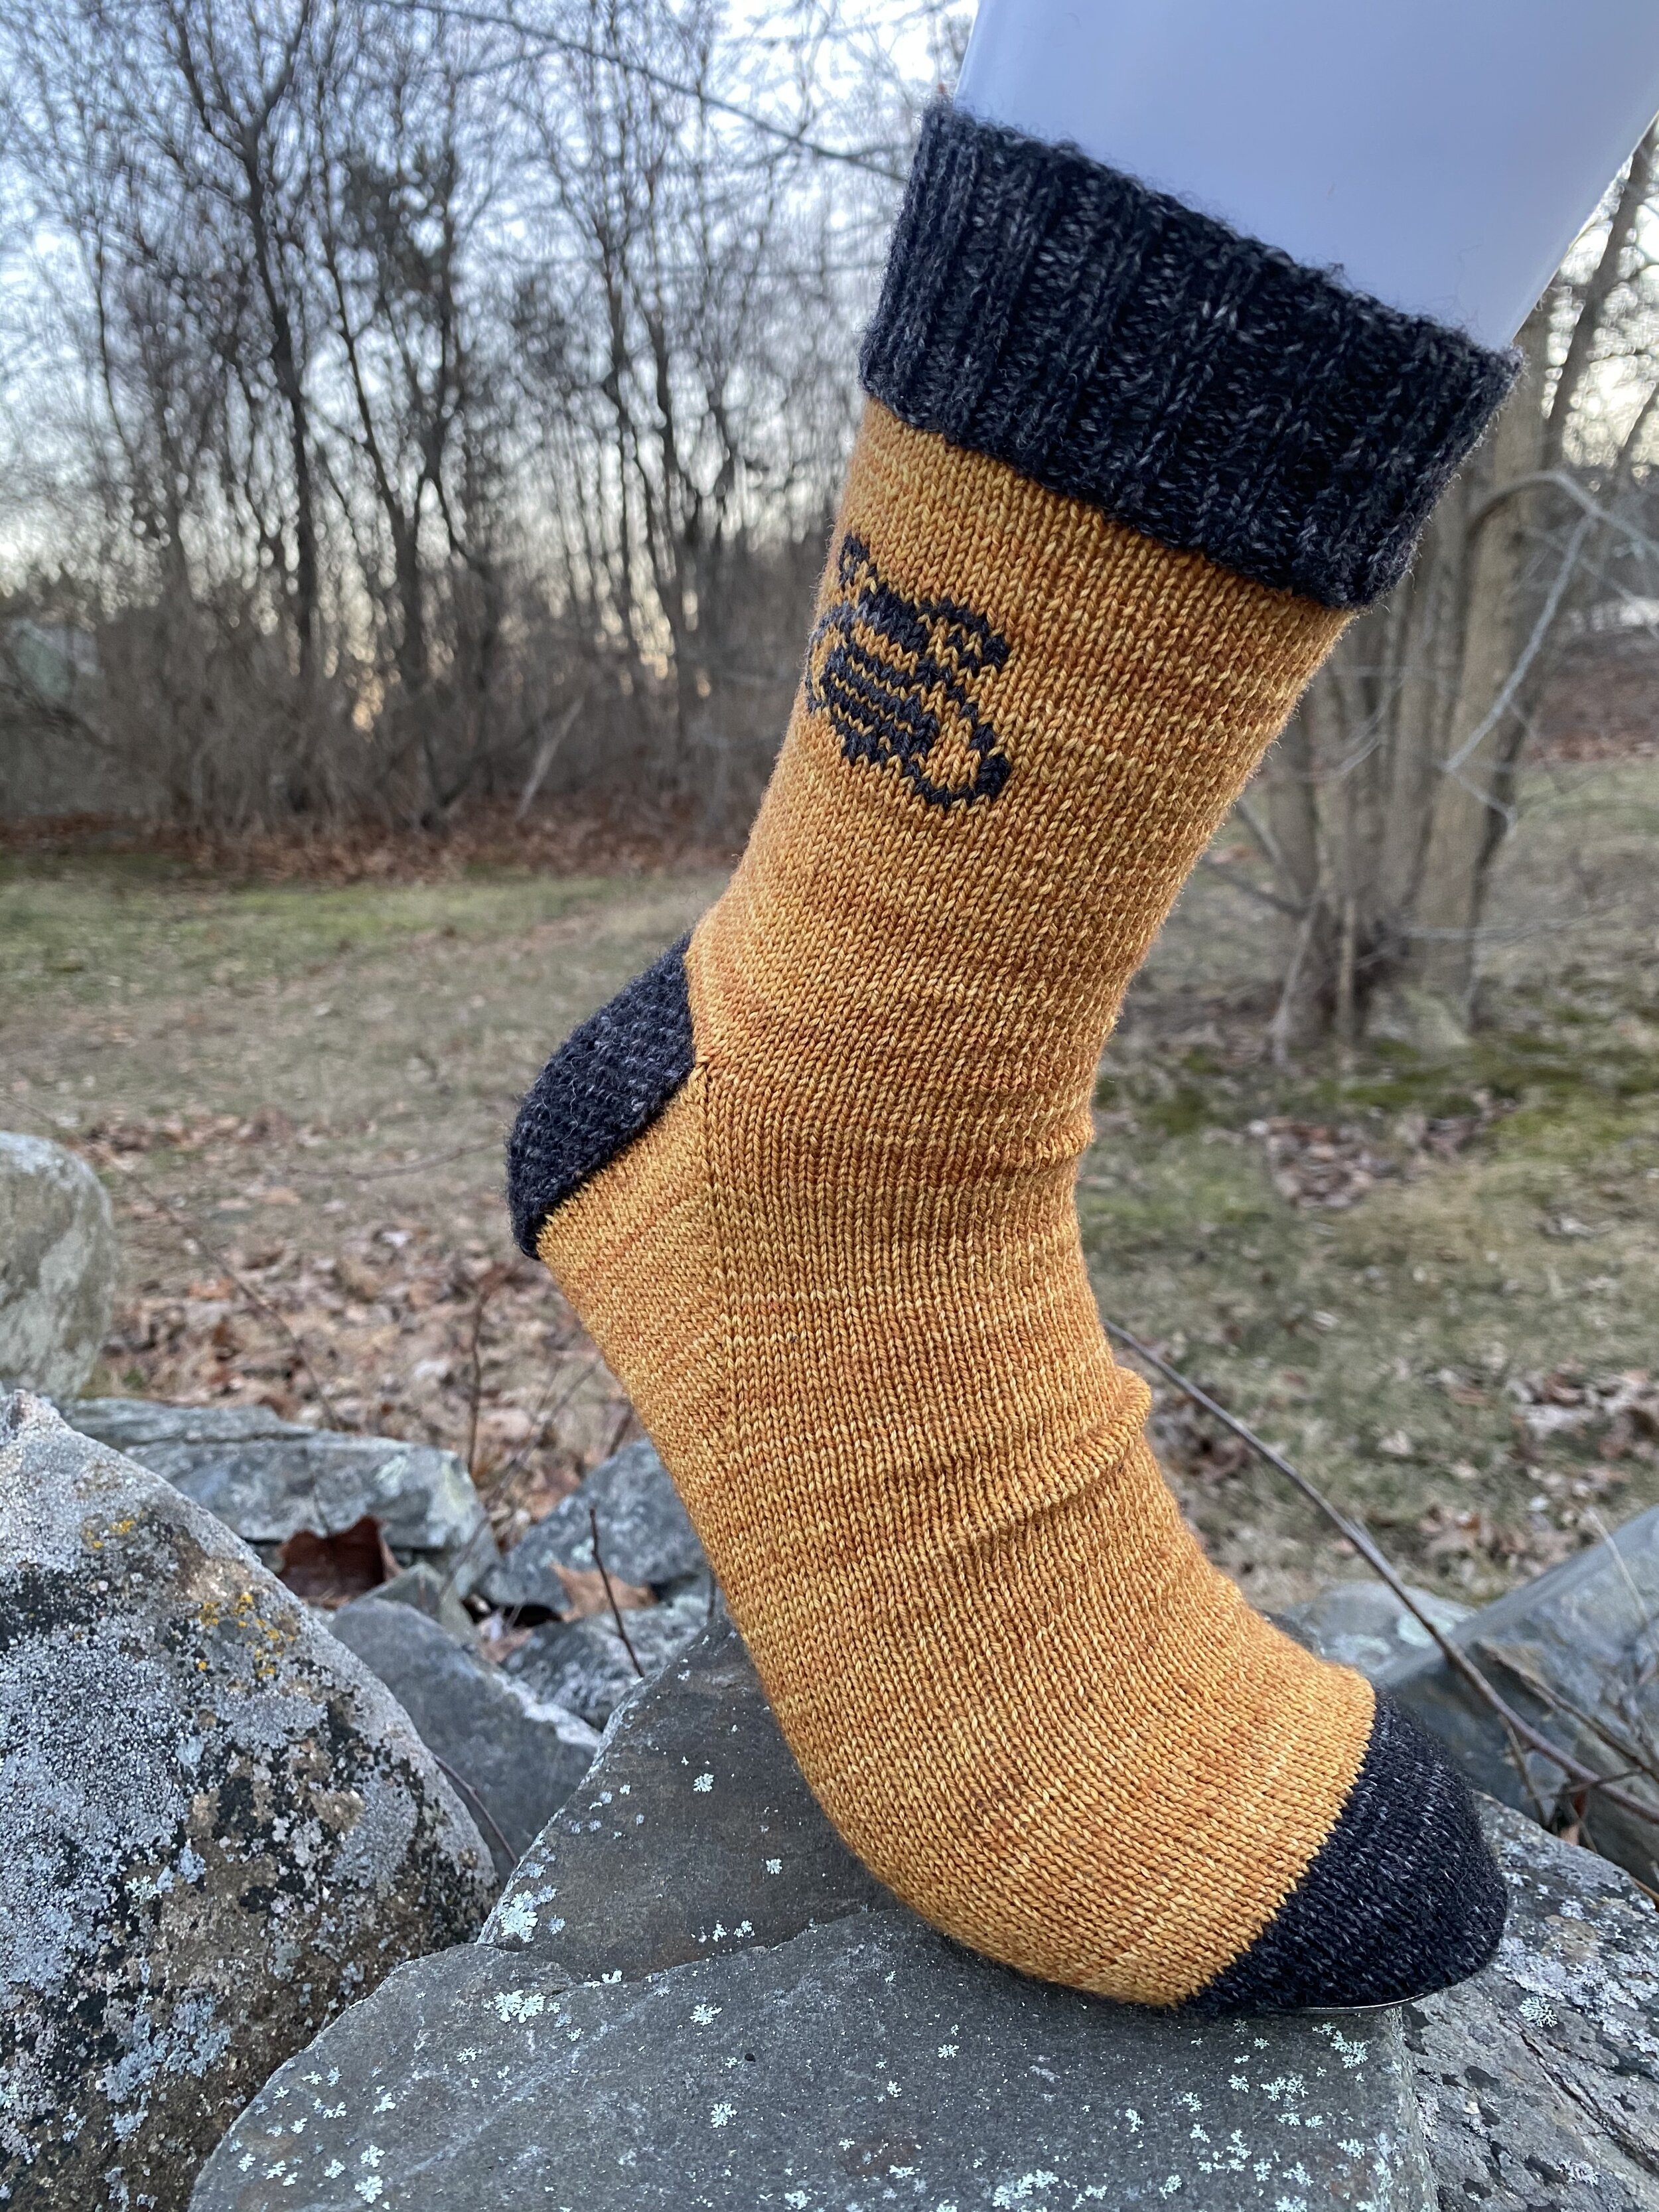
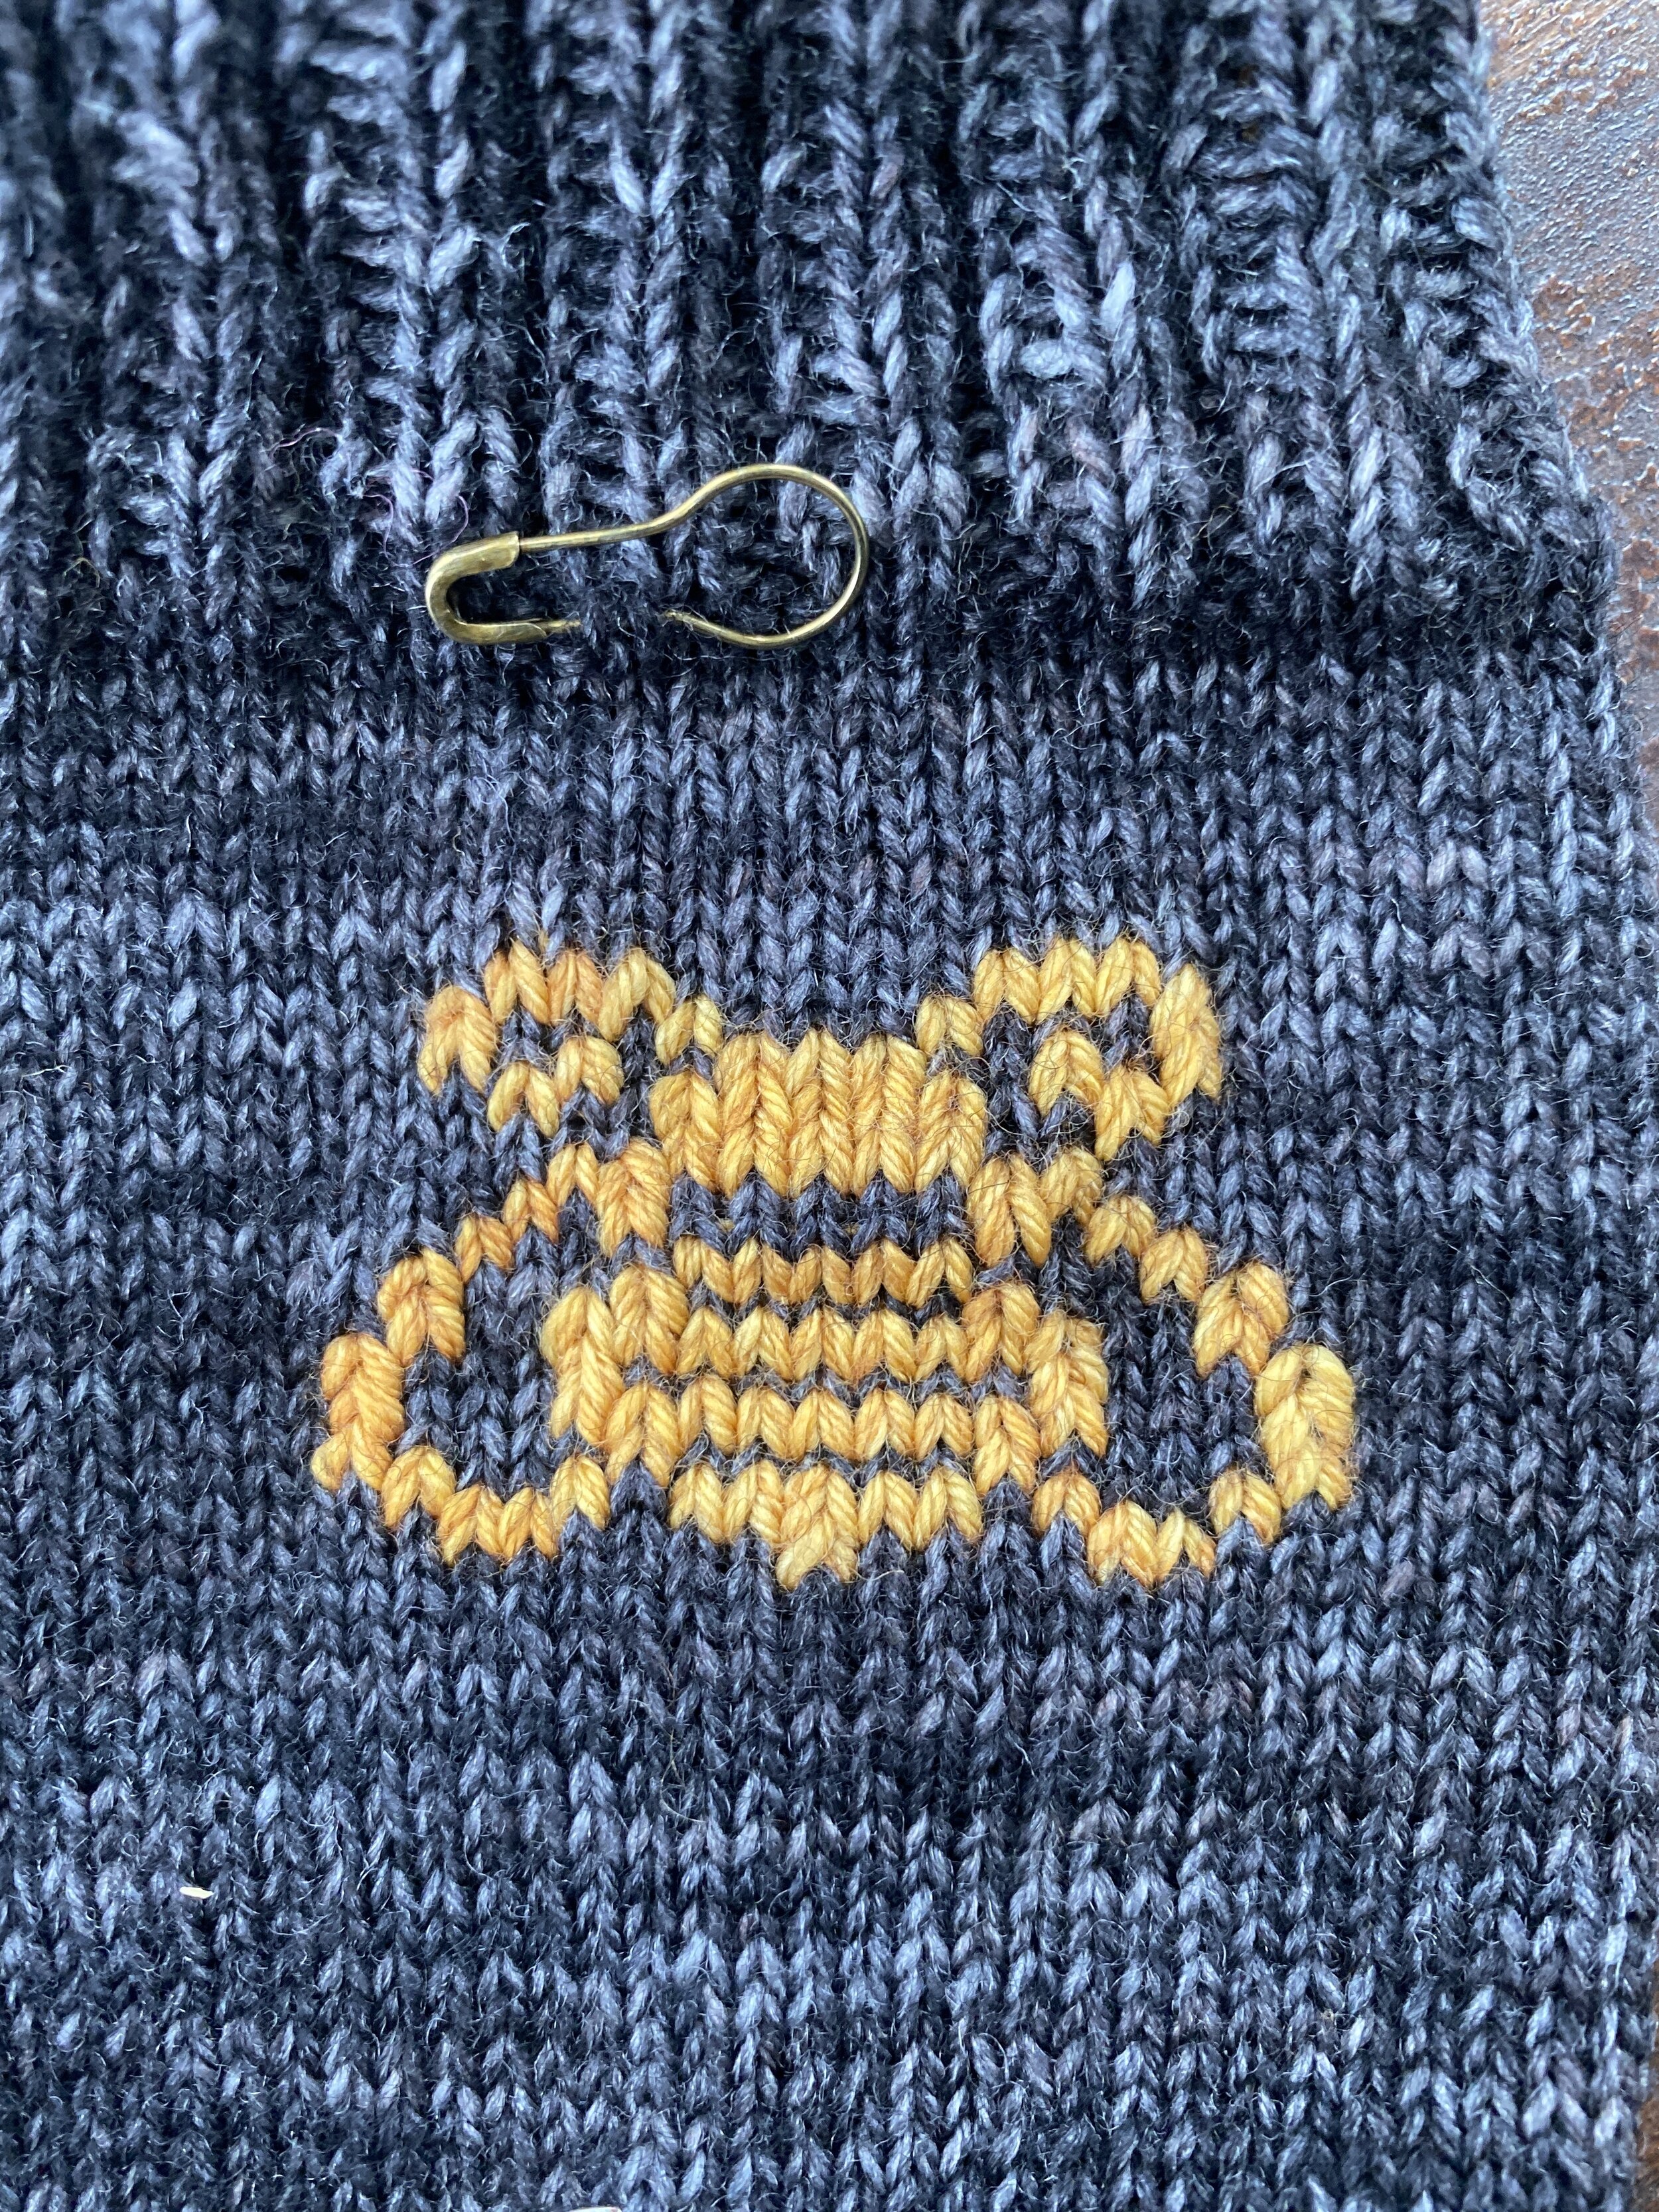
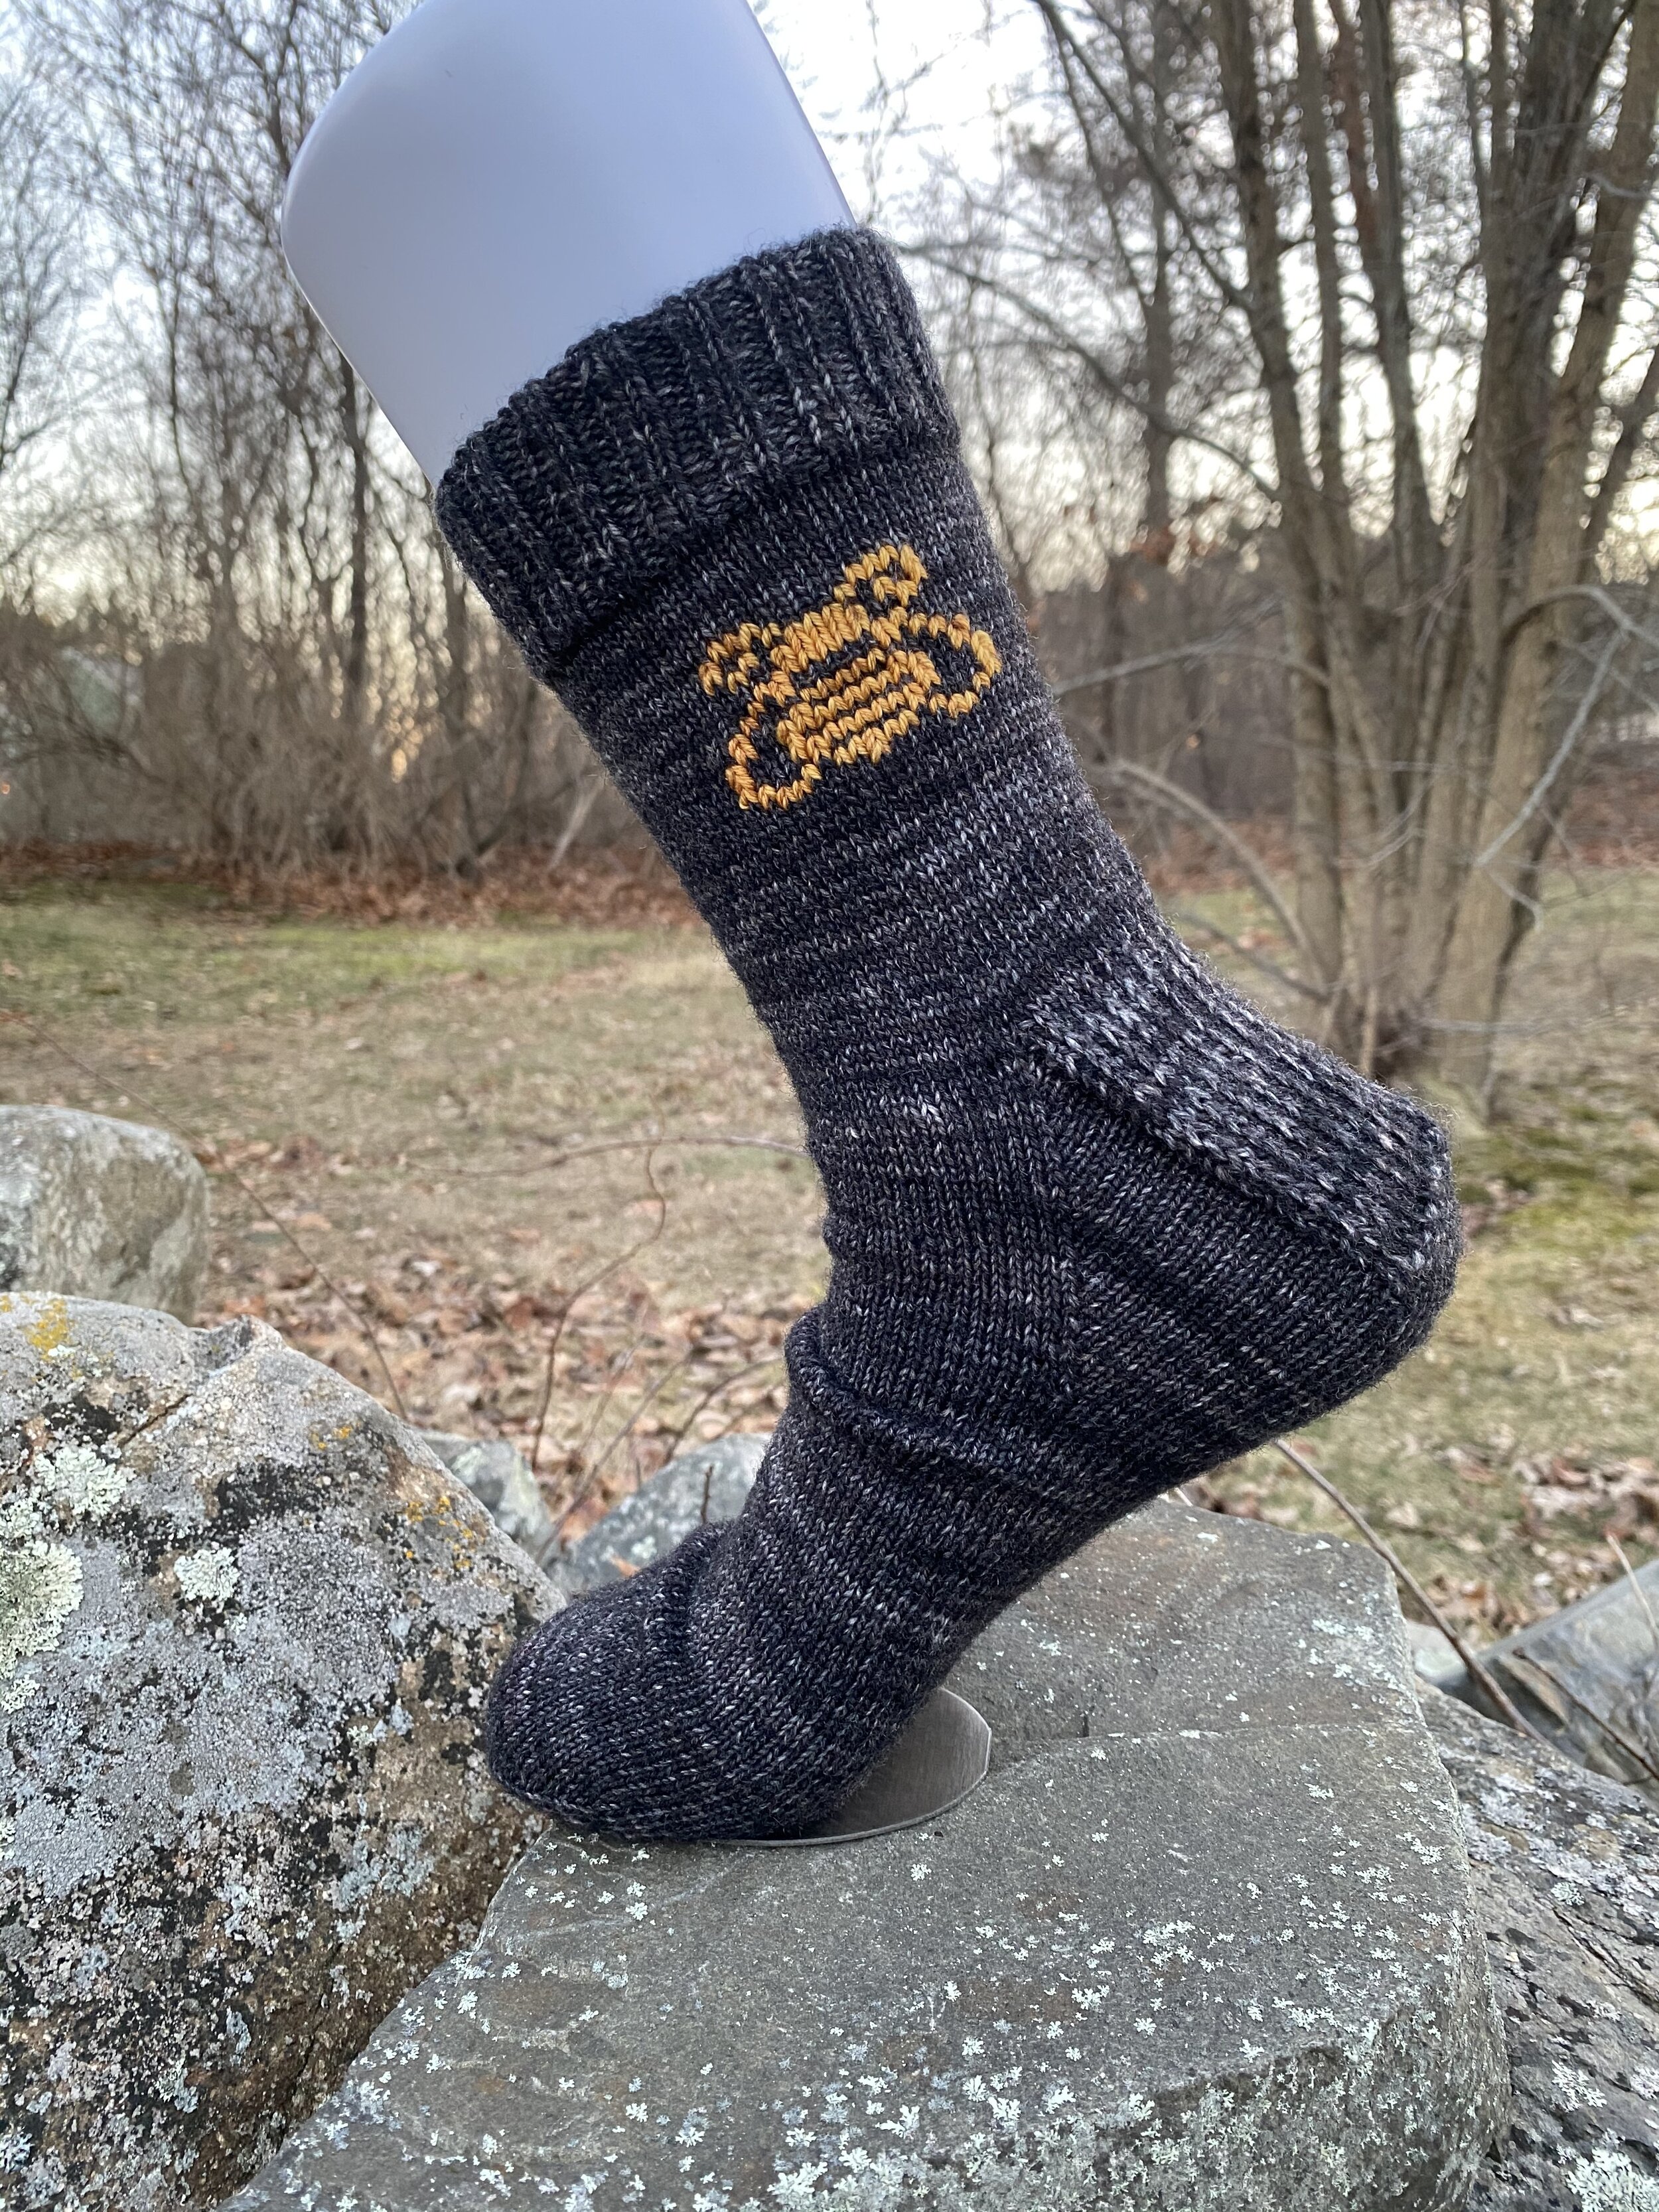
Two pairs of bee socks, for two different friends. One really likes bees, and the other just studied them for years and wrote a dissertation on them… These socks may look familiar, and that’s because I did a very similar pair just over a year ago, but those had four bees dancing their way around the top, while these pairs only have two bees per sock. I still haven’t mastered perfect colorwork, so I decided that duplicate stitch would give me a more even and stretchy fabric. Turns out though that eight bees is a fair amount of duplicate stitched bees! It was a bit tricky in that the yellow is a finer yarn than the black, so while the black bees on a yellow background works perfectly, I found I had to double my yellow yarn when stitching onto the black background.
Other than the duplicate stitched bees, these are fairly standard socks, with nothing particularly fancy. I really like these two colors for bees-the dark grey is a Knitpicks Muse, which works well since it isn’t a solid color, and has some variegation. The golden yellow color is called spicy caramel from ND yarn company, and is exactly the shade I wanted for these!
tiger eye lace socks
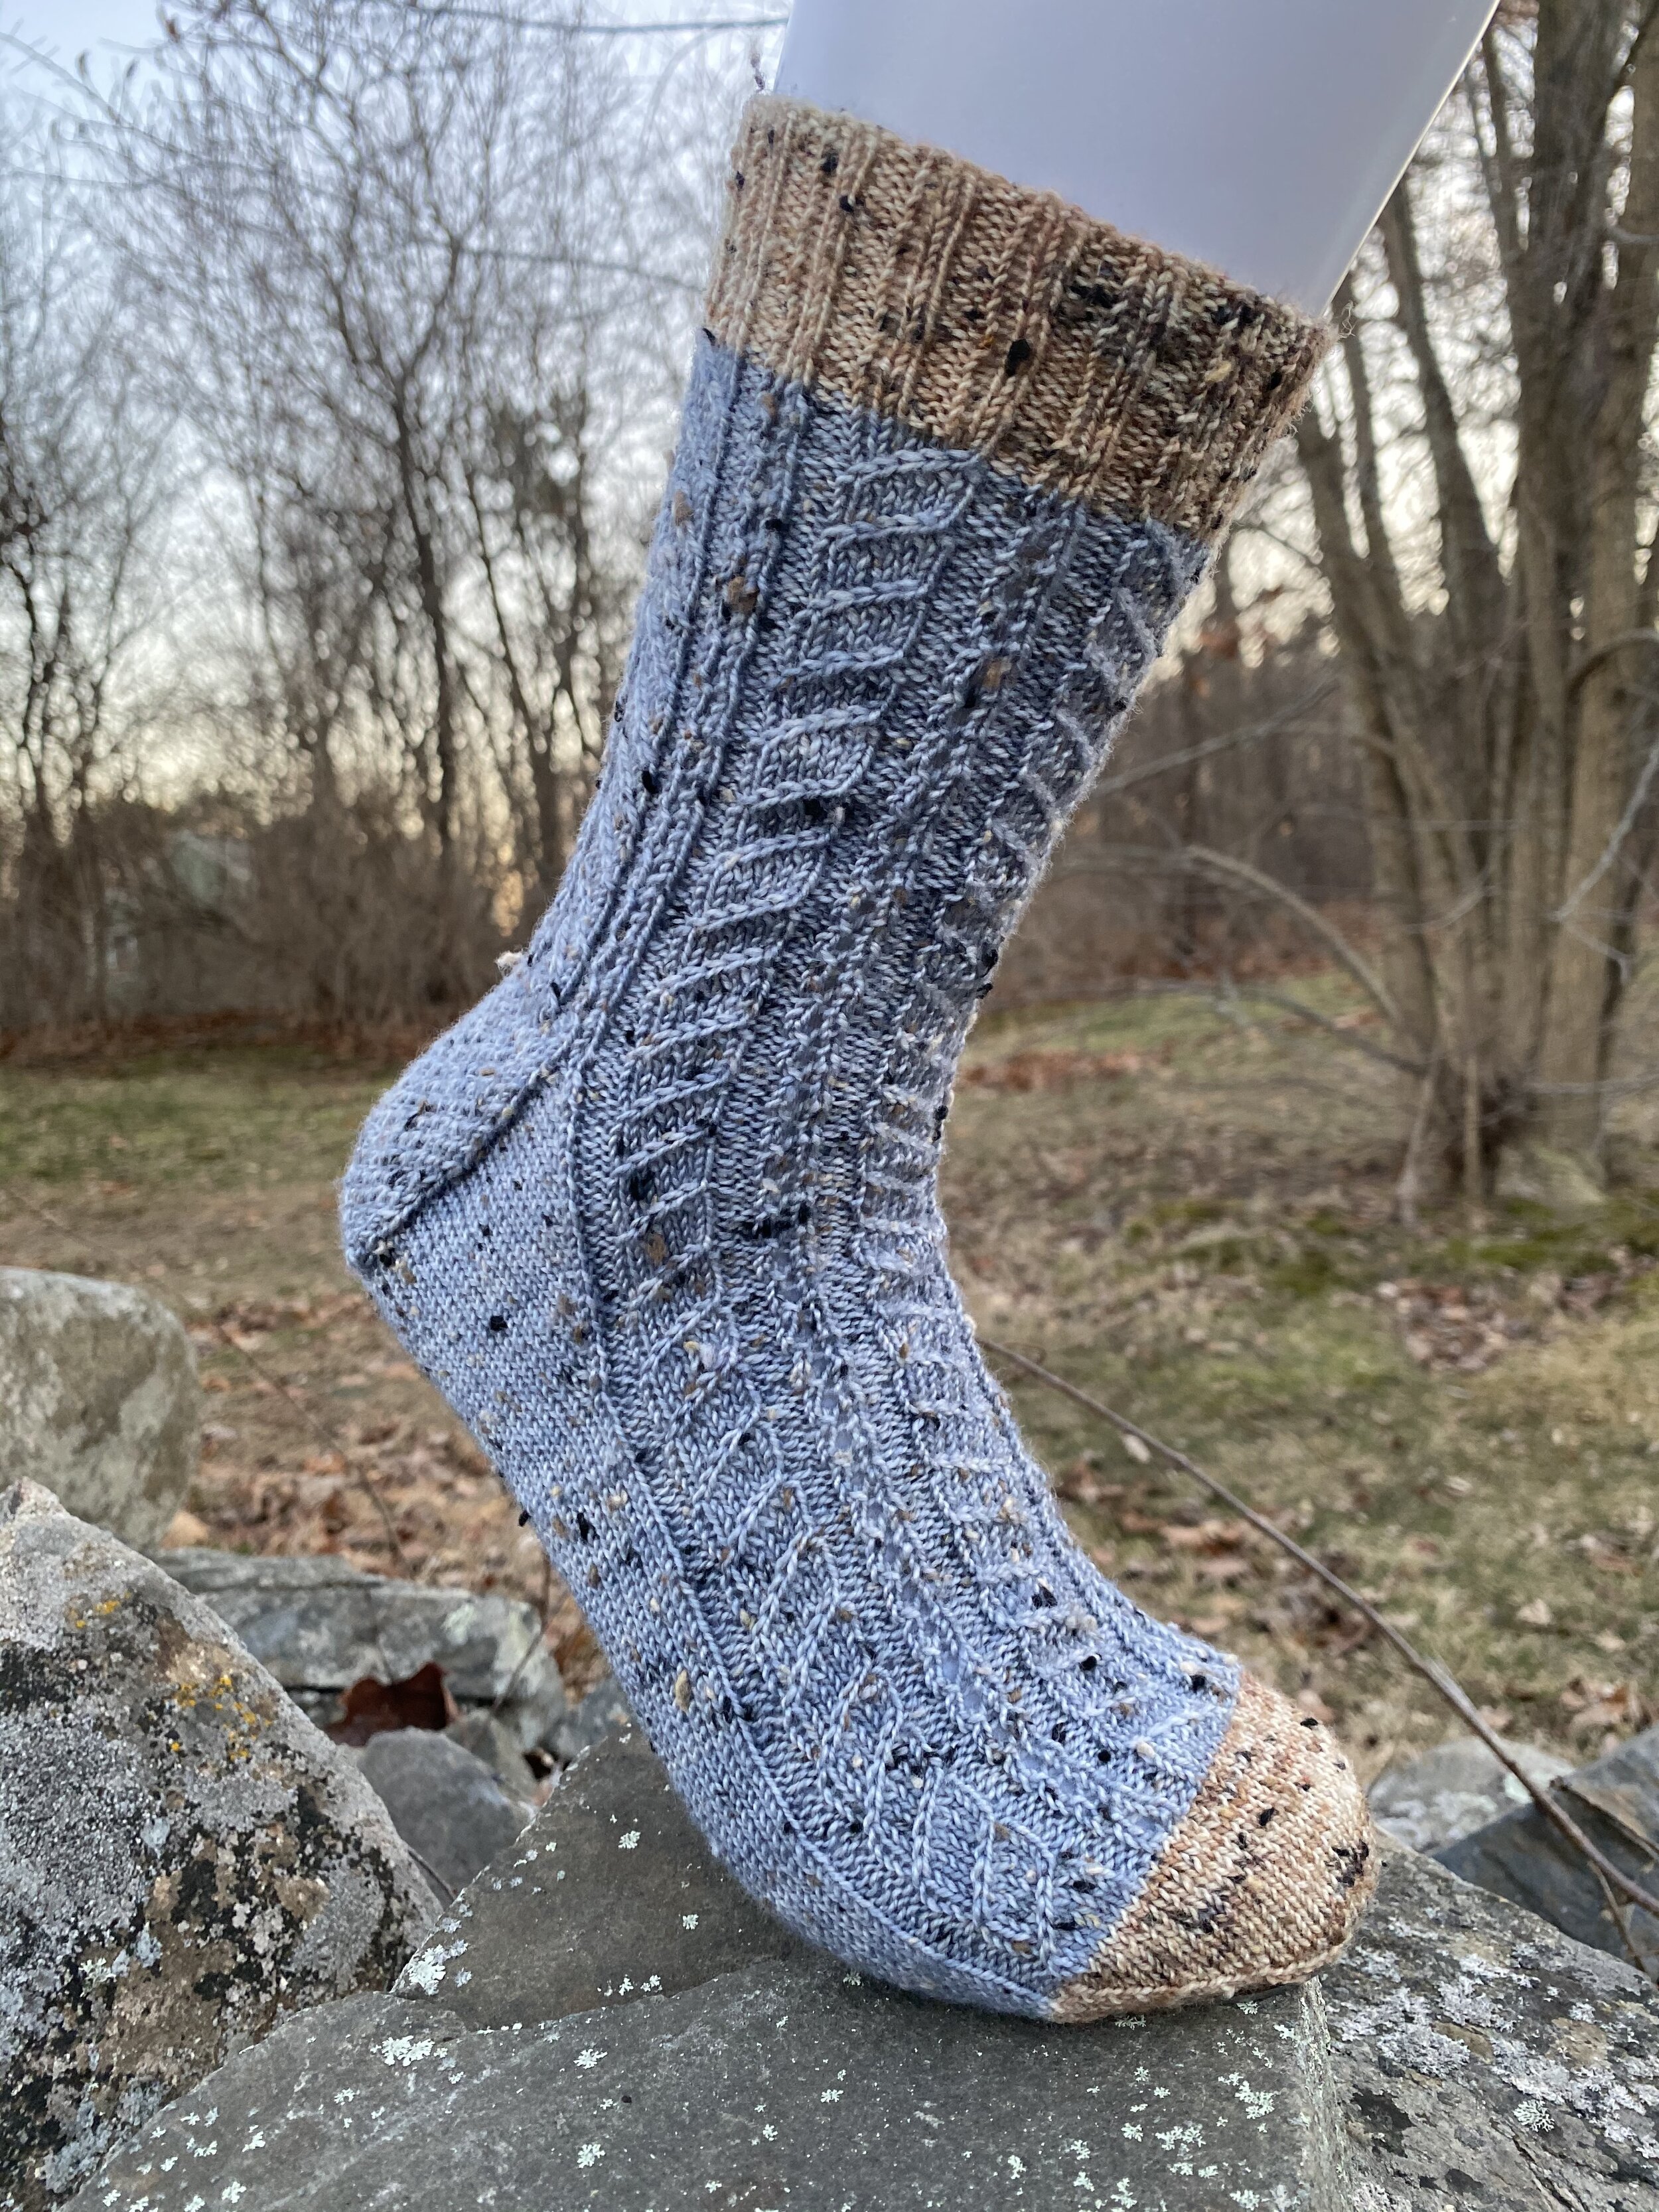
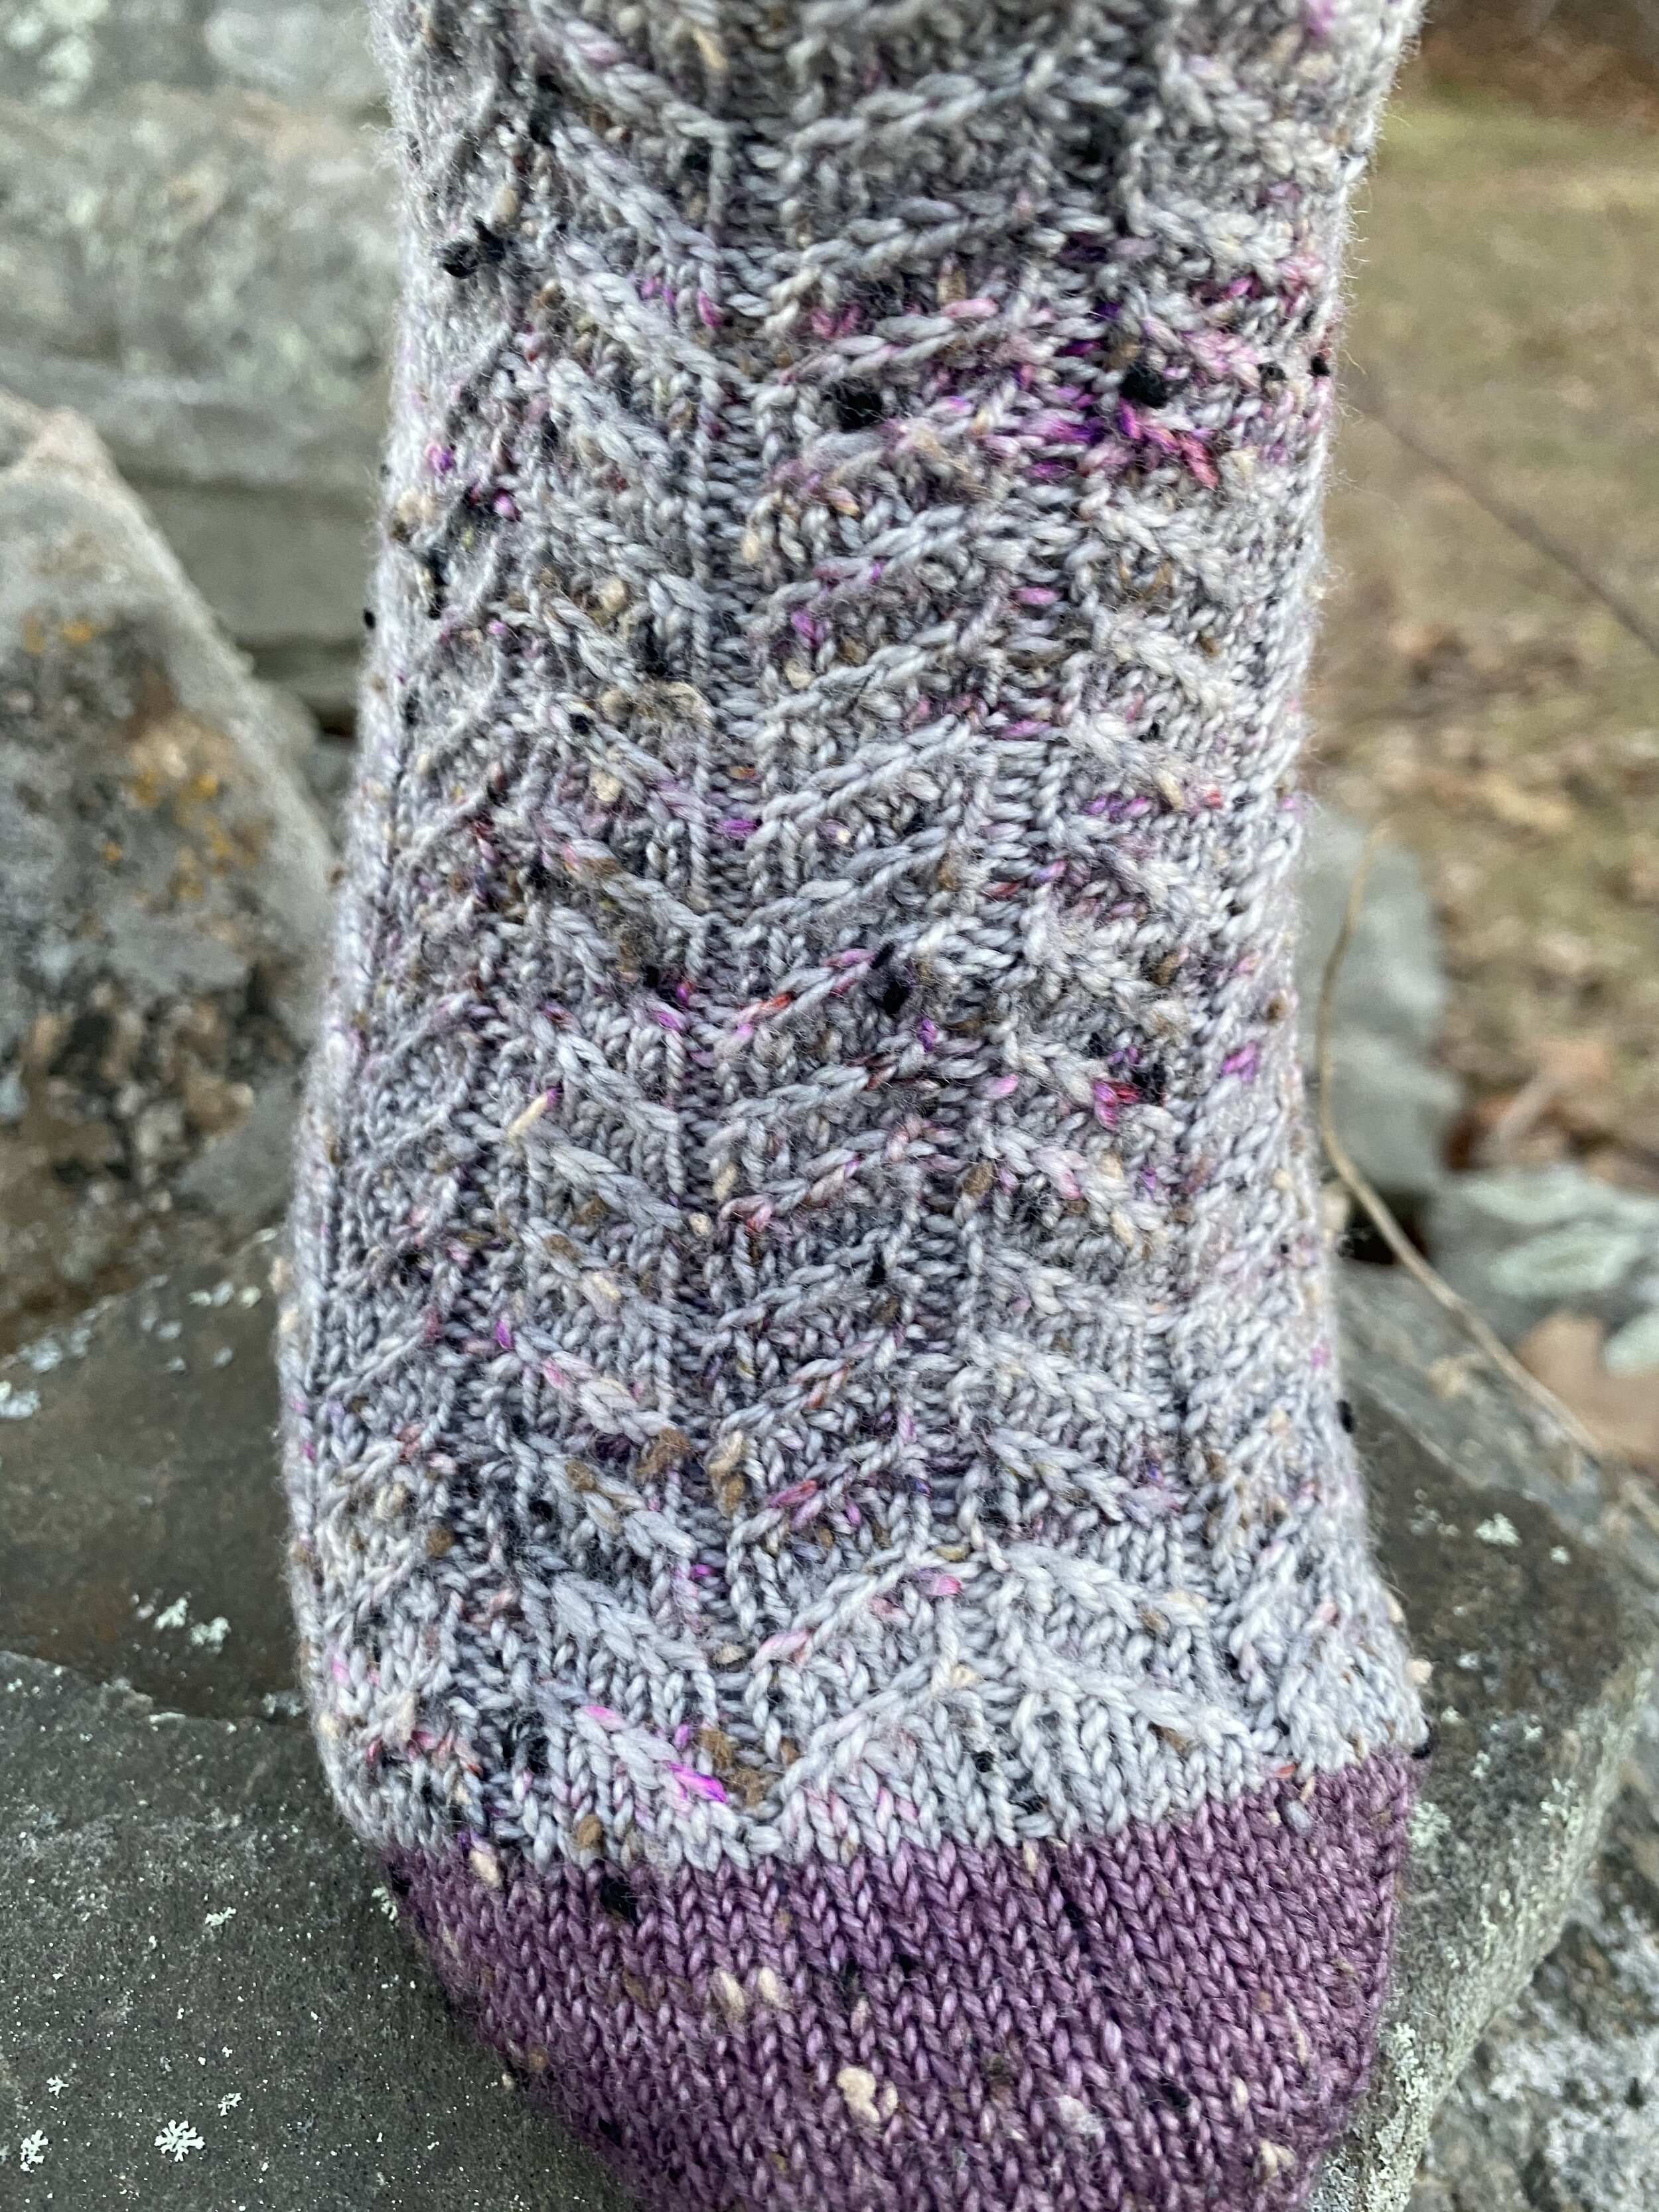
My third and final pair of tôt le matin socks for 2020. With these I decided to try a more open lace pattern. When rotated 180 it’s supposed to look like the eyes of tigers, but I think from this direction it looks a bit more like church steeples. I really fought with this pair of socks, and it went into time-out a few times. I kept trying to knit these while doing other things, and would end up with a different number of stitches. Part of that is the lace pattern itself-on the cuff there are large open holes made from multiple side-by-side yarnovers, which change the stitch count each row. On the foot I modified the lace pattern to have smaller holes there, so there were only two yarnovers next to each other on the foot.
On the whole I’m happy with how they turned out, though I’m not sure I’d use this pattern again. I think I’d need to come up with something more interesting for the sides of the sock, as to me they look a bit odd and boring from a side on view. I really wanted to try a larger lace pattern though, and I plan to use some more wider lace patterns on future socks. There are so many cool lace patterns out there, it seems a shame to limit myself to ones with 20 stitches or fewer!
blue tweedy socks
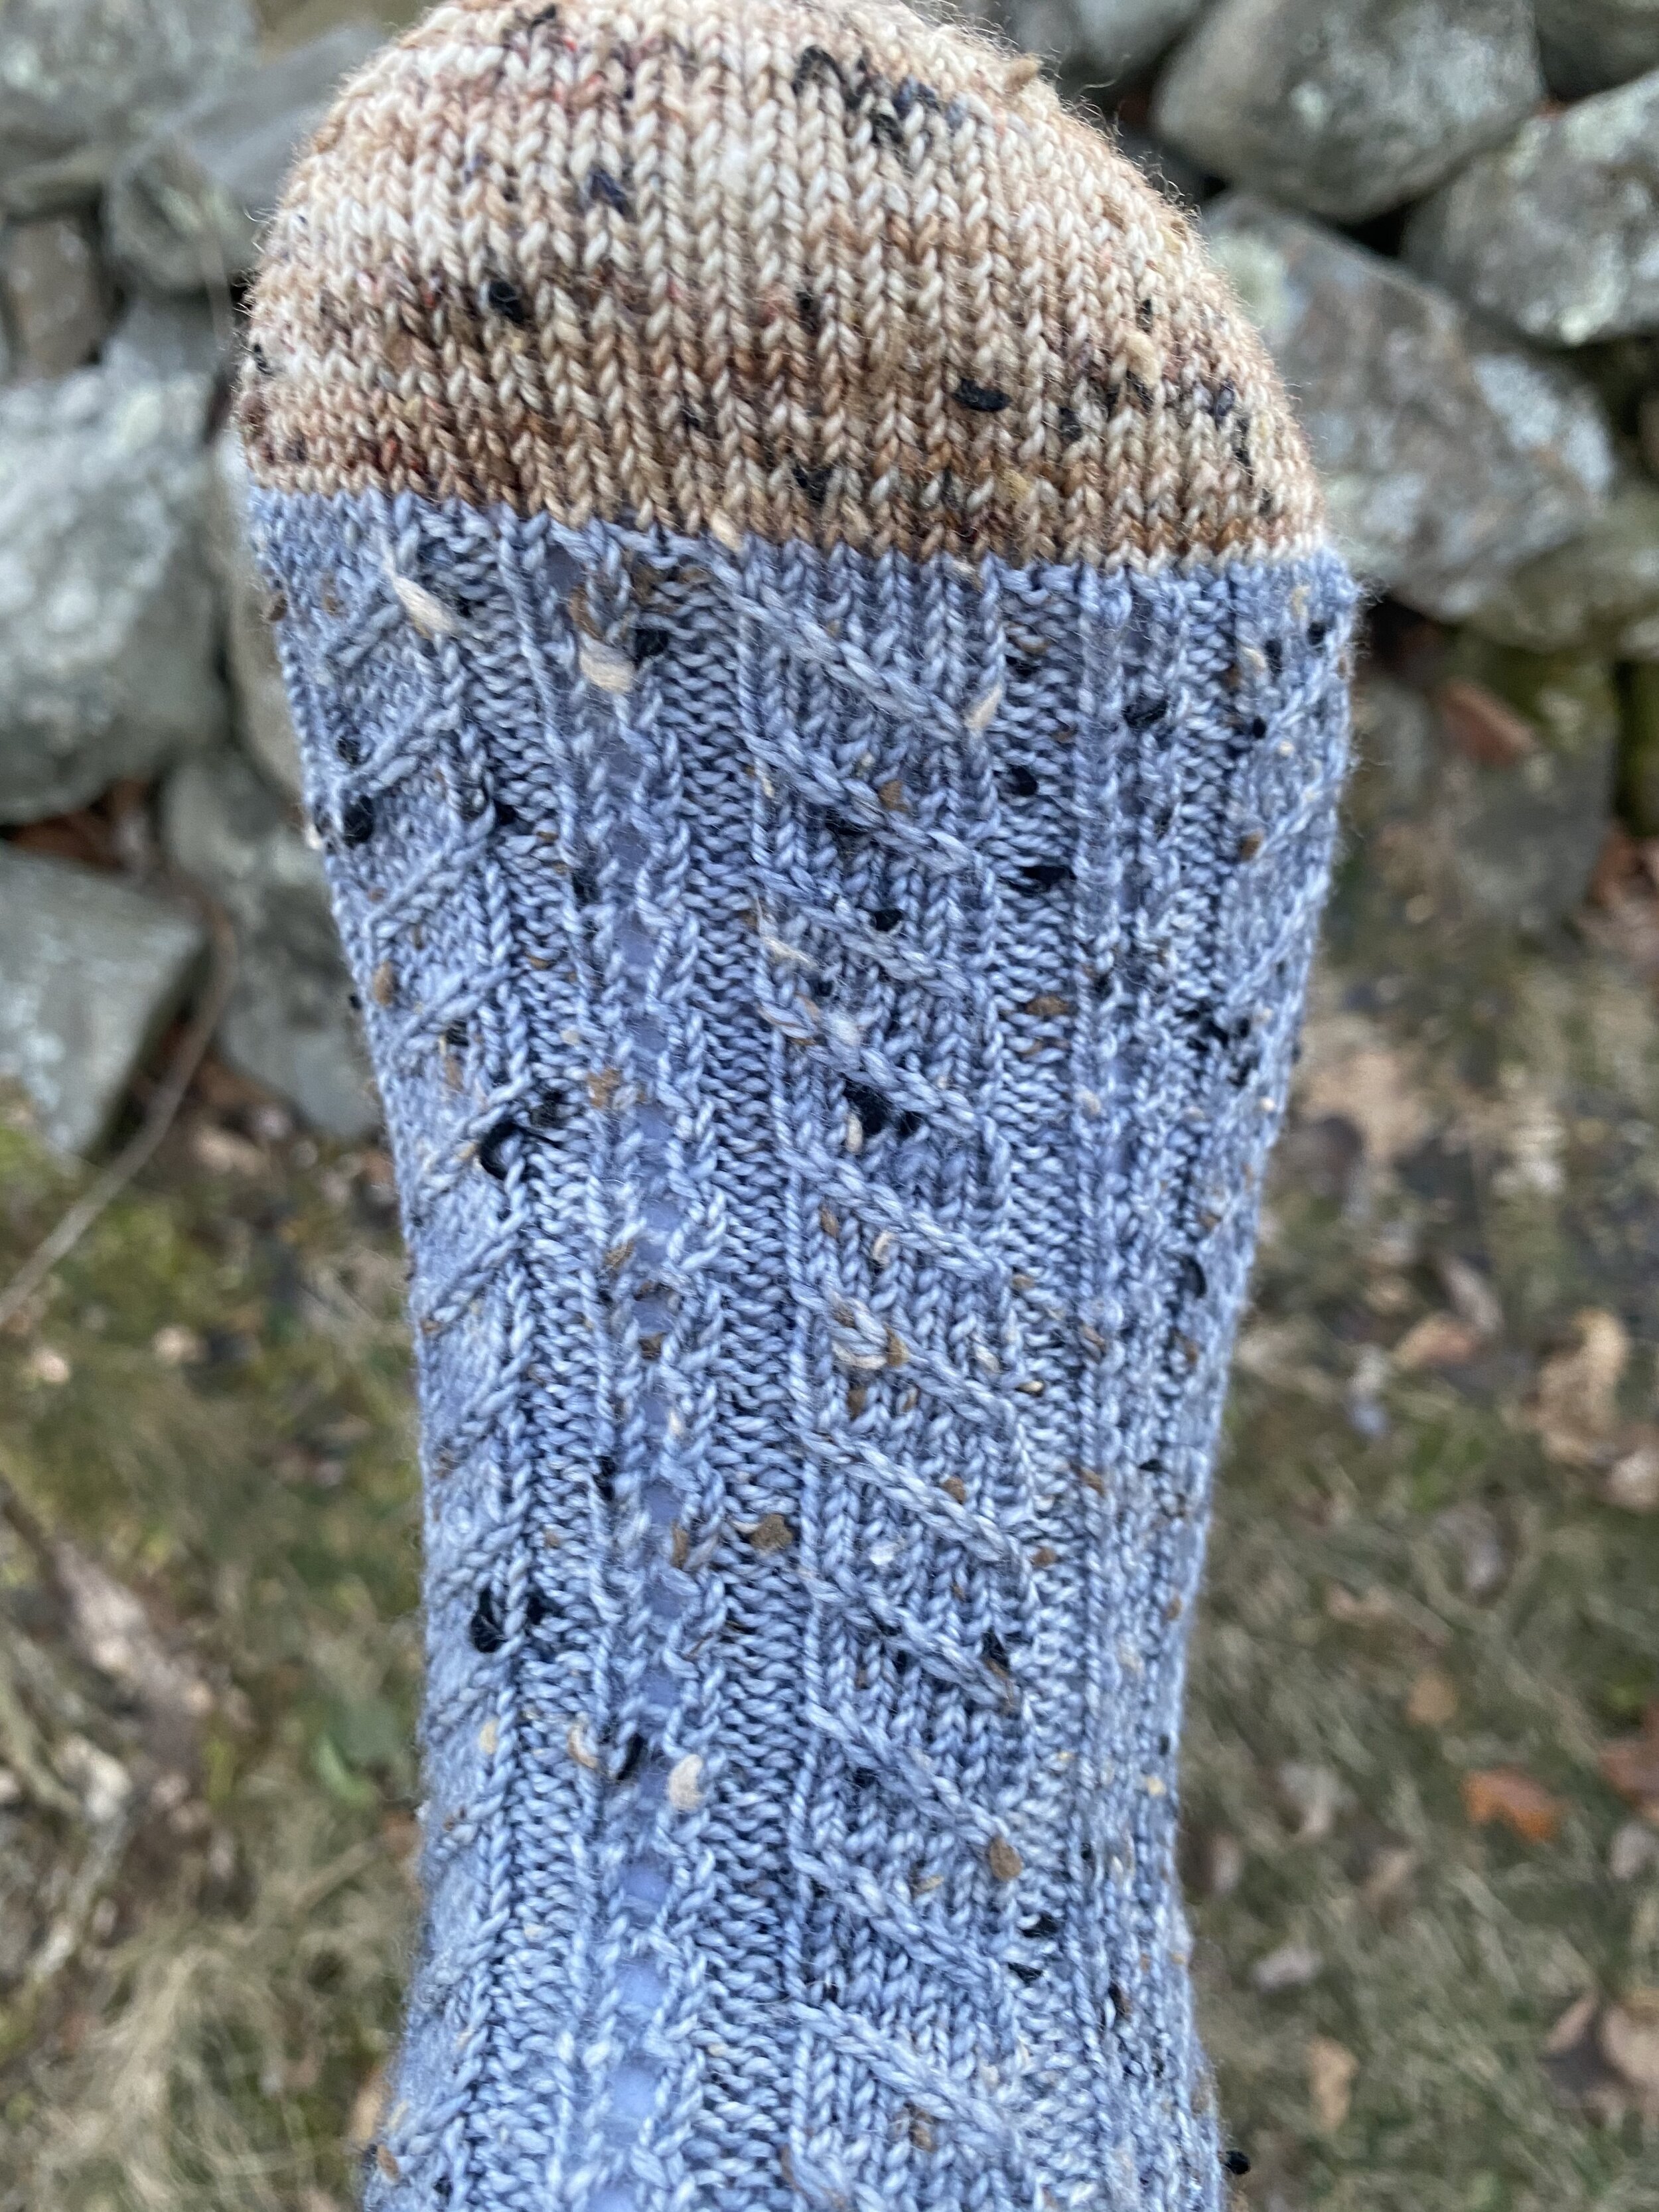
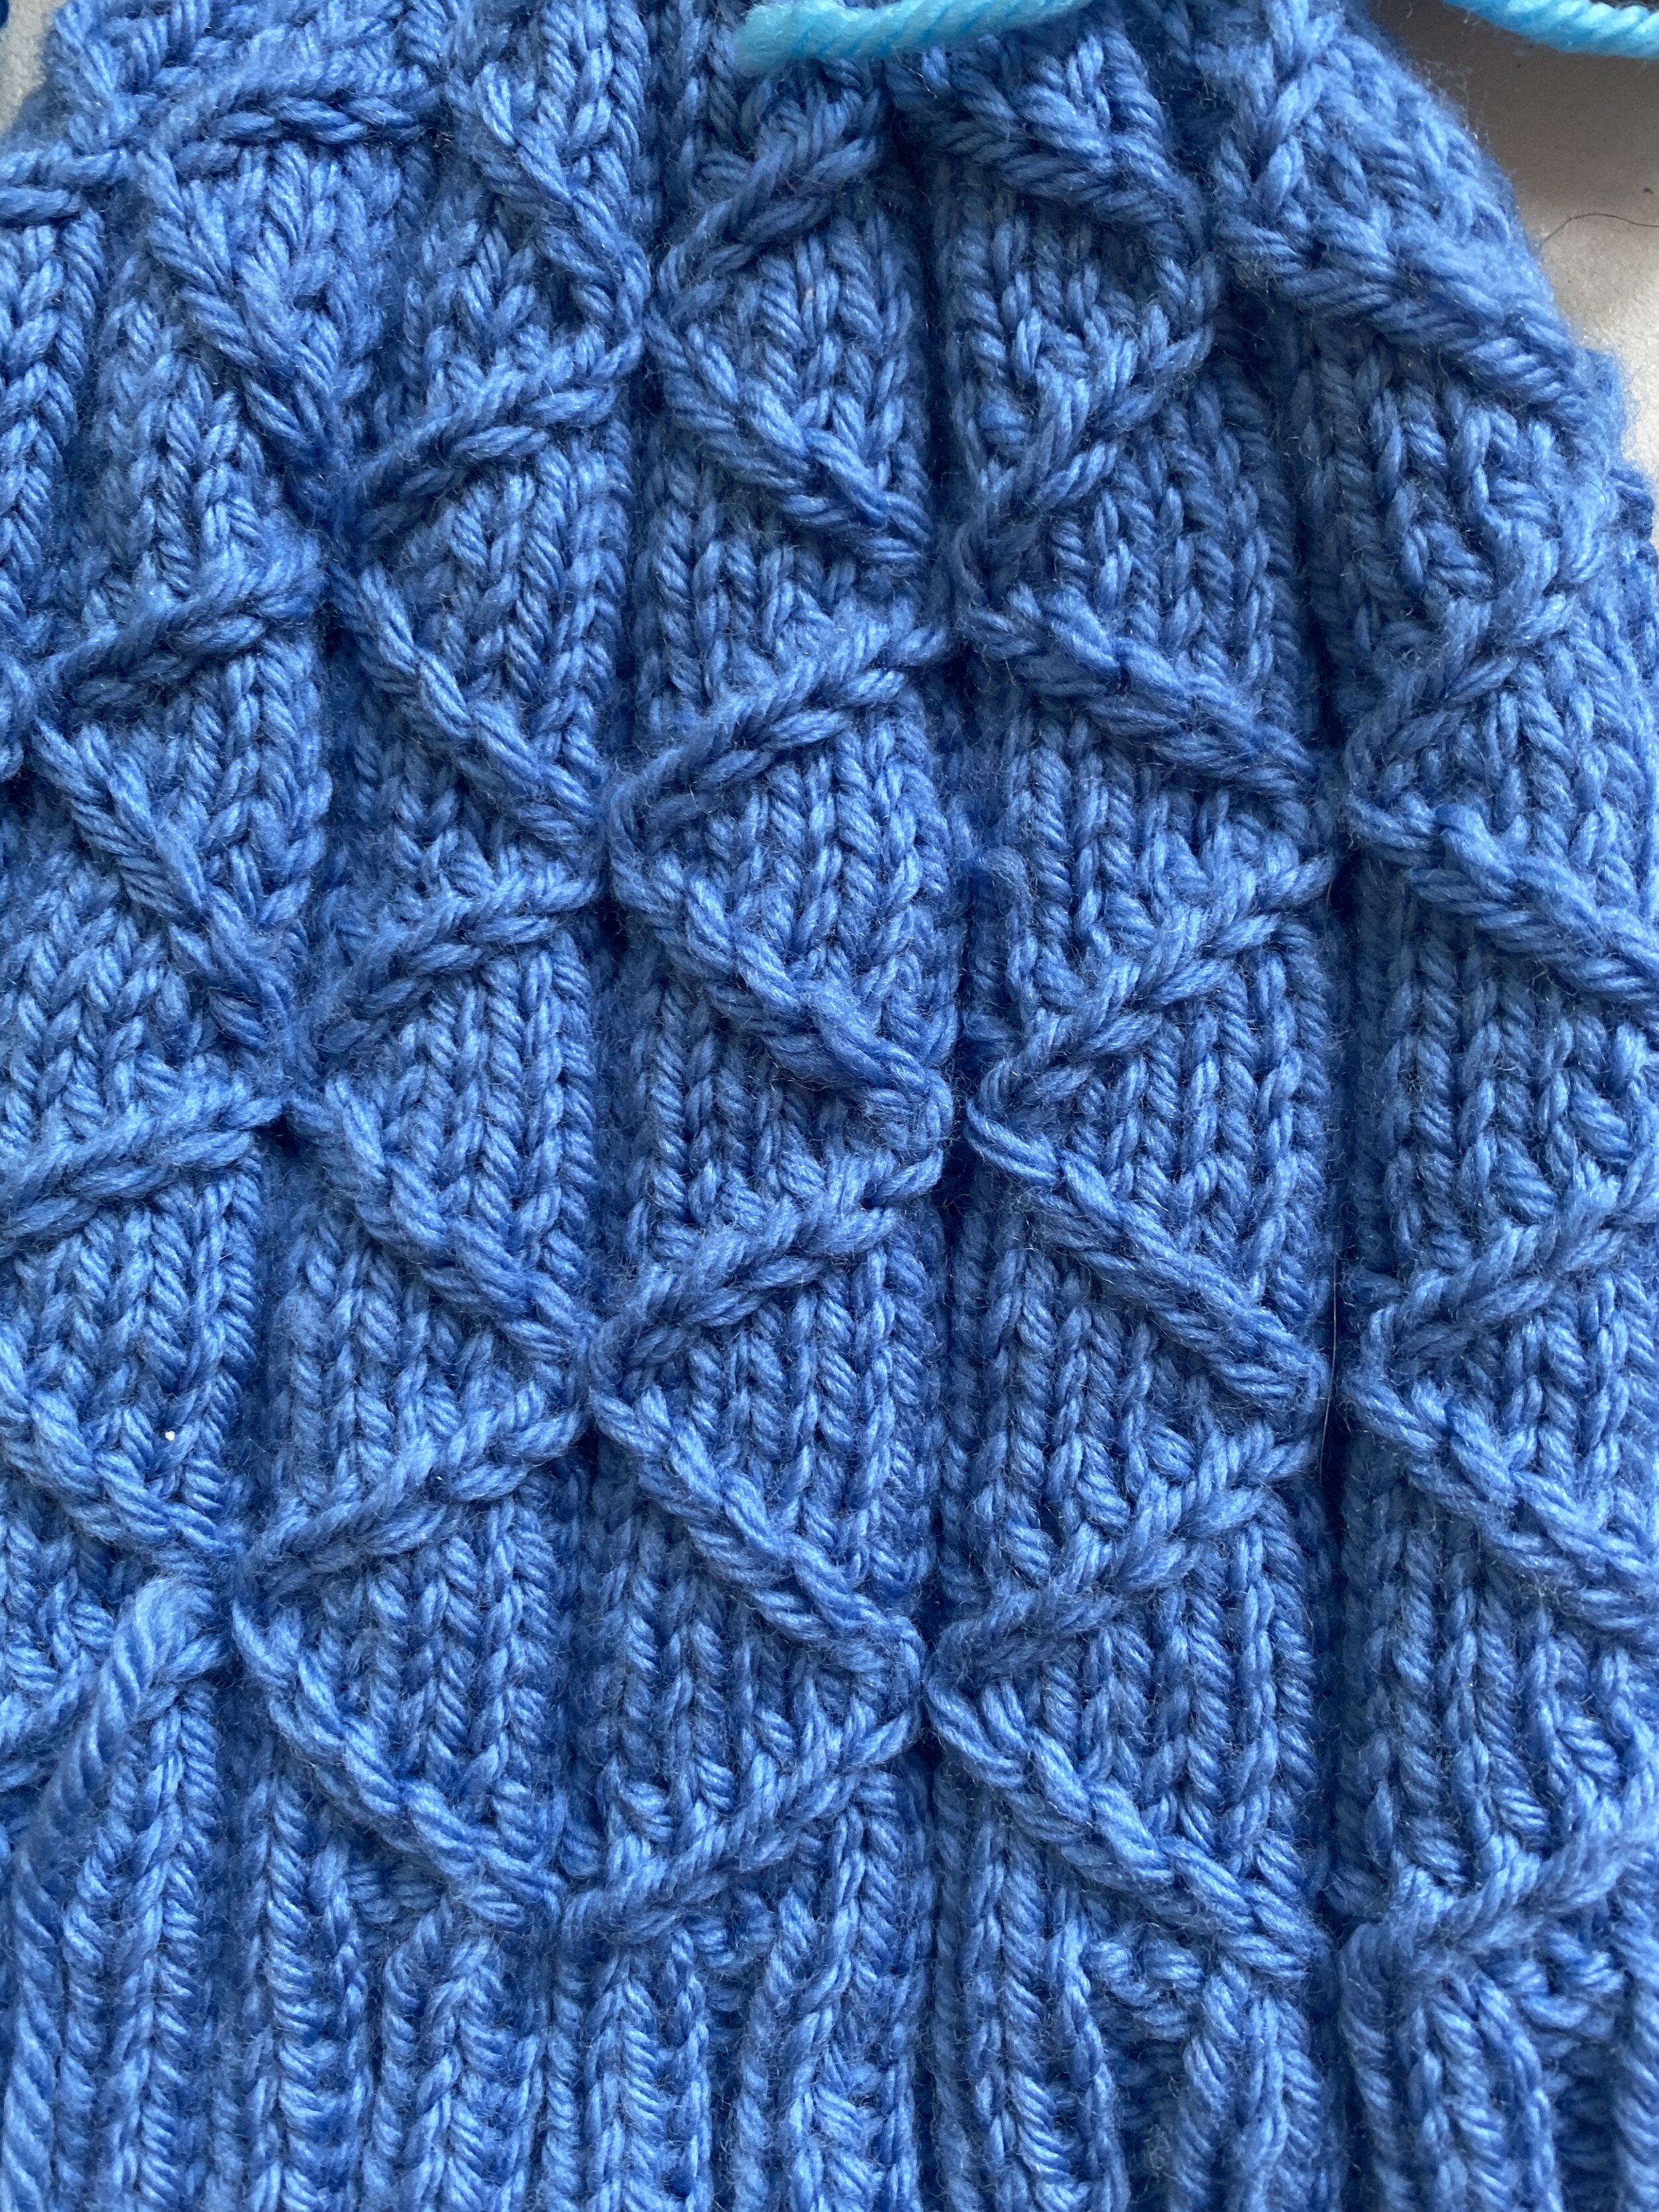
Another variation on a theme, with another skein set of tôt le matin yarn. I decided to try a subtle lace/yarn over between the cables, and I think it worked. I thought they might be more obvious, but I’m happy with how they turned out.
For this pair I only used the 20g contrasting skein on the ribbing and toe, not the heel, which allowed me to do 20 rows of ribbing before starting the pattern. That’s more ribbing than I think many patterns call for. This pattern also has some stretch in it, with the two purl stitches between cables and the lace detail. I think that stretchiness helps with the sock’s fit, though it can make the socks look awfully long and narrow when they aren’t on a foot!
purple tweedy socks
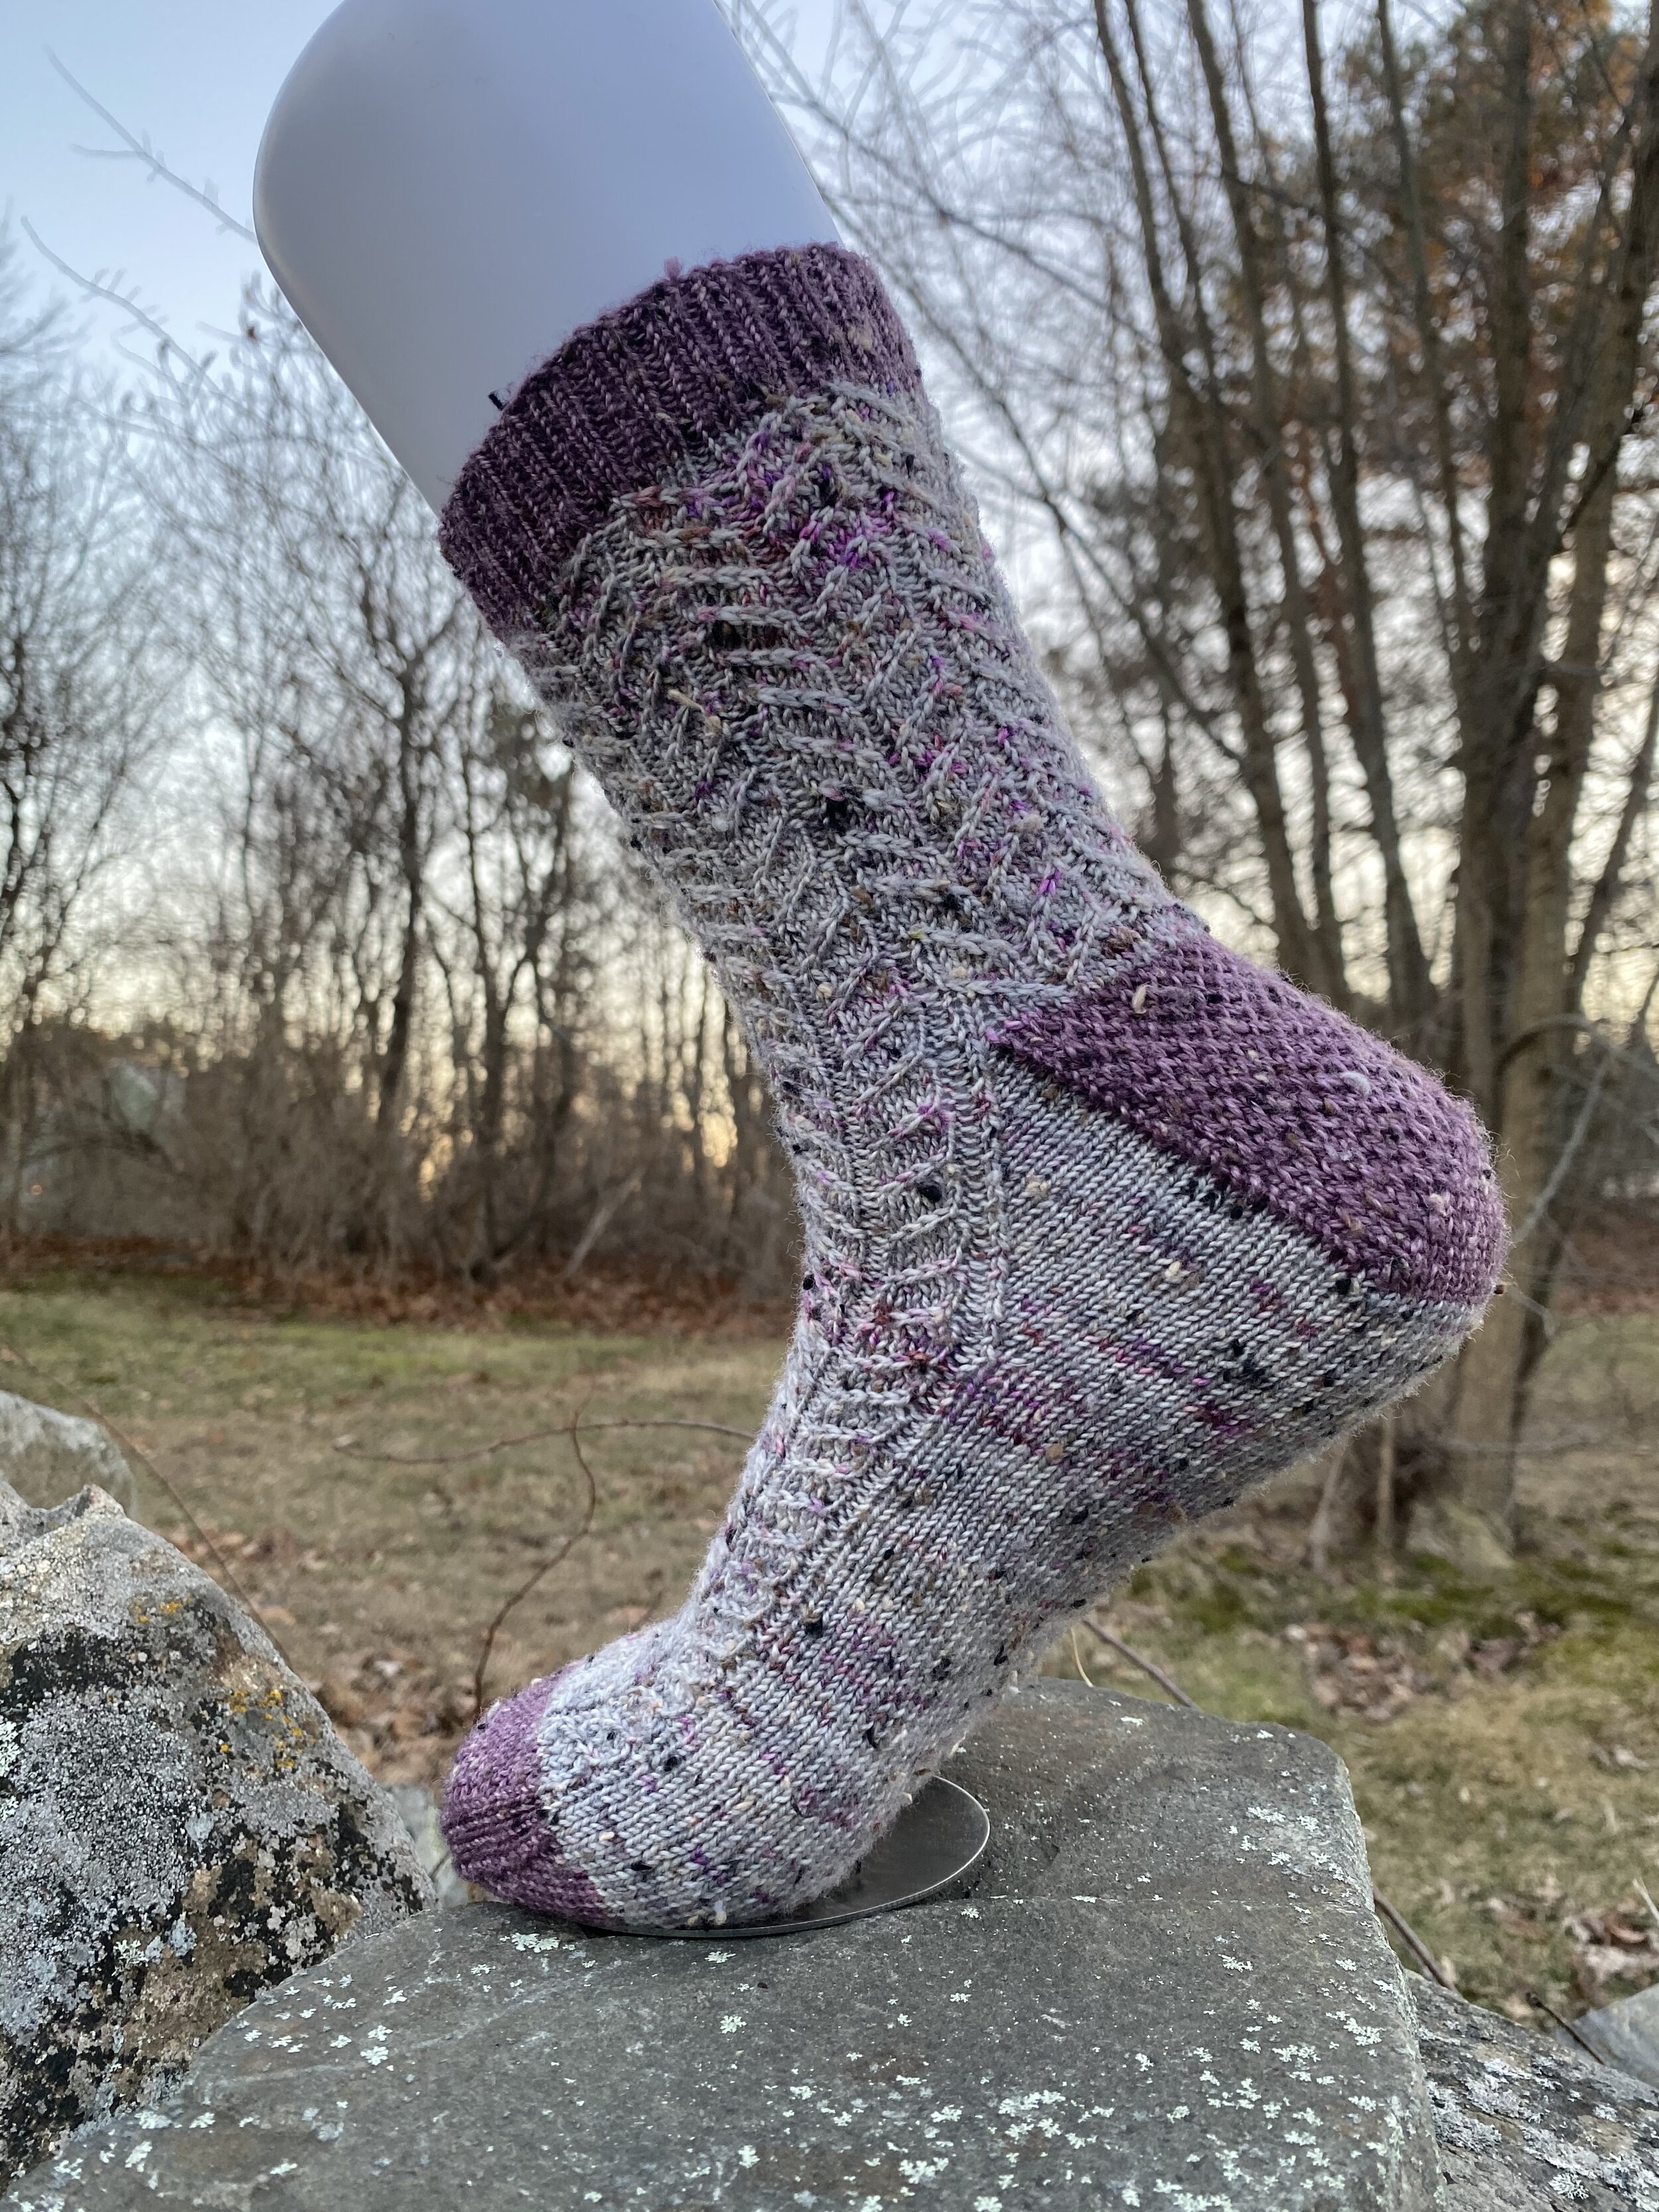
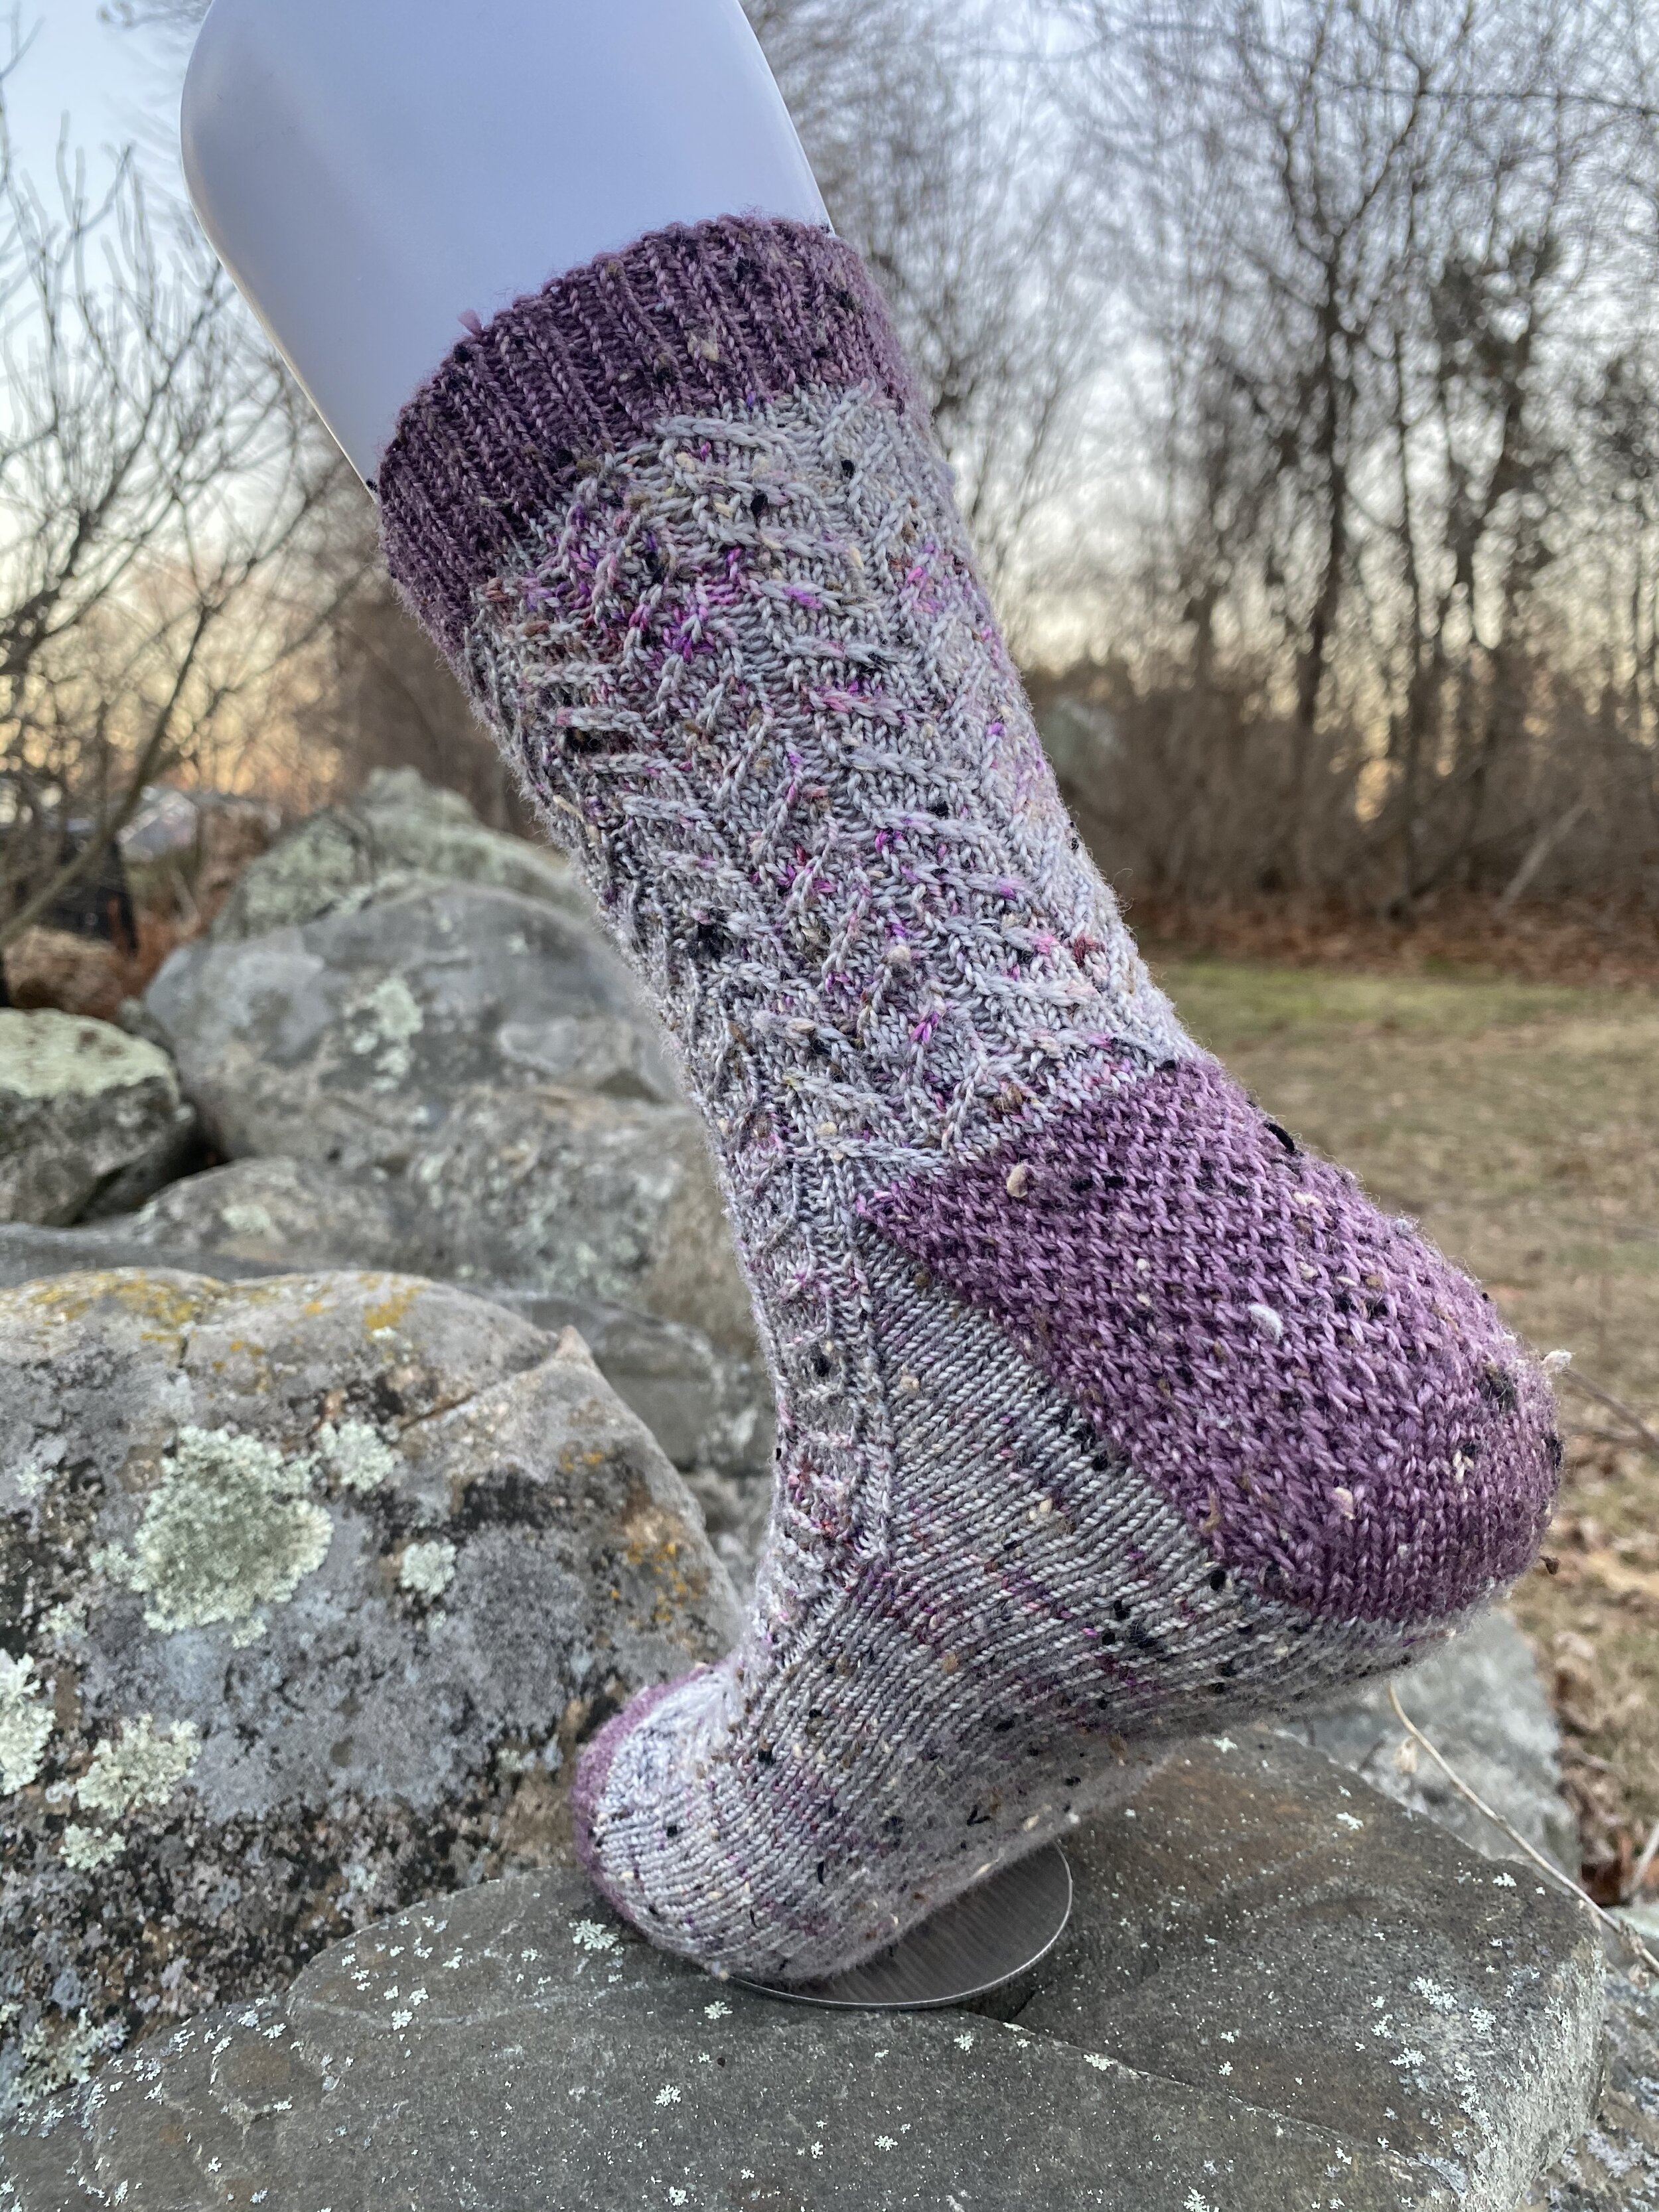
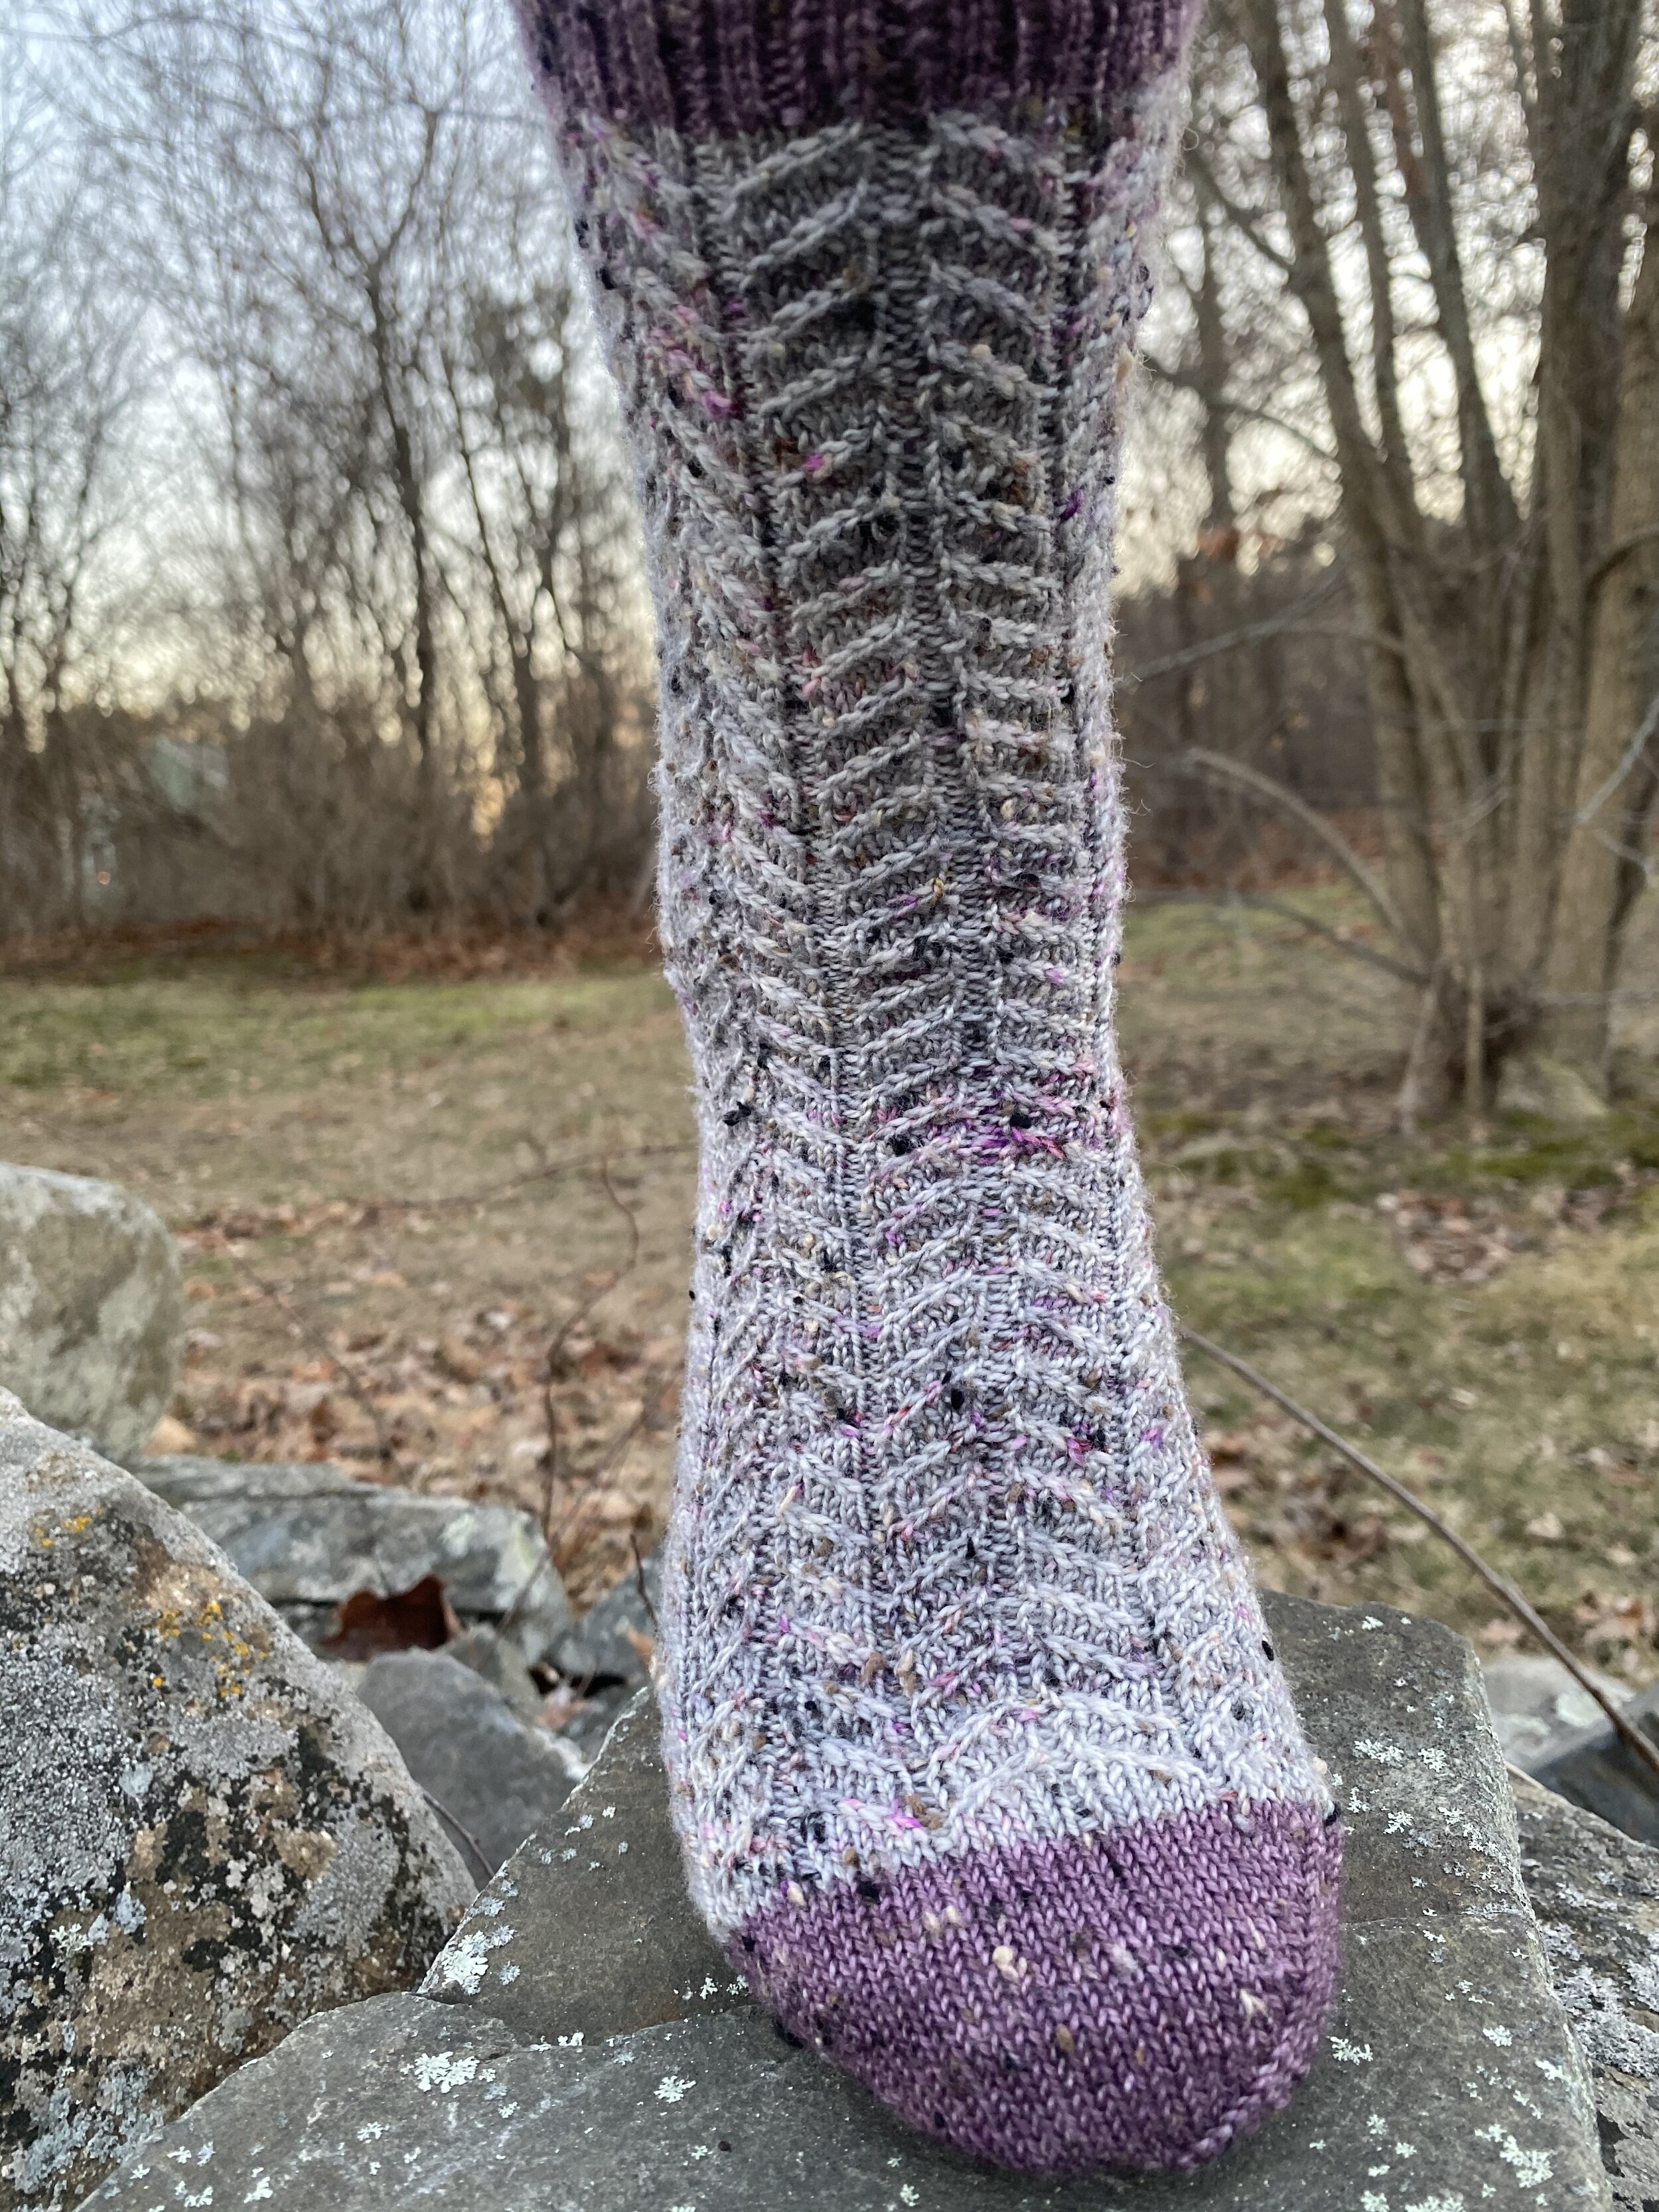
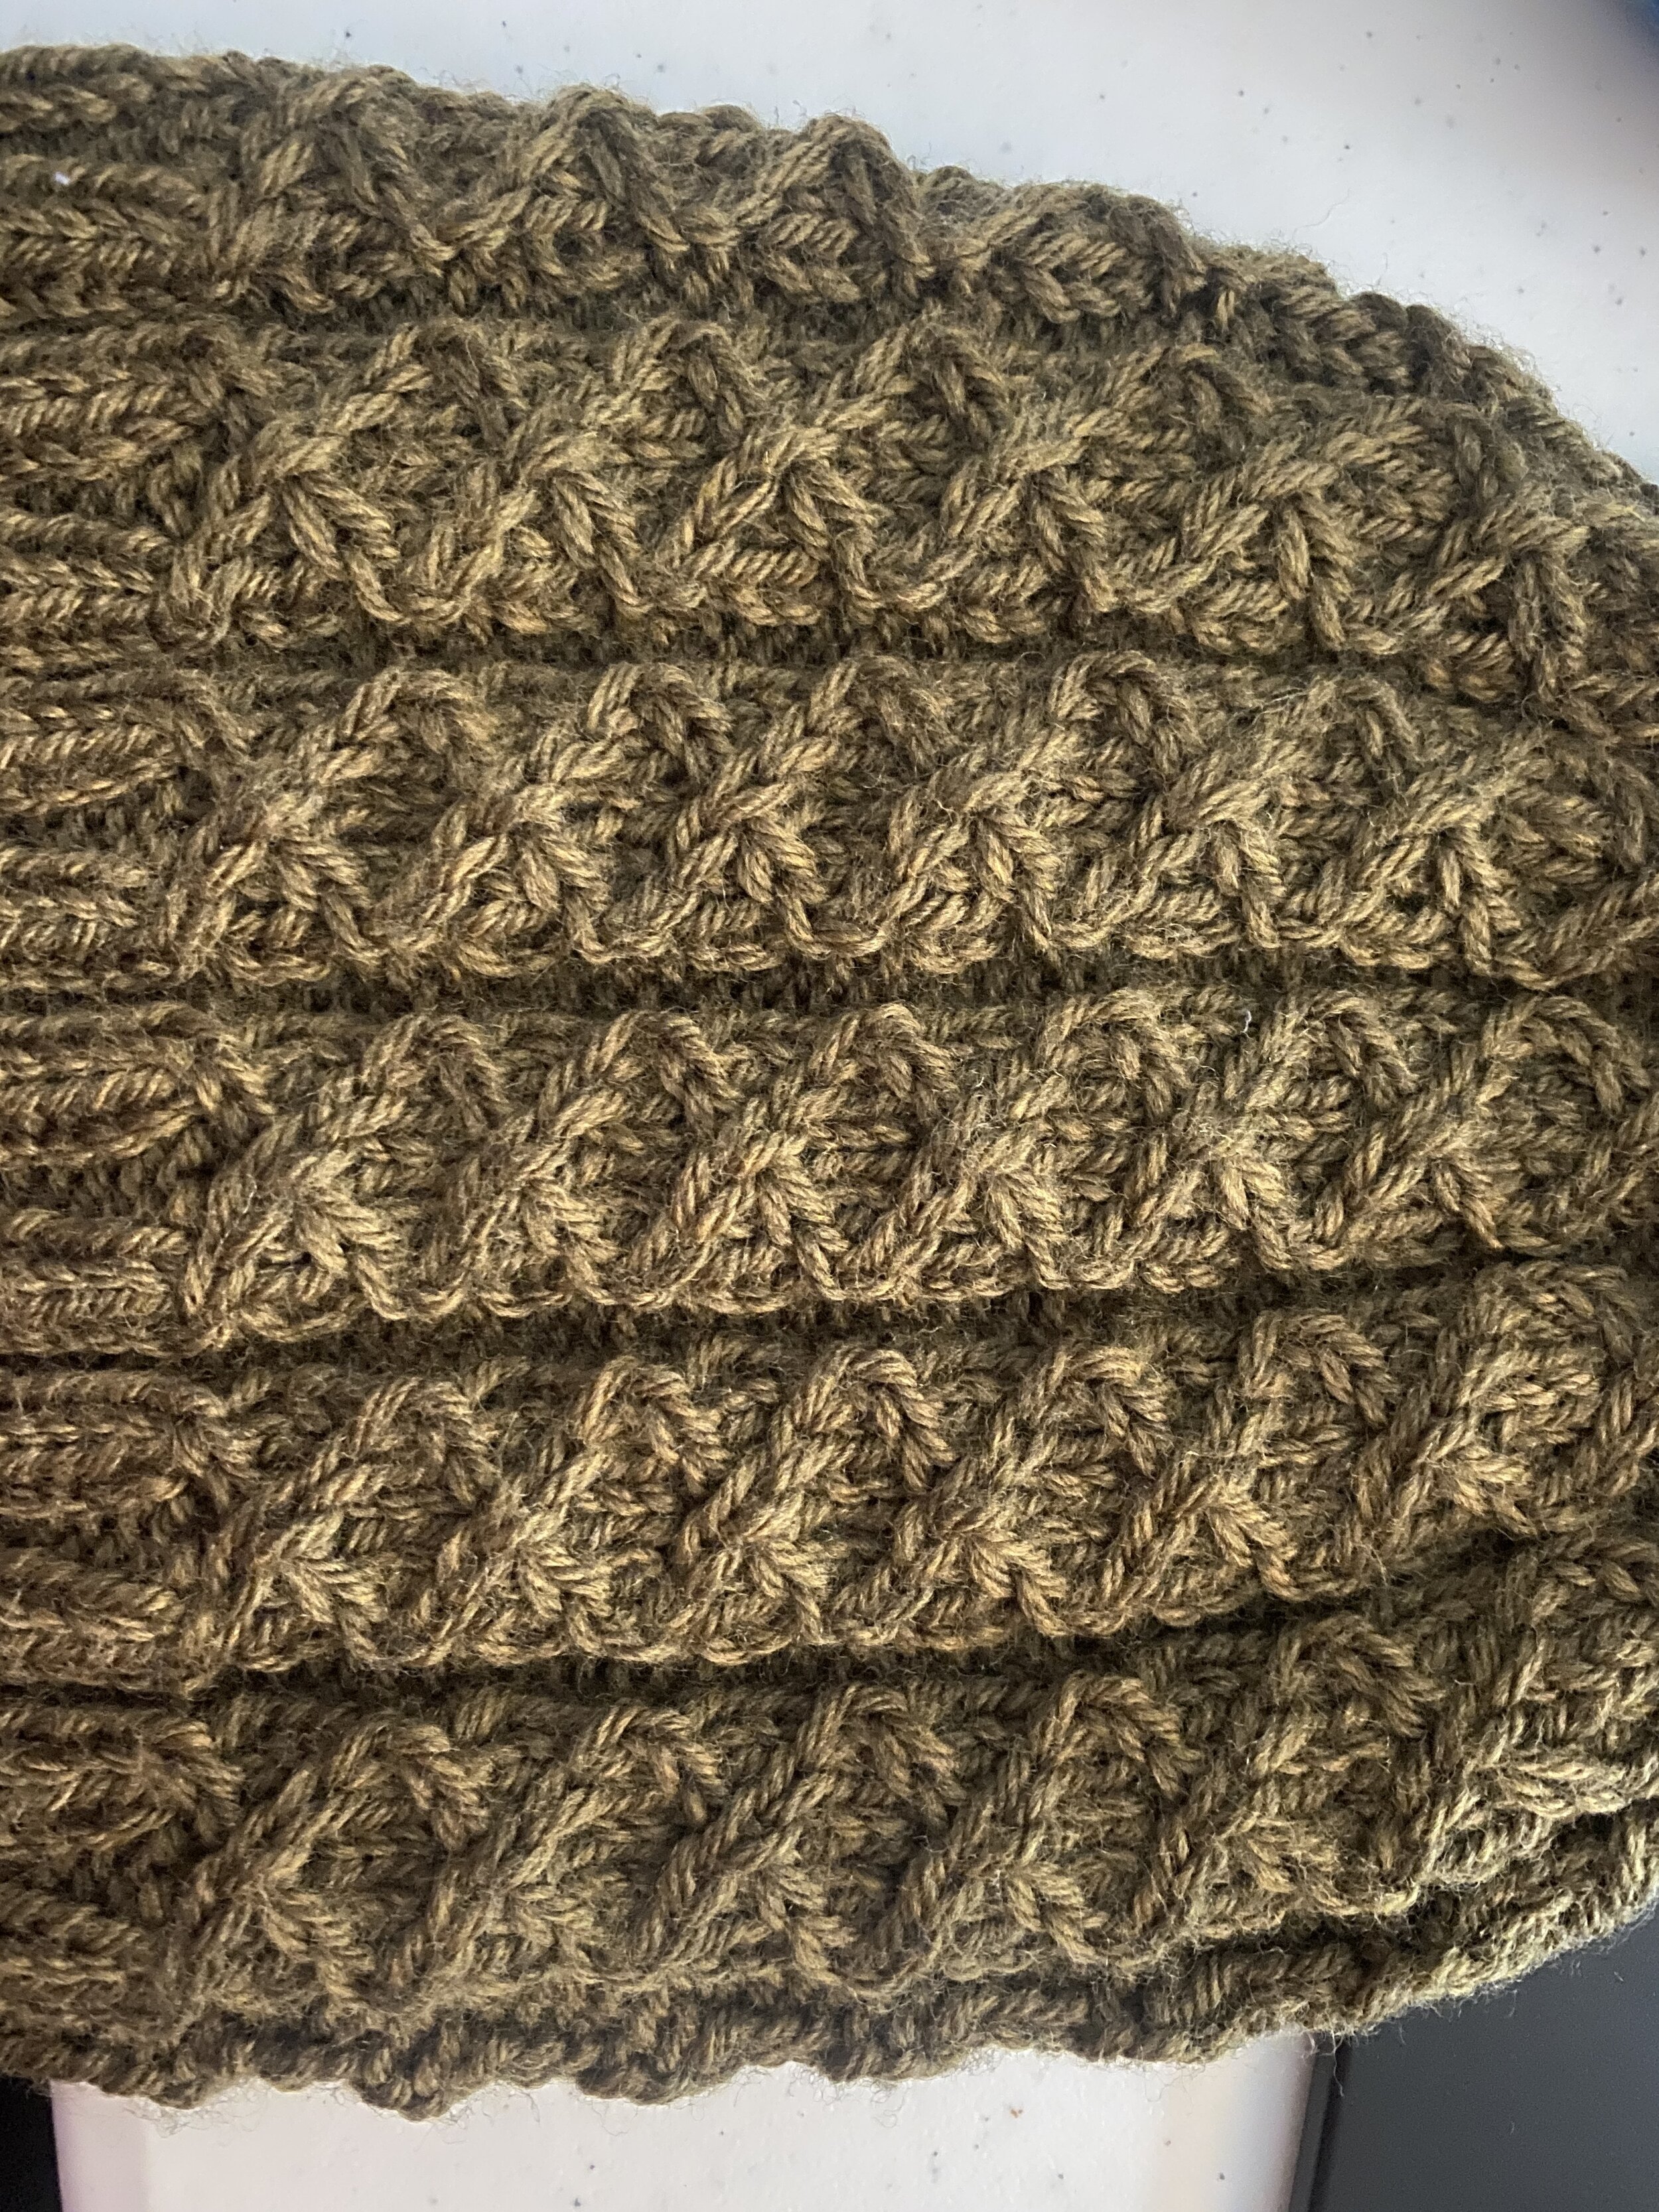
After playing around with this pattern on hats, I decided to use it for some socks. I chose the most basic one, with a single traveling stitch faux cable pattern, rather than the doubles or zig-zags. I really like it, mostly because it doesn’t pull in as much as a typical cable does. I also really like the yarns-they came together from tôt le matin, and I think they did an excellent job of choosing a contrasting color. There’s just enough of the contrast yarn to do a short cuff, toe and heel, though I can’t make as deep/wide of a heel or as much ribbing as I’d normally do.
I ended up doing k2 p1 ribbing on the cuff, so that it would naturally lead into 5 stitch wide cables with a single purl stitch between. Normally I use k2 p2 ribbing, as it is the most stretchy, with the theory that more stretchy ribbing will help keep the sock up while wearing it. I had a really hard time remembering that I wasn’t doing my standard k2p2 ribbing, as each time I cast on for these socks I was doing other things, and I ended up having to rip out a few rows each time because I forgot the plan!
Green Sweetness socks
I was so excited to start playing with my handspun, and then I went and left it at my Aunt and Uncle’s house when I was staying with them. I visit them for about a week every 1.5 months, and spend my time working in the lab all day. It’s the way I can justify being up north for the rest of my time, and it beats any of the alternatives. However, I have to be careful not to leave my next project in the wrong place…
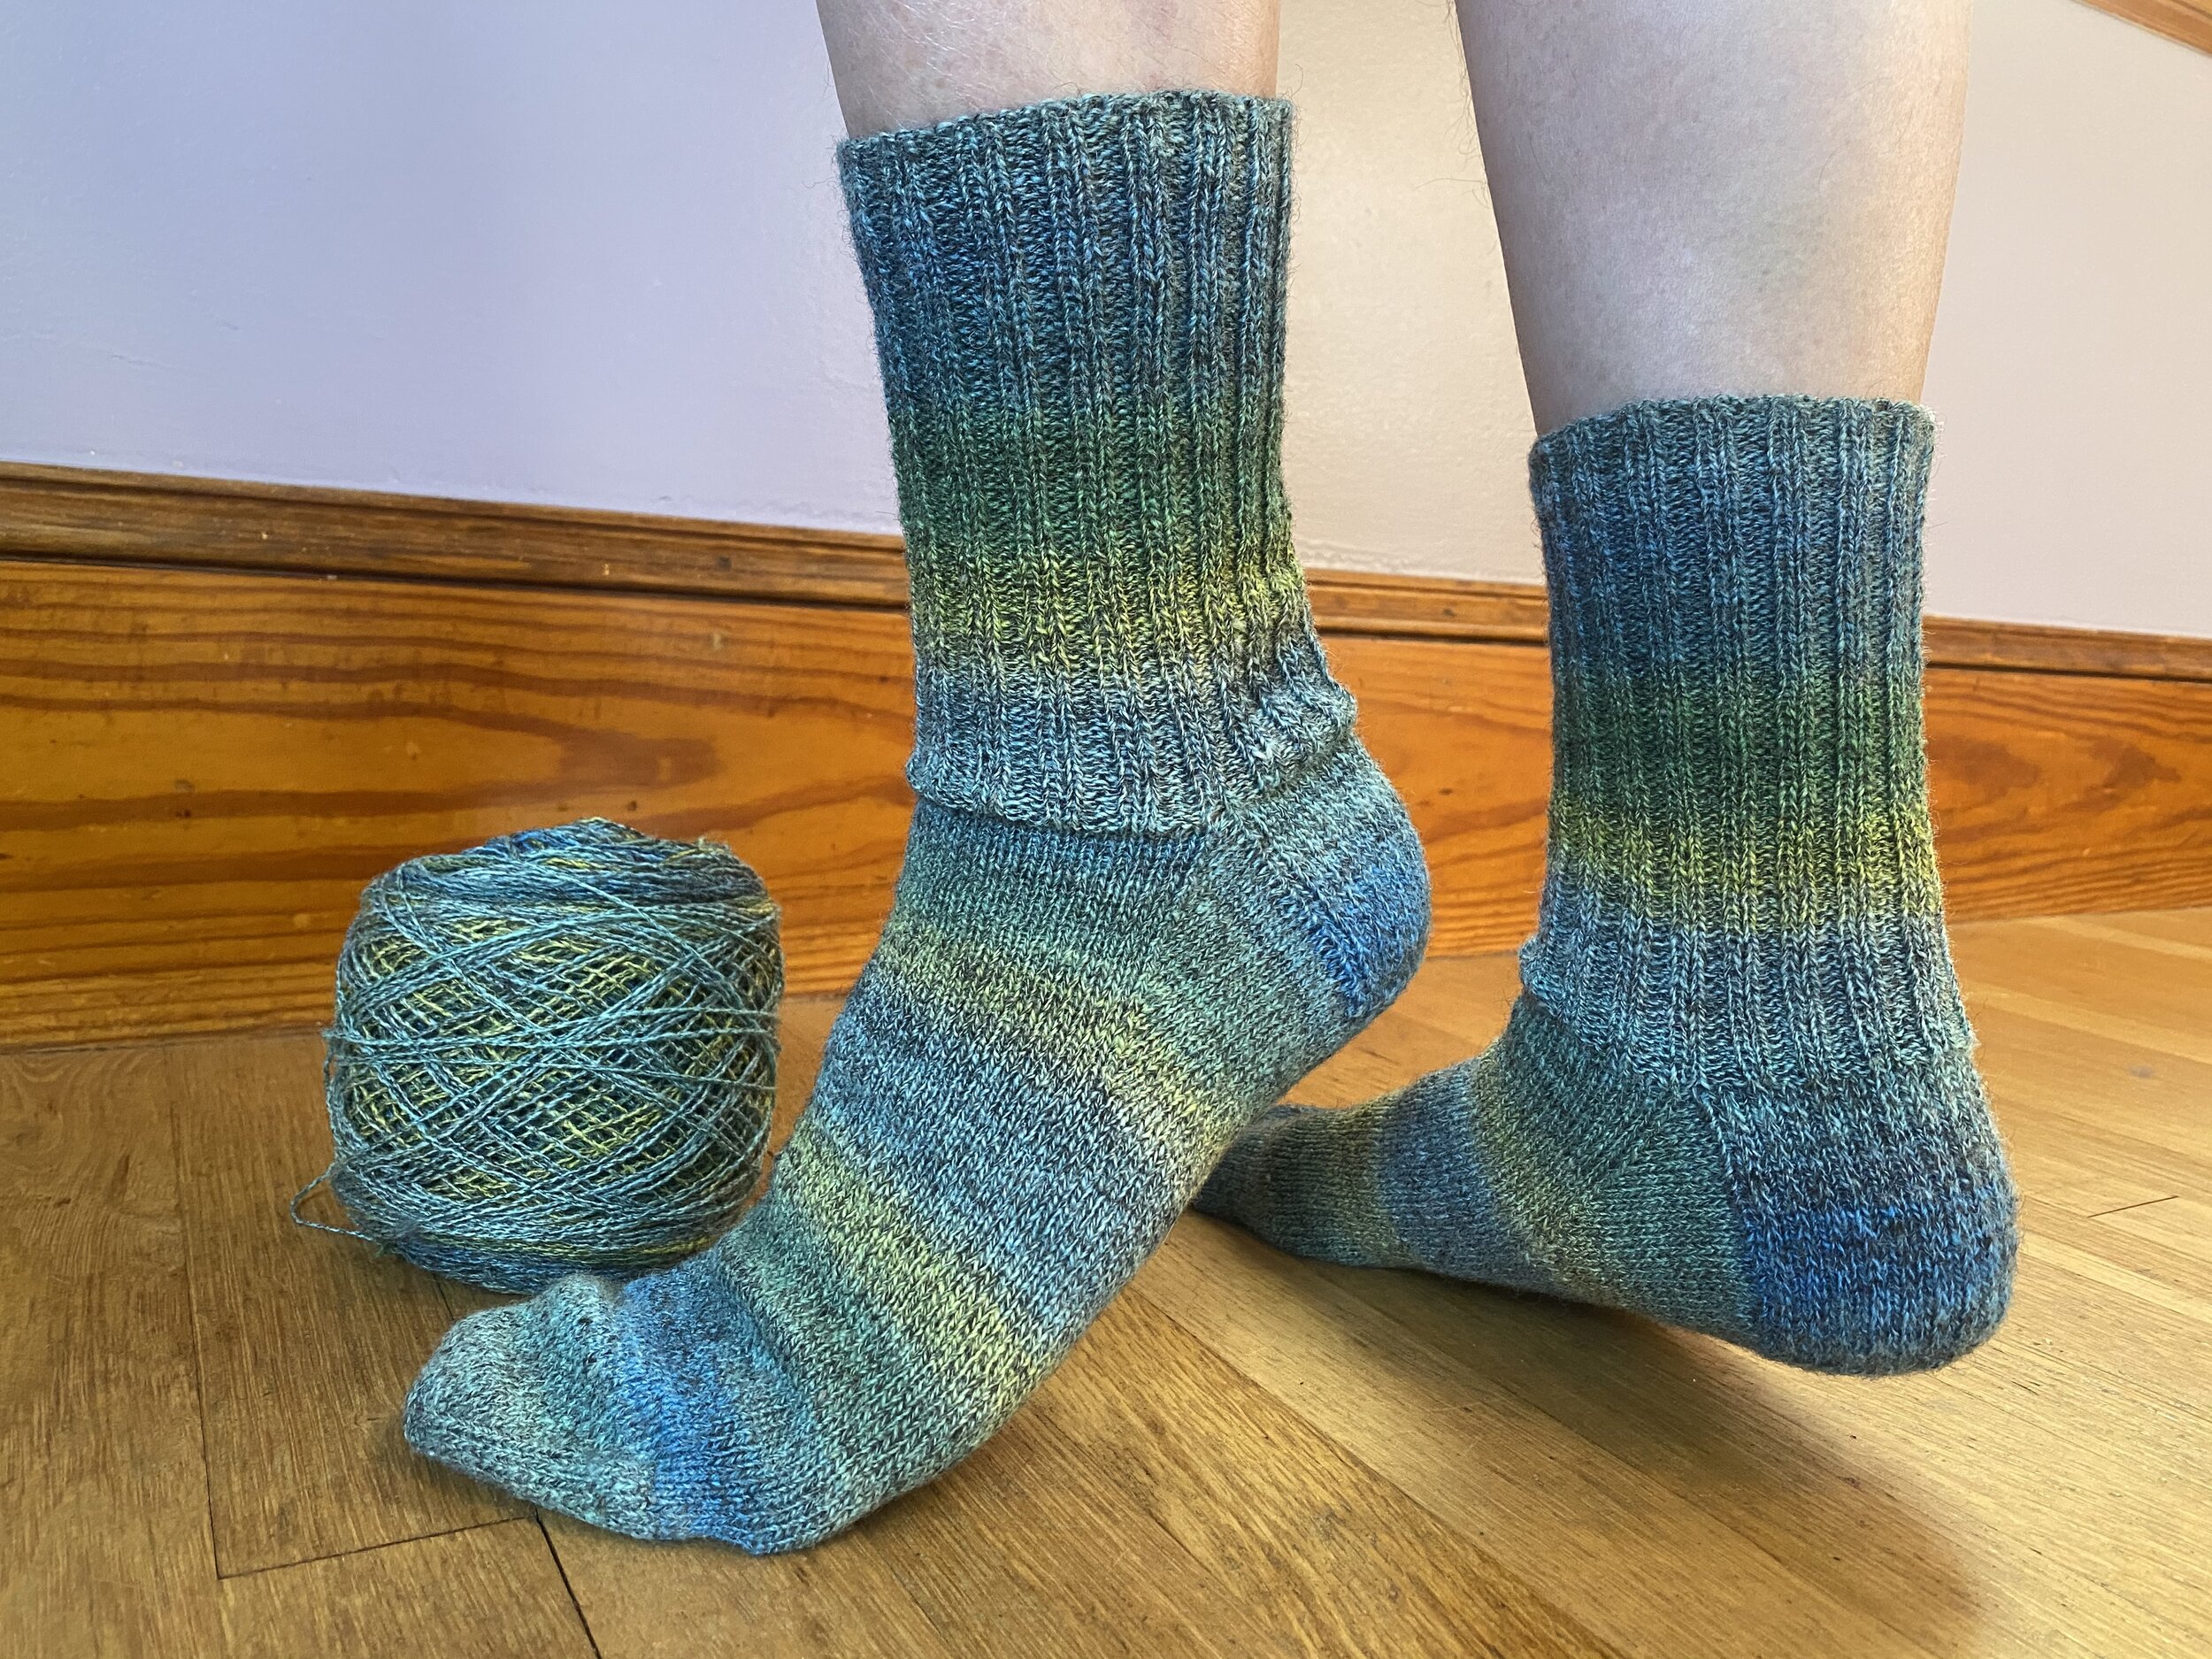
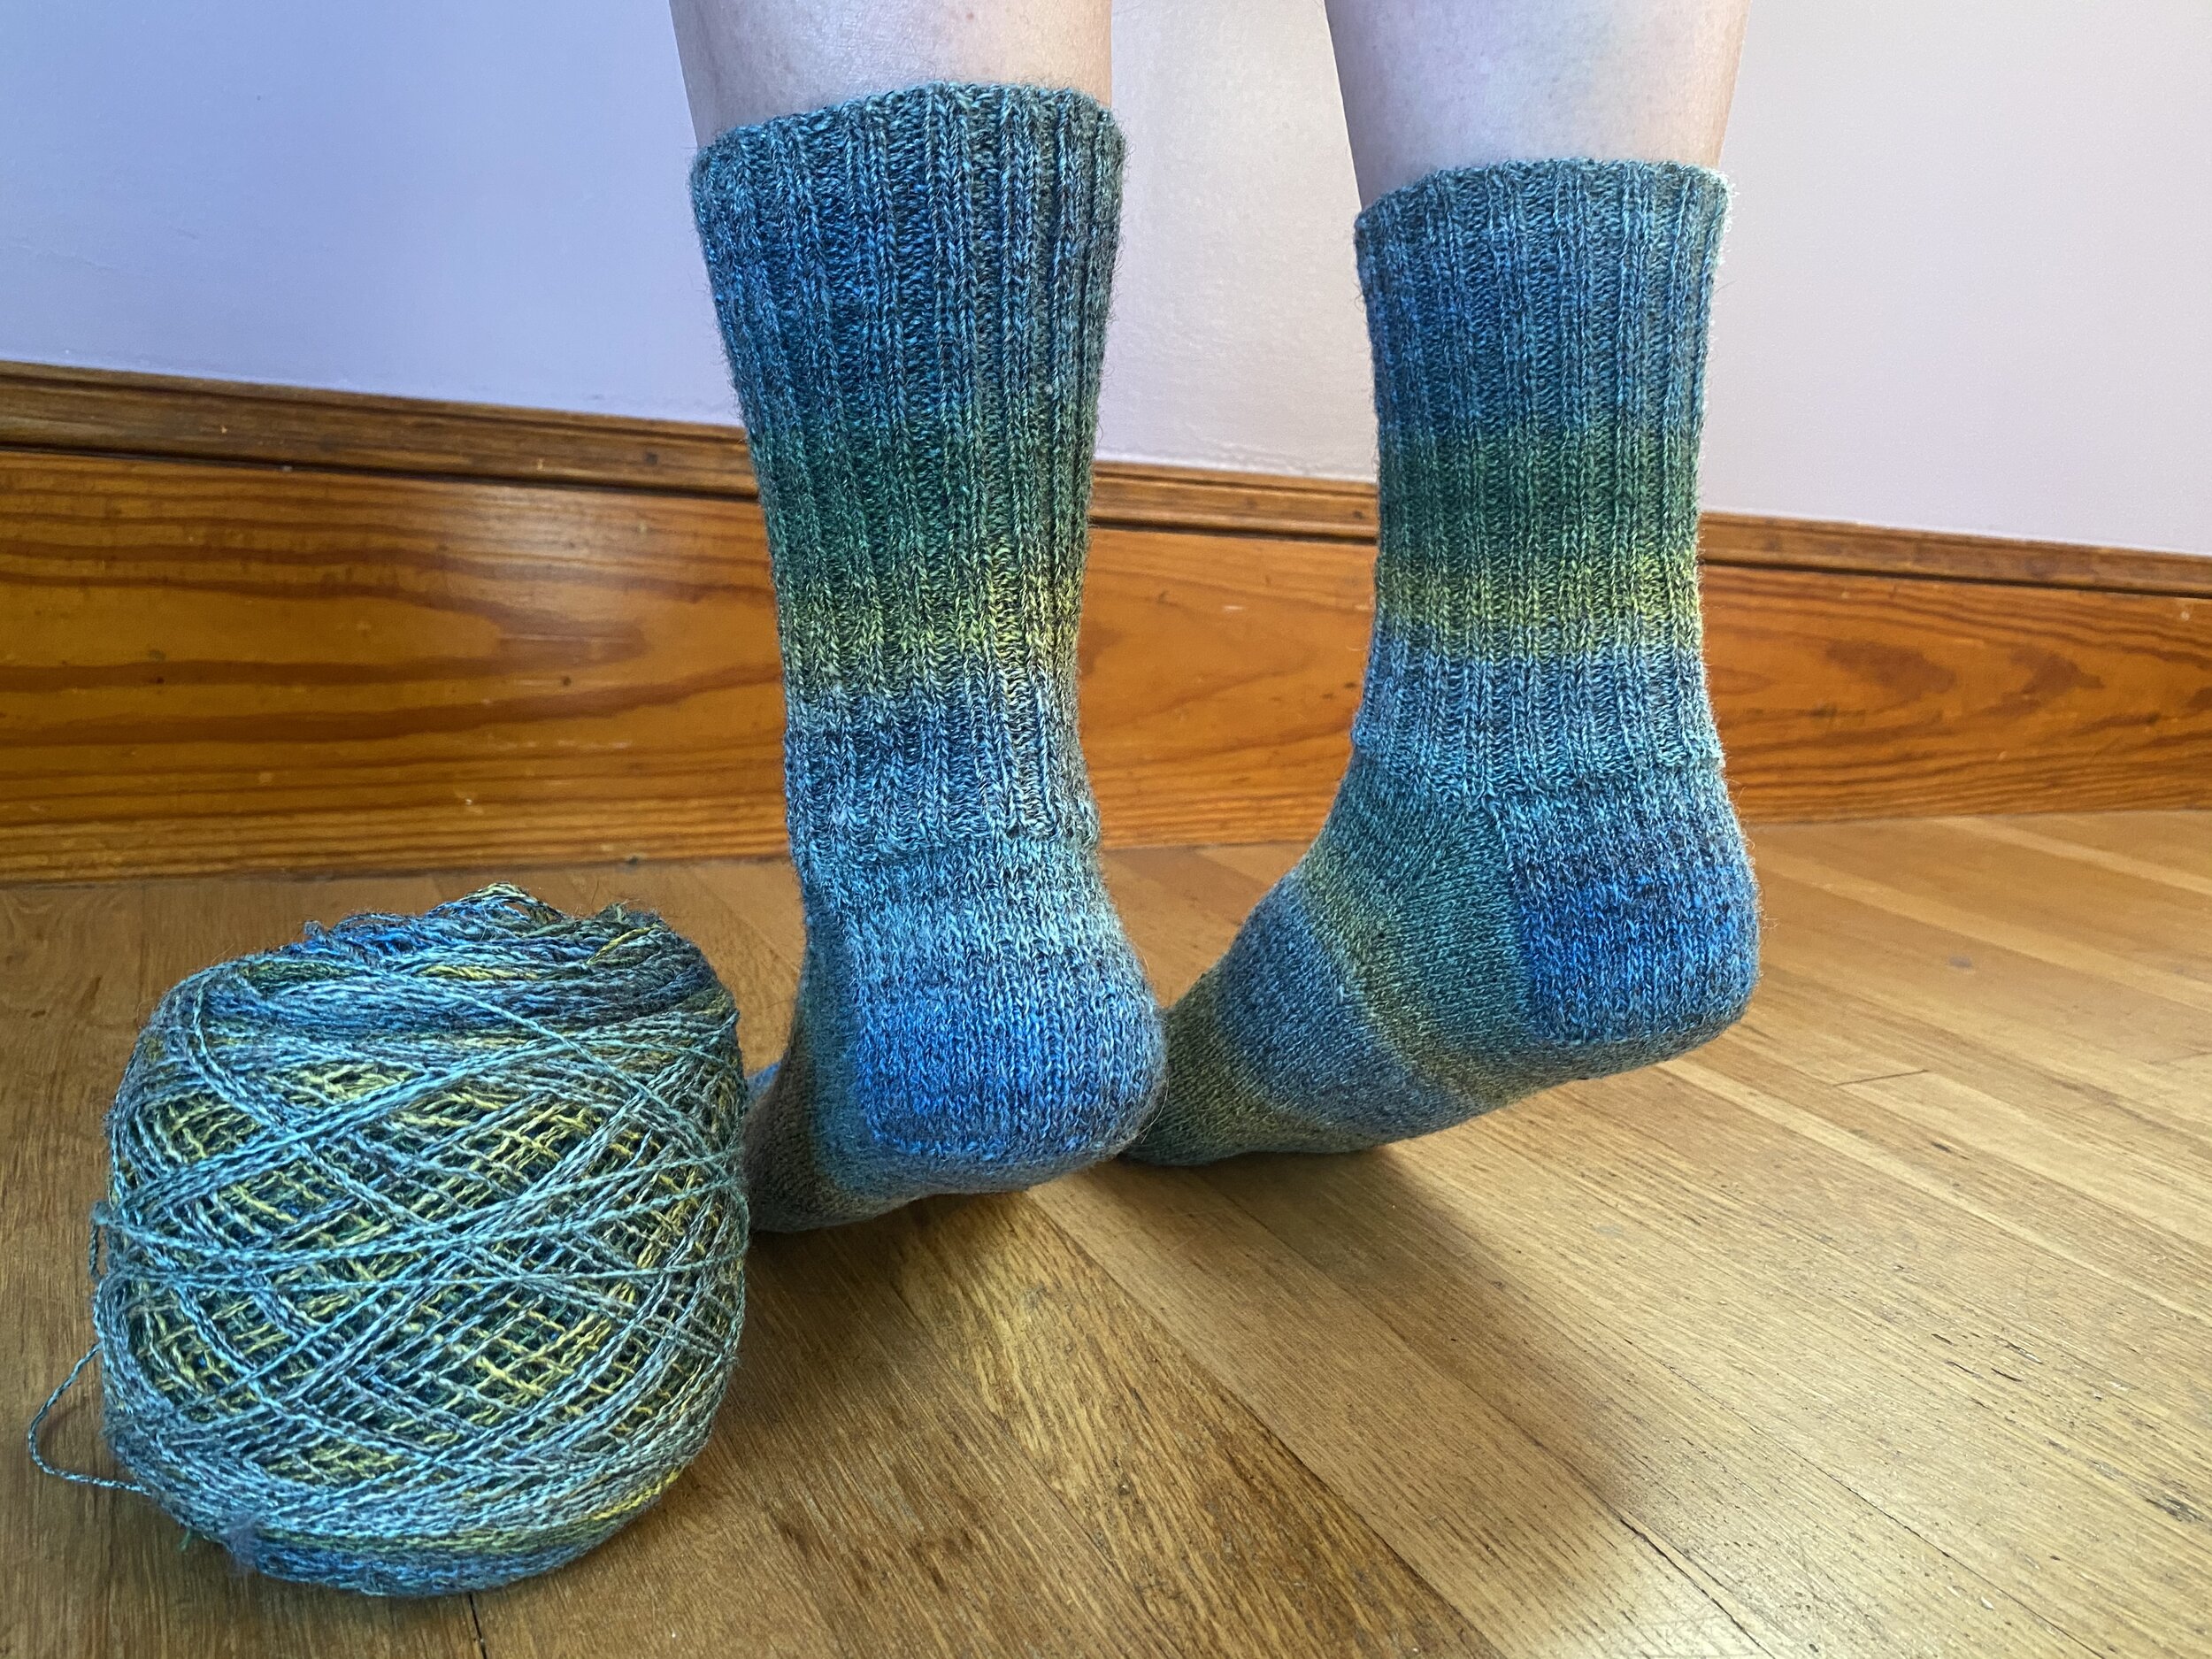
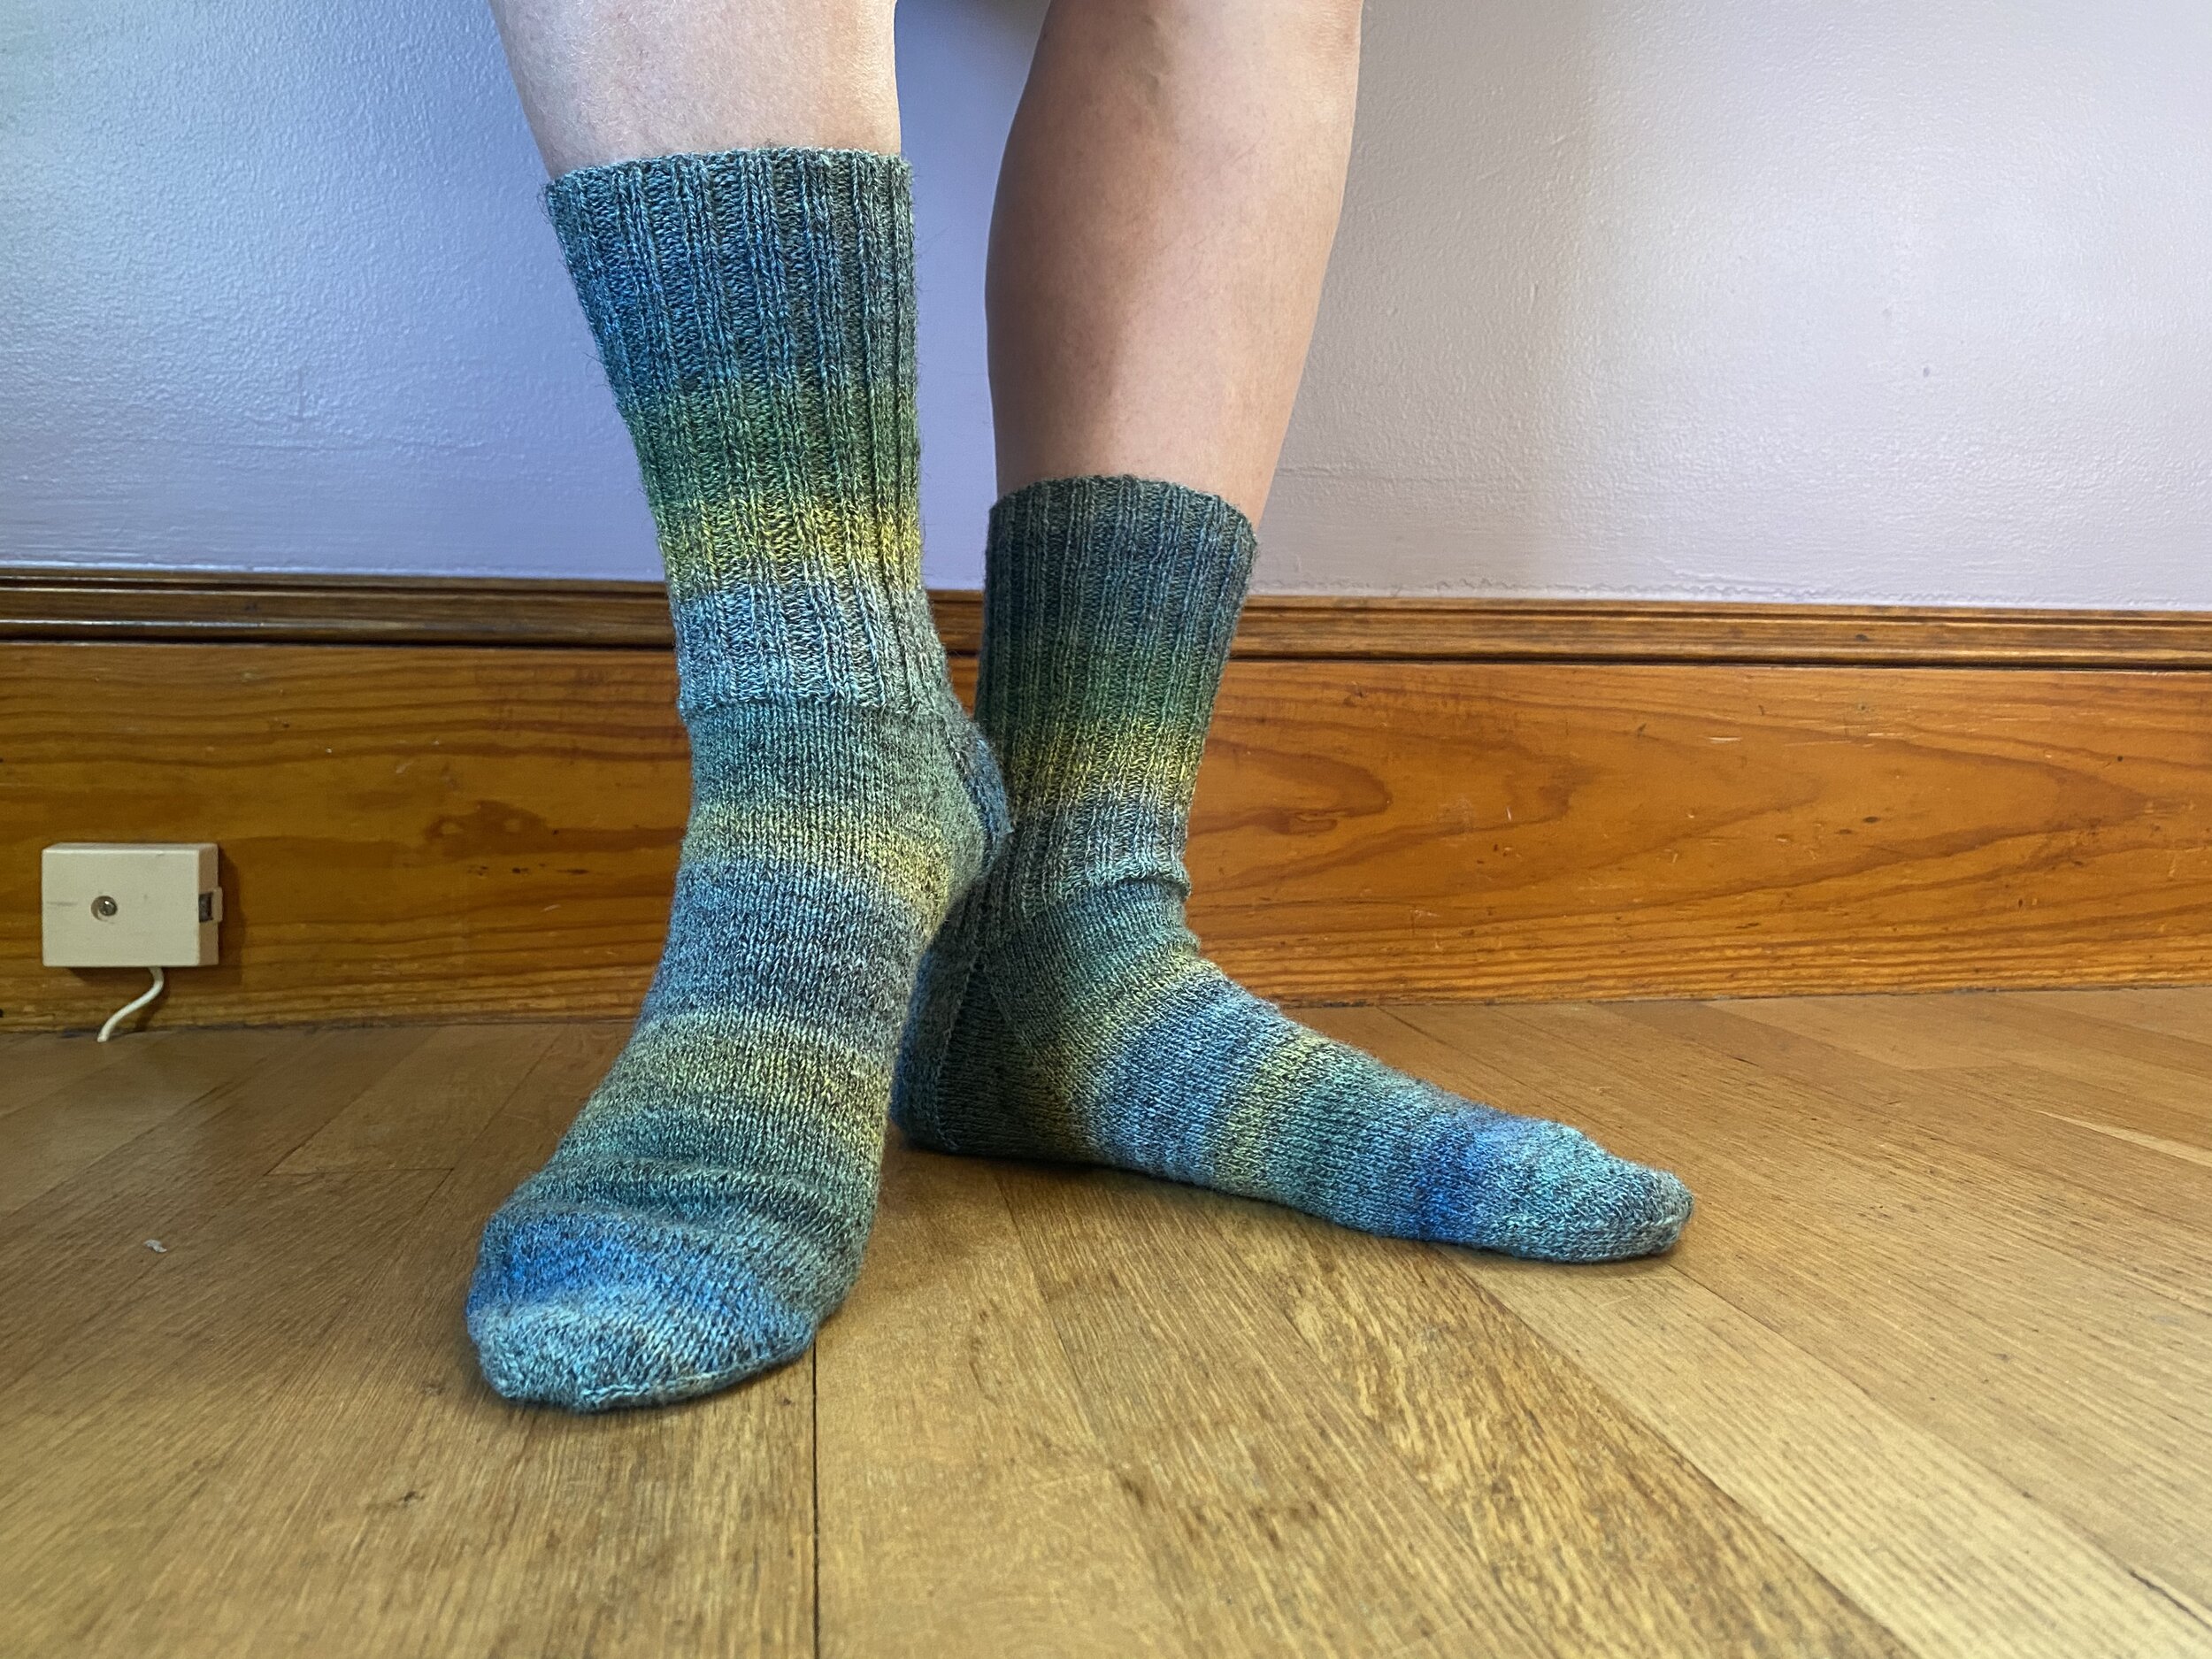
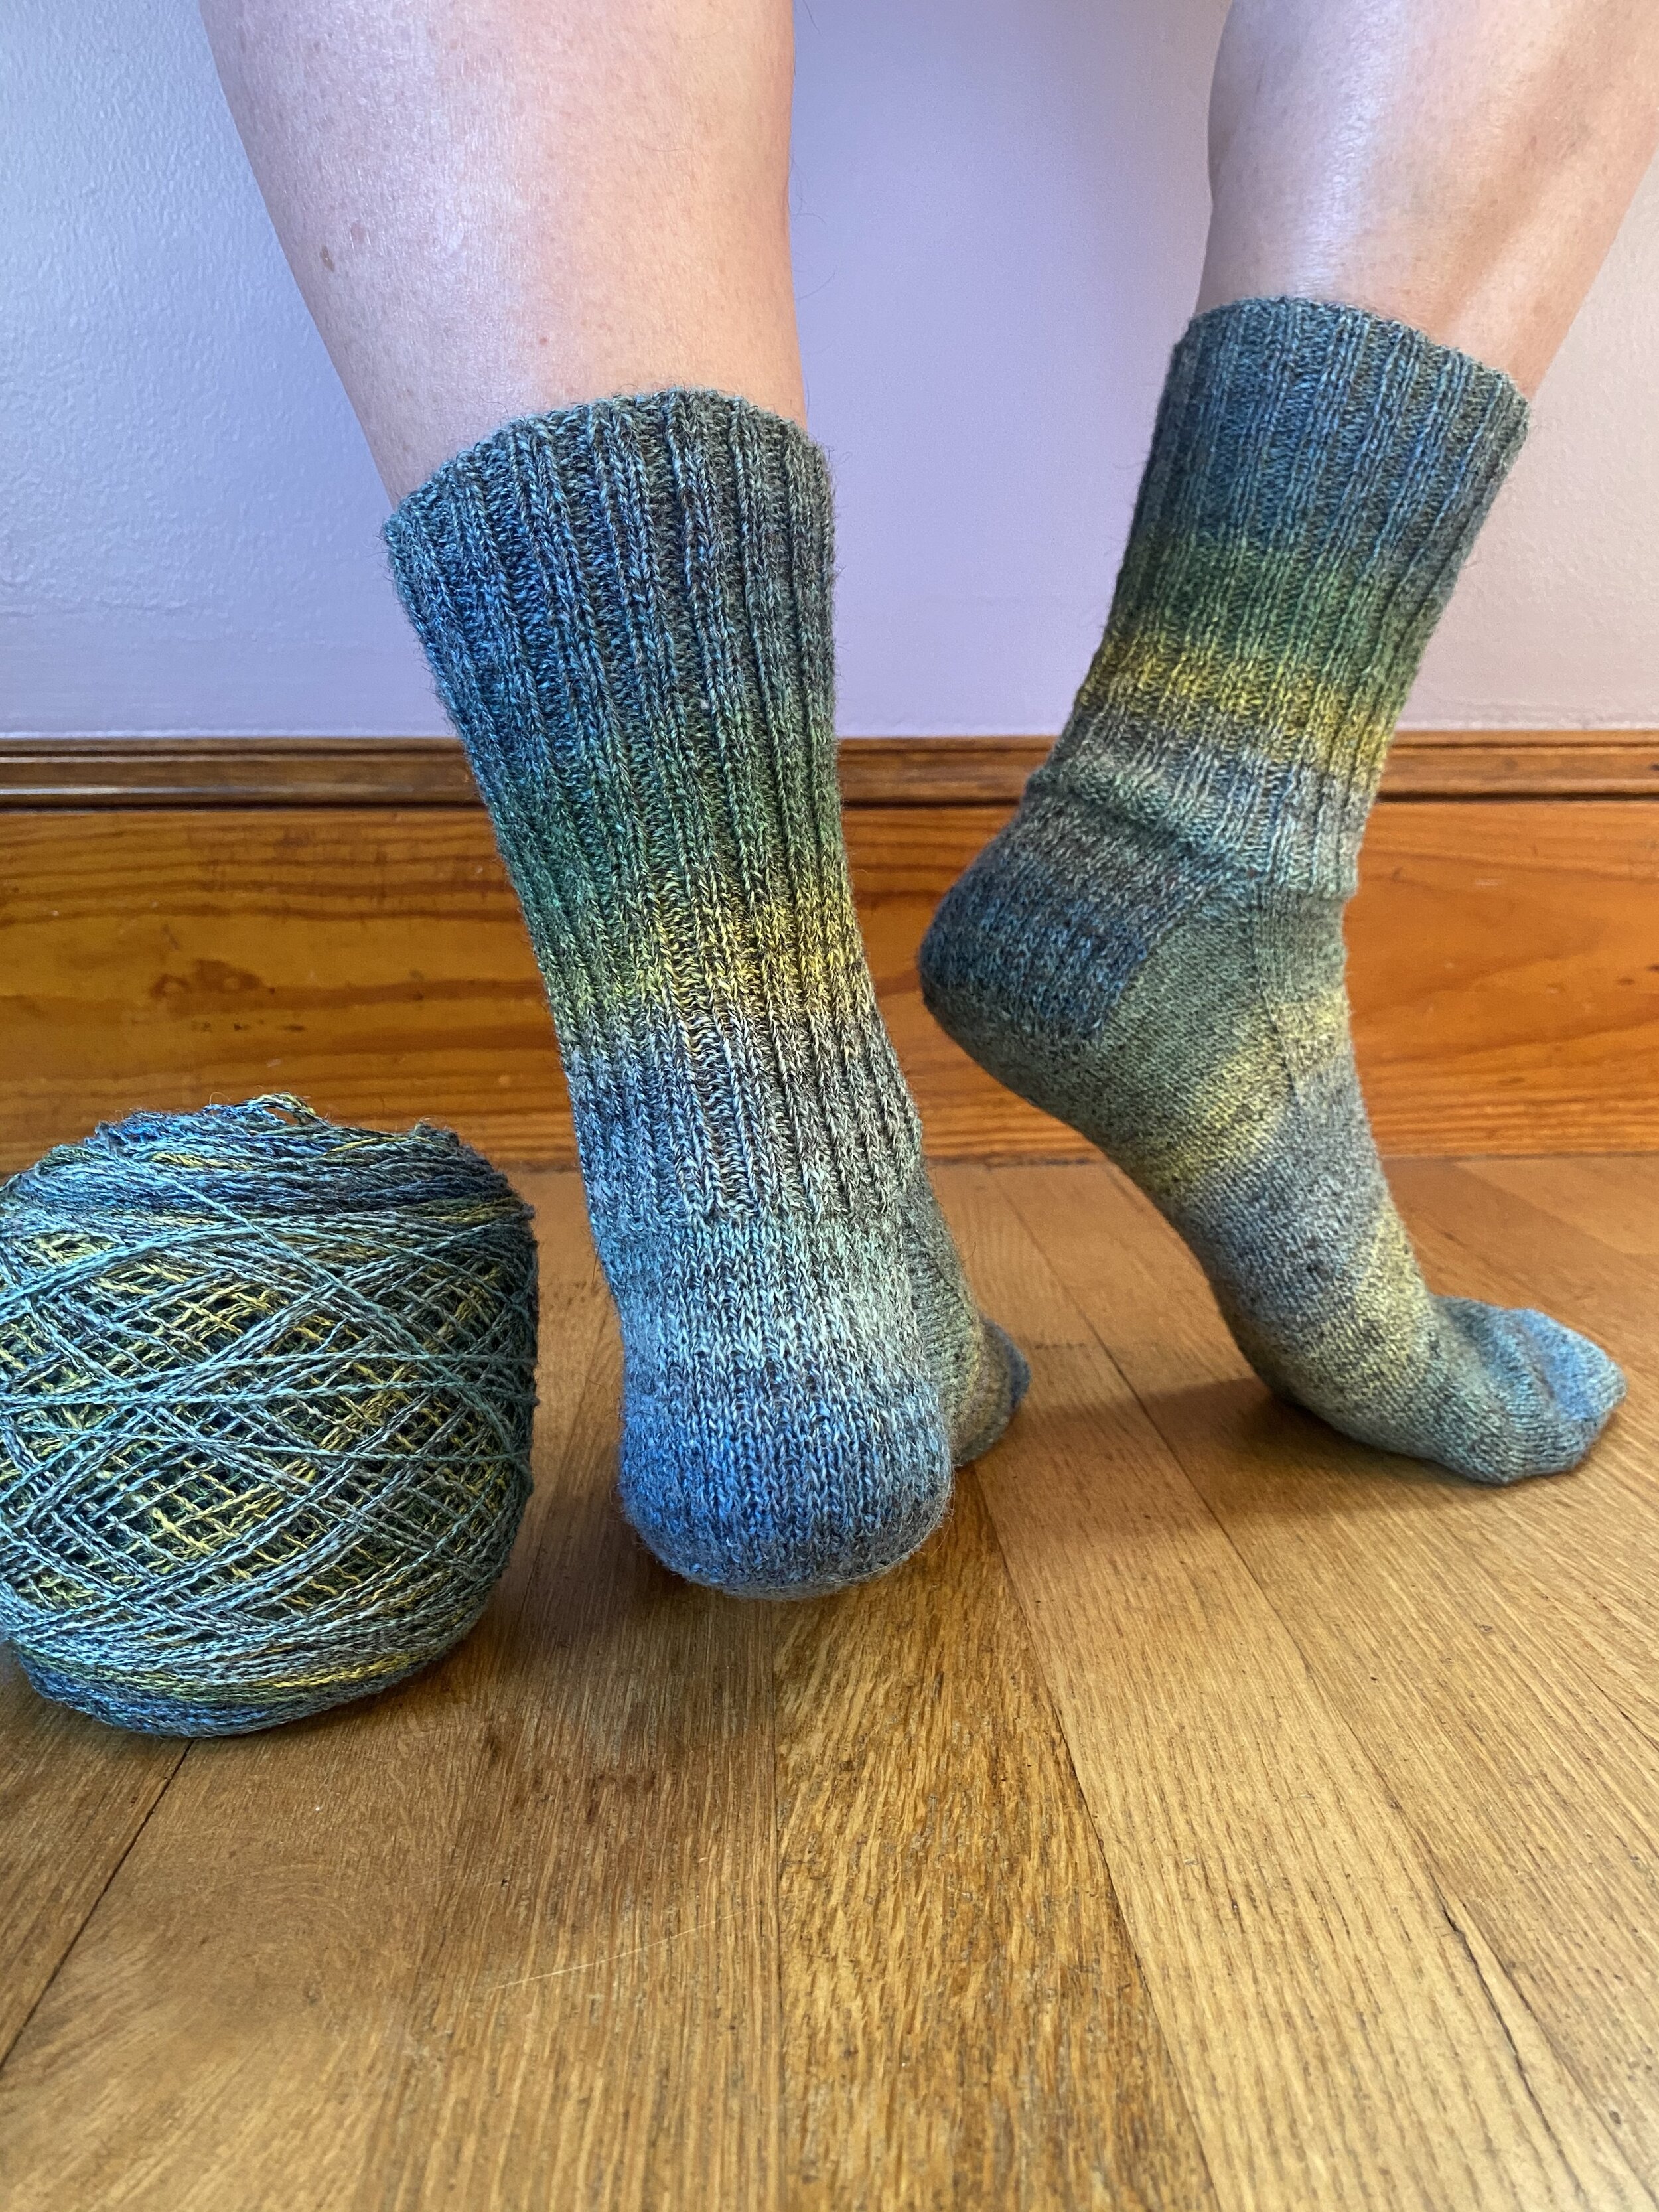
This is a six ply homespun, where half of the plies are grey (shetland/alpaca/nylon blend) and the other half are a polwarth/silk blend dyed by Three Waters Farm. I am super pleased with how these socks turned out. They are plain, but perfectly matched right up until the toe. In spinning, I split the roving lengthwise, and then spun it such that the colors would be symmetrical from the two ends. Then when knitting the socks, I knit the first one from the outside of the ball, and the second pair from the inside. I was not expecting the colors to line up anywhere near this well, in part because I wasn’t super careful for this roving about making sure the sections were of equal weight.
Instead of using my plastic foot model, I had my mum help me model these socks! As a reward for taking such fine pictures, I let her keep the second half of the skein. I think she plans to pair it with some of her own grey homespun yarn.
matching mittens
We needed matching mittens. Clearly. With a special one so that we could hold hands. And they needed to be warm enough for a blizzard, because, why not? So, I decided to make double thickness-stuffed-with-wool mittens. Using a skein of qiviut yarn my mum had given me. Because we need to keep those hands warm in that blizzard. Can you figure out which are mine and which are his?
I made up this mitten pattern as I went along, but the concept can be used with any standard mitten pattern. I started by knitting the outer mitten. I ended up doing the design in duplicate stitch, so I sewed that on after knitting the outer mitten. Then I knit an inner mitten, minus the cuff. I attached the two at the top of the fingers and thumb, then lightly wrapped the outer mitt in wool roving. My next step was to carefully pull the inside mitt over all the fluff without displacing it too much, and then I sewed the bottom edge of the interior mitten to the outside, right above the cuff. The final step is then to turn it all rightside out! The finishing detail was to make an additional mitten that we can hold hands in. Now we just need to go on some cold weather walks!
To turn a standard mitten pattern into wool stuffed mittens, all you need to do is knit the pattern straight, in at least one size too big. Then knit just the hand portion a second time (ideally in the correct size, though knitting it bigger won’t hurt), and follow the same steps I did to attach the full and partial mitten pairs (i.e. sew together finger and thumb tips, cover outer mitten in a layer of wool, pull the inside mitten over that, and sew in place).
As I said above, I used qiviut for the inside. The outer yarn was Titus from Baa Ram Ewe, and I’m really happy with the combination of a coarser longwool for the outside with a super soft interior. Plus I like the colors. I ran out of qiviut for the hand-holding glove, which is partly why it doesn’t have any decoration on it. I ended up using some Blue Sky Alpaca yarn for the interior of that mitten, which was a bit more tricky as the alpaca was sport weight, while the outside is fingering. Happily it doesn’t really matter if the inside mitten is a bit too big, since it’s on the inside and no one can tell if it is scrunched up or not!
more hats
After making all the fruit and vegetable hats, I went on to make quite a few more hats. I tried out a new mosaic pattern (plus variation) that I developed during a meeting-good thing they couldn’t see my doodling! I’m calling these two variations ‘the lollipop guild’ (the one with periscopes/lollipops between the figures) and ‘heigh ho’ (the original). The yarn is knitpicks chroma worsted, and I was really pleased with how the colors worked for mosaic knitting.
The other batch of hats is based on a sock design I’d seen in a picture, which I turned into a hat pattern, and then did quite a few variations. The original pattern has all the cables going diagonally, so I decided to see how zig-zags would look, and how it would look if I did two diagonals right after each other. I’m not sure which is my favorite variation-I think it’s easier to pick a favorite hat color! I really like how some of them look in the decreases at the top though, almost like a flower.
My mum visited us in the fall, and we ended up doing a bit of a photoshoot on the front porch. It was cold and wet that day, but the lighting was good, and she got to play with the feature on my phone that makes the background all fuzzy. We had a pile of around 10 hats to photograph, and we ended up getting what shots to take down to a science.
fruit/vegetable hats
With various friends and family having babies this year, I had an excuse to make more hats. I had a specific request for fruit/vegetable baby hats, and I used that as an excuse to perfect my designs. I really like using KnitPicks Swish and Shine for baby hats, since they’re both machine washable, and they aren’t super expensive. I tried to use these hats as an excuse to use up my stash of swish, but I just found myself ordering some more since I need even more baby hat gifts!
My blueberry is very simple, being just a blue hat with a greenish/brown stem. I was so excited to go blueberry picking right after finishing this hat, in part because I will happily eat blueberries all day, and also because it meant I could take this picture of my blueberry hat on a pile of blueberries.
My apple hats are also fairly straightforward, with really only the addition of a leaf and a stem (with the appropriate coloring, of course). I did try a few different leaf types, playing with the number of yarnovers, and I’m not sure I have a favorite. My least favorite is the yarnovers down the whole length of the leaf, but I still think it works well enough as a hat decoration. For these hats I knit the leaf separately, then sew on the leaf. I try to make sure that it won’t twist around too much by attaching it in two places at the base.
My pumpkin pattern is also fairly simple. Since we don’t typically see pumpkins with leaves I don’t bother trying to make a large pumpkin leaf, but I do some purl columns to get the pumpkin ribs. I’ve decided that the rolled brim just doesn’t work as well with the ribs, since it requires switching between straight knitting and the ribbing. Inevitably when I see these on a kid, the brim is rolled down to the extent that you can see where I’ve switched, which I don’t like.
I spent a bit of effort in perfecting my eggplant hat. I know there are lots of free patterns where the leaves are done as colorwork, but I’m not quite happy with how those turn out for me. I wanted more three dimensional leaves, so I played around with different ways to create little leaf flaps, while leaving the top of the hat solid green. What I settled on as my favorite final result is somewhat complicated, but reduced the transition between the sticking out leaves and the top of the hat. I knit the purple as a tube, and when it comes time to start the decreases I get a new set of needles and do a provisional cast on in green. After one row of straight knitting, I start knitting the leaves. I’ve been doing 5 leaves, and for each leaf I decrease two stitches every right side row until they’re all gone. To join the leaves and the purple tube, I then knit together a green stitch and a purple stitch all the way around. It seems to work better than my first attempt of simply switching to green for the decreases and coming back to pick up stitches and knit leaf flaps.
New for me this summer was knitting rutabaga hats. Every year in Ithaca NY (where I spent several years at grad school) there is the International Rutabaga Curling Championship. As an avid attendees, my partner (note his excellent modeling job) and I determined that his friends needed a whole family of rutabaga hats to celebrate their firstborn. The baby got a simple rolled hem, but I played with a stockinette and ribbed interior hem (not that they’ll really need the extra warmth in central California, but… I like making hats with thick brims to keep ears toasty warm!). It was a bit of a challenge to determine how best to do the stalks on the top, and there were so many ends to sew in! I really like the final results though, and there will probably be more rutabaga hats in my future…
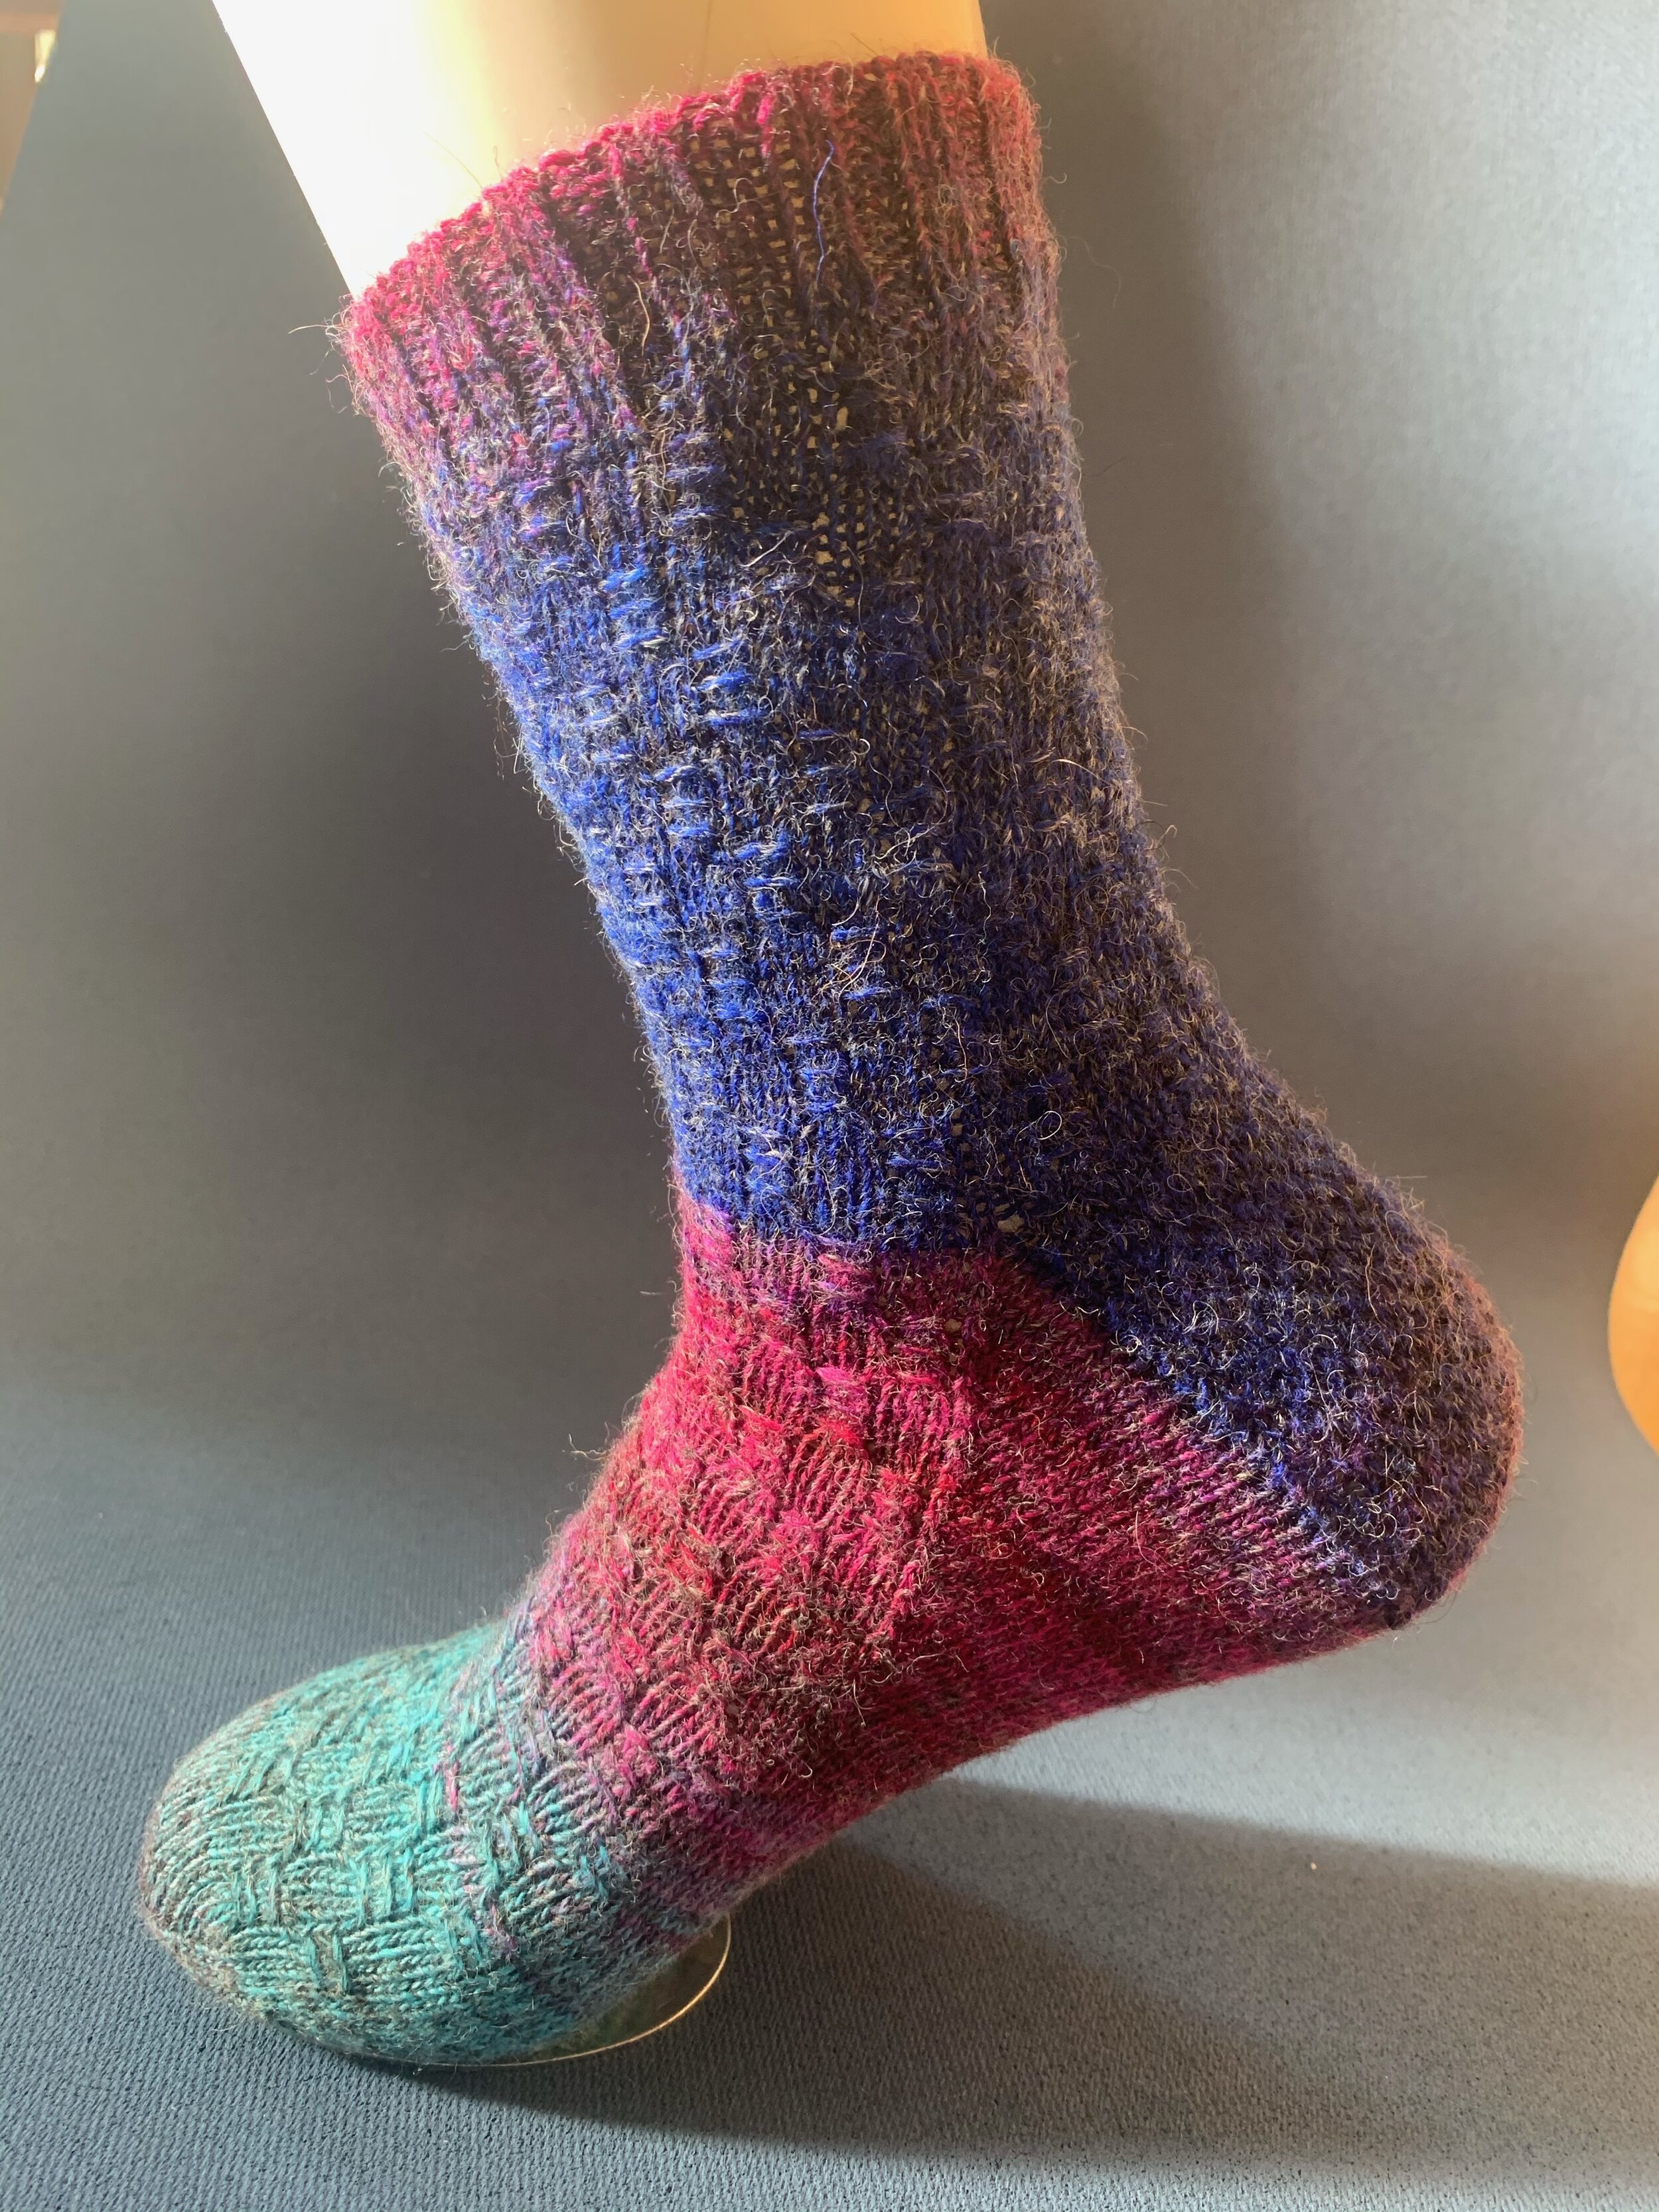
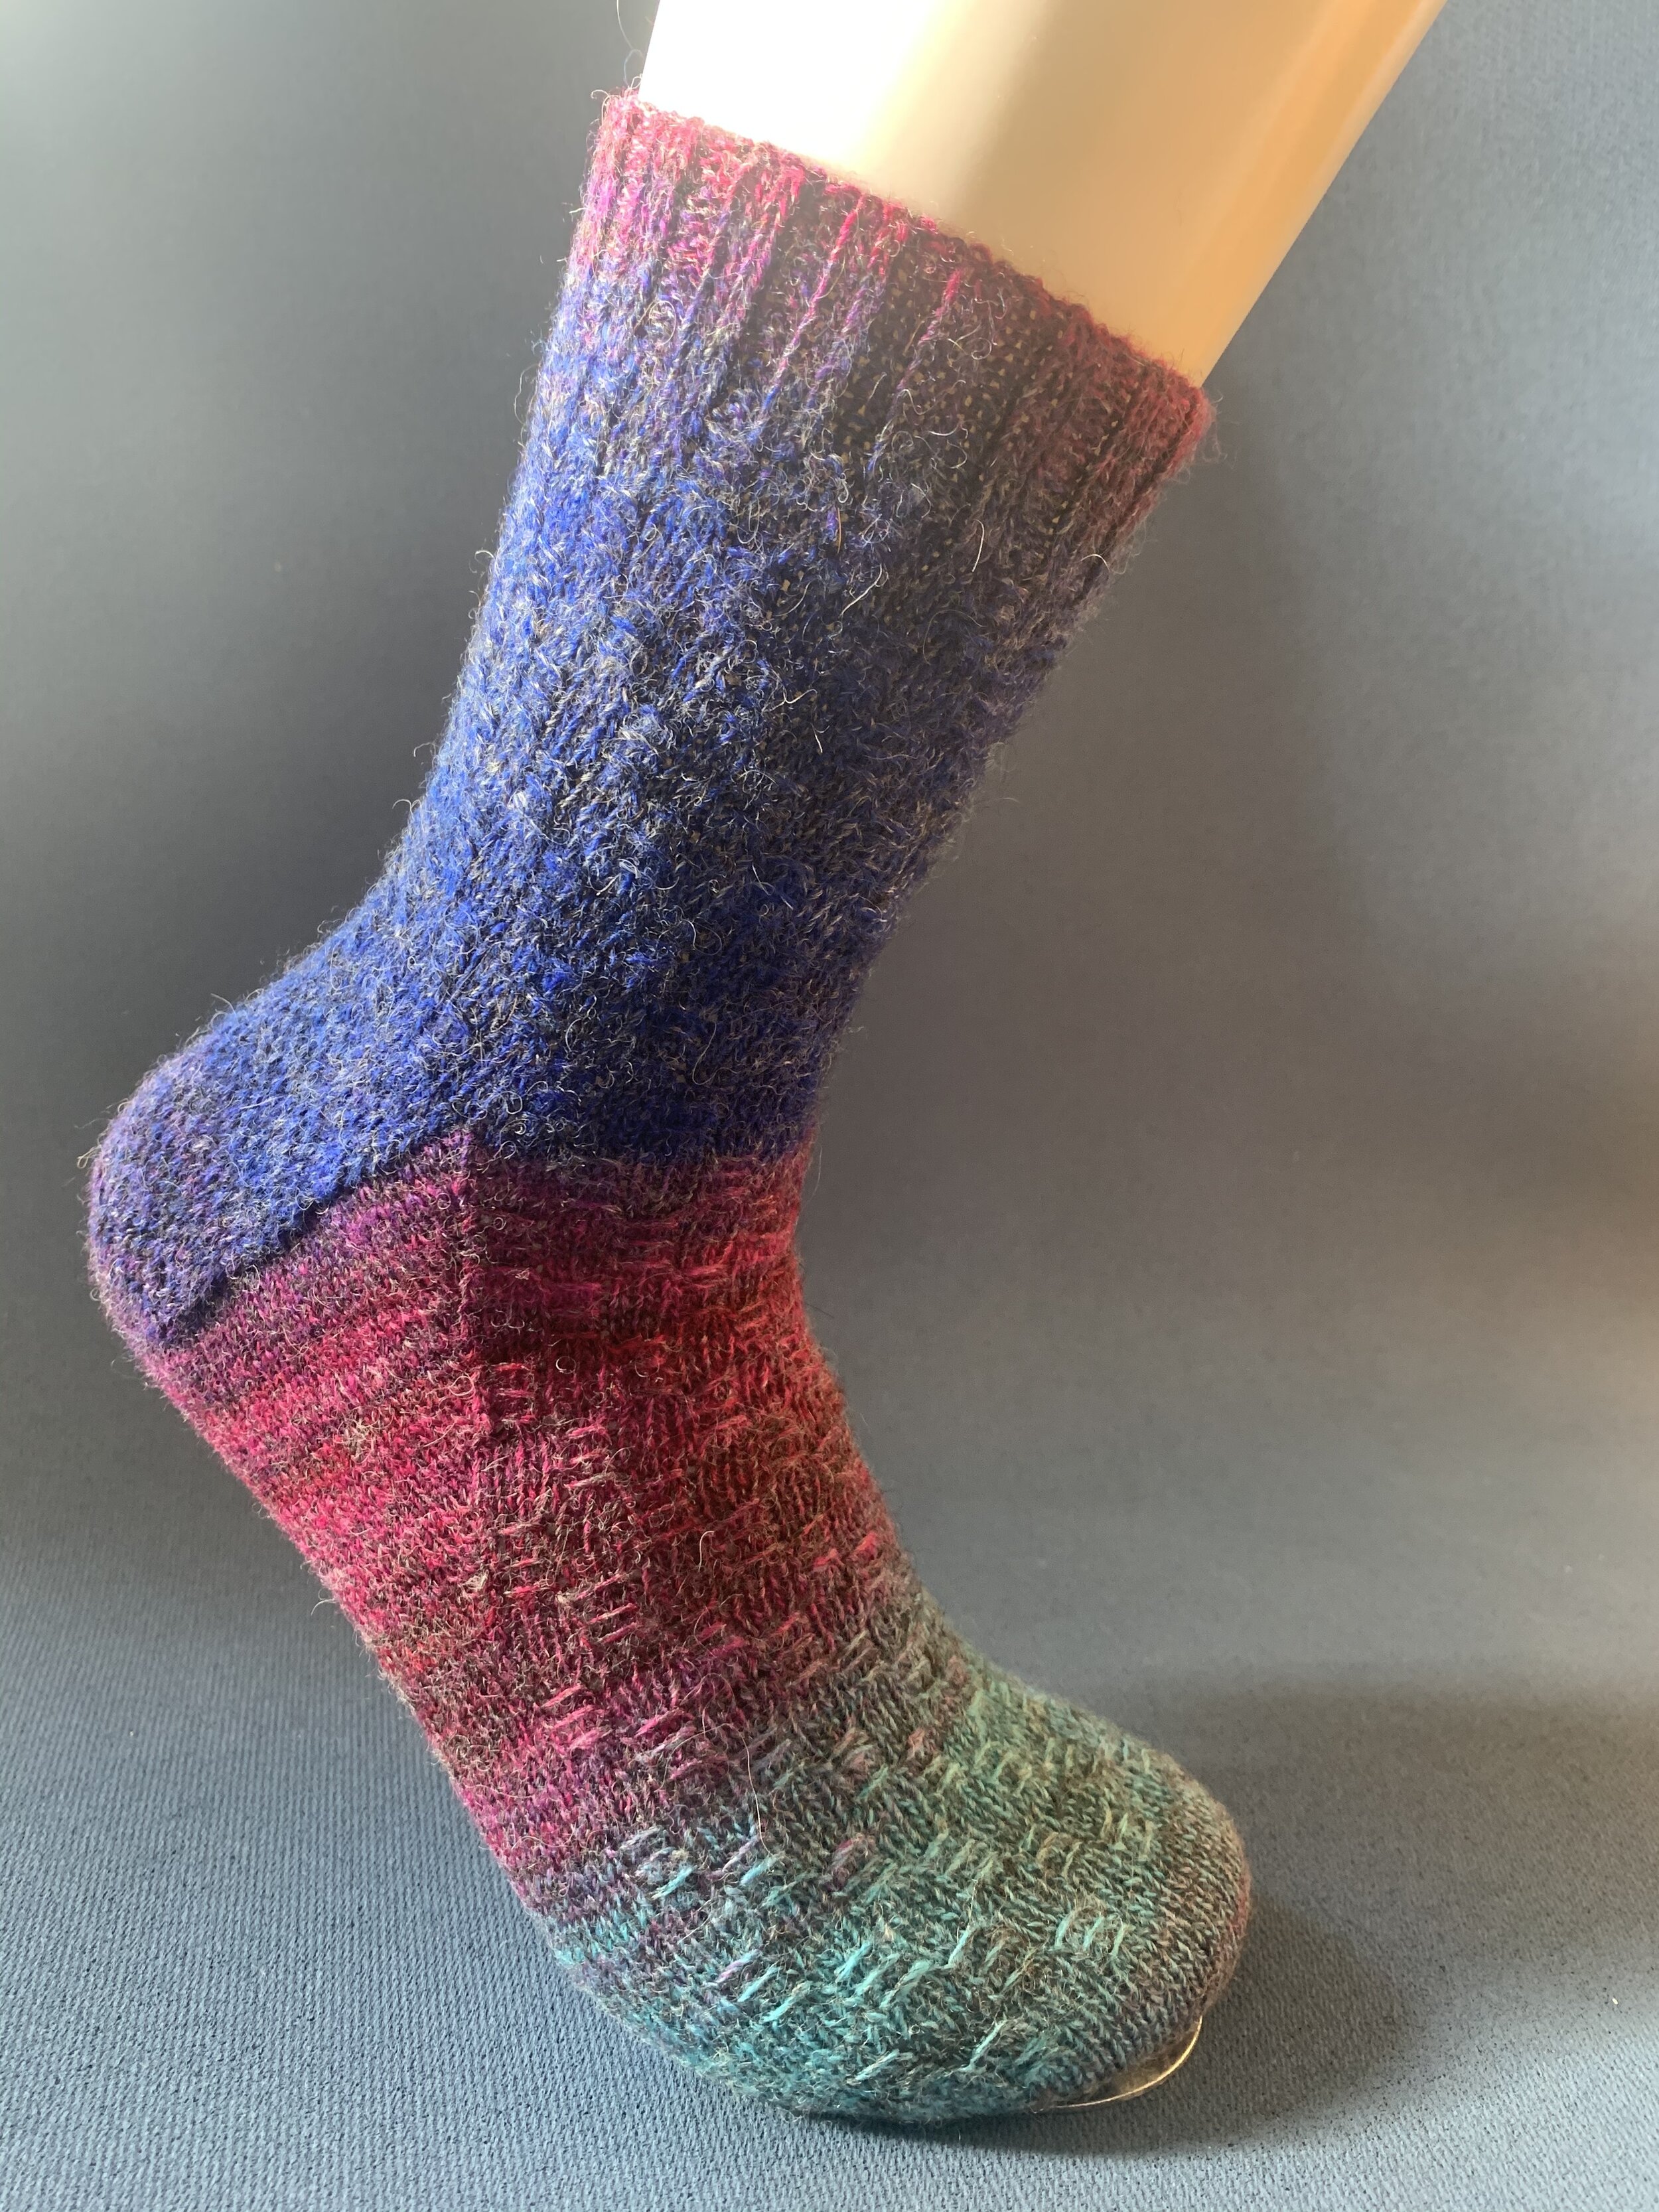
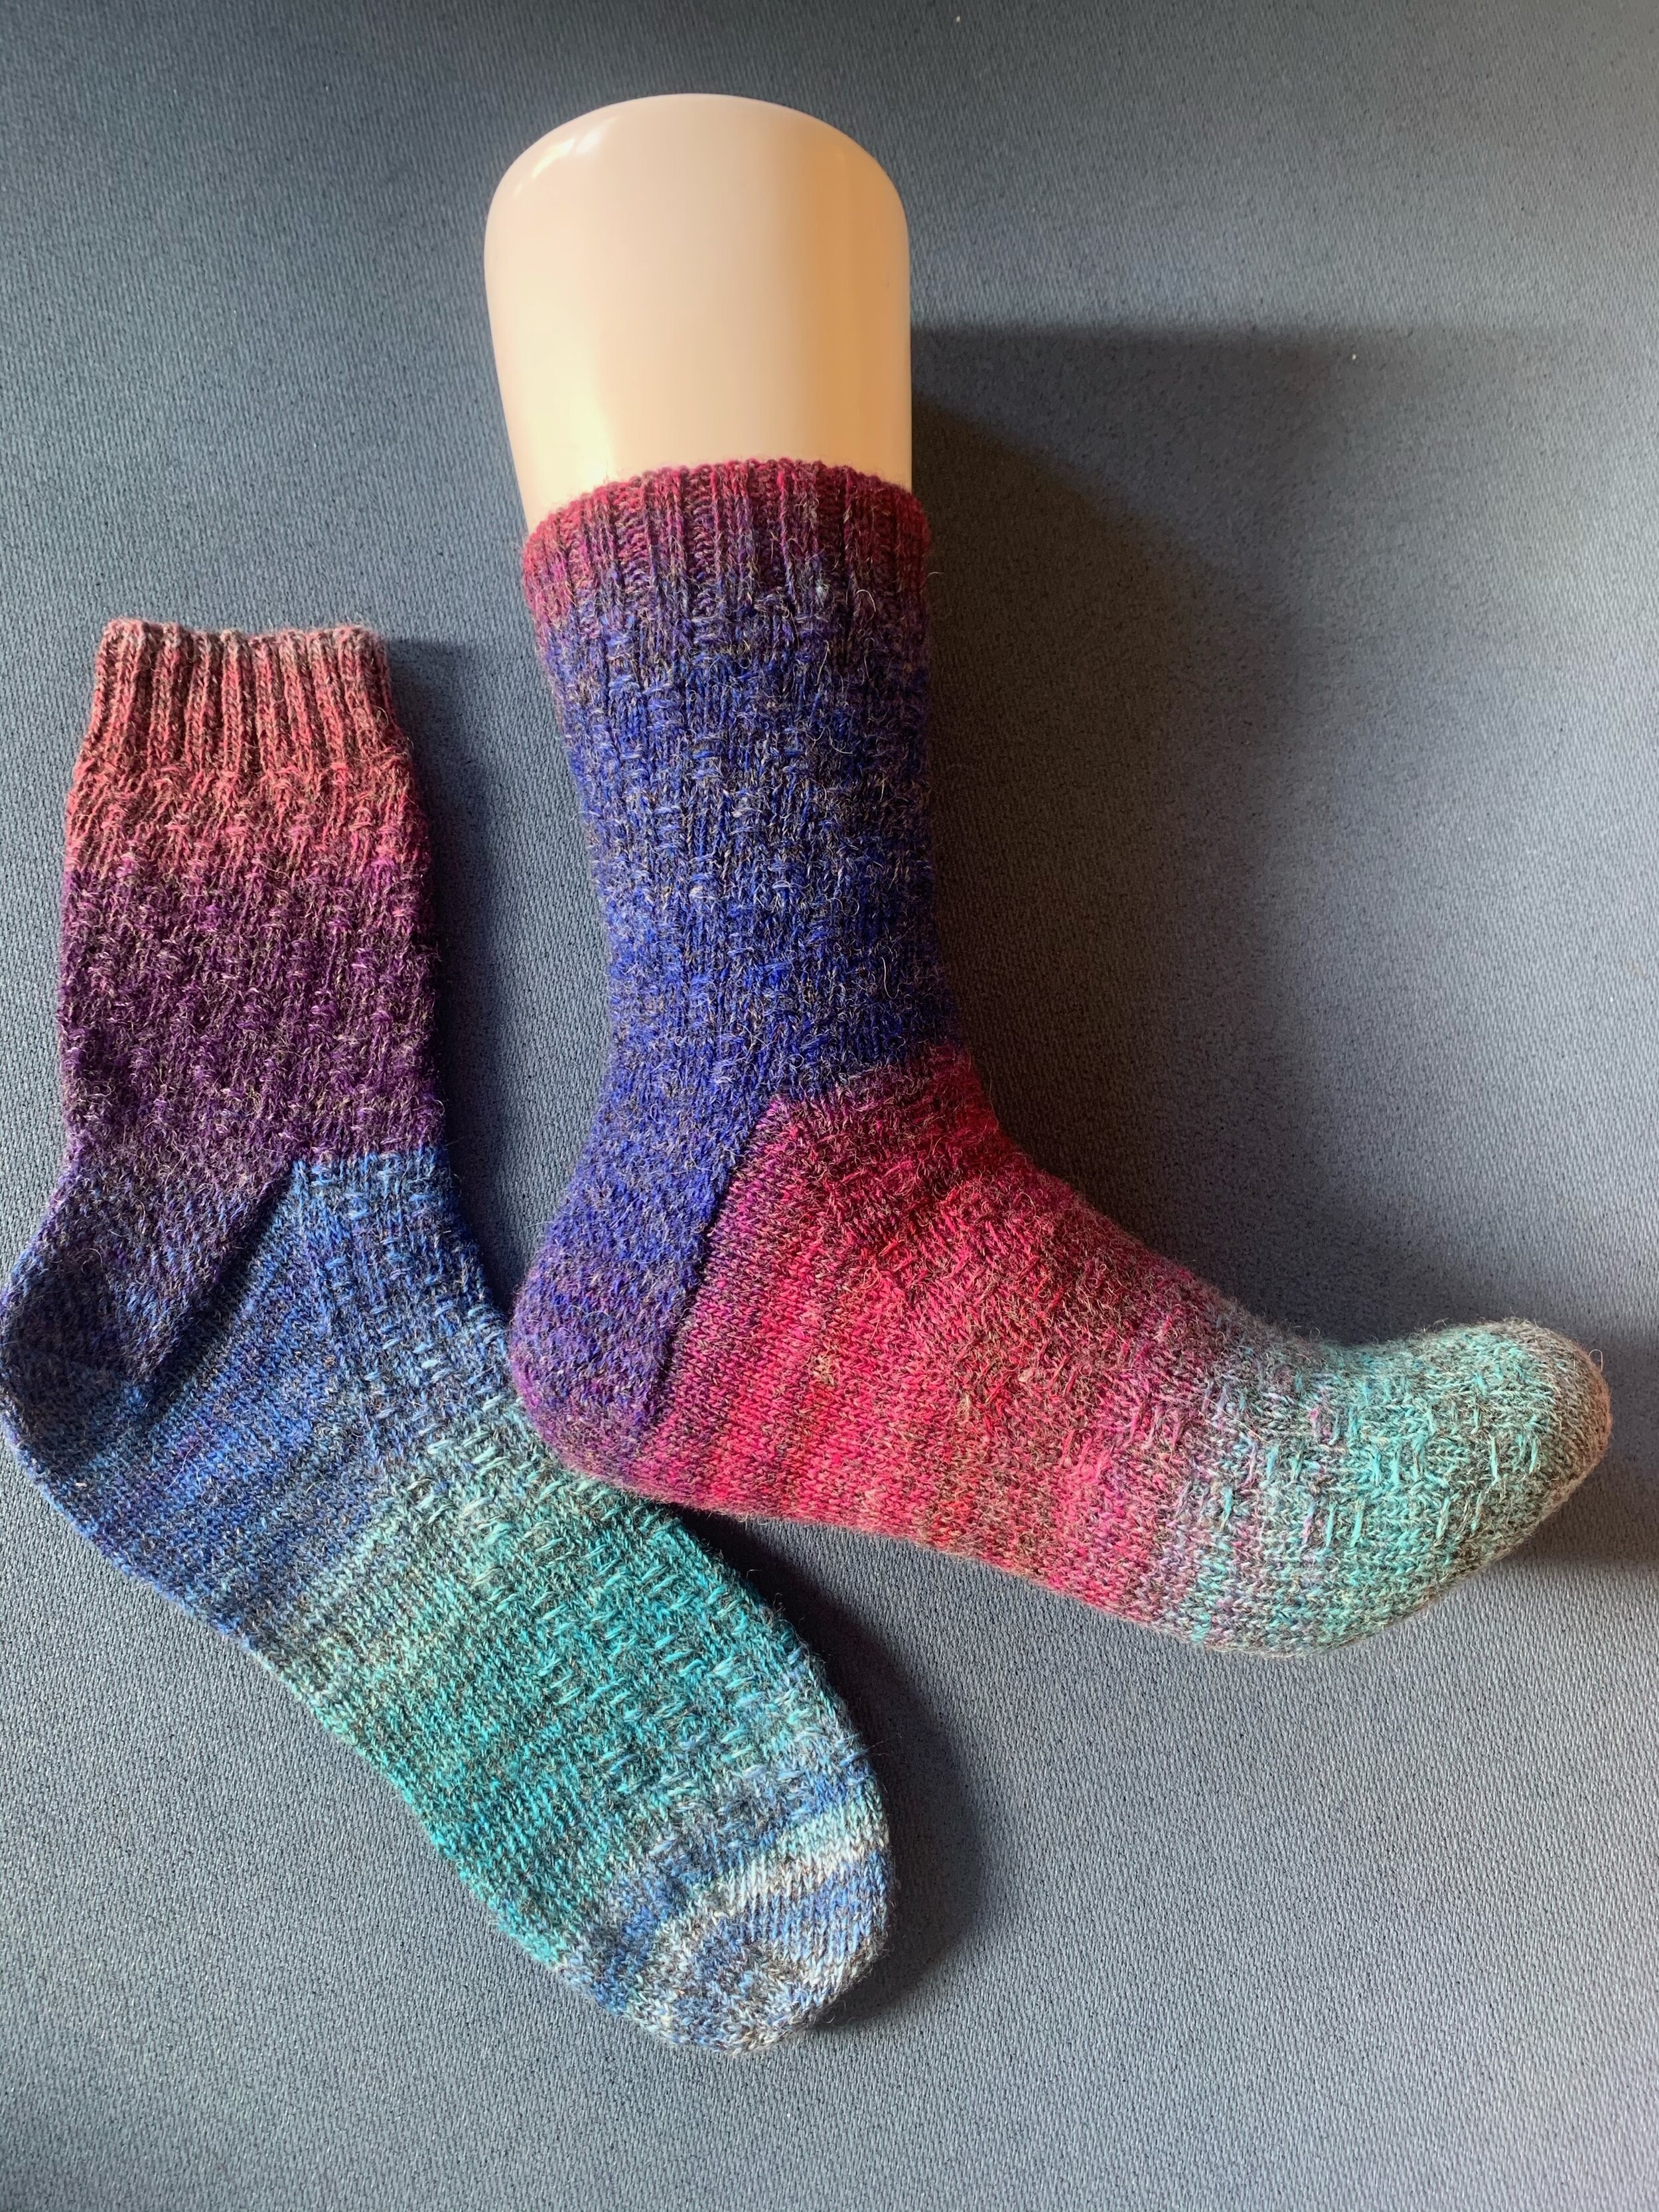
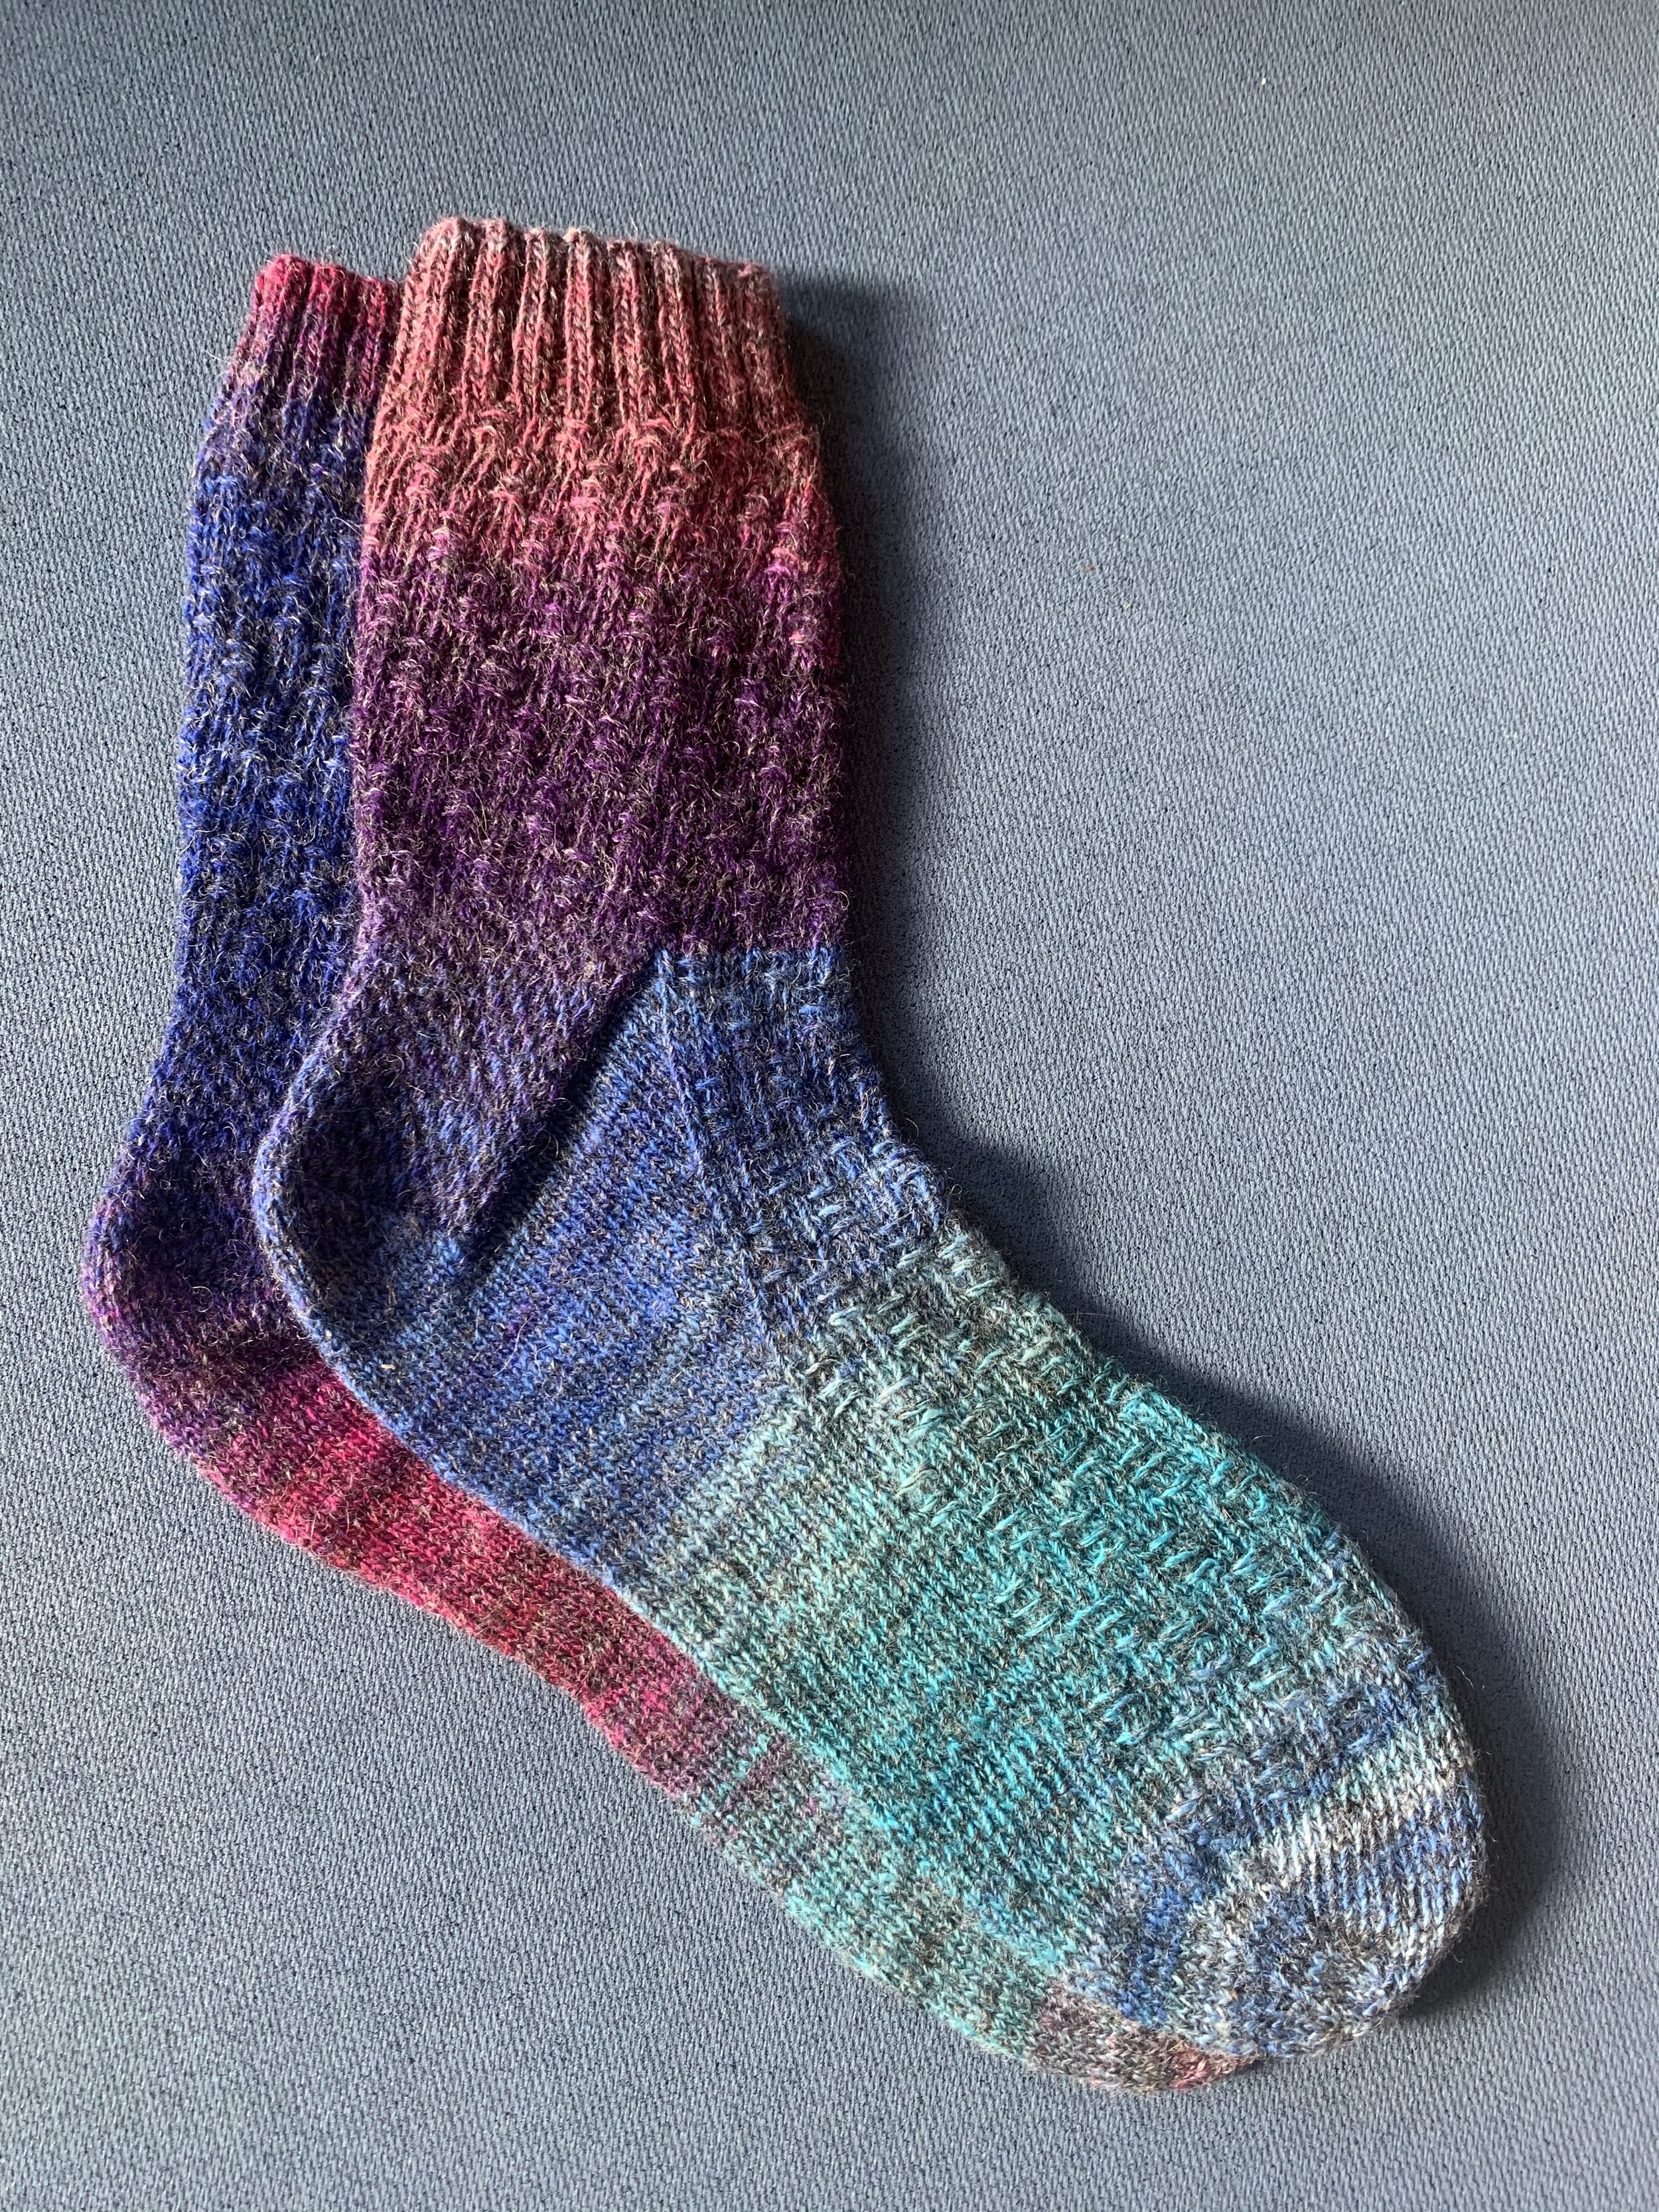
two more pairs of blue/teal/pink handspun socks!
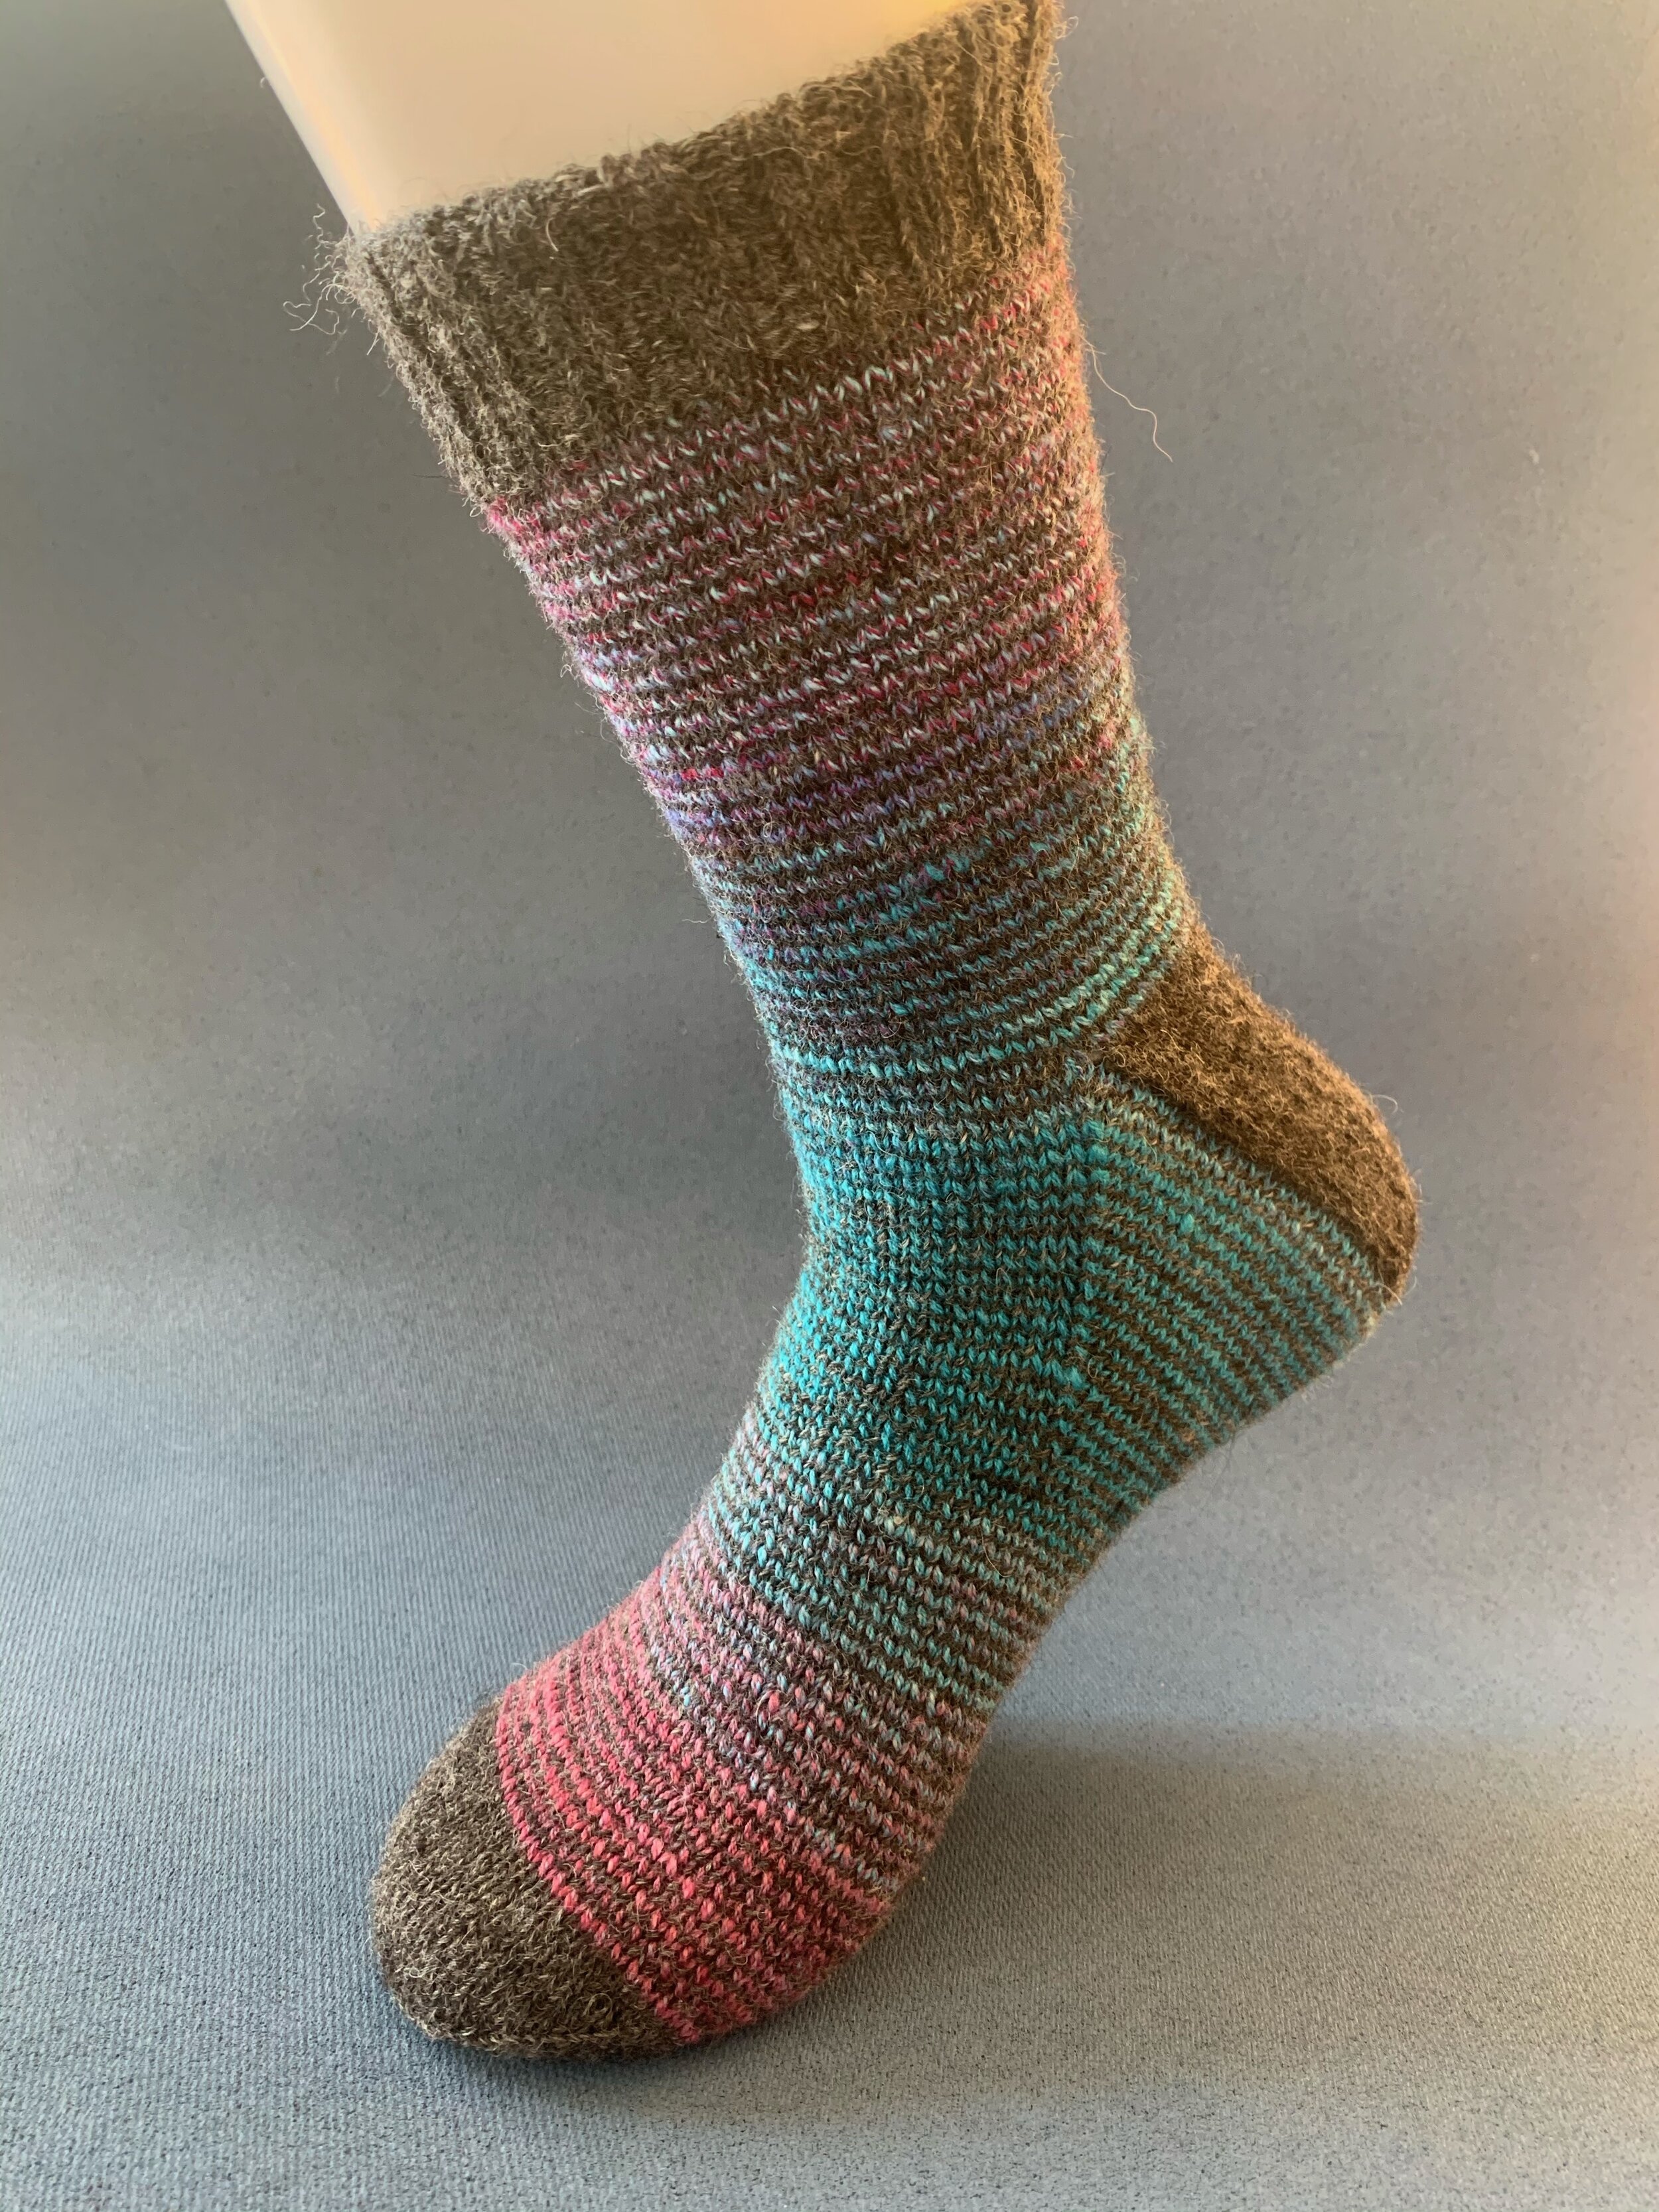
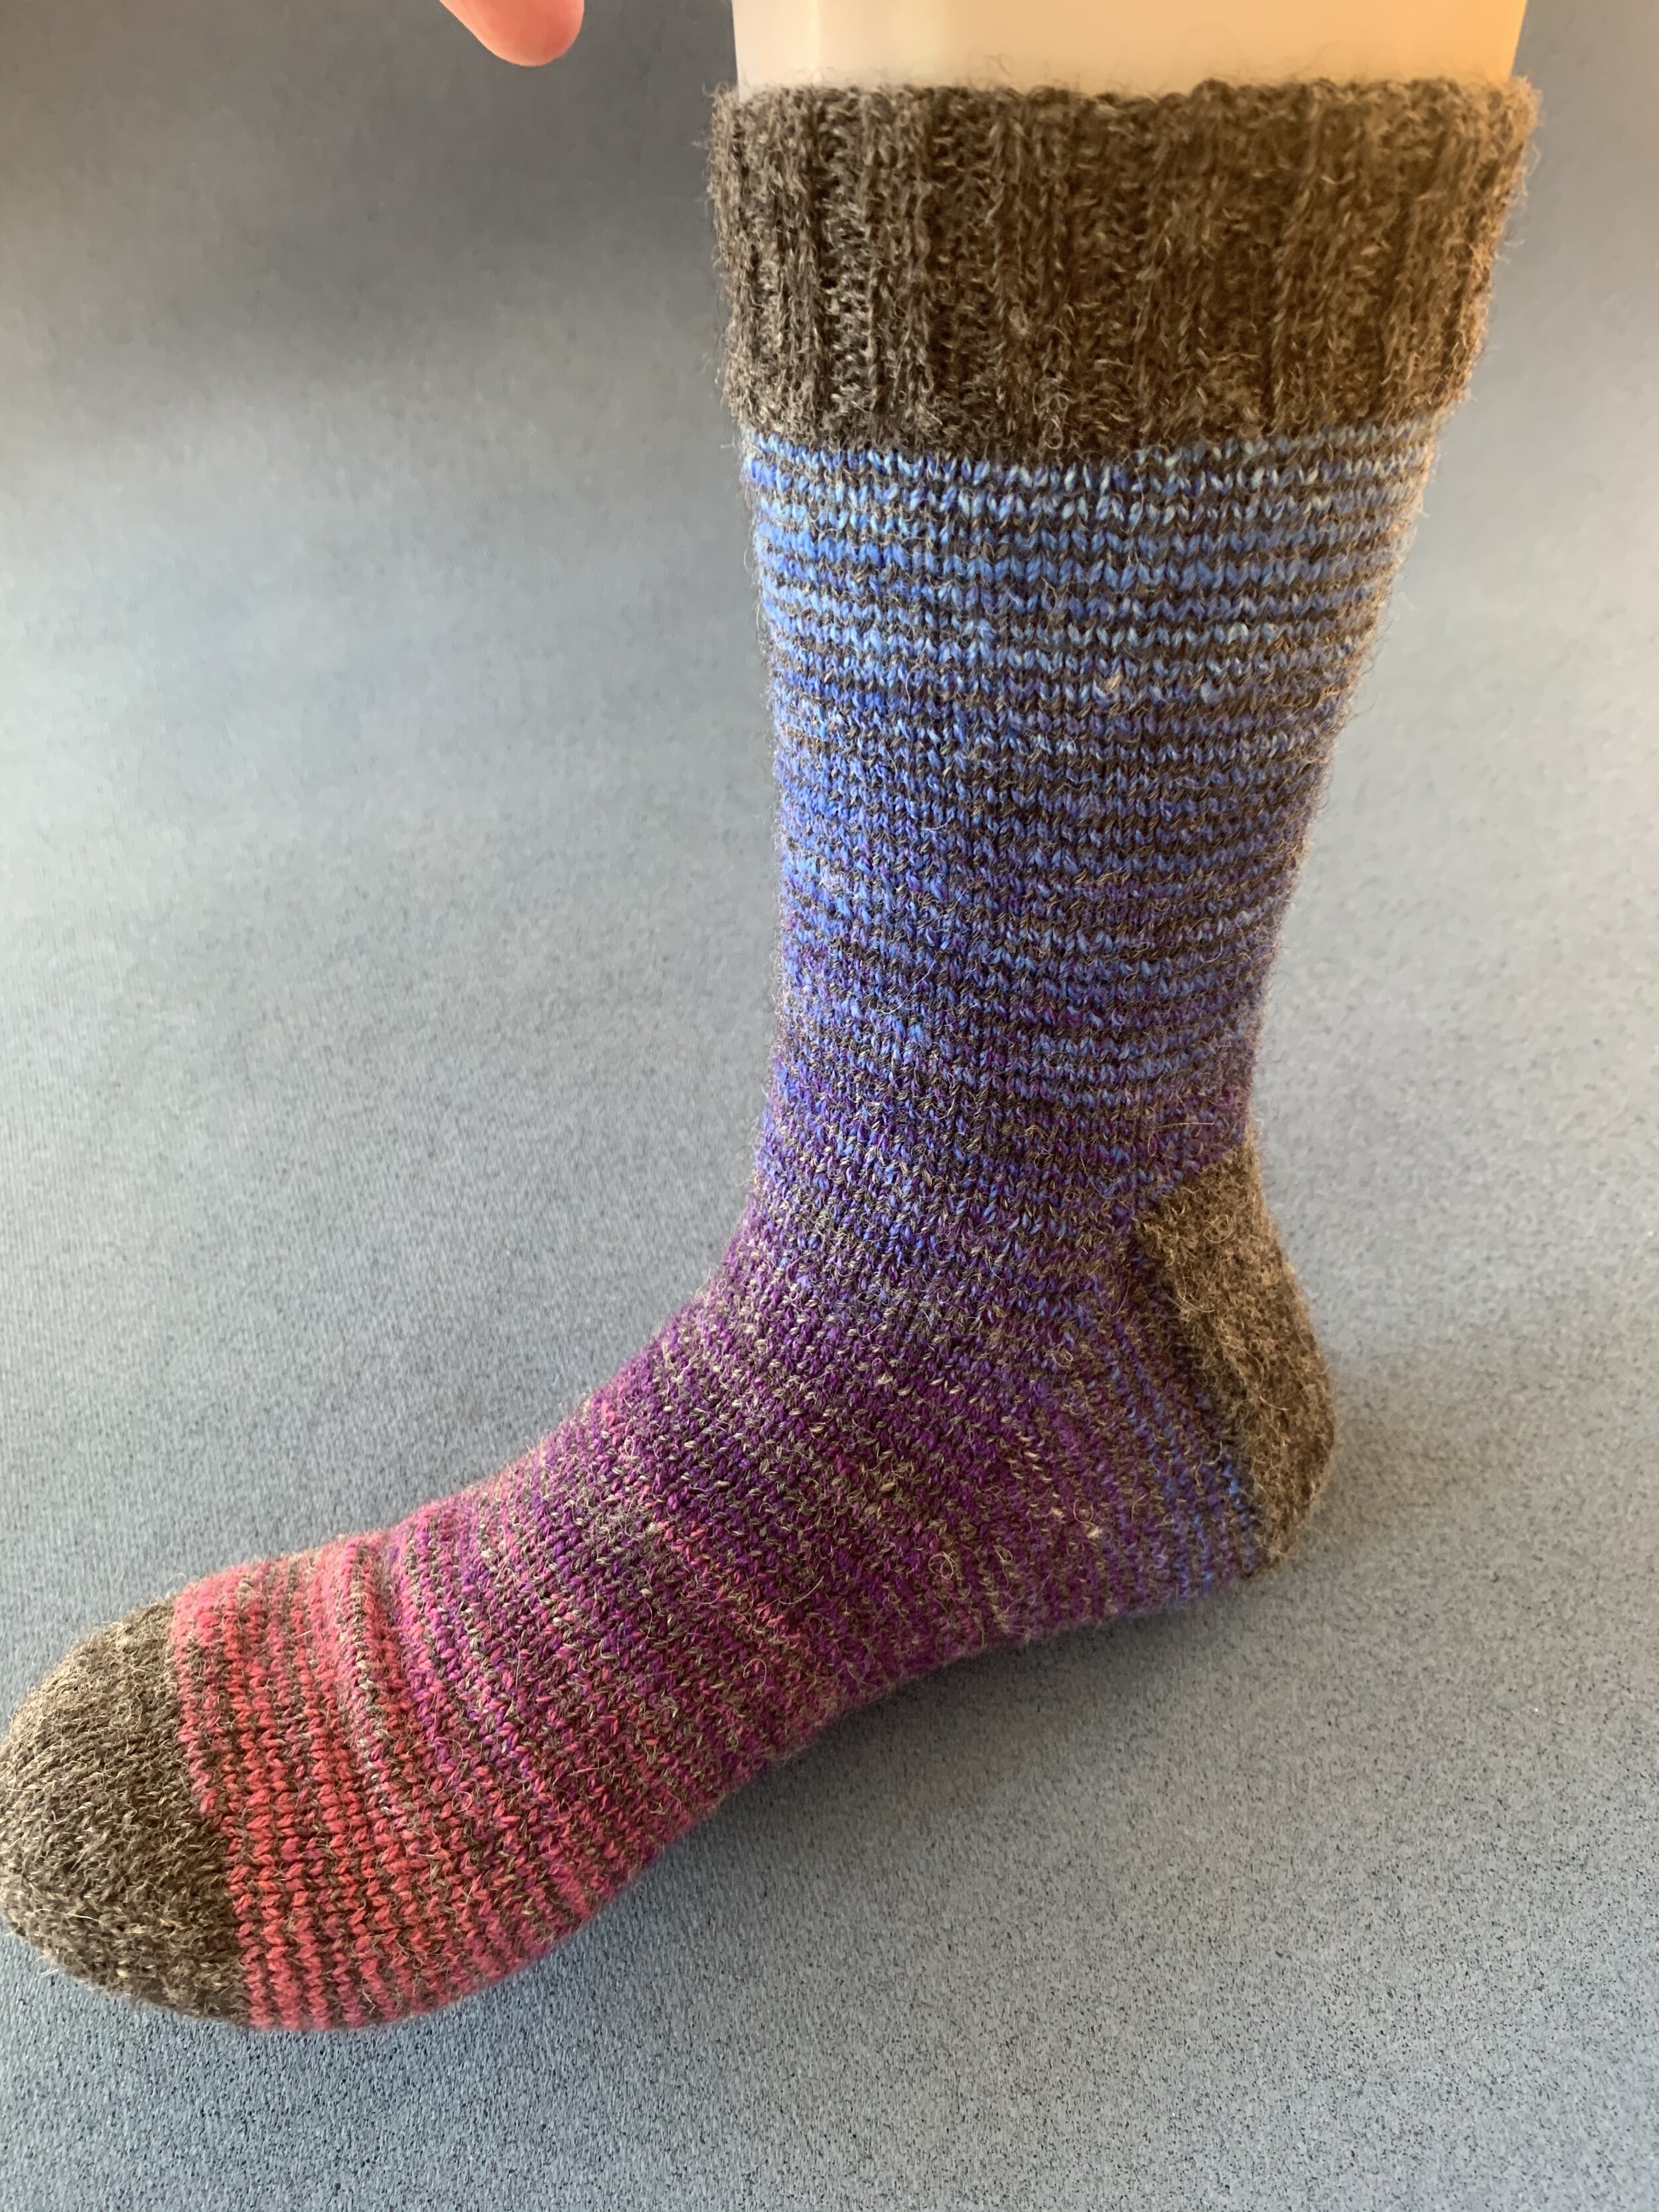
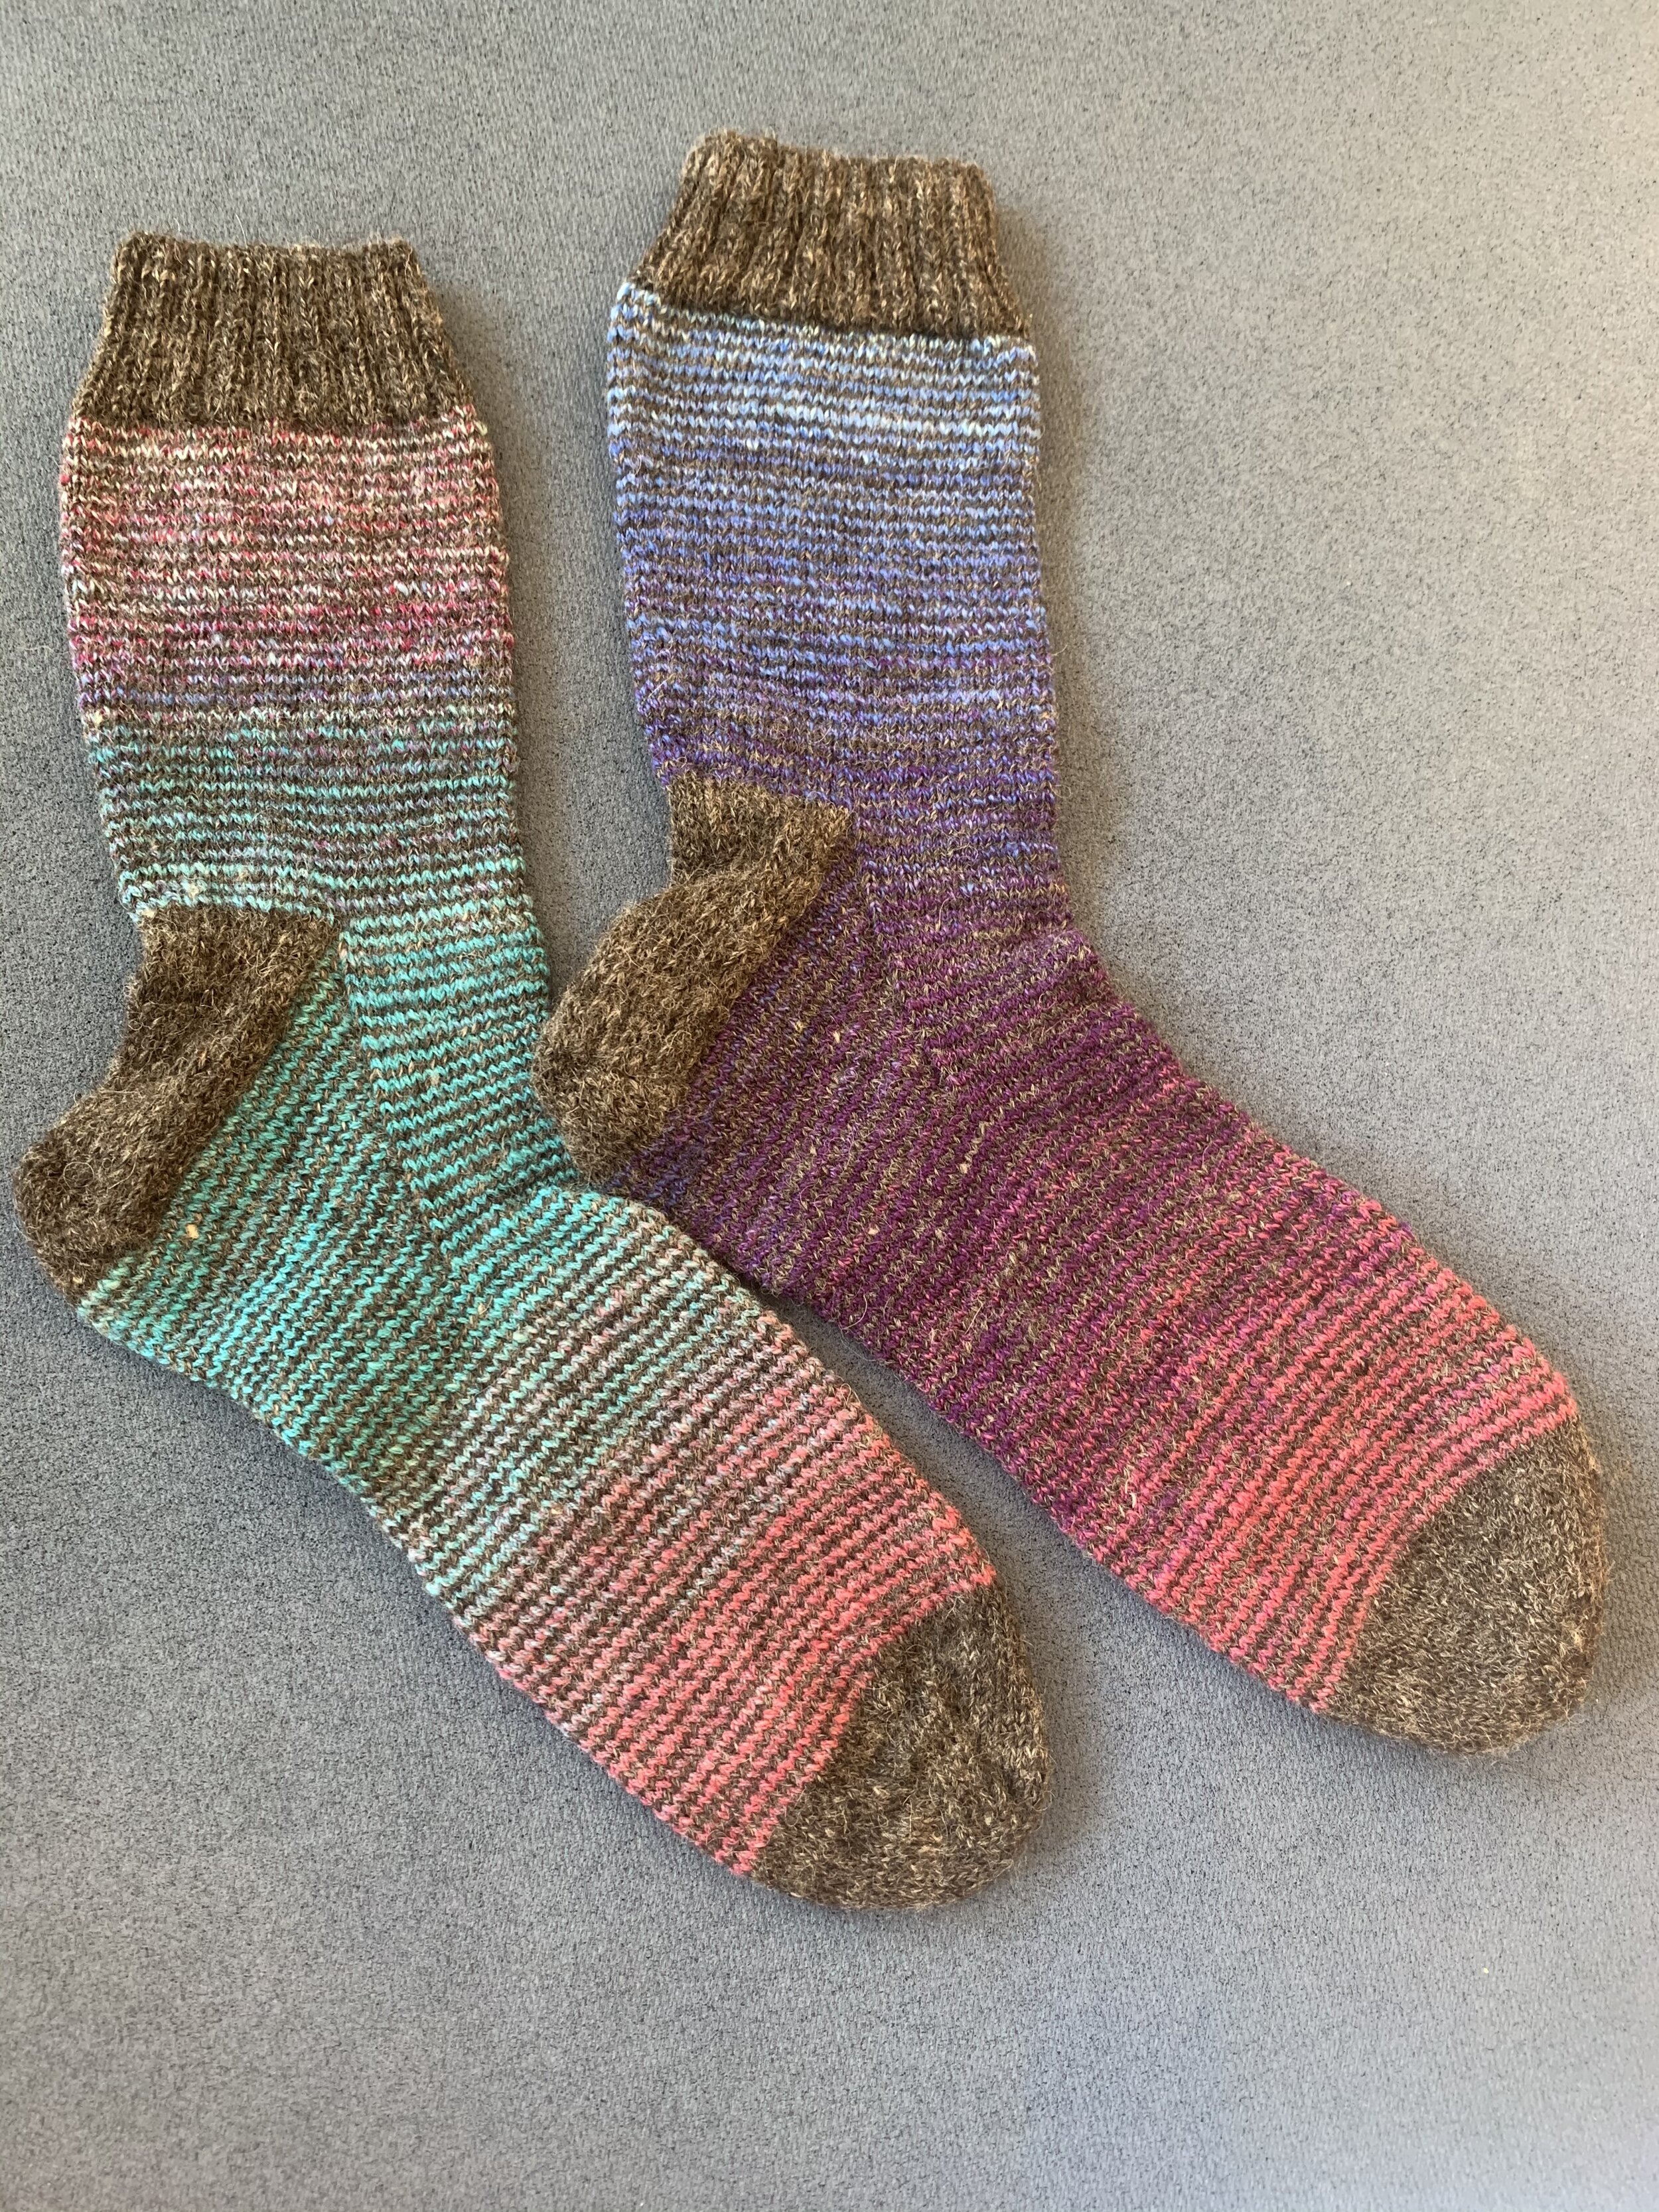
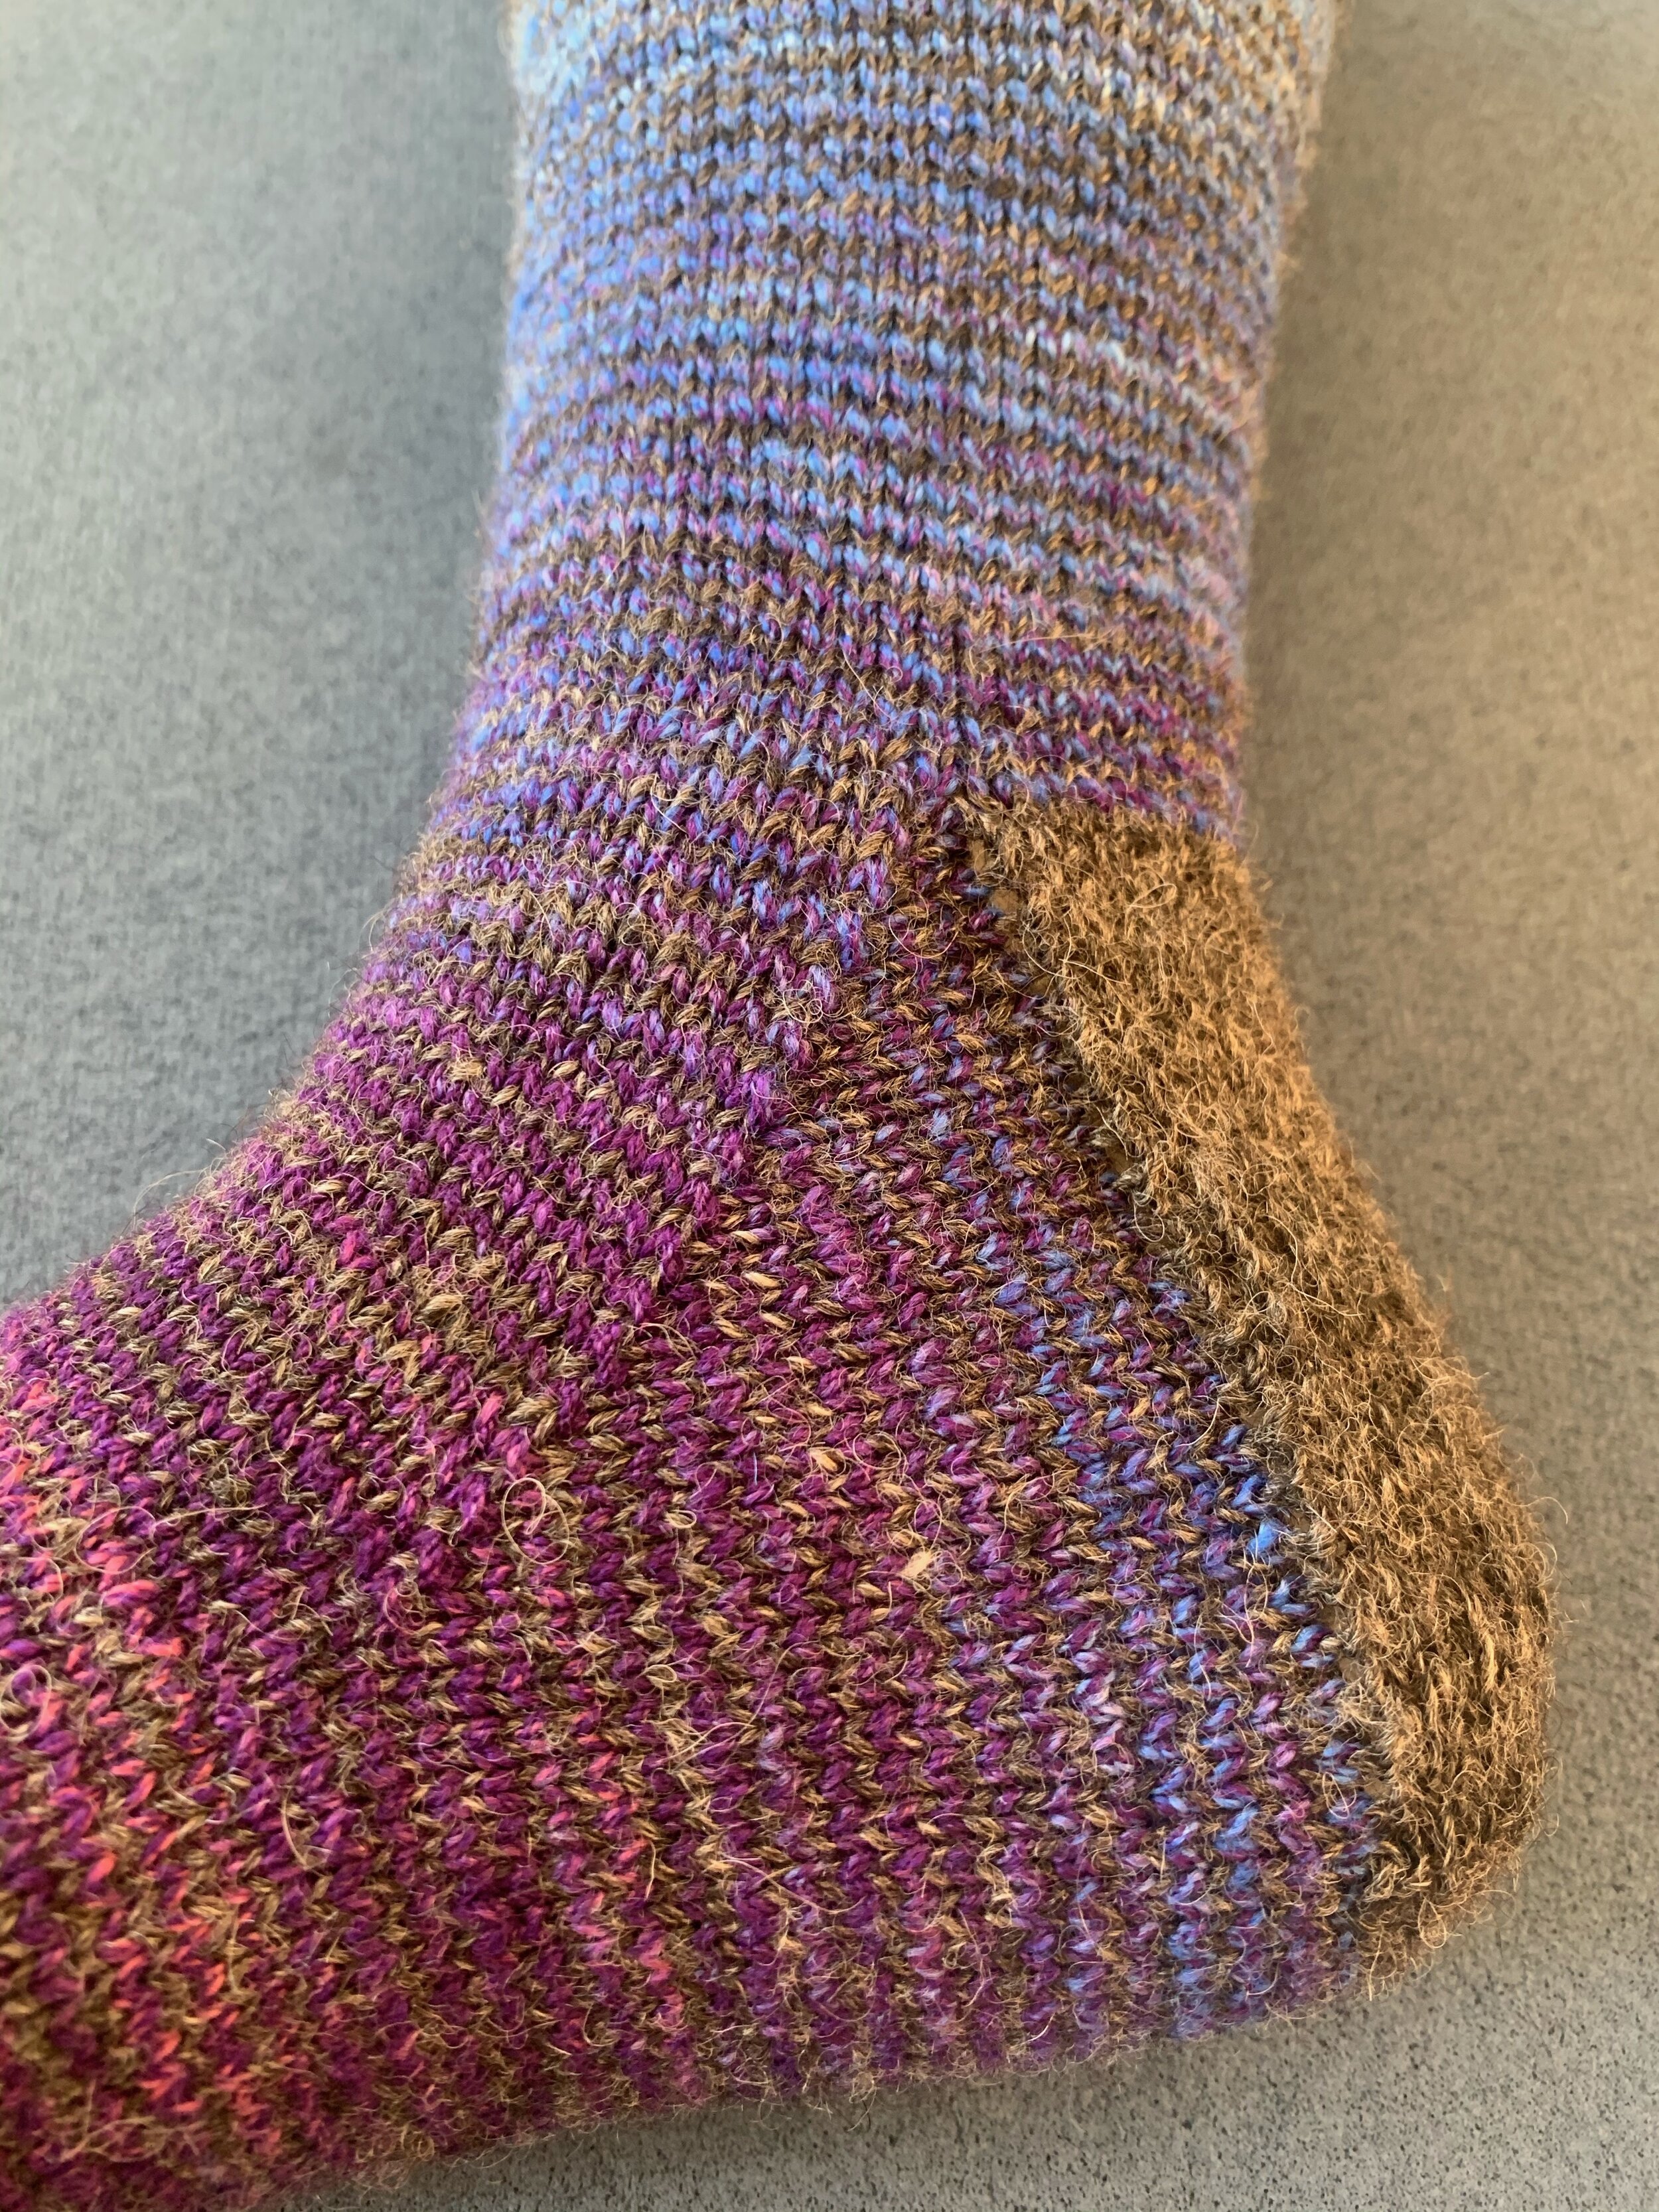
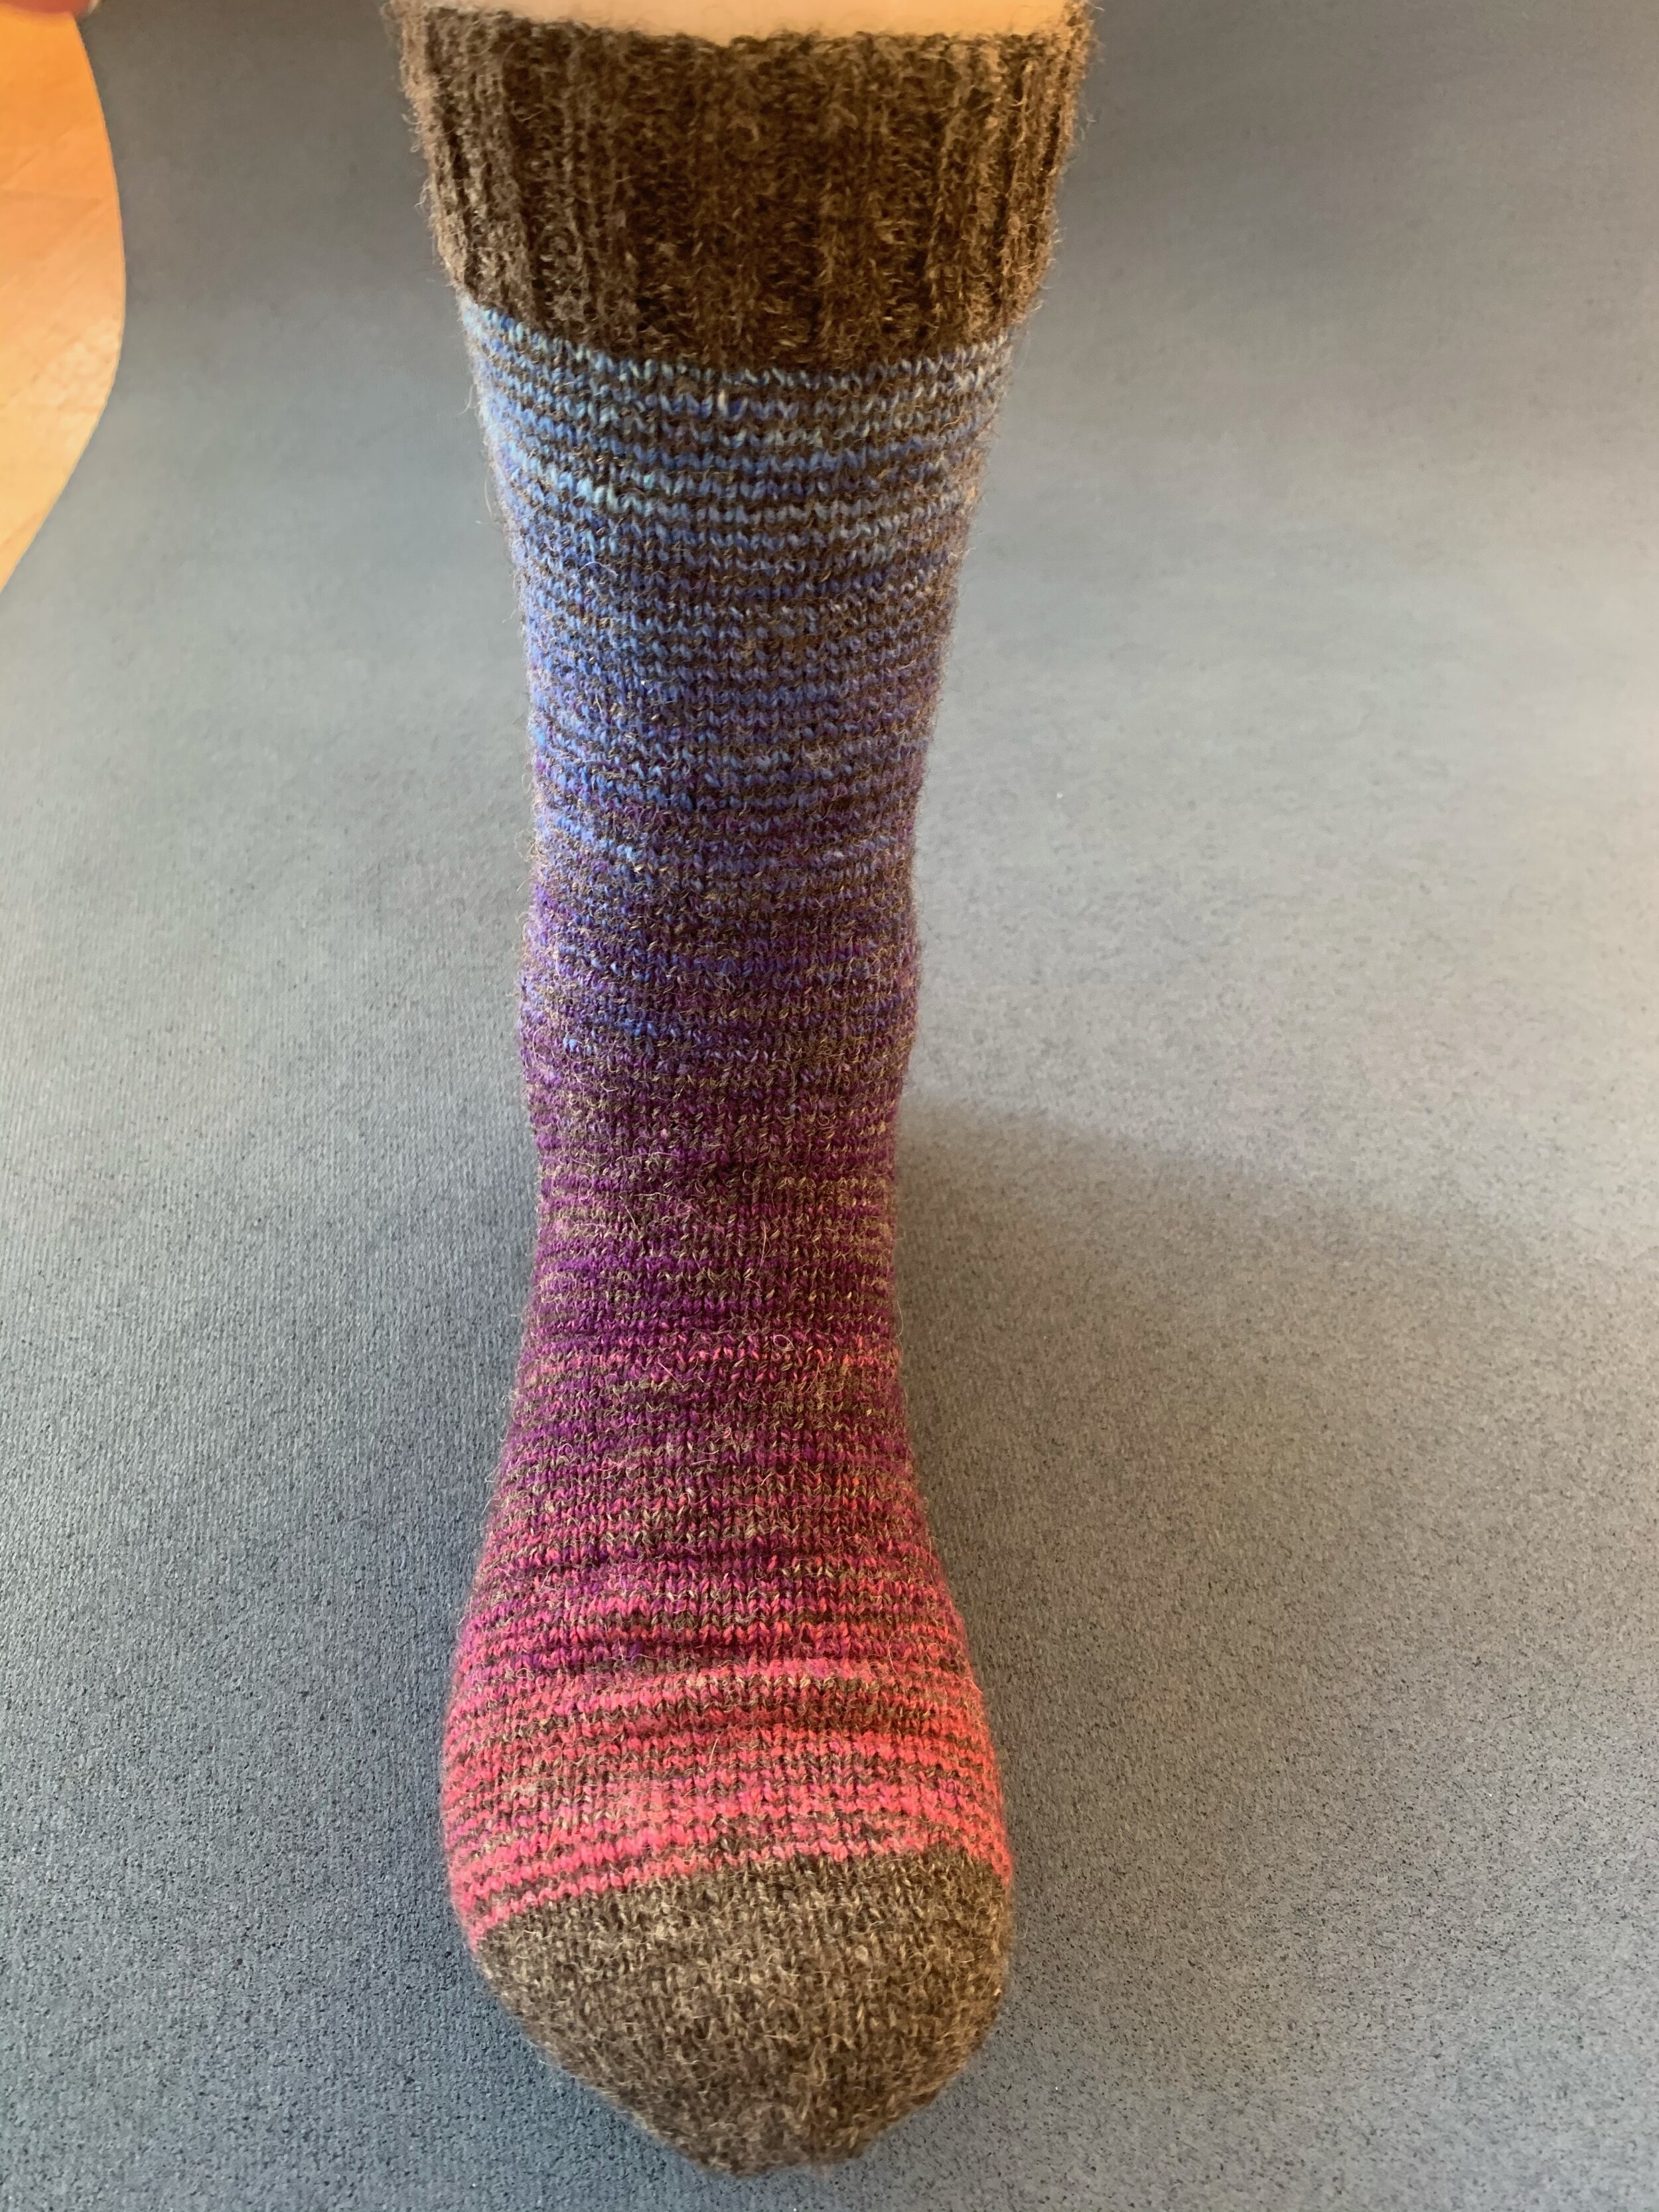
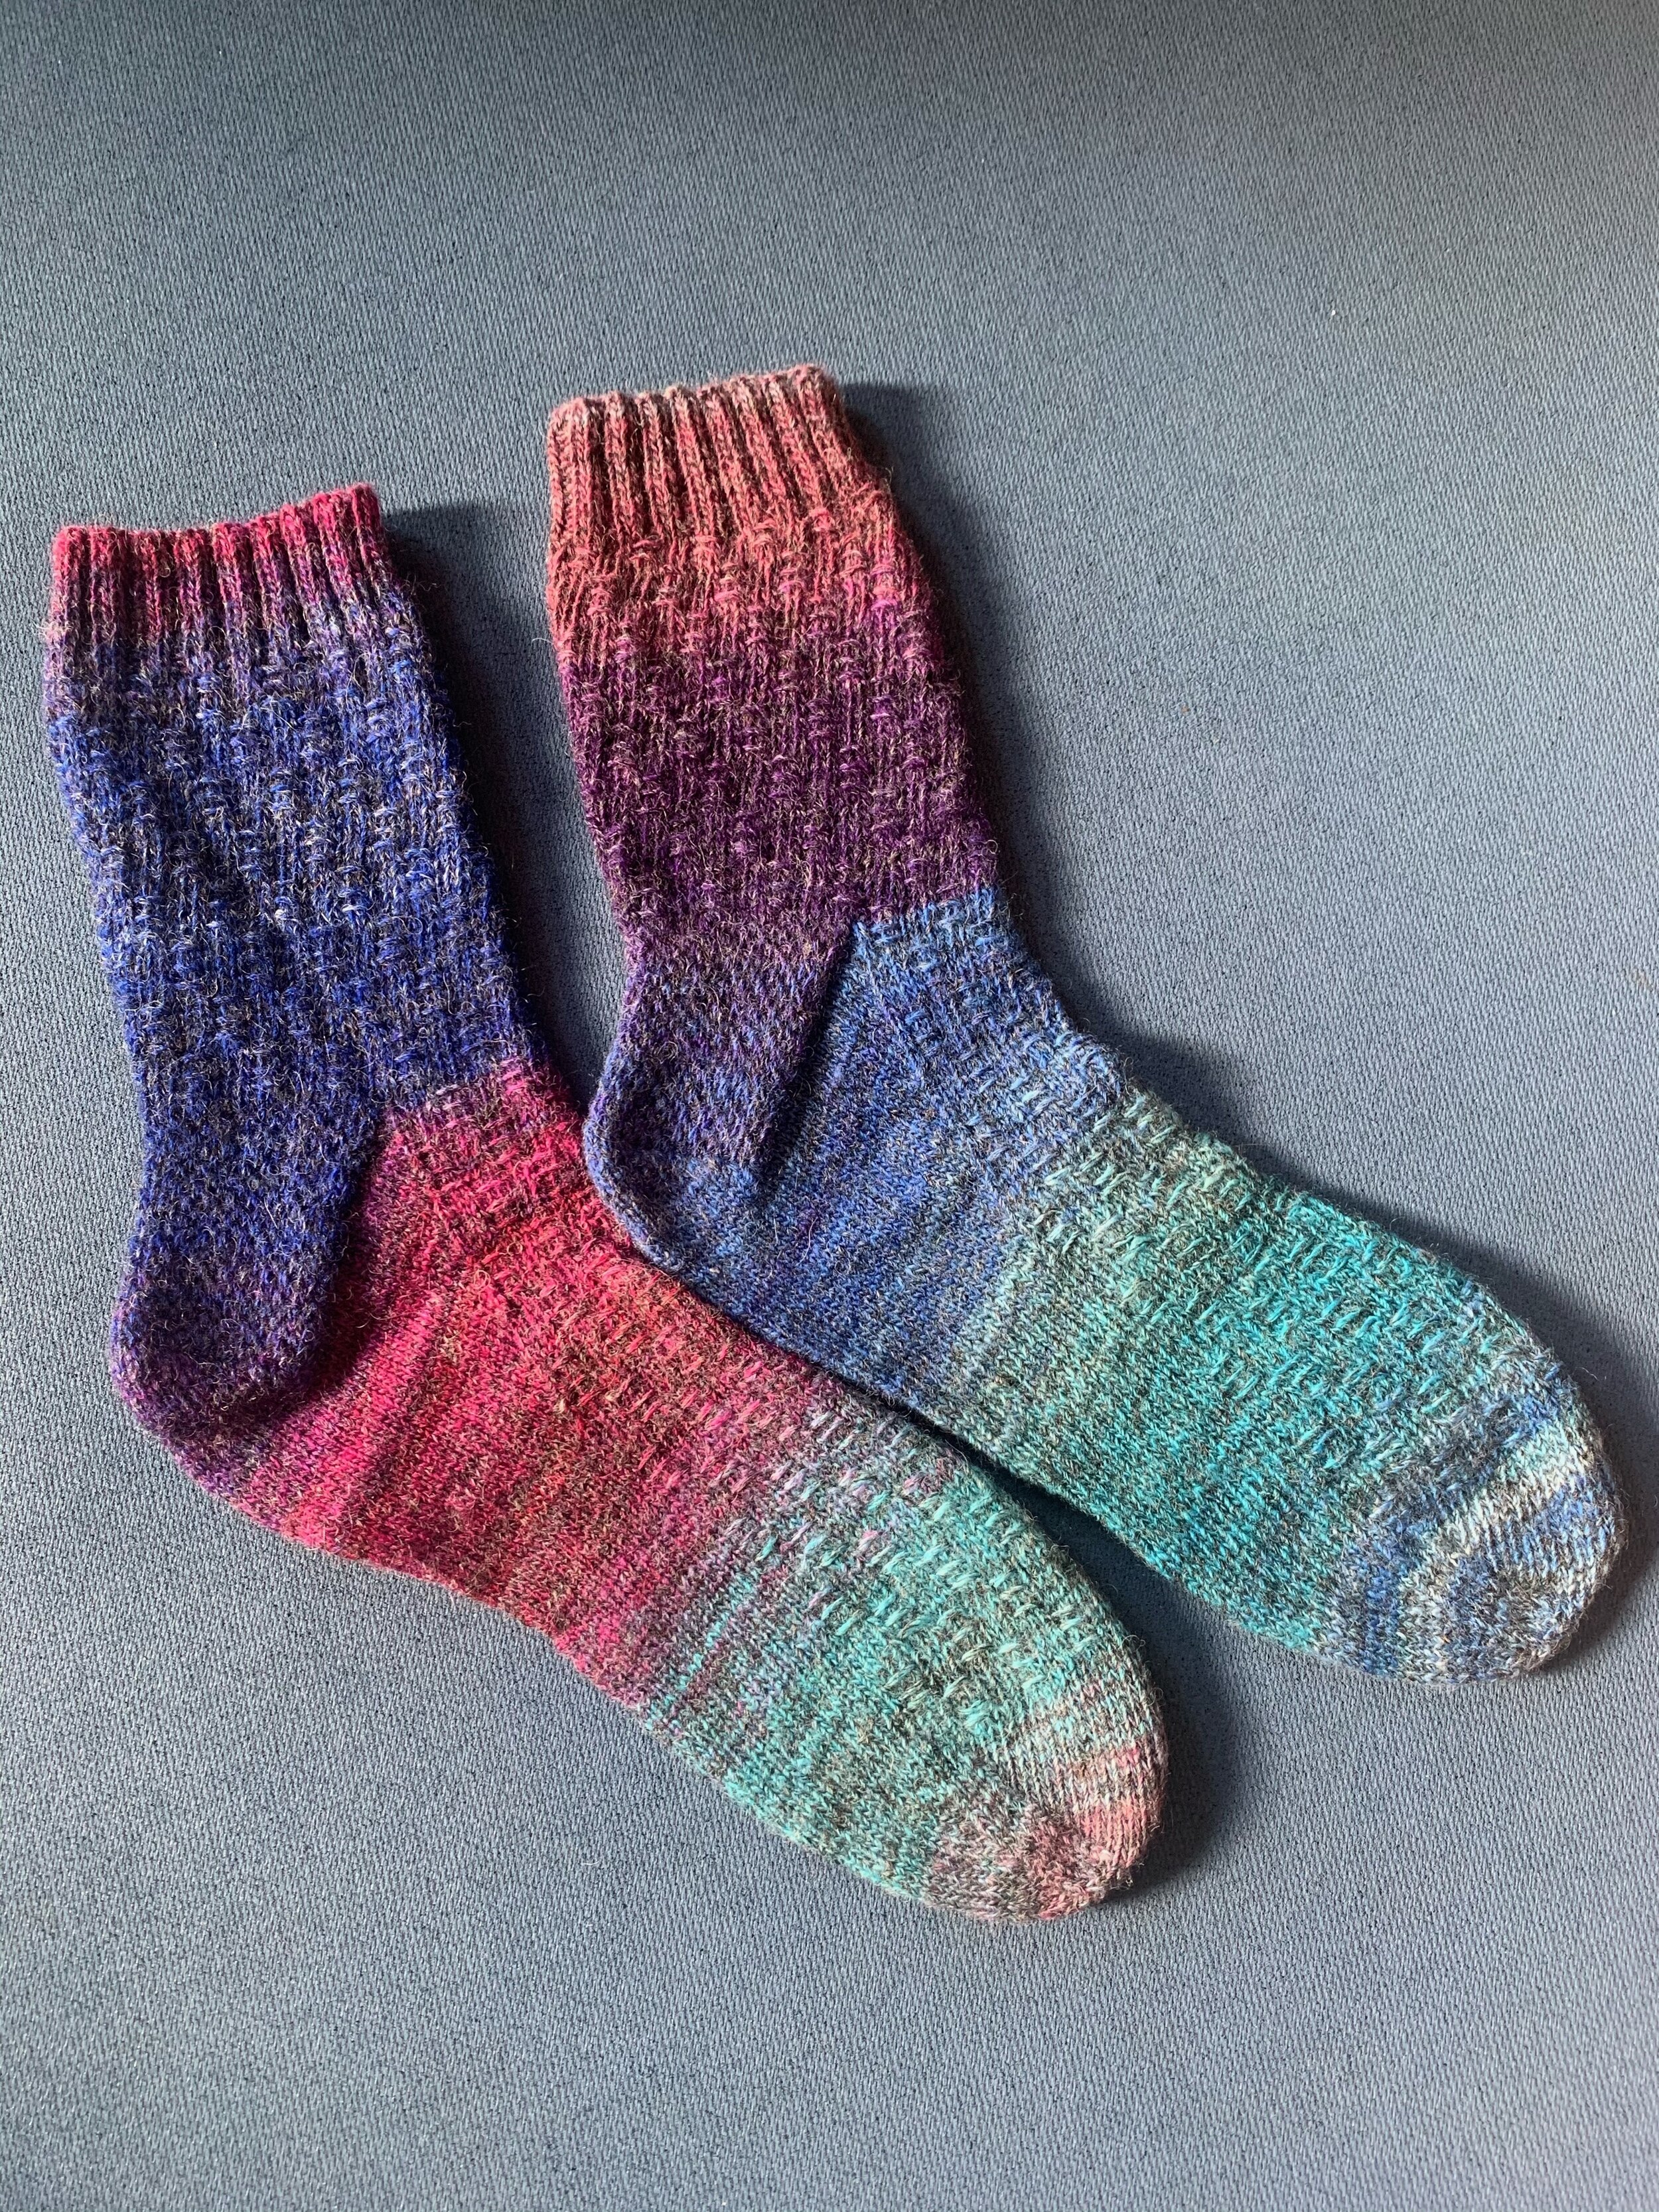
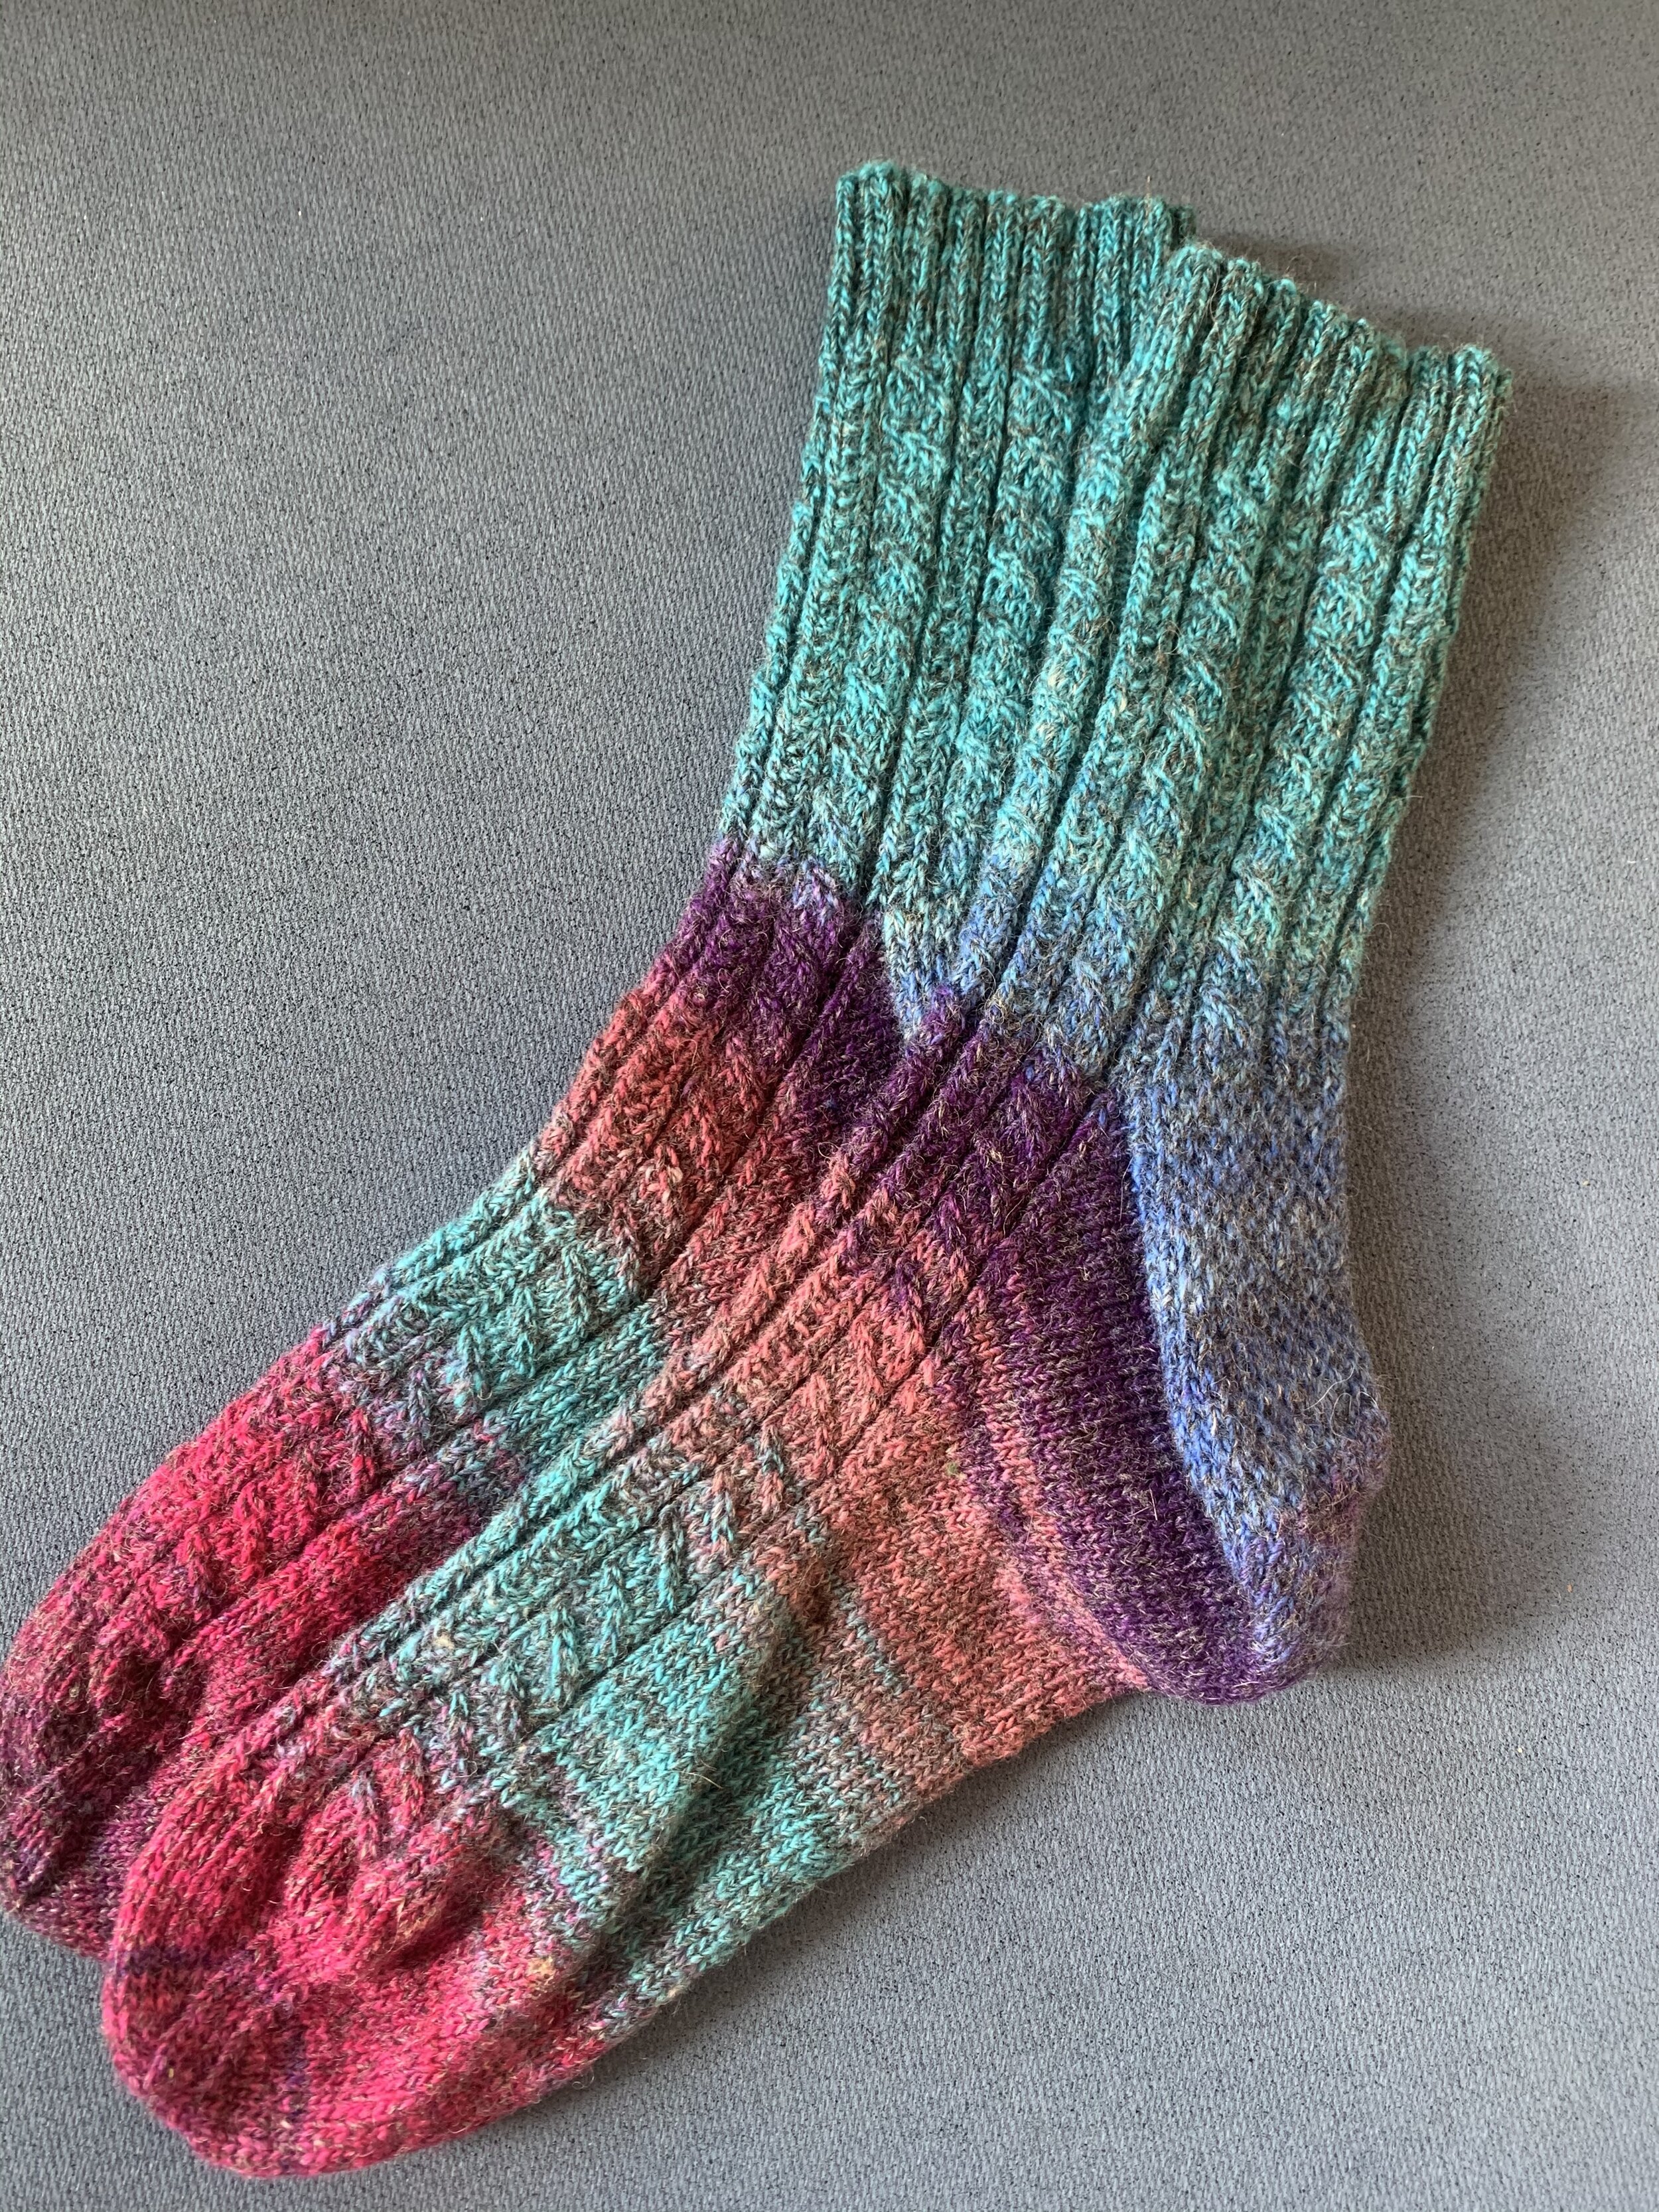
I was carefully looking through all my pictures from this year, and I realized I missed two pairs of socks from this set! The first pair uses the solid grey yarn and the last of the solid bright colors yarn. I did a bit of ribbing, the toes and heels in the grey, and then I used helical knitting to alternate between the grey and the colorful for the main body of the sock. Mostly because I only had a very little of the colorful yarn left, and I didn’t want to waste any of it, but also because I wanted to play around with helical knitting. I really like that helical knitting doesn’t have that jump between rows, and I also find the general notion appealing.
The second pair of socks is from the yarn where I plied the colorful against the grey. This was a new pattern for me, but one I think I’ll try again. It’s subtle, yet gives some interest and texture to the sock, so that it isn’t boring.
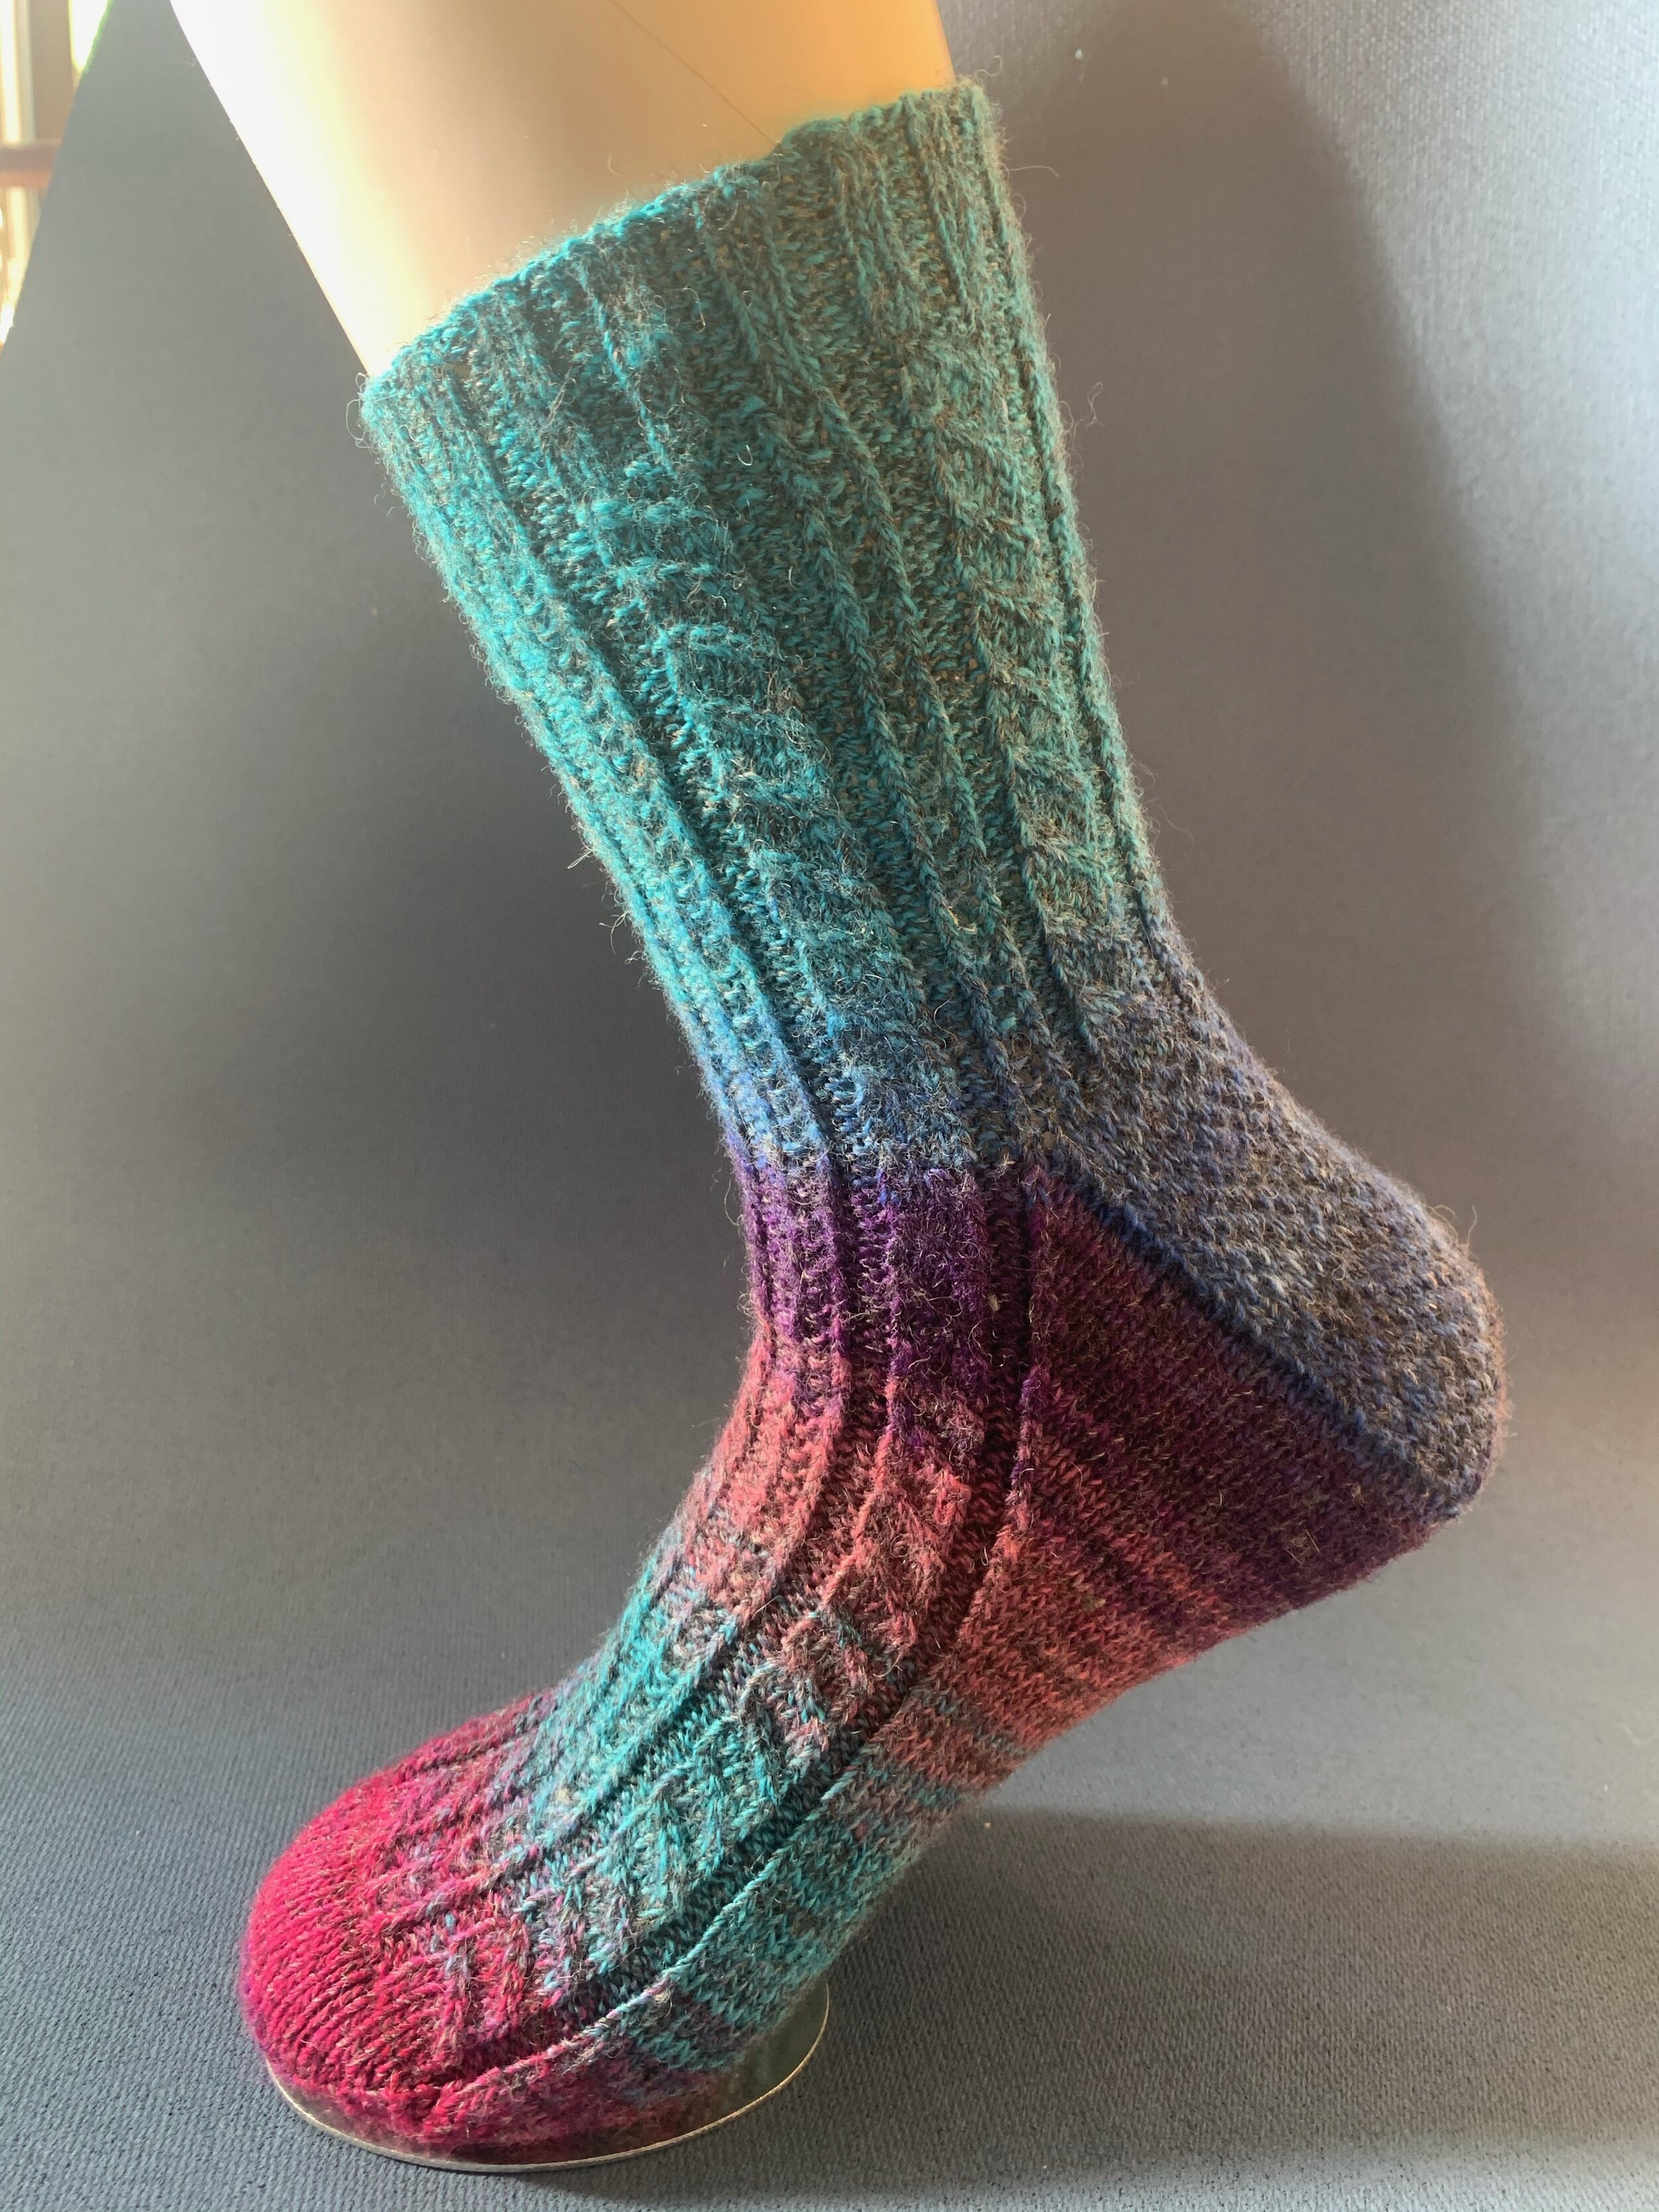
I got really lazy about taking good pictures of my work when I wasn’t posting, so I only had a shot of the first cuff in progress for this pair. My mom has these socks in her stash of knitted things (primarily for sale), so I had to ask her to find them and take pictures! Happily she also has a foot model, though she doesn’t store hers on the mantlepiece (I’m told that’s a weird place to store it, but it works for me). I used to have a tough time getting good pictures of my socks, but I’ve been really happy with this plastic foot and its magnetic base that allows it to stand up.
Since she was taking pictures anyway, I had her get some nice ones of one of the other pairs from this set. It turns out there were 7 pairs (!!!) in total from this 1 lb of dyed roving plus some unknown amount of grey.
