End of summer updates

Oh my, what an eventful summer! All good things, and lots of them, but they’ve kept me busy! I am now an engaged, home-owning, tenure track professor, and just a month ago I was none of those things! It doesn’t mean my knitting will stop though, and now that things are beginning to settle down (first day of class is officially over!), I’m hoping to get back to regular blog updates for all of you readers. And for myself. Turns out having documentation on each project can be really helpful when I want to know the fiber content 6 months to a few years down the road…

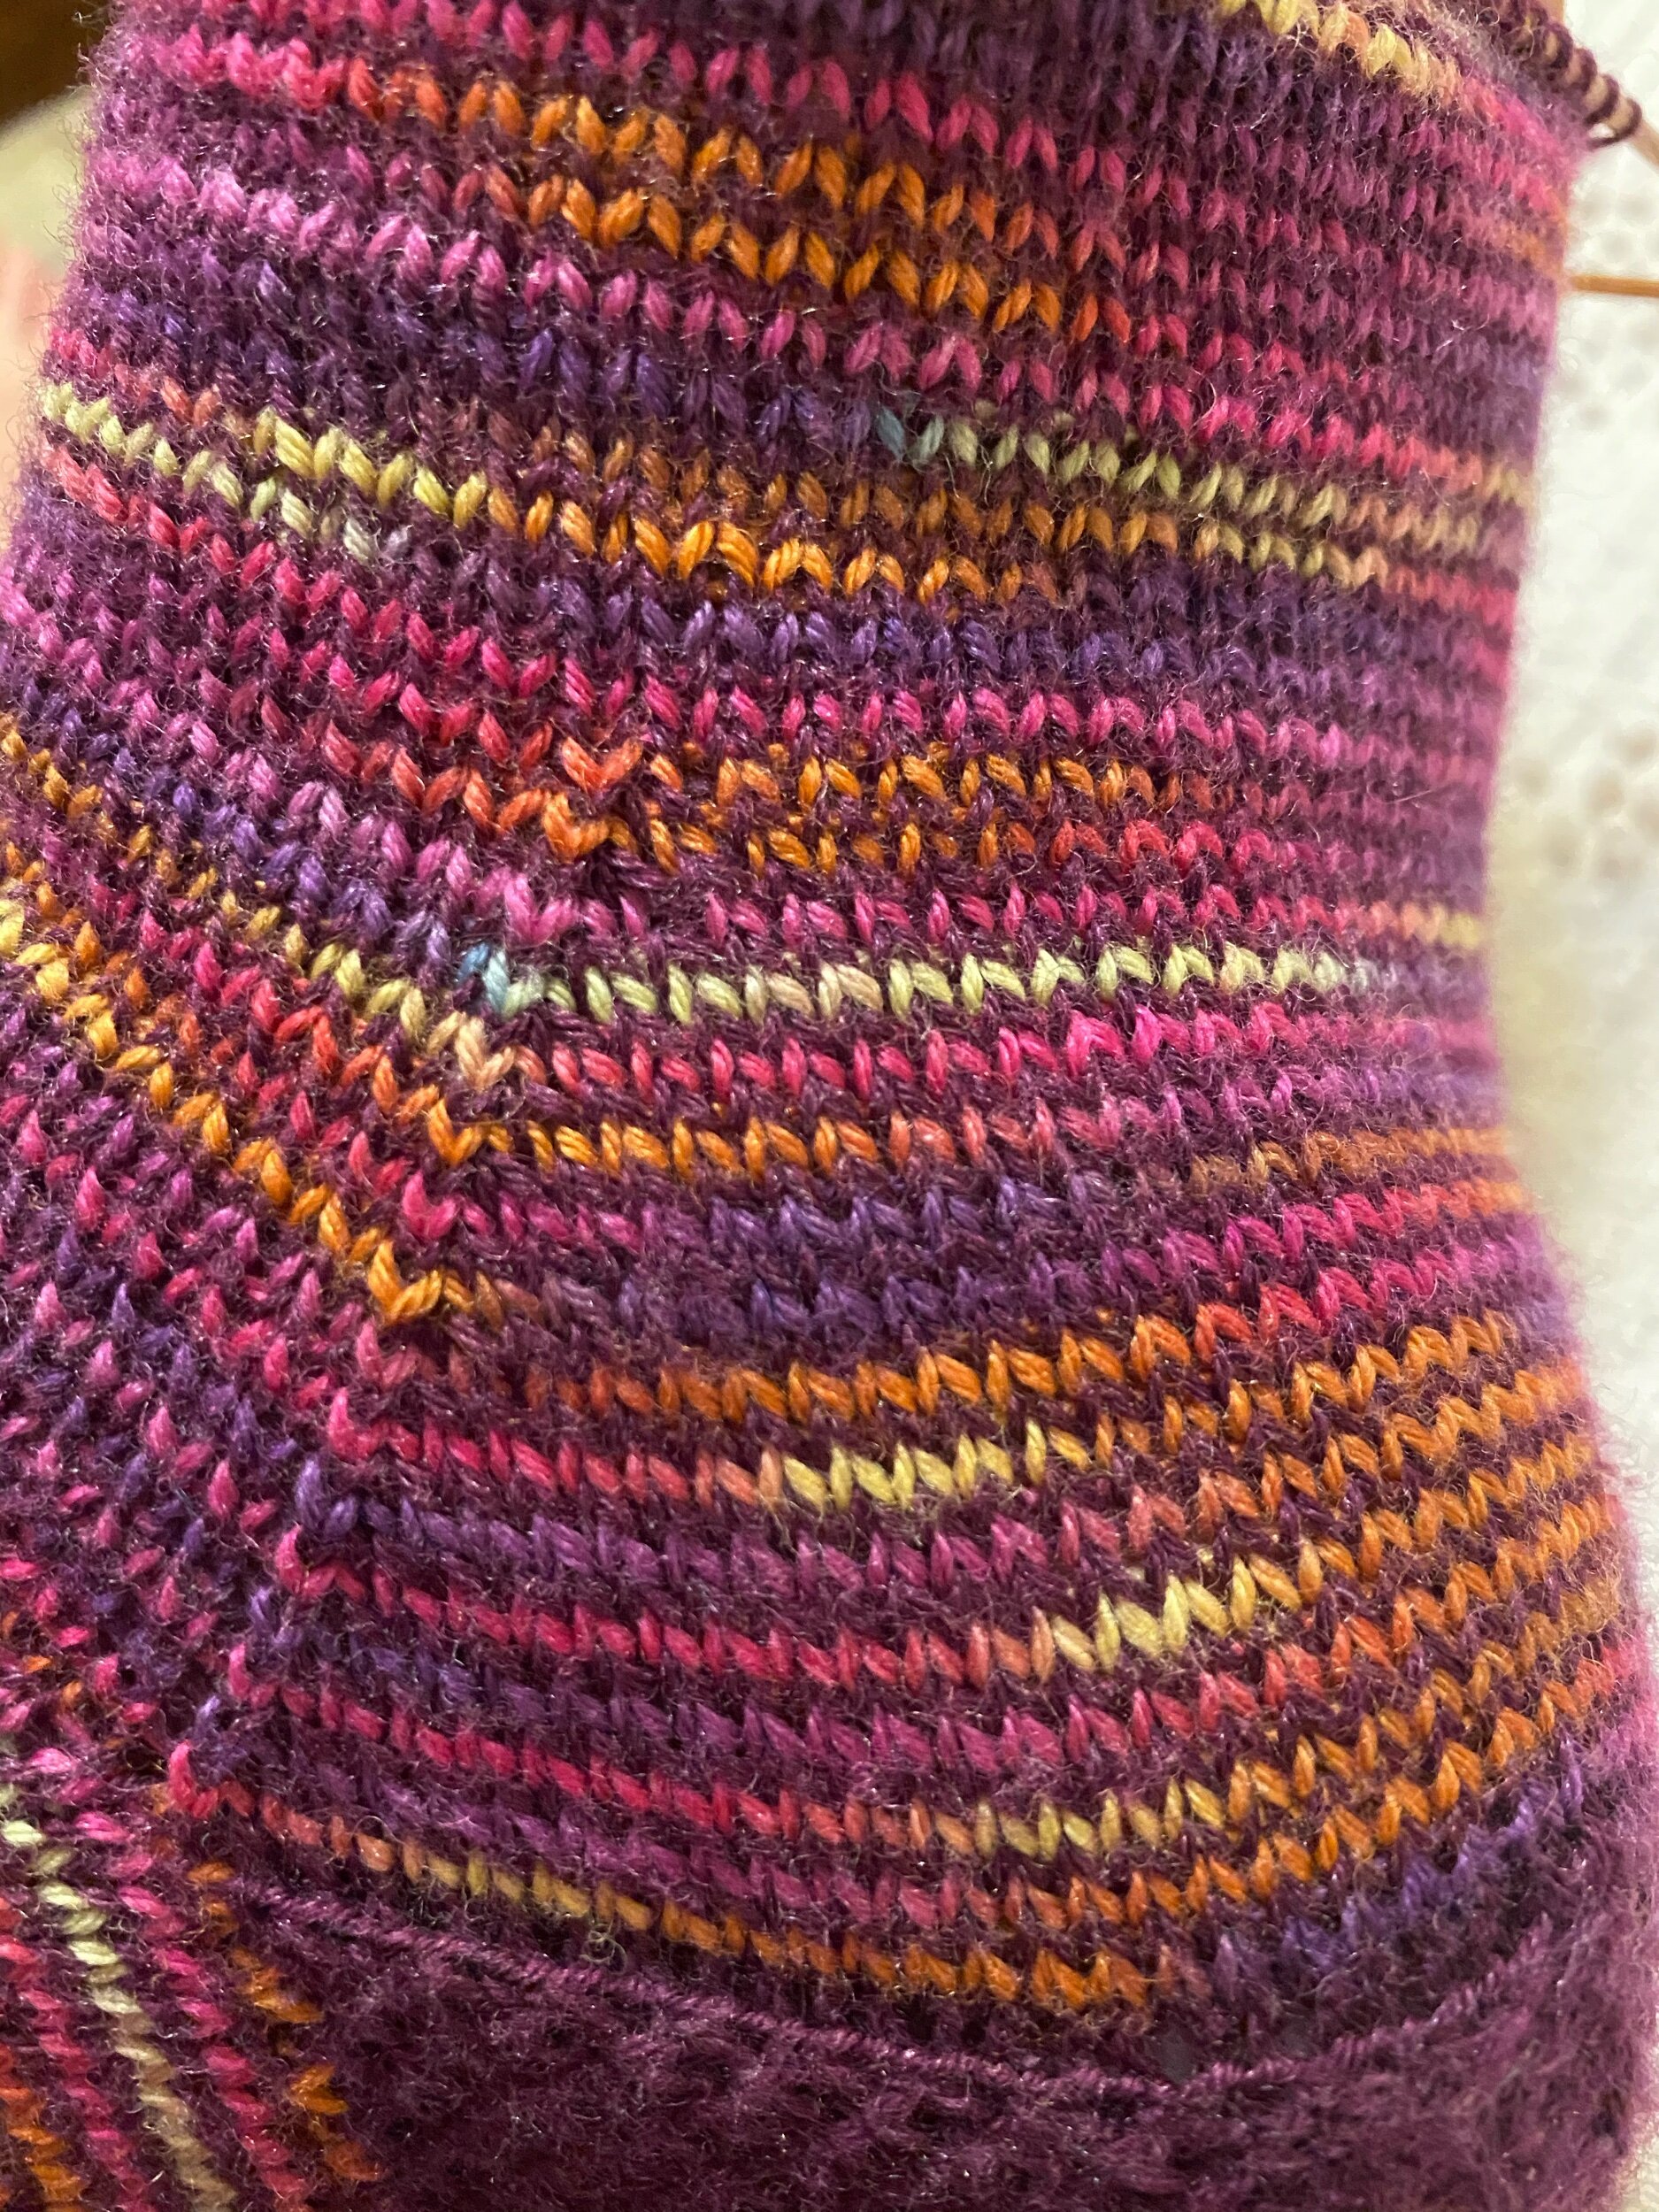
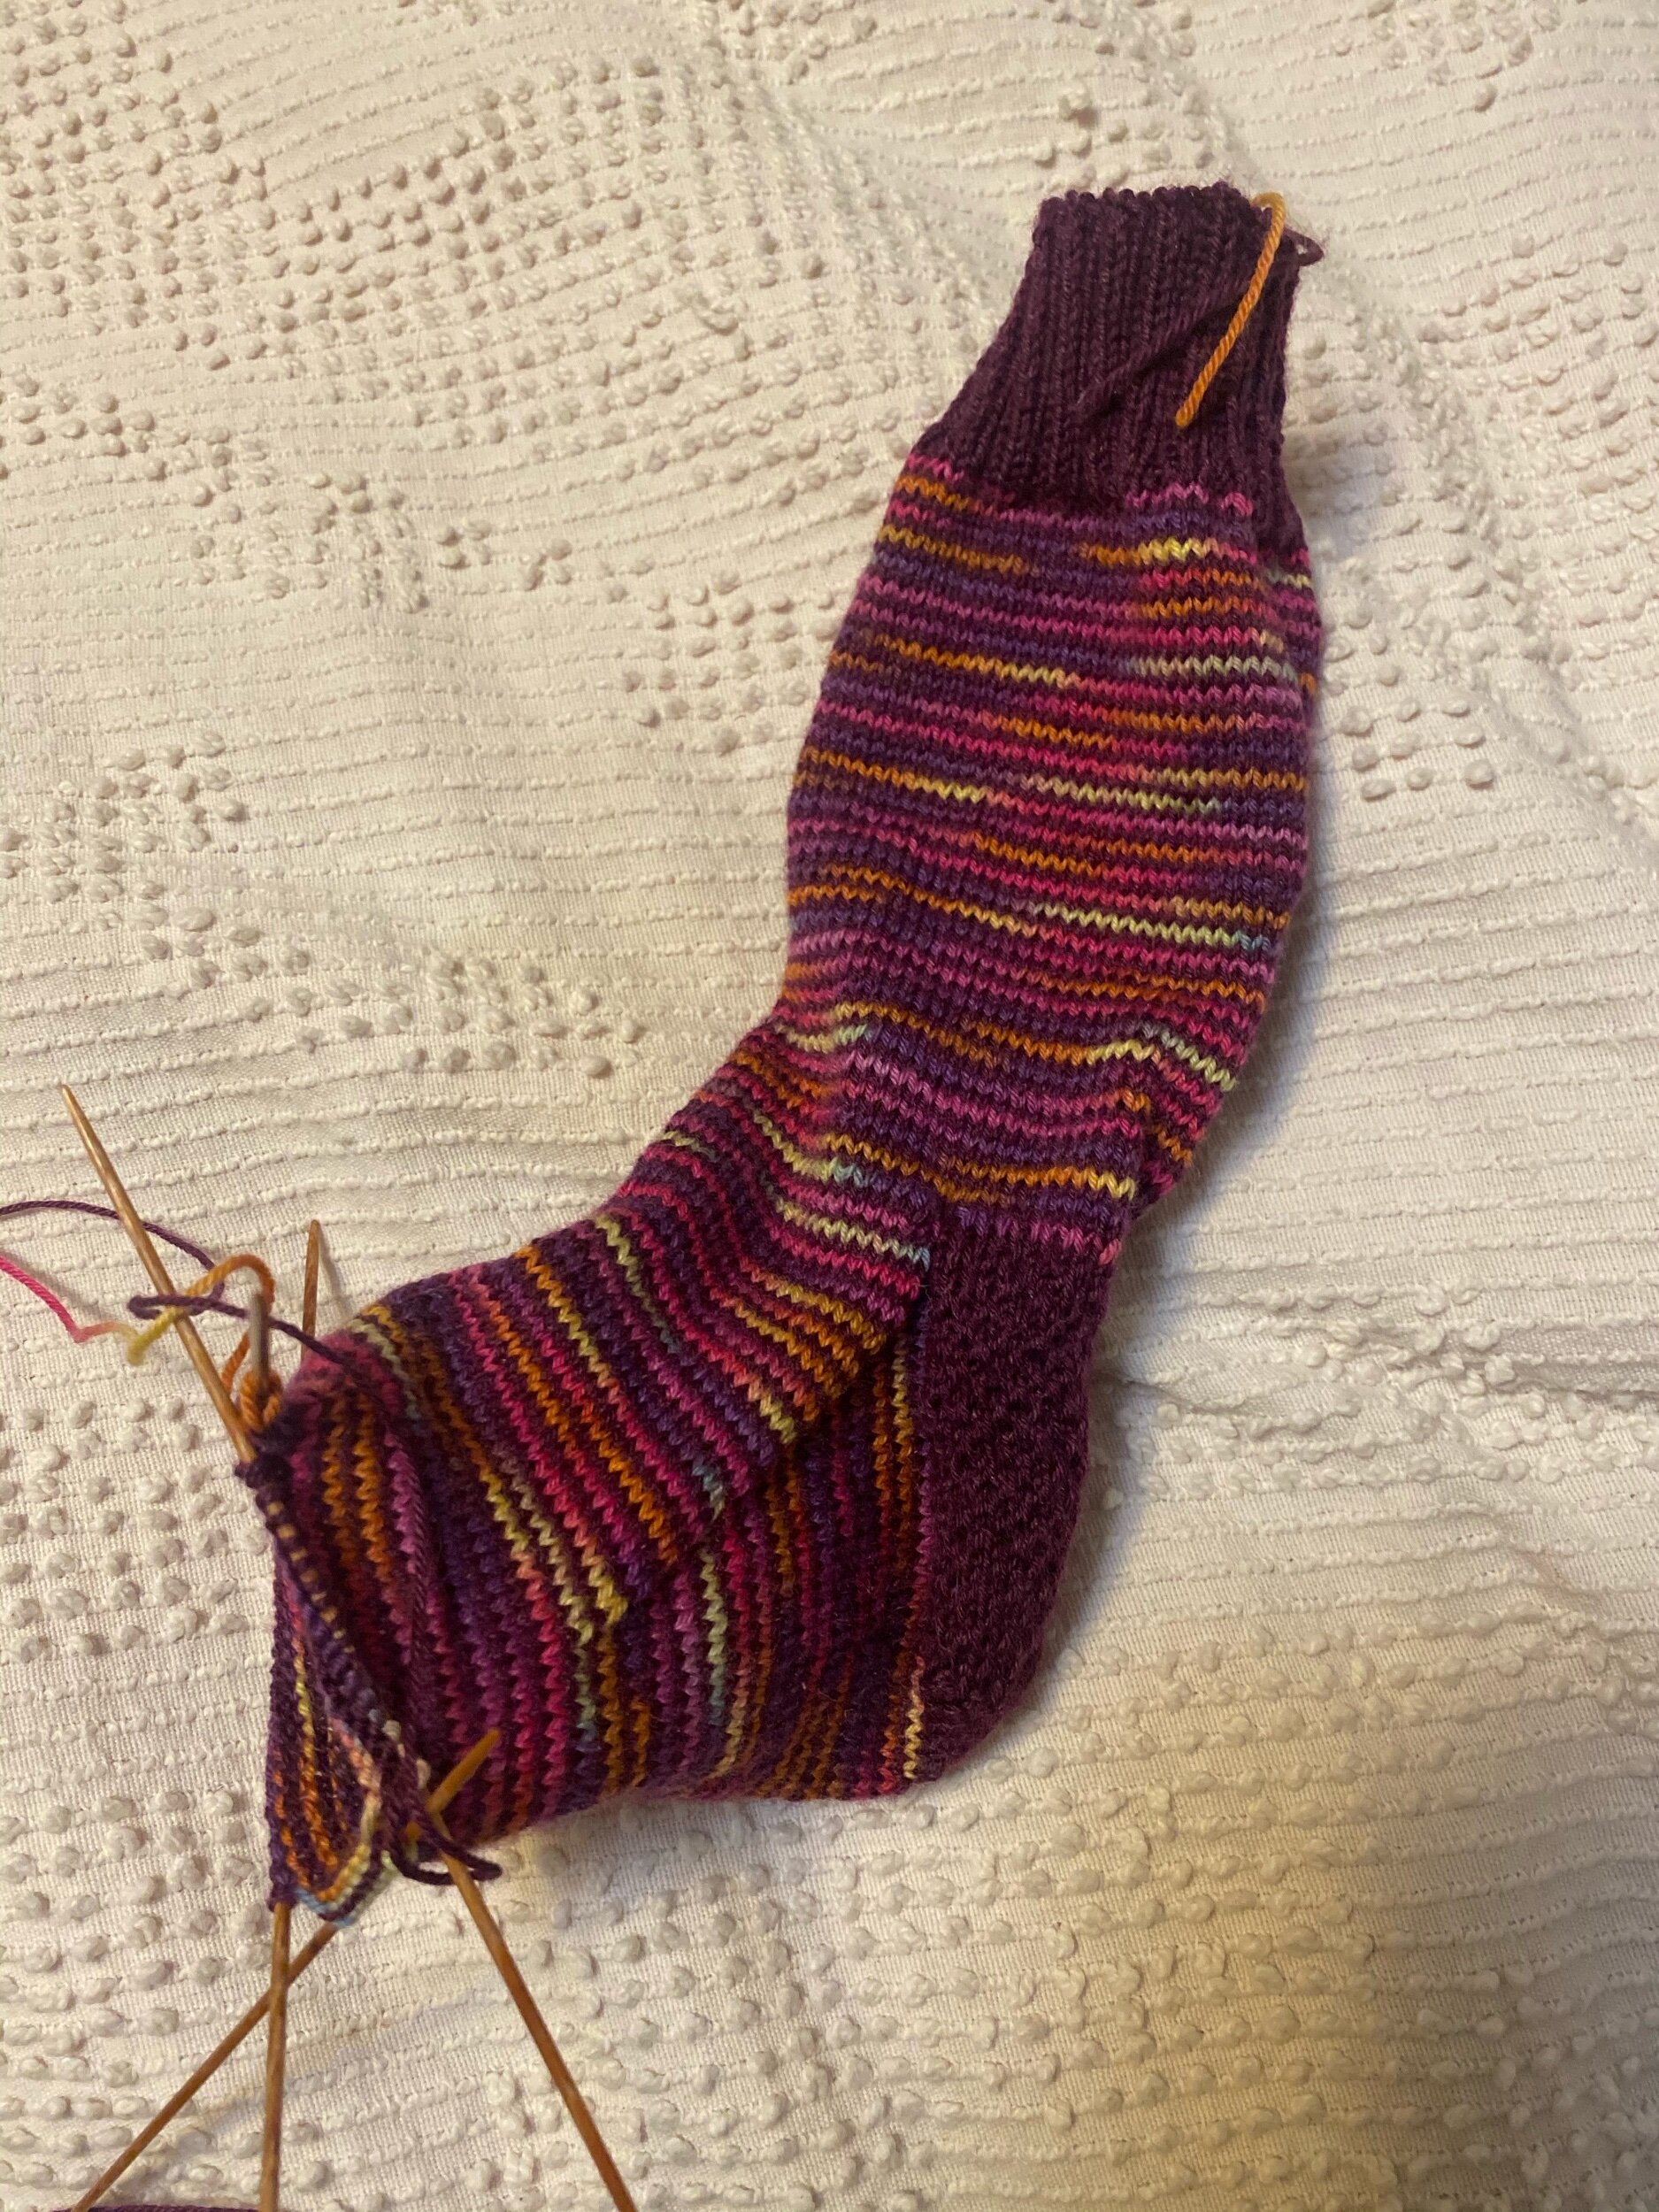
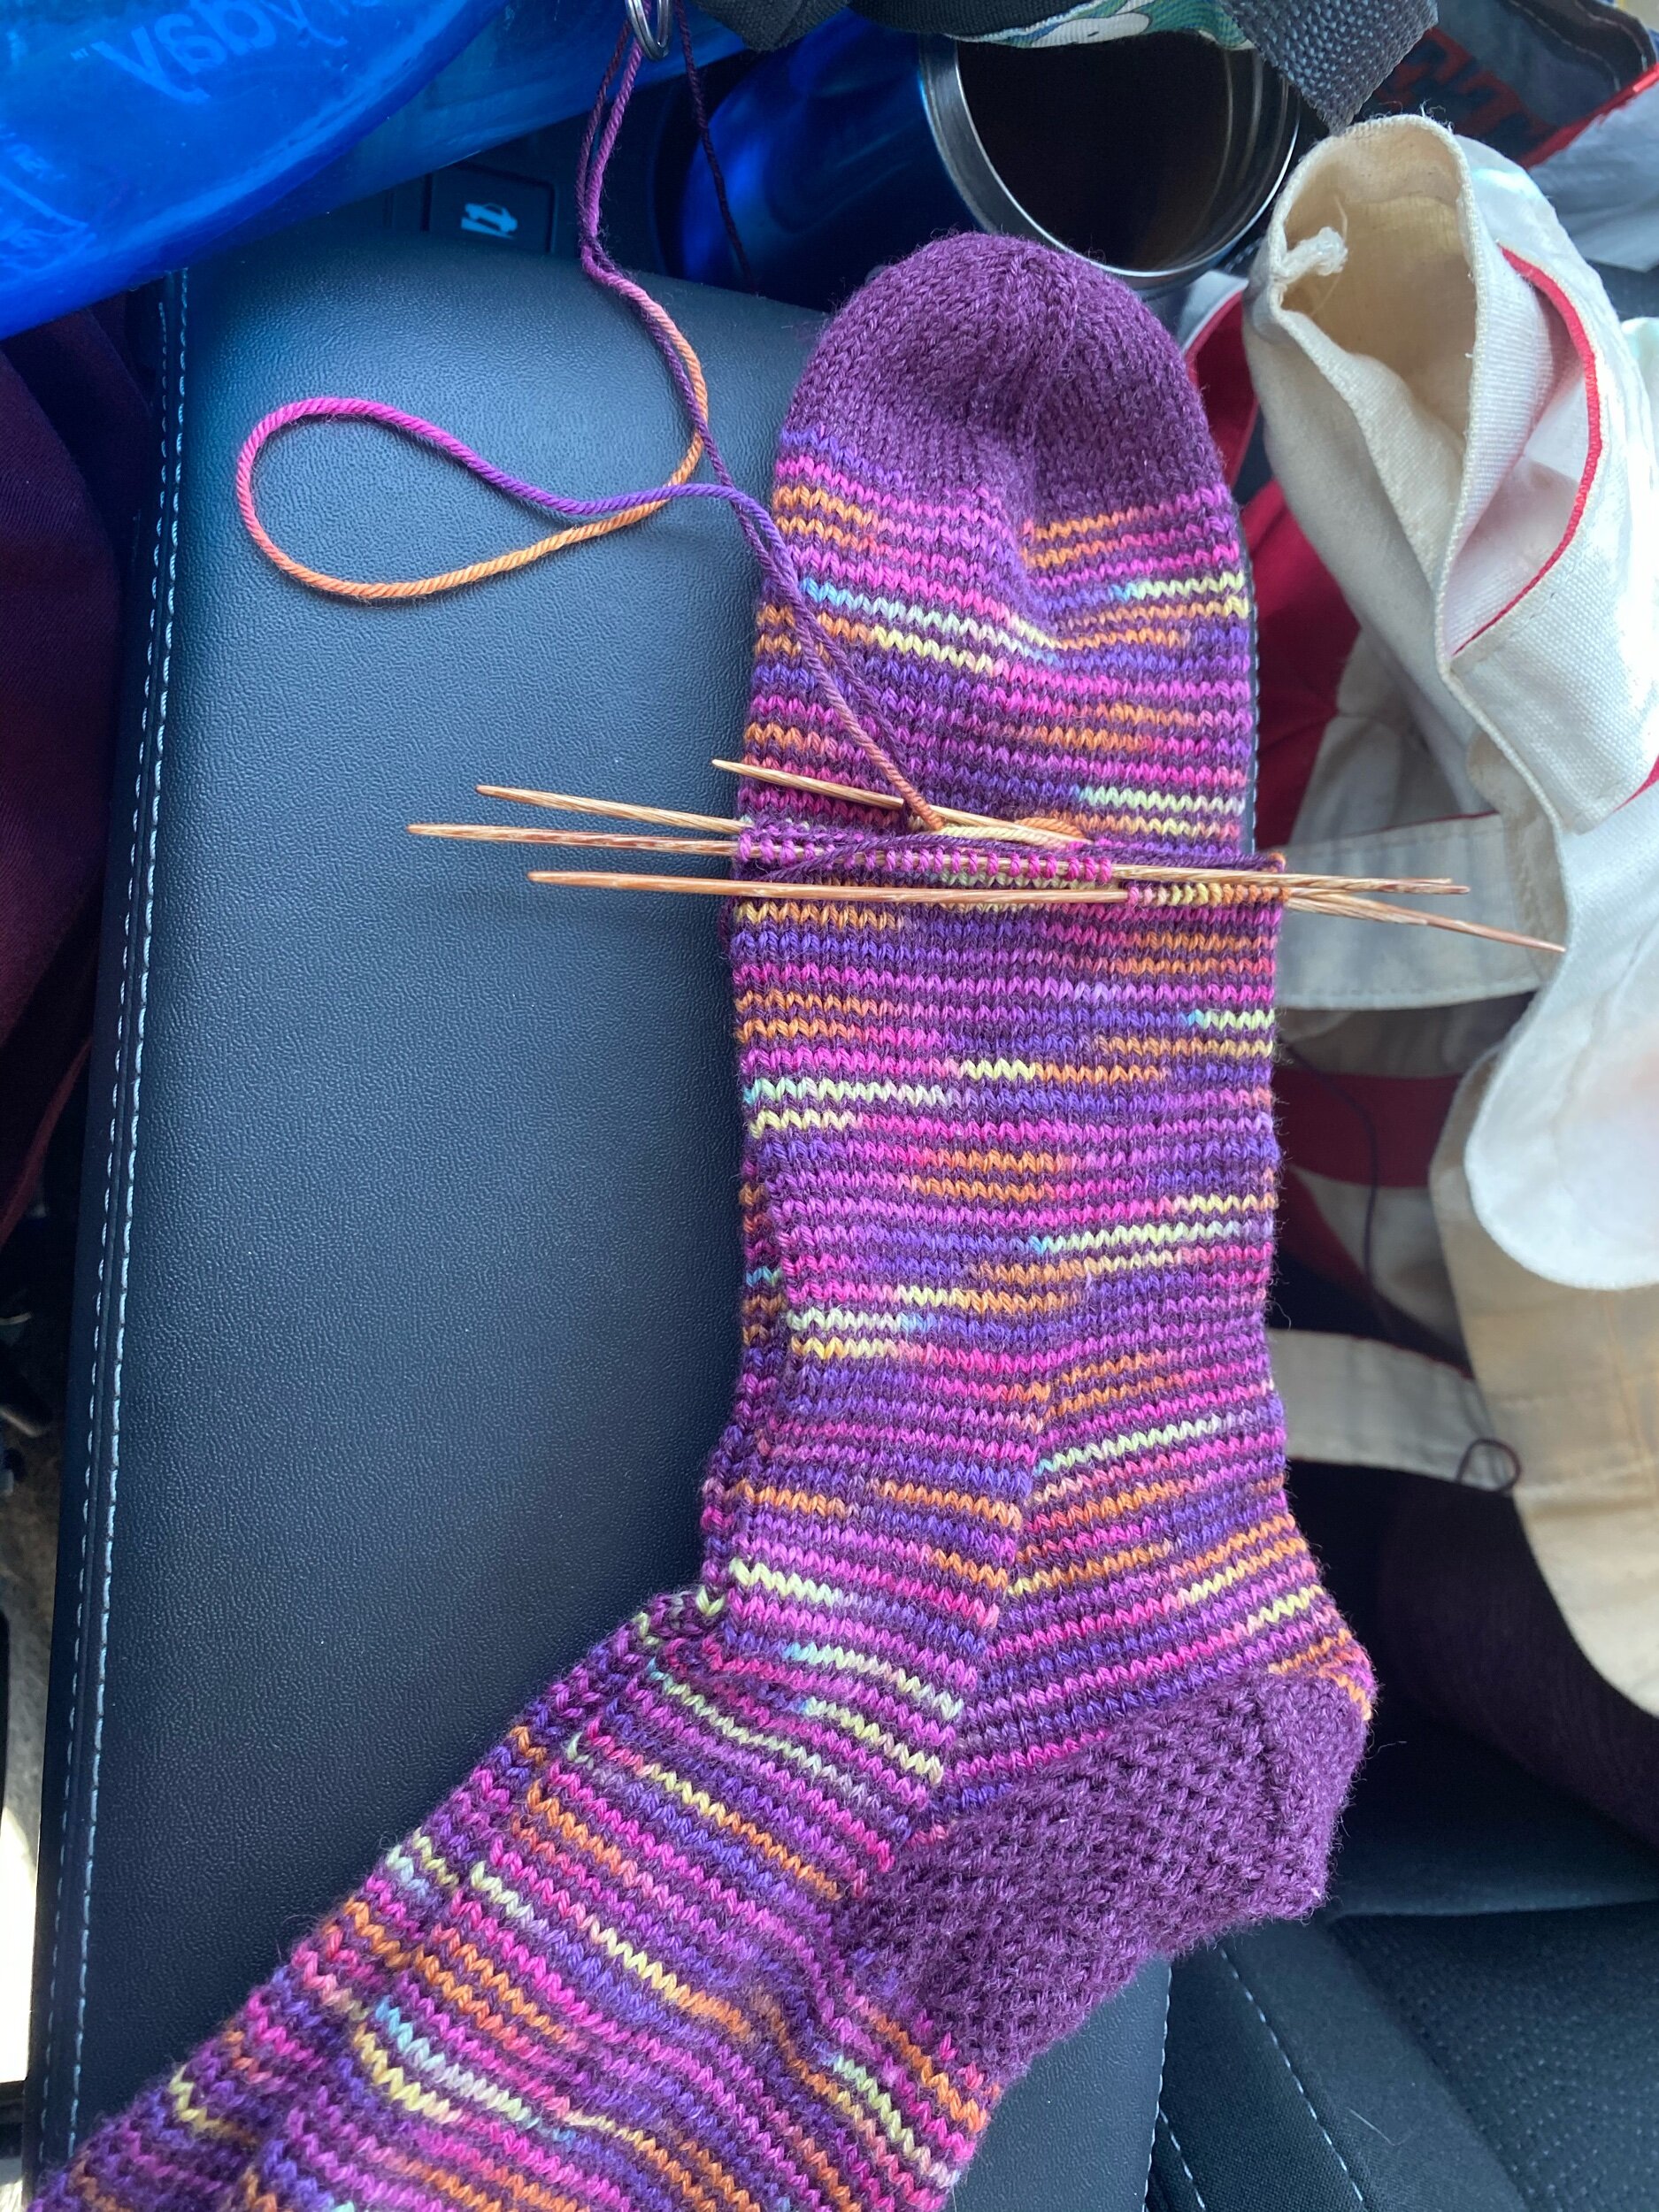
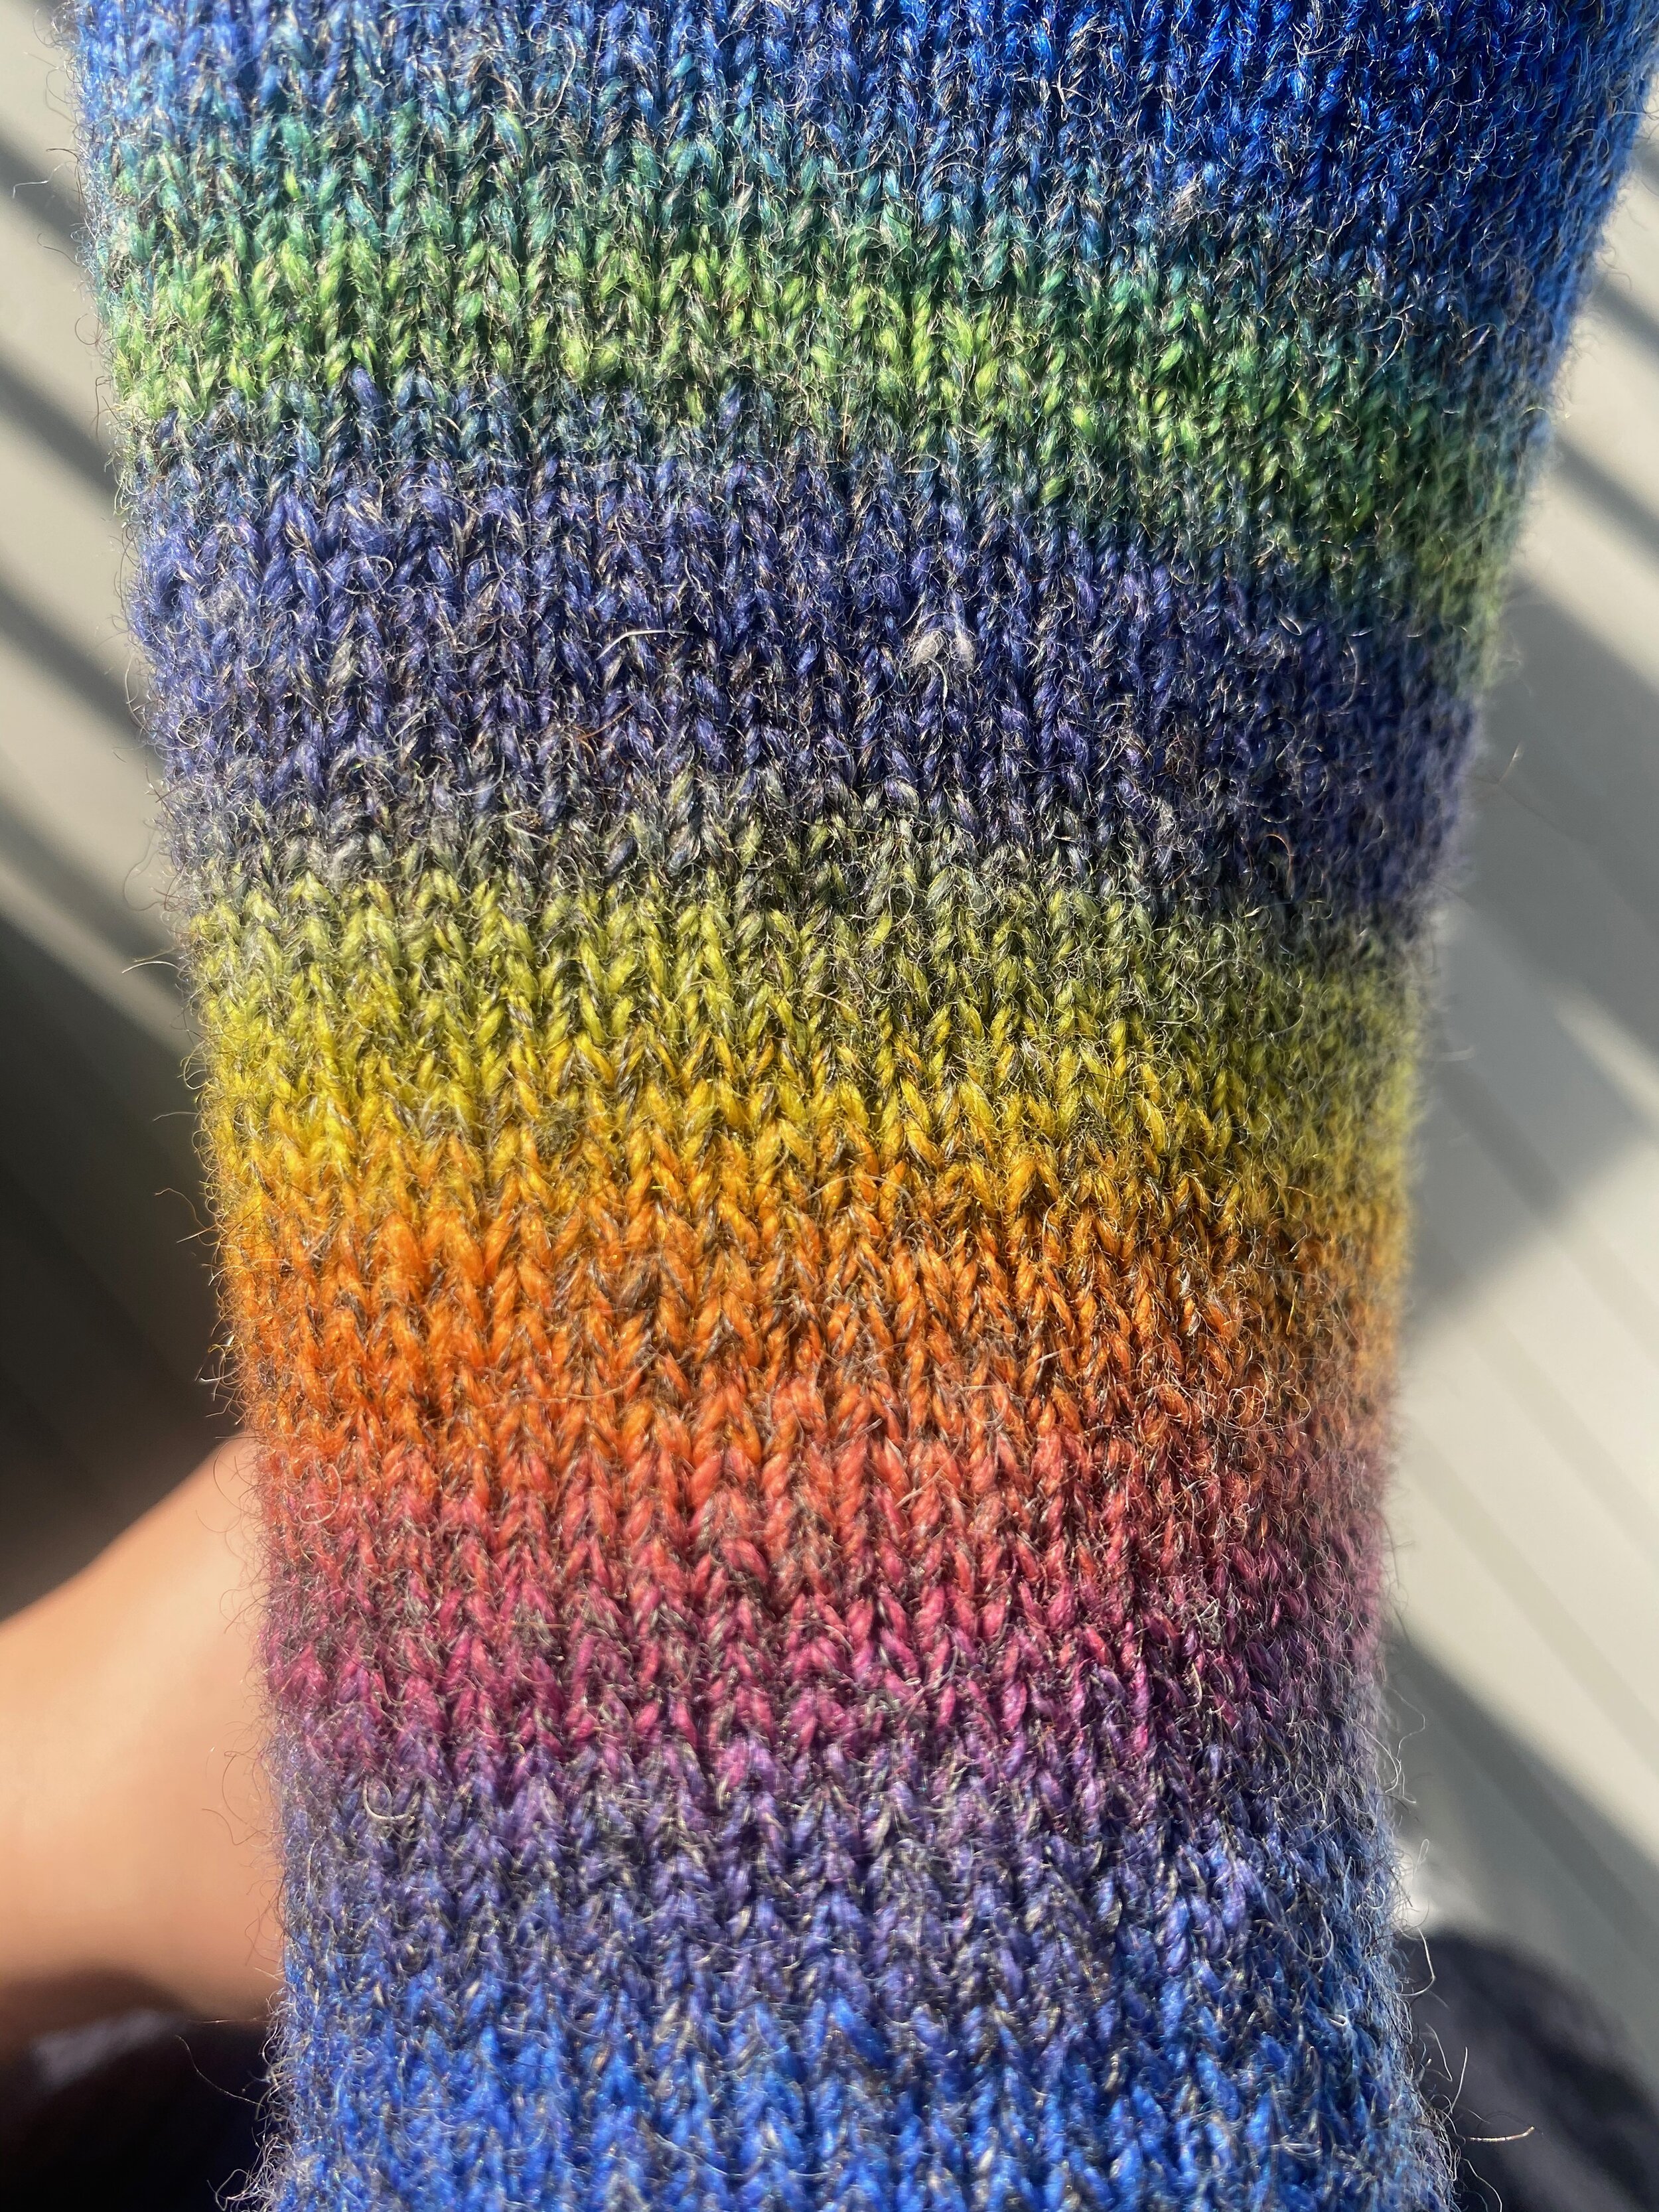
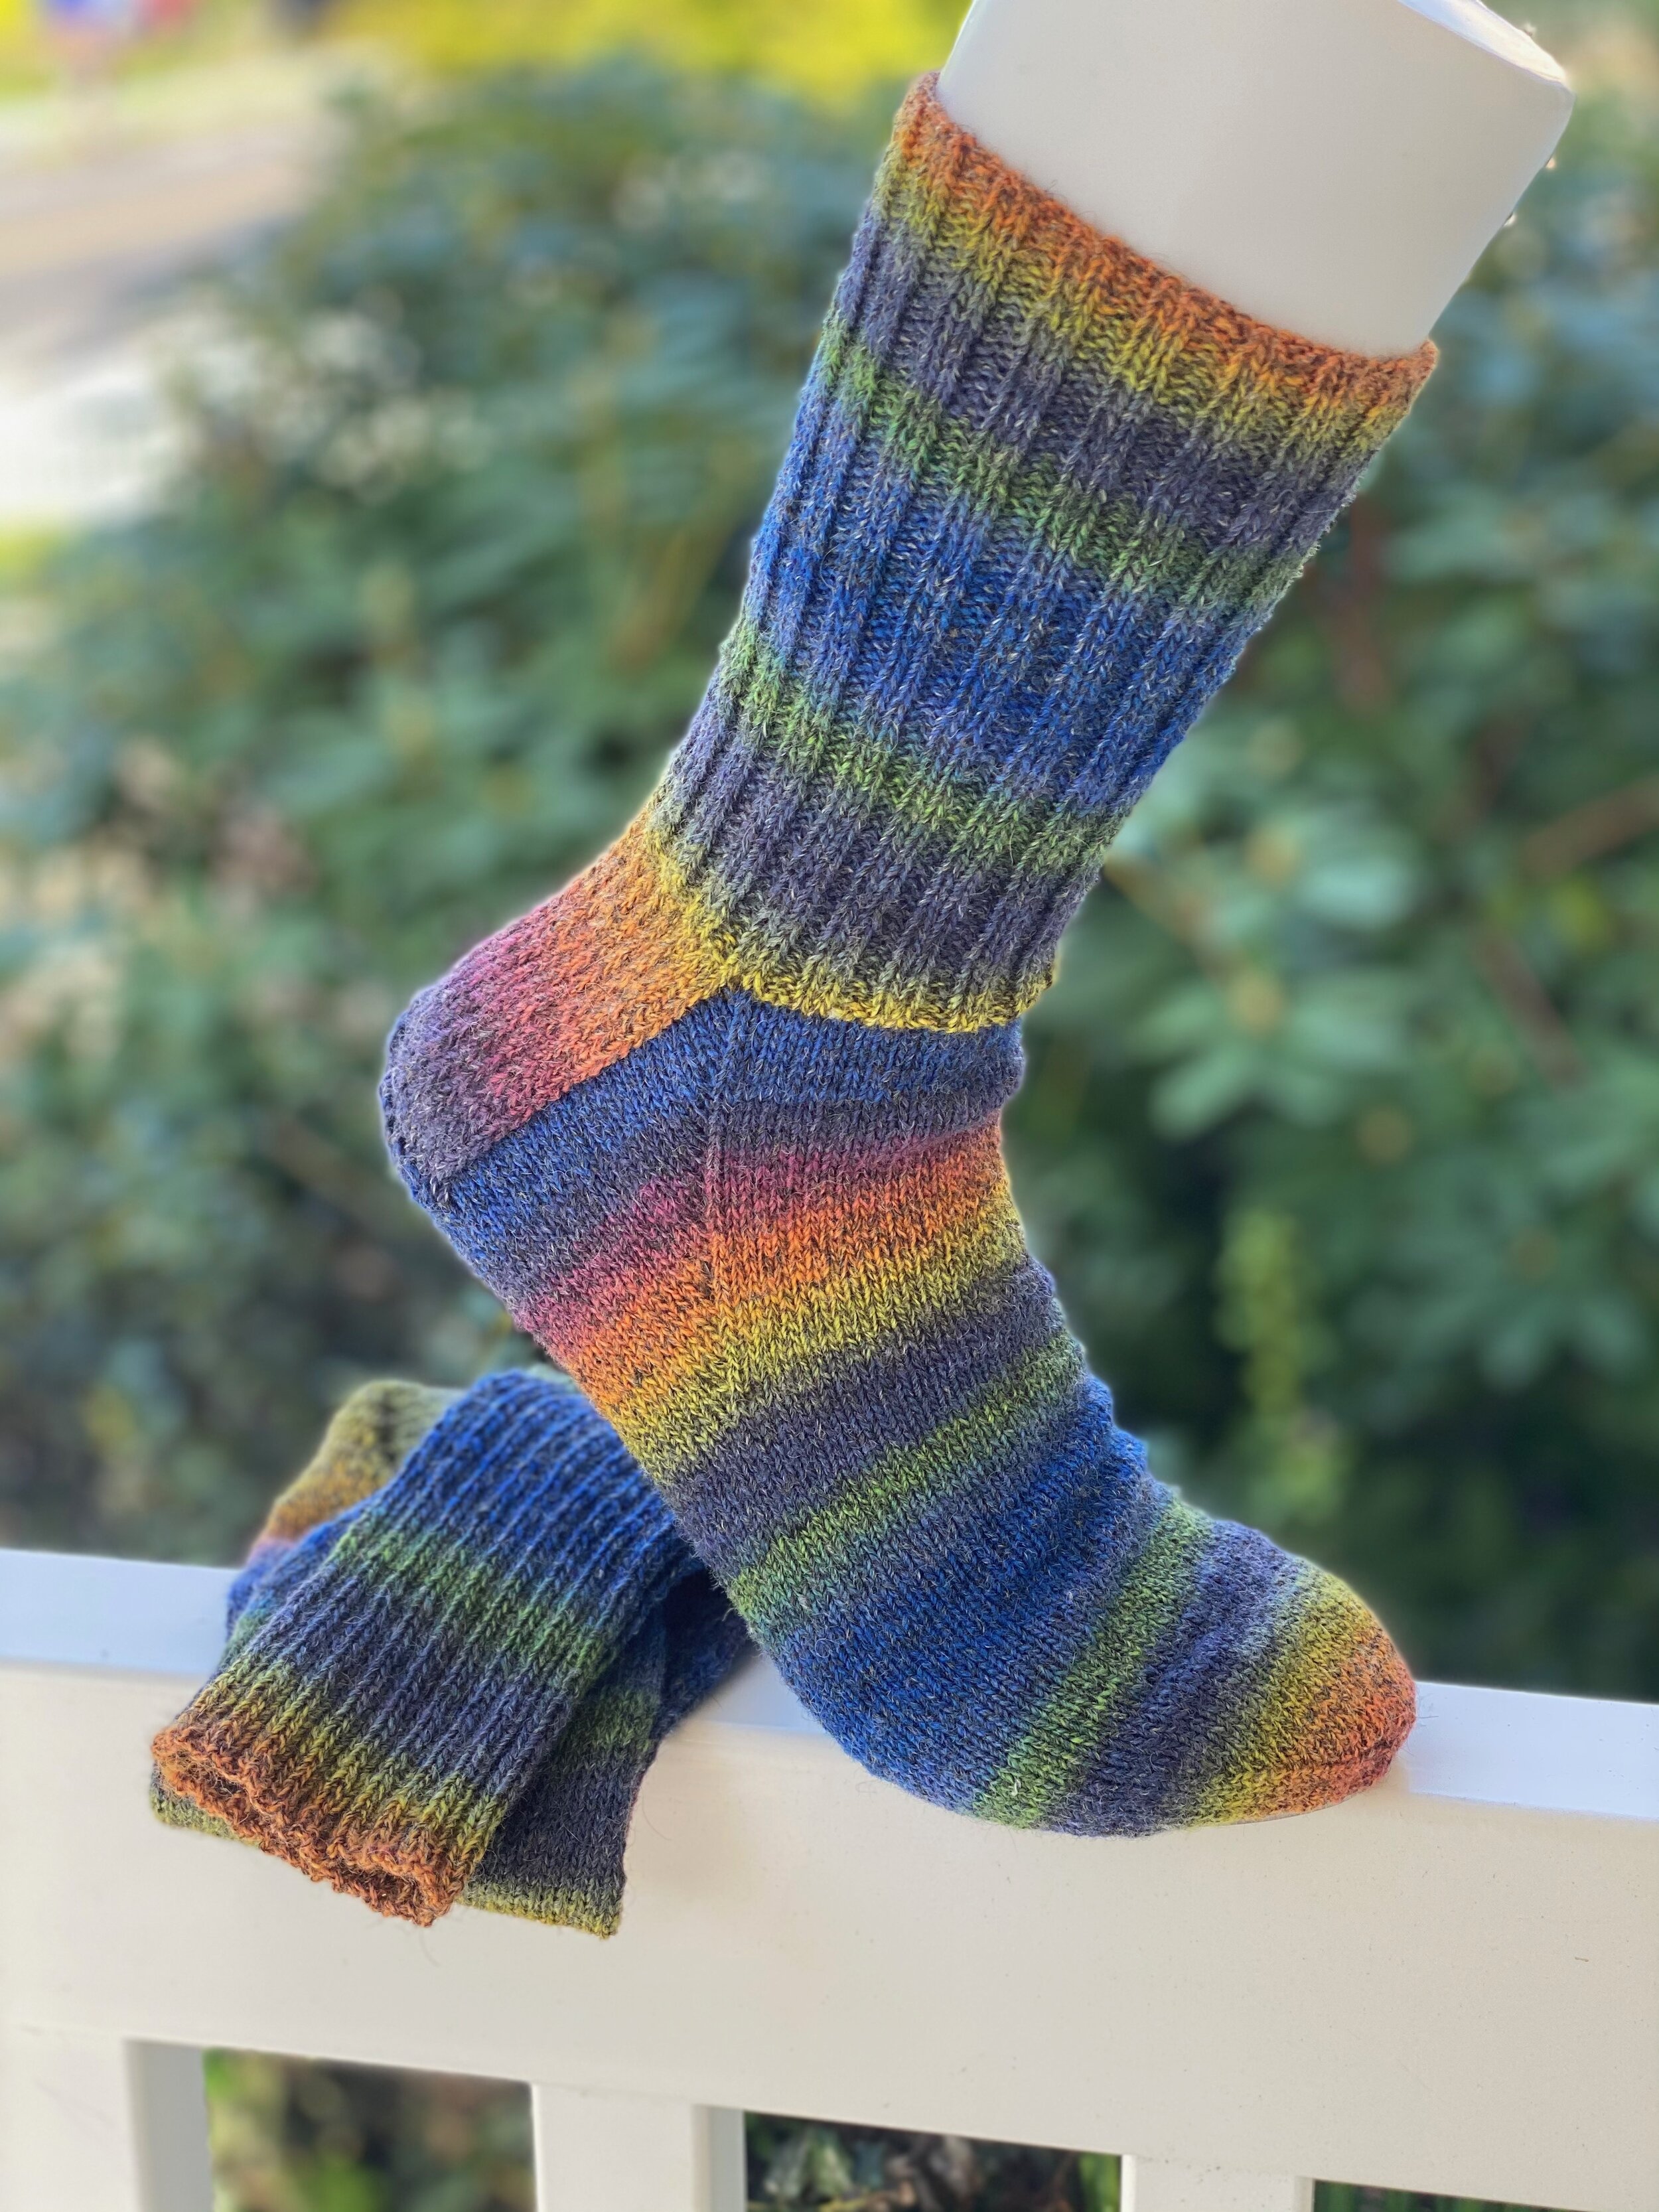
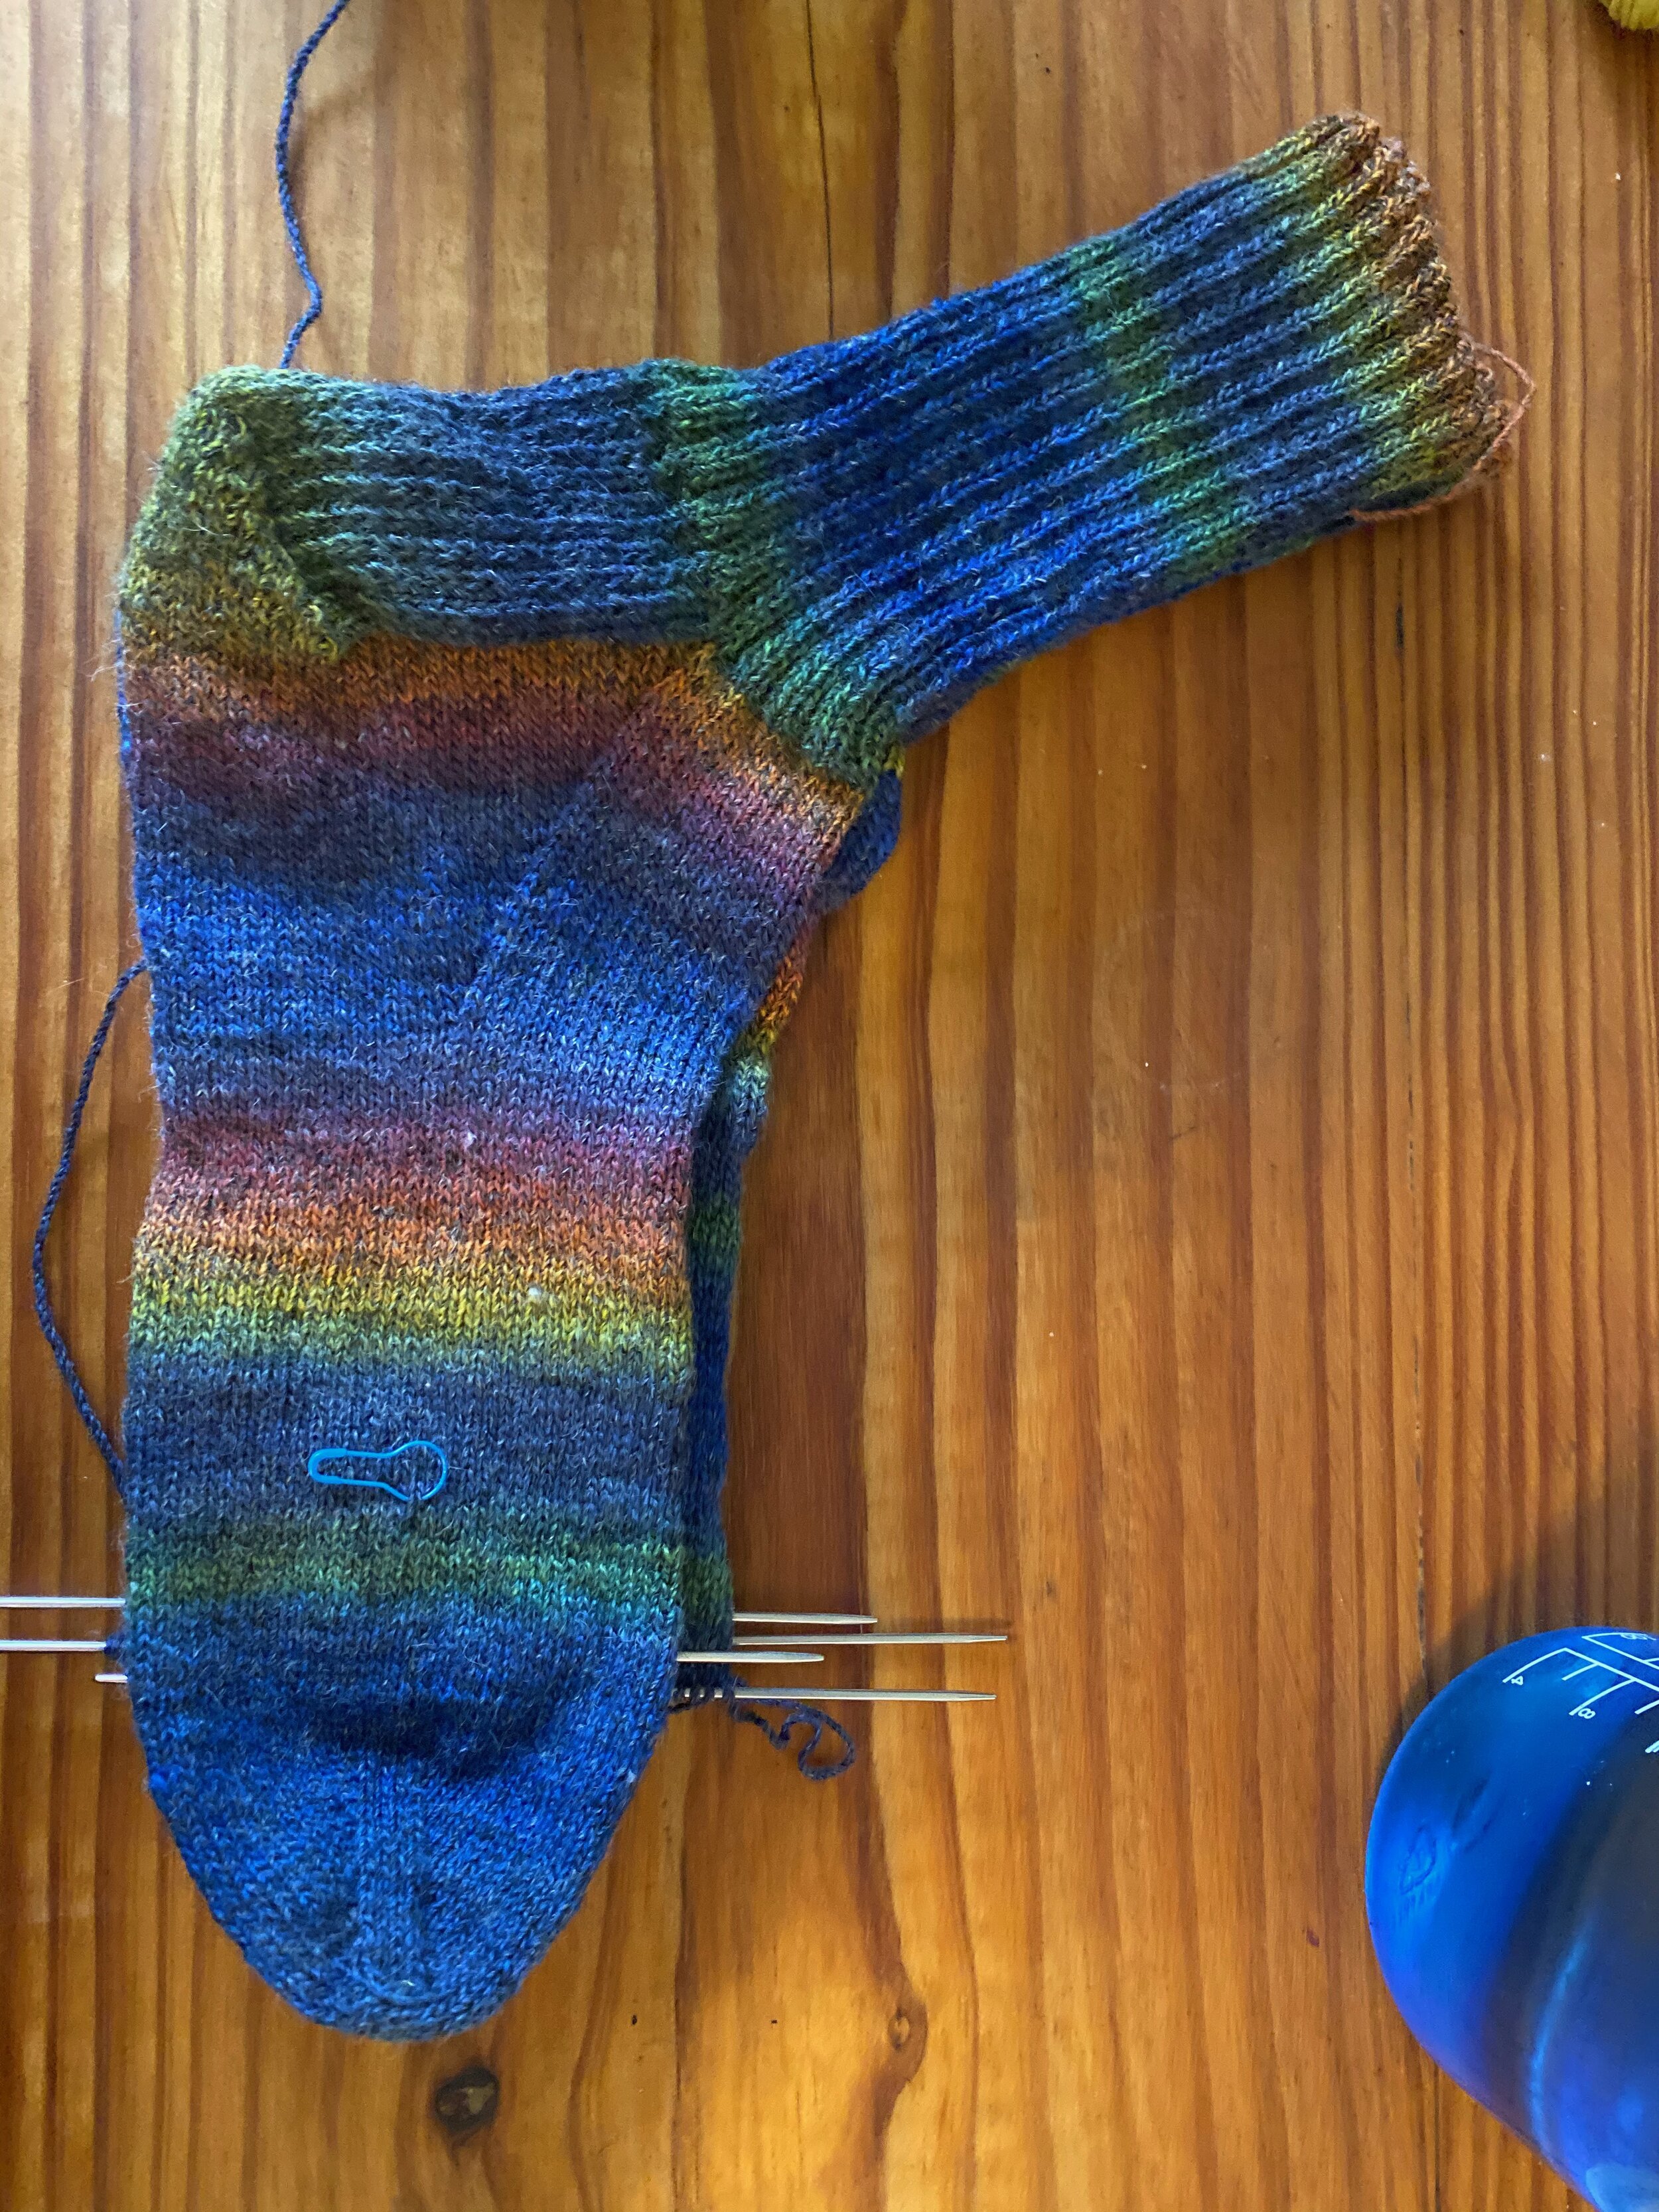
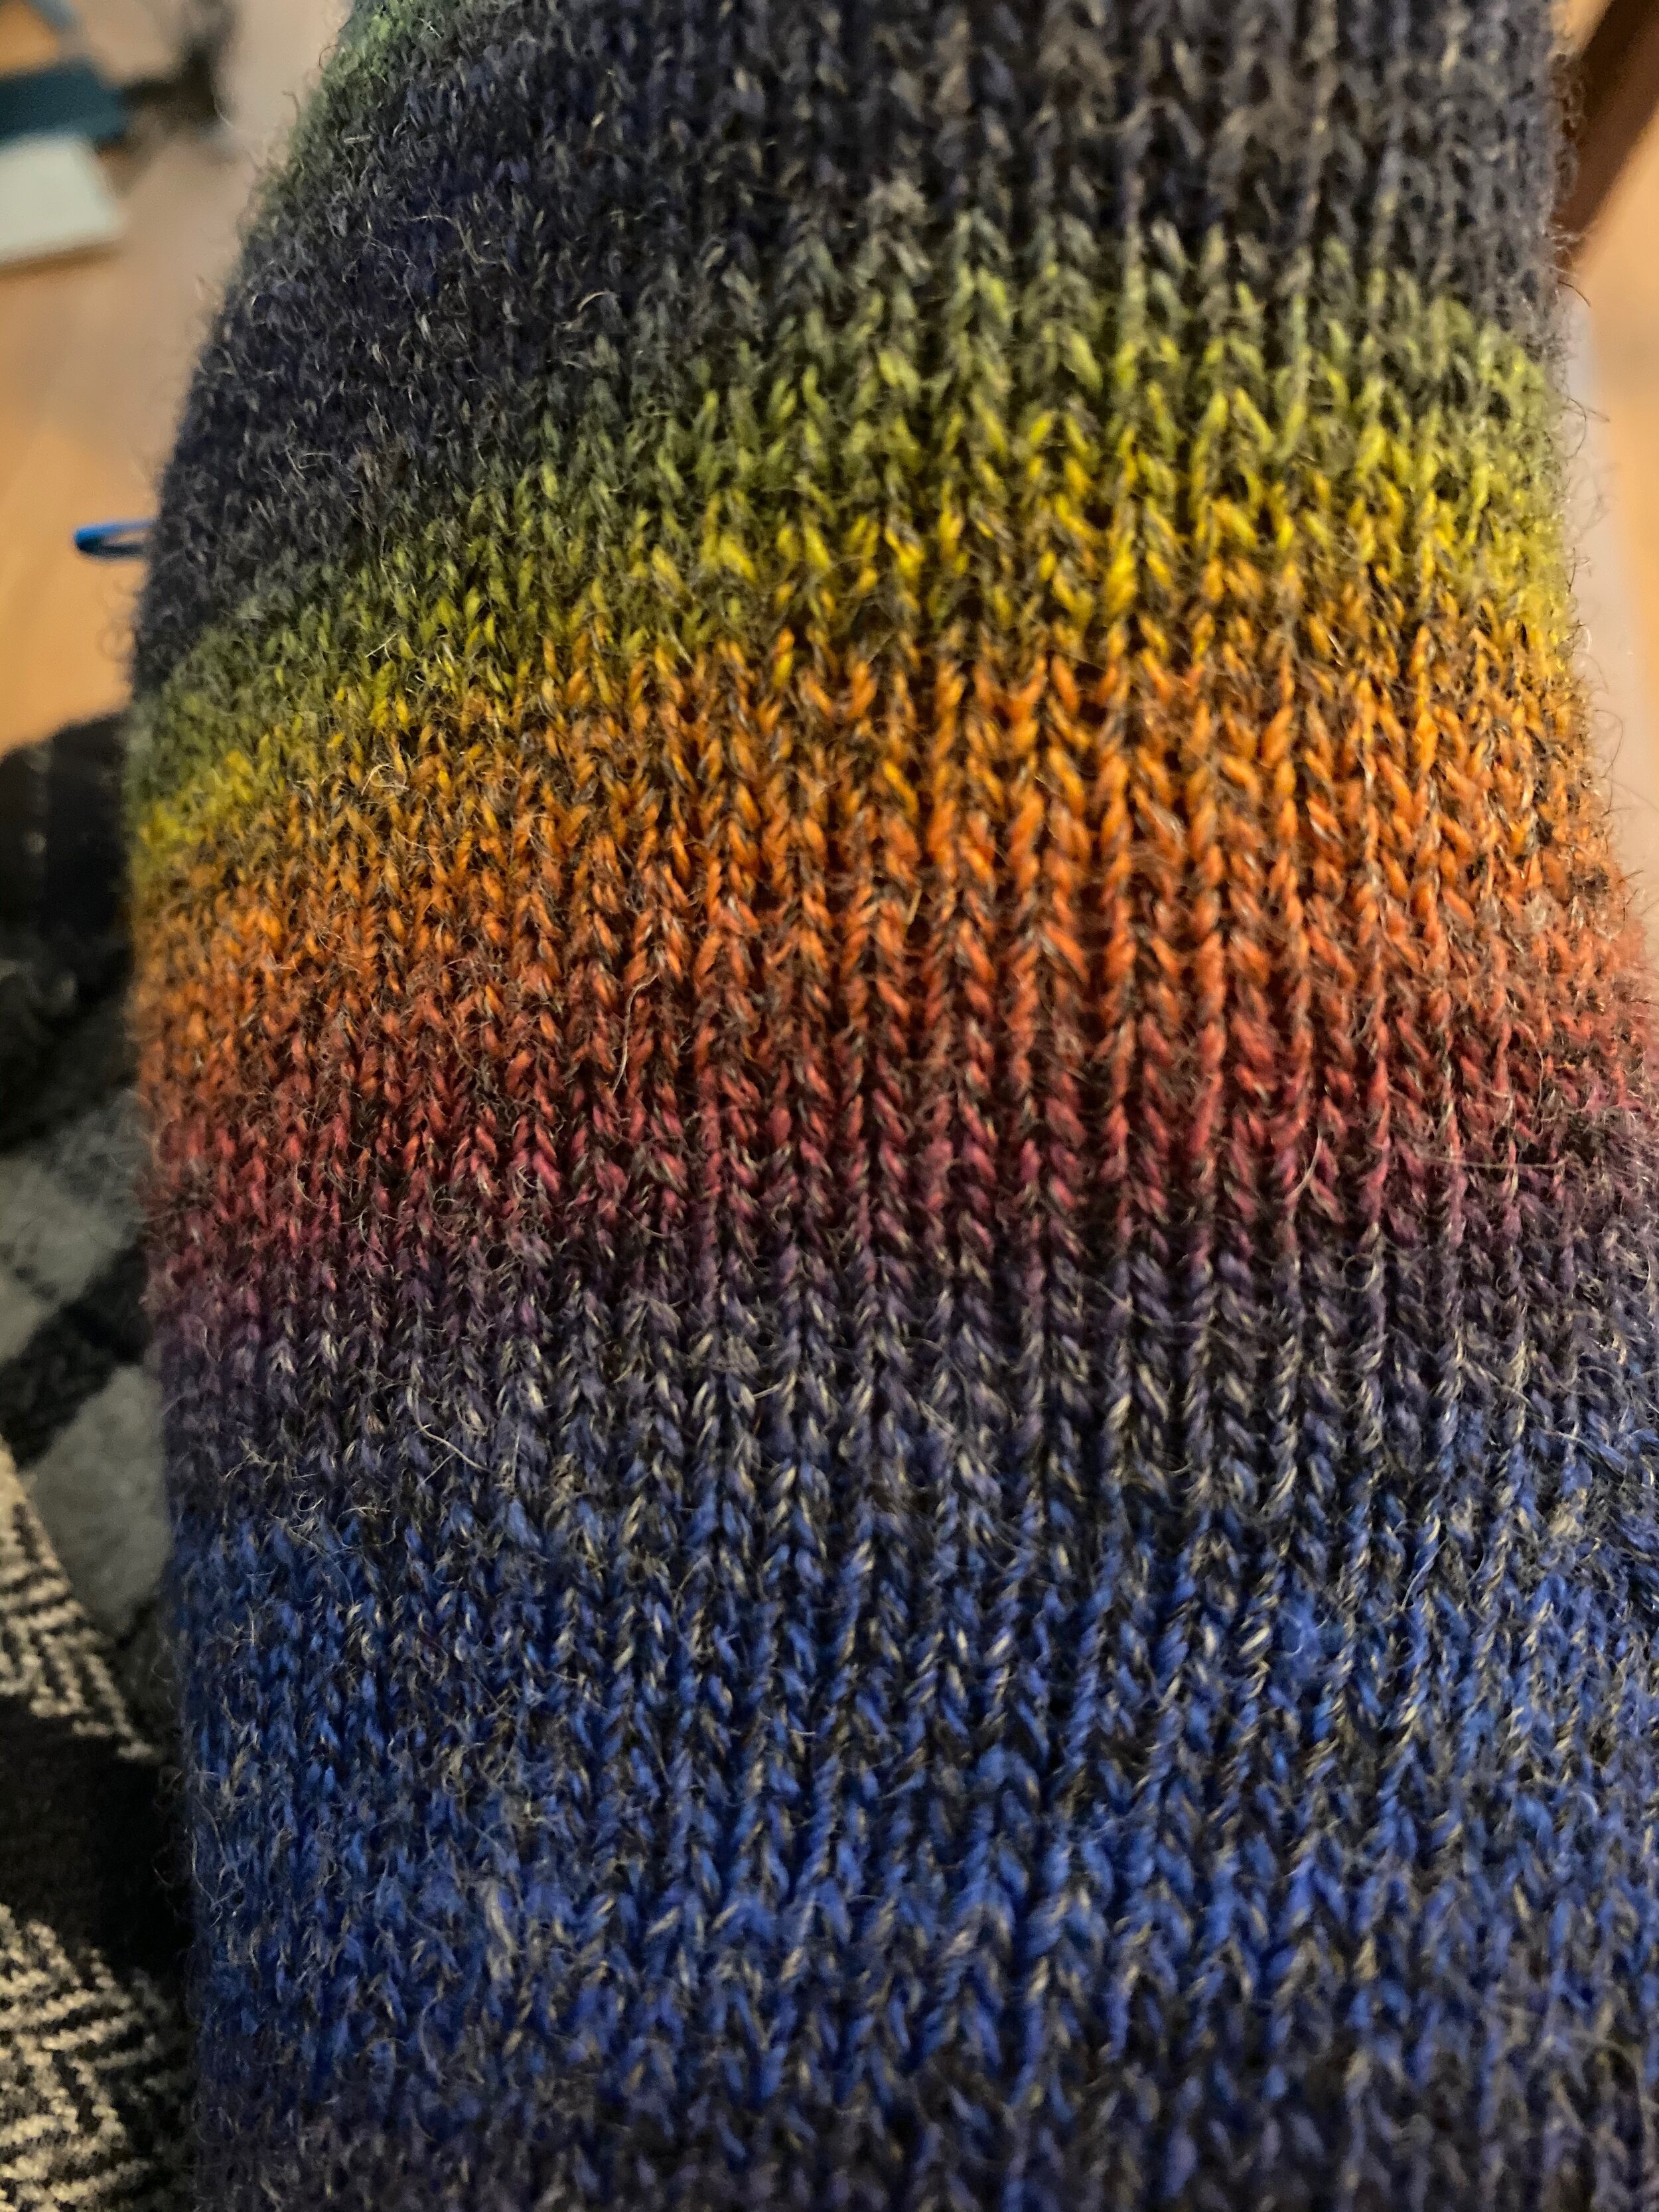
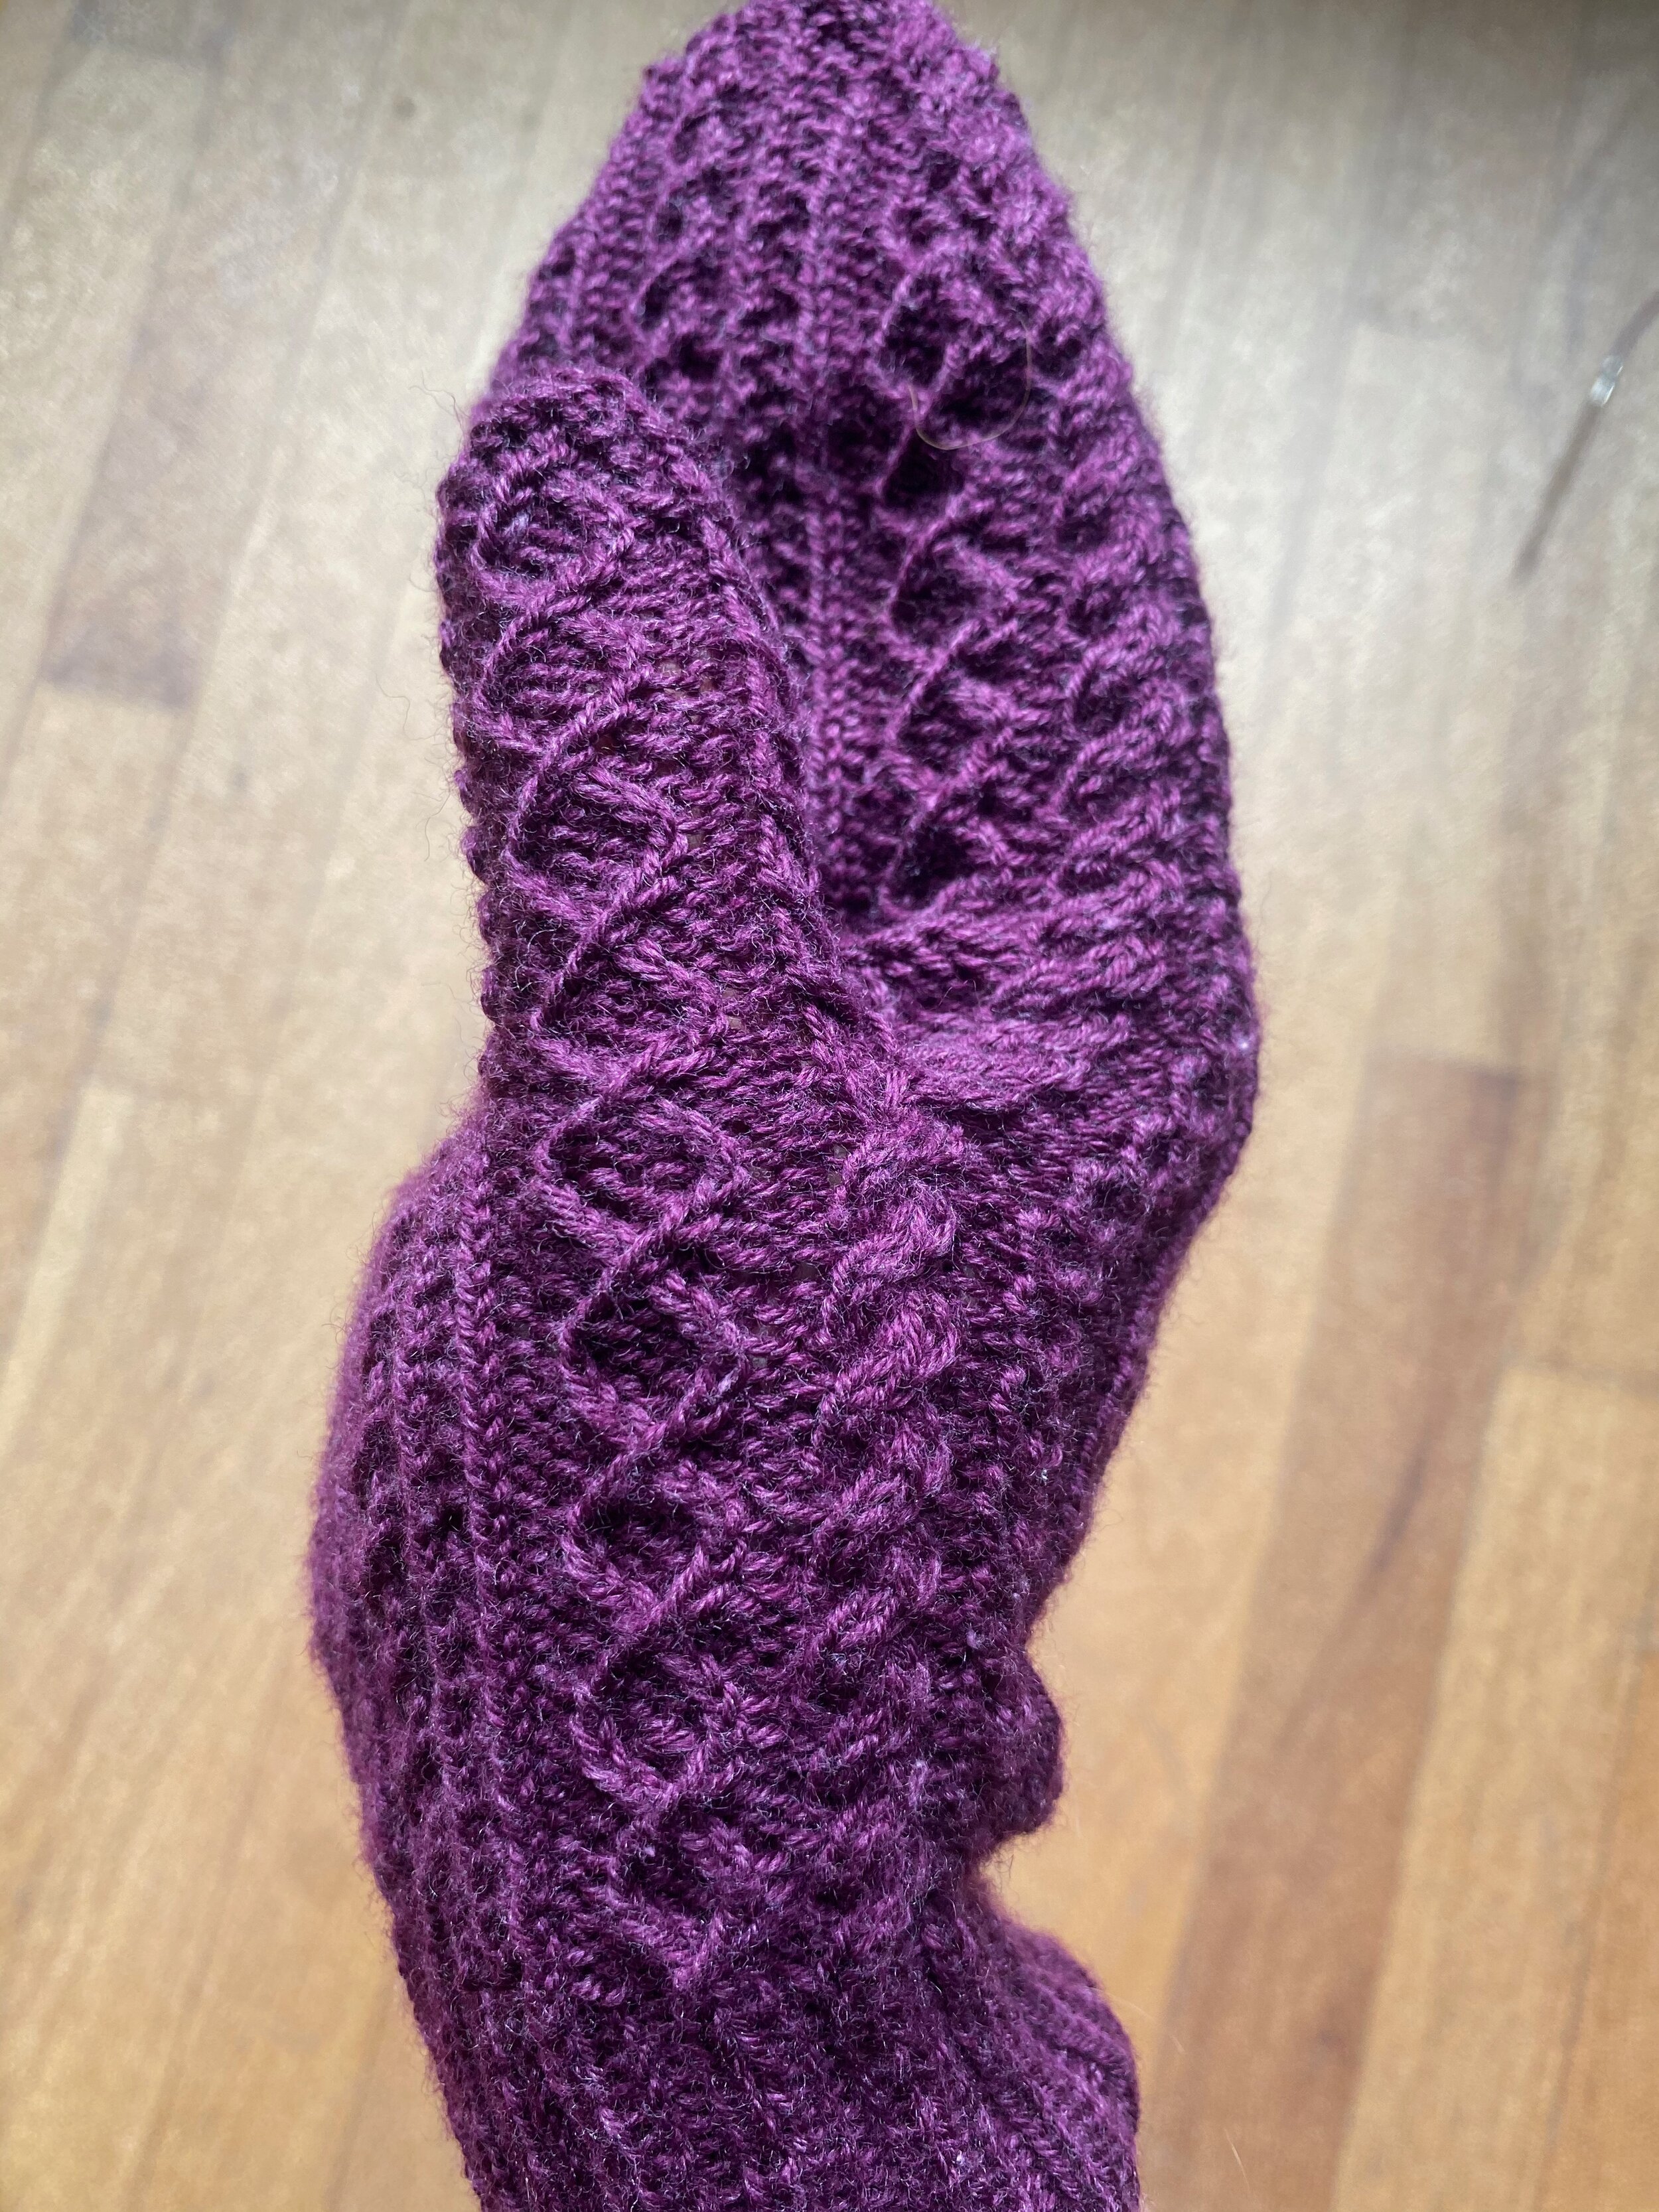
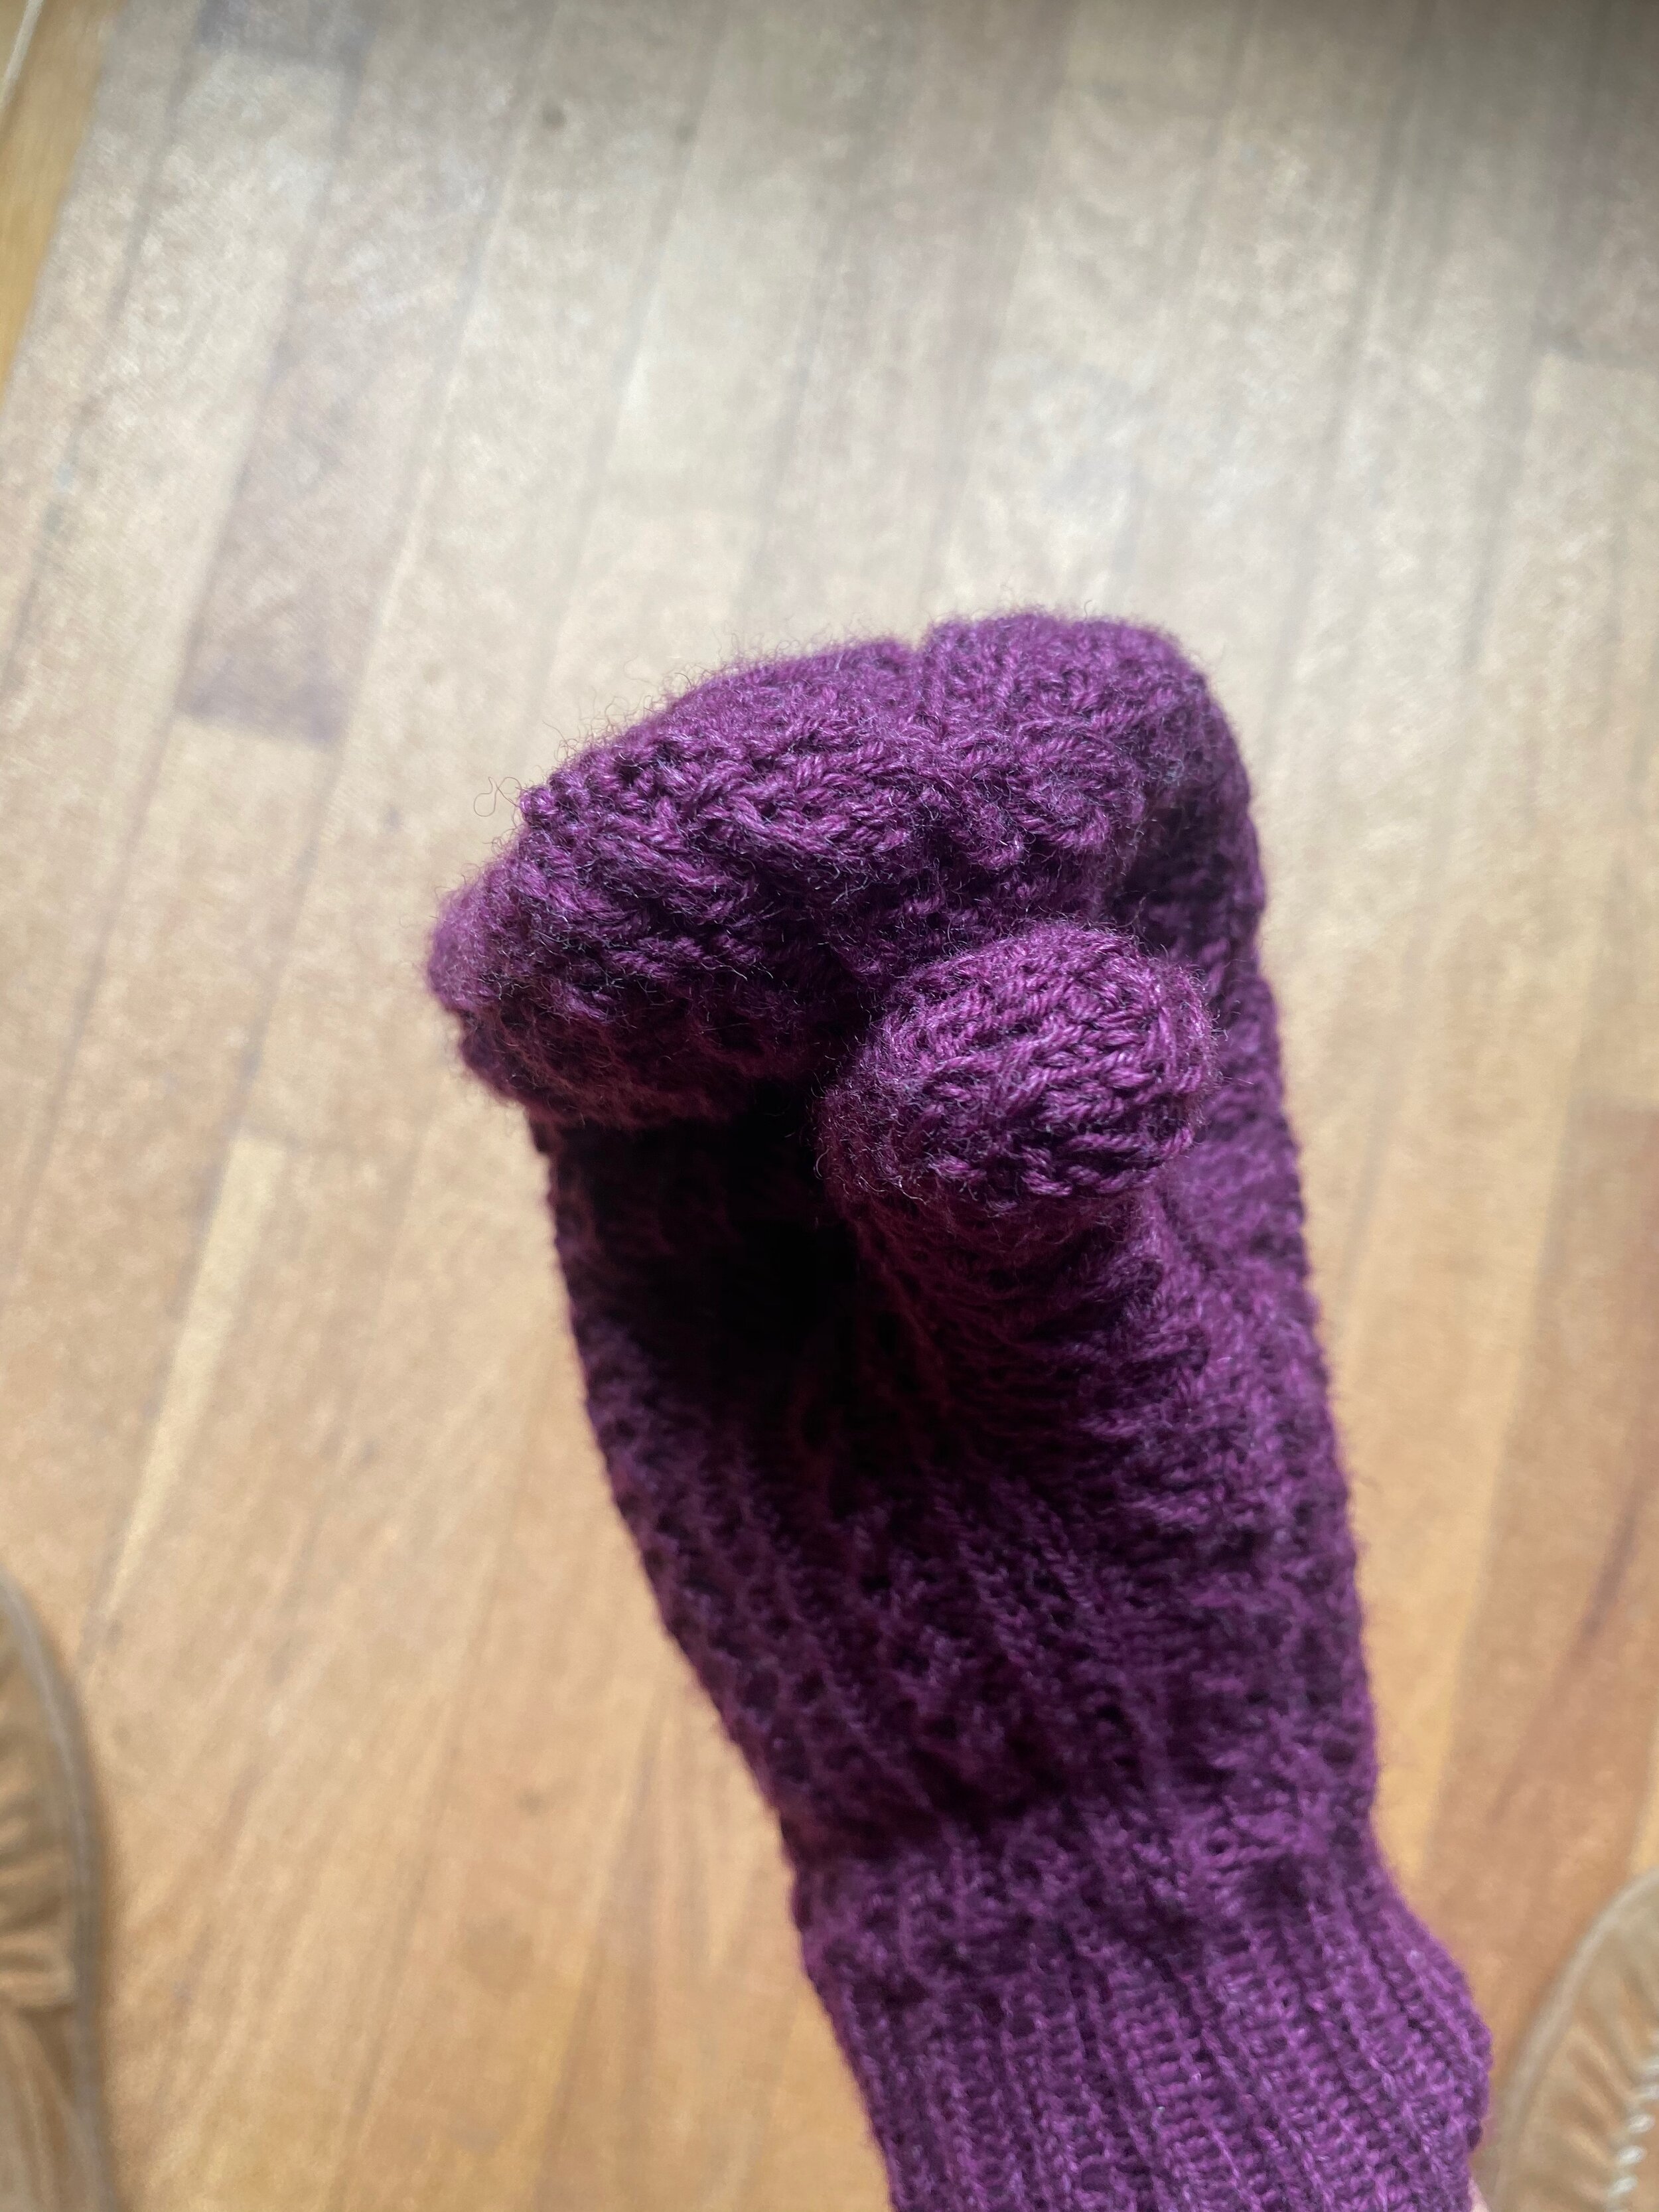
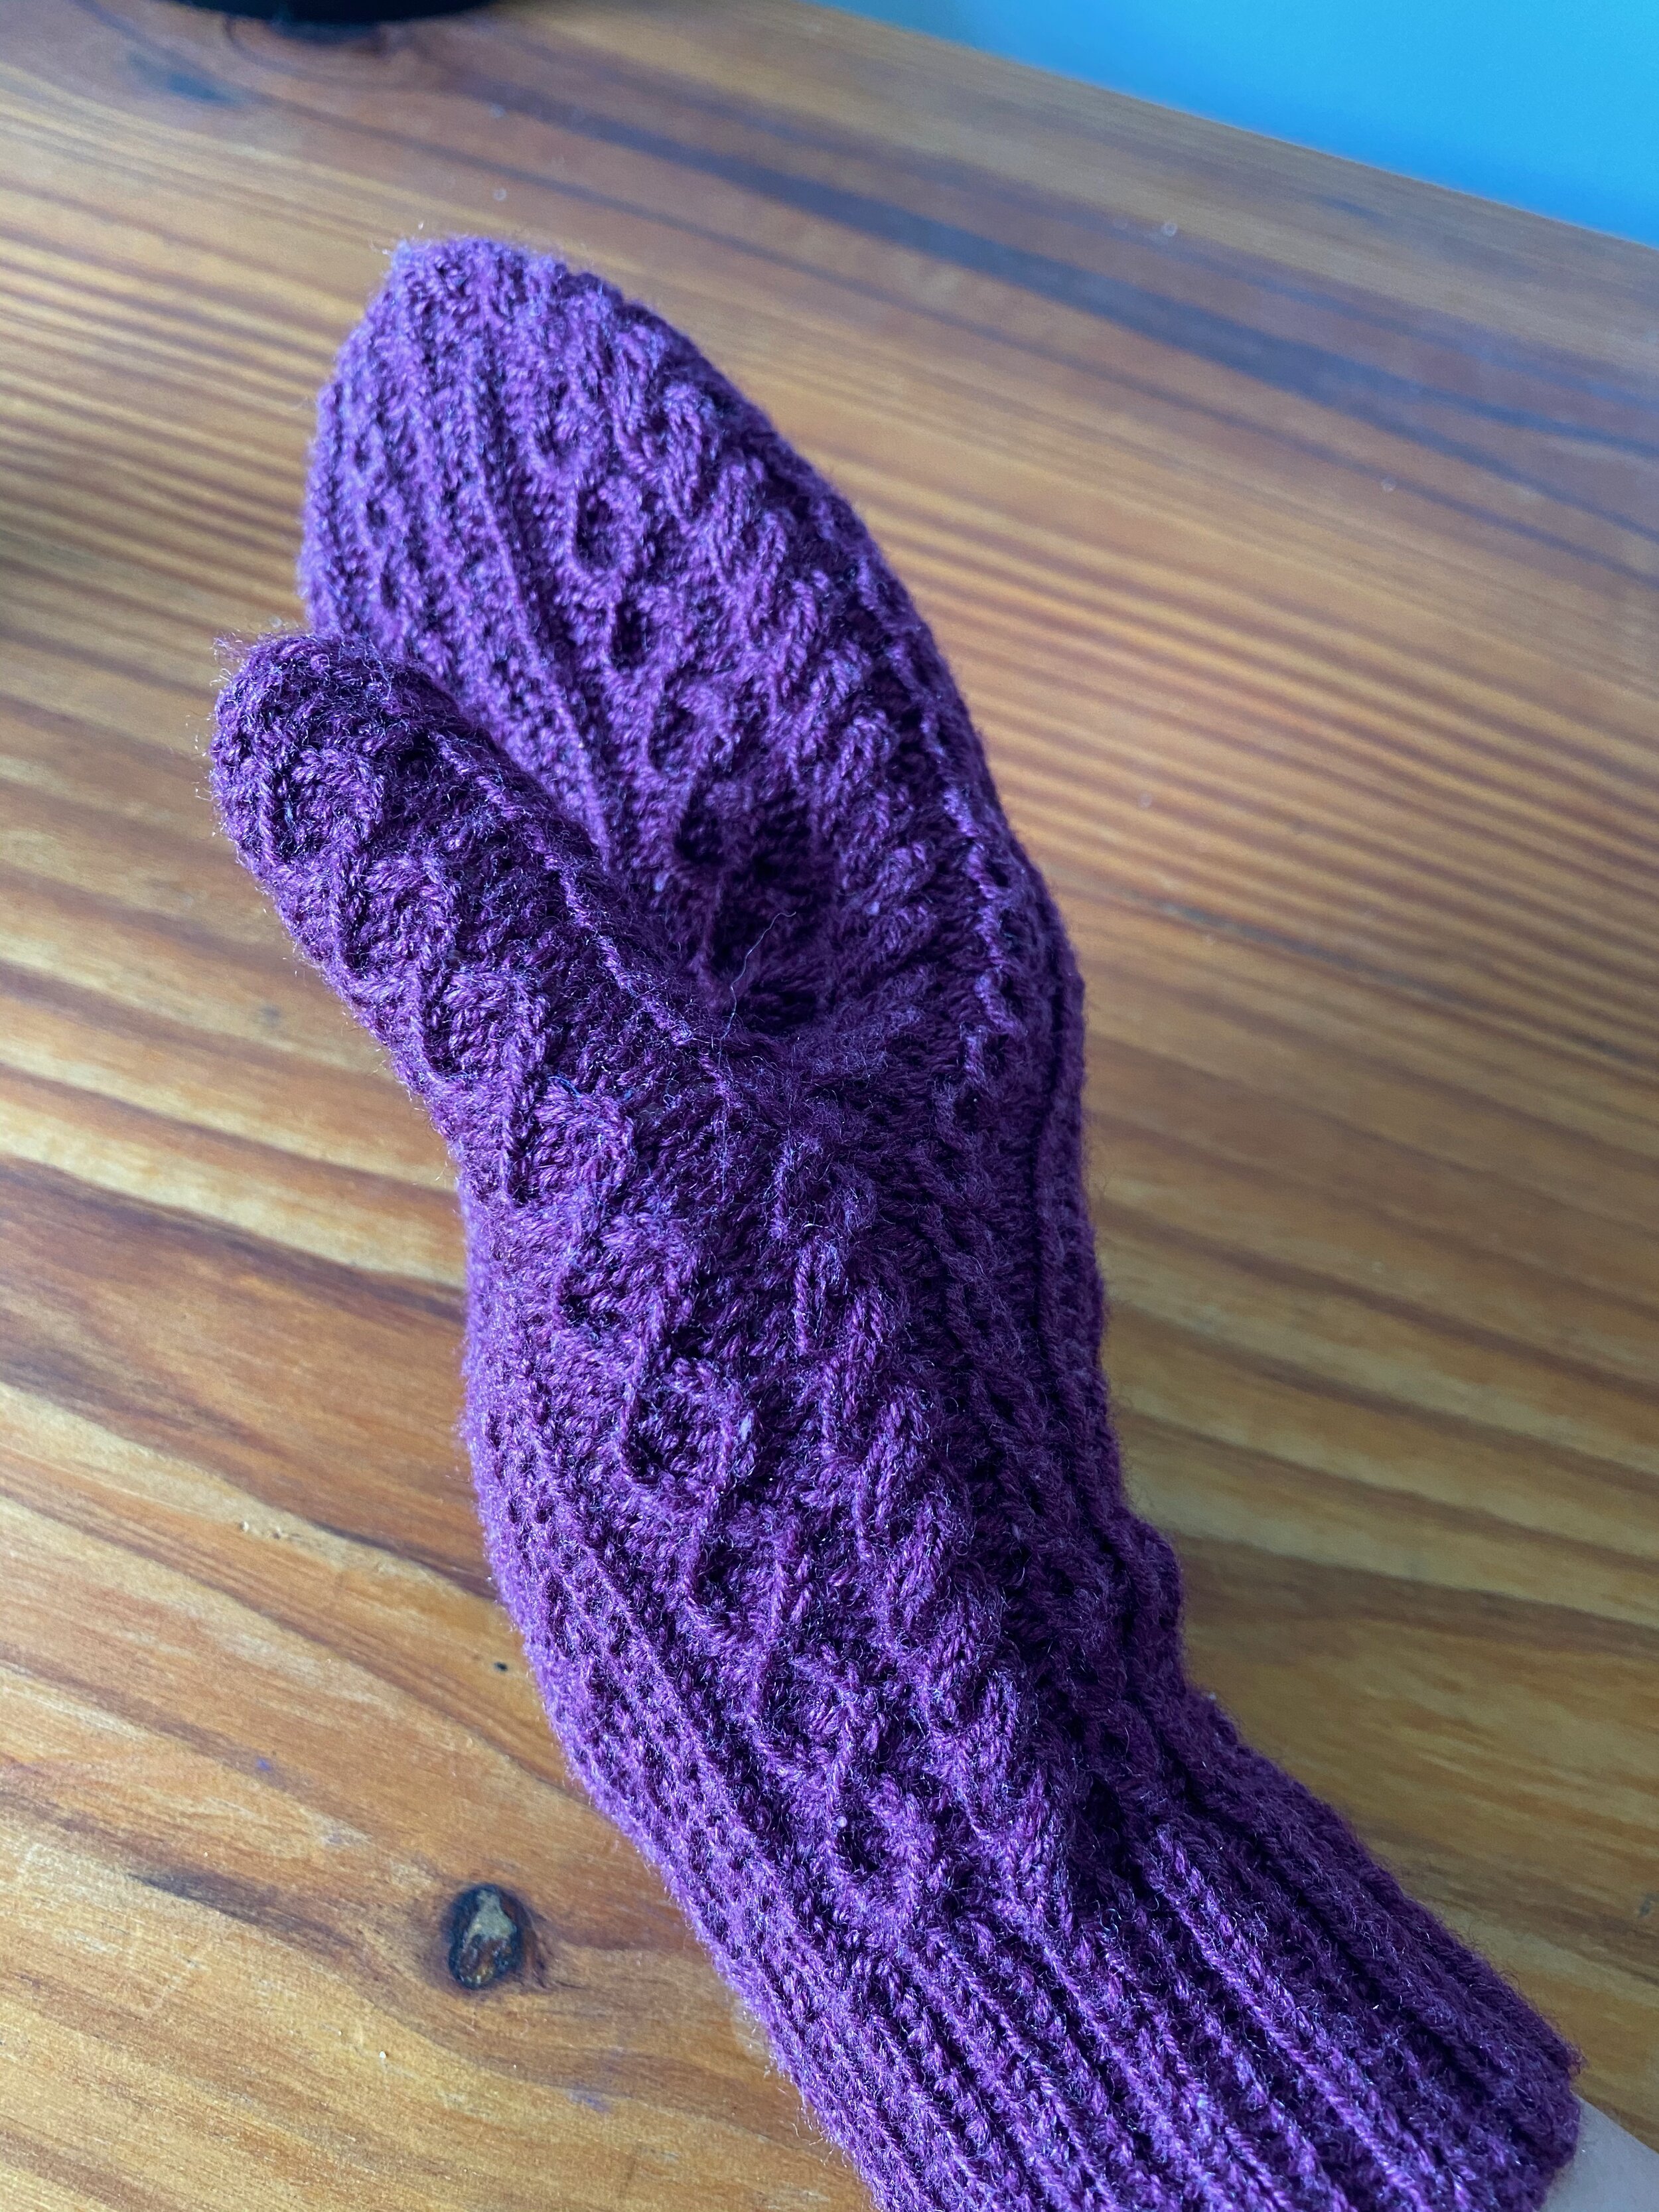
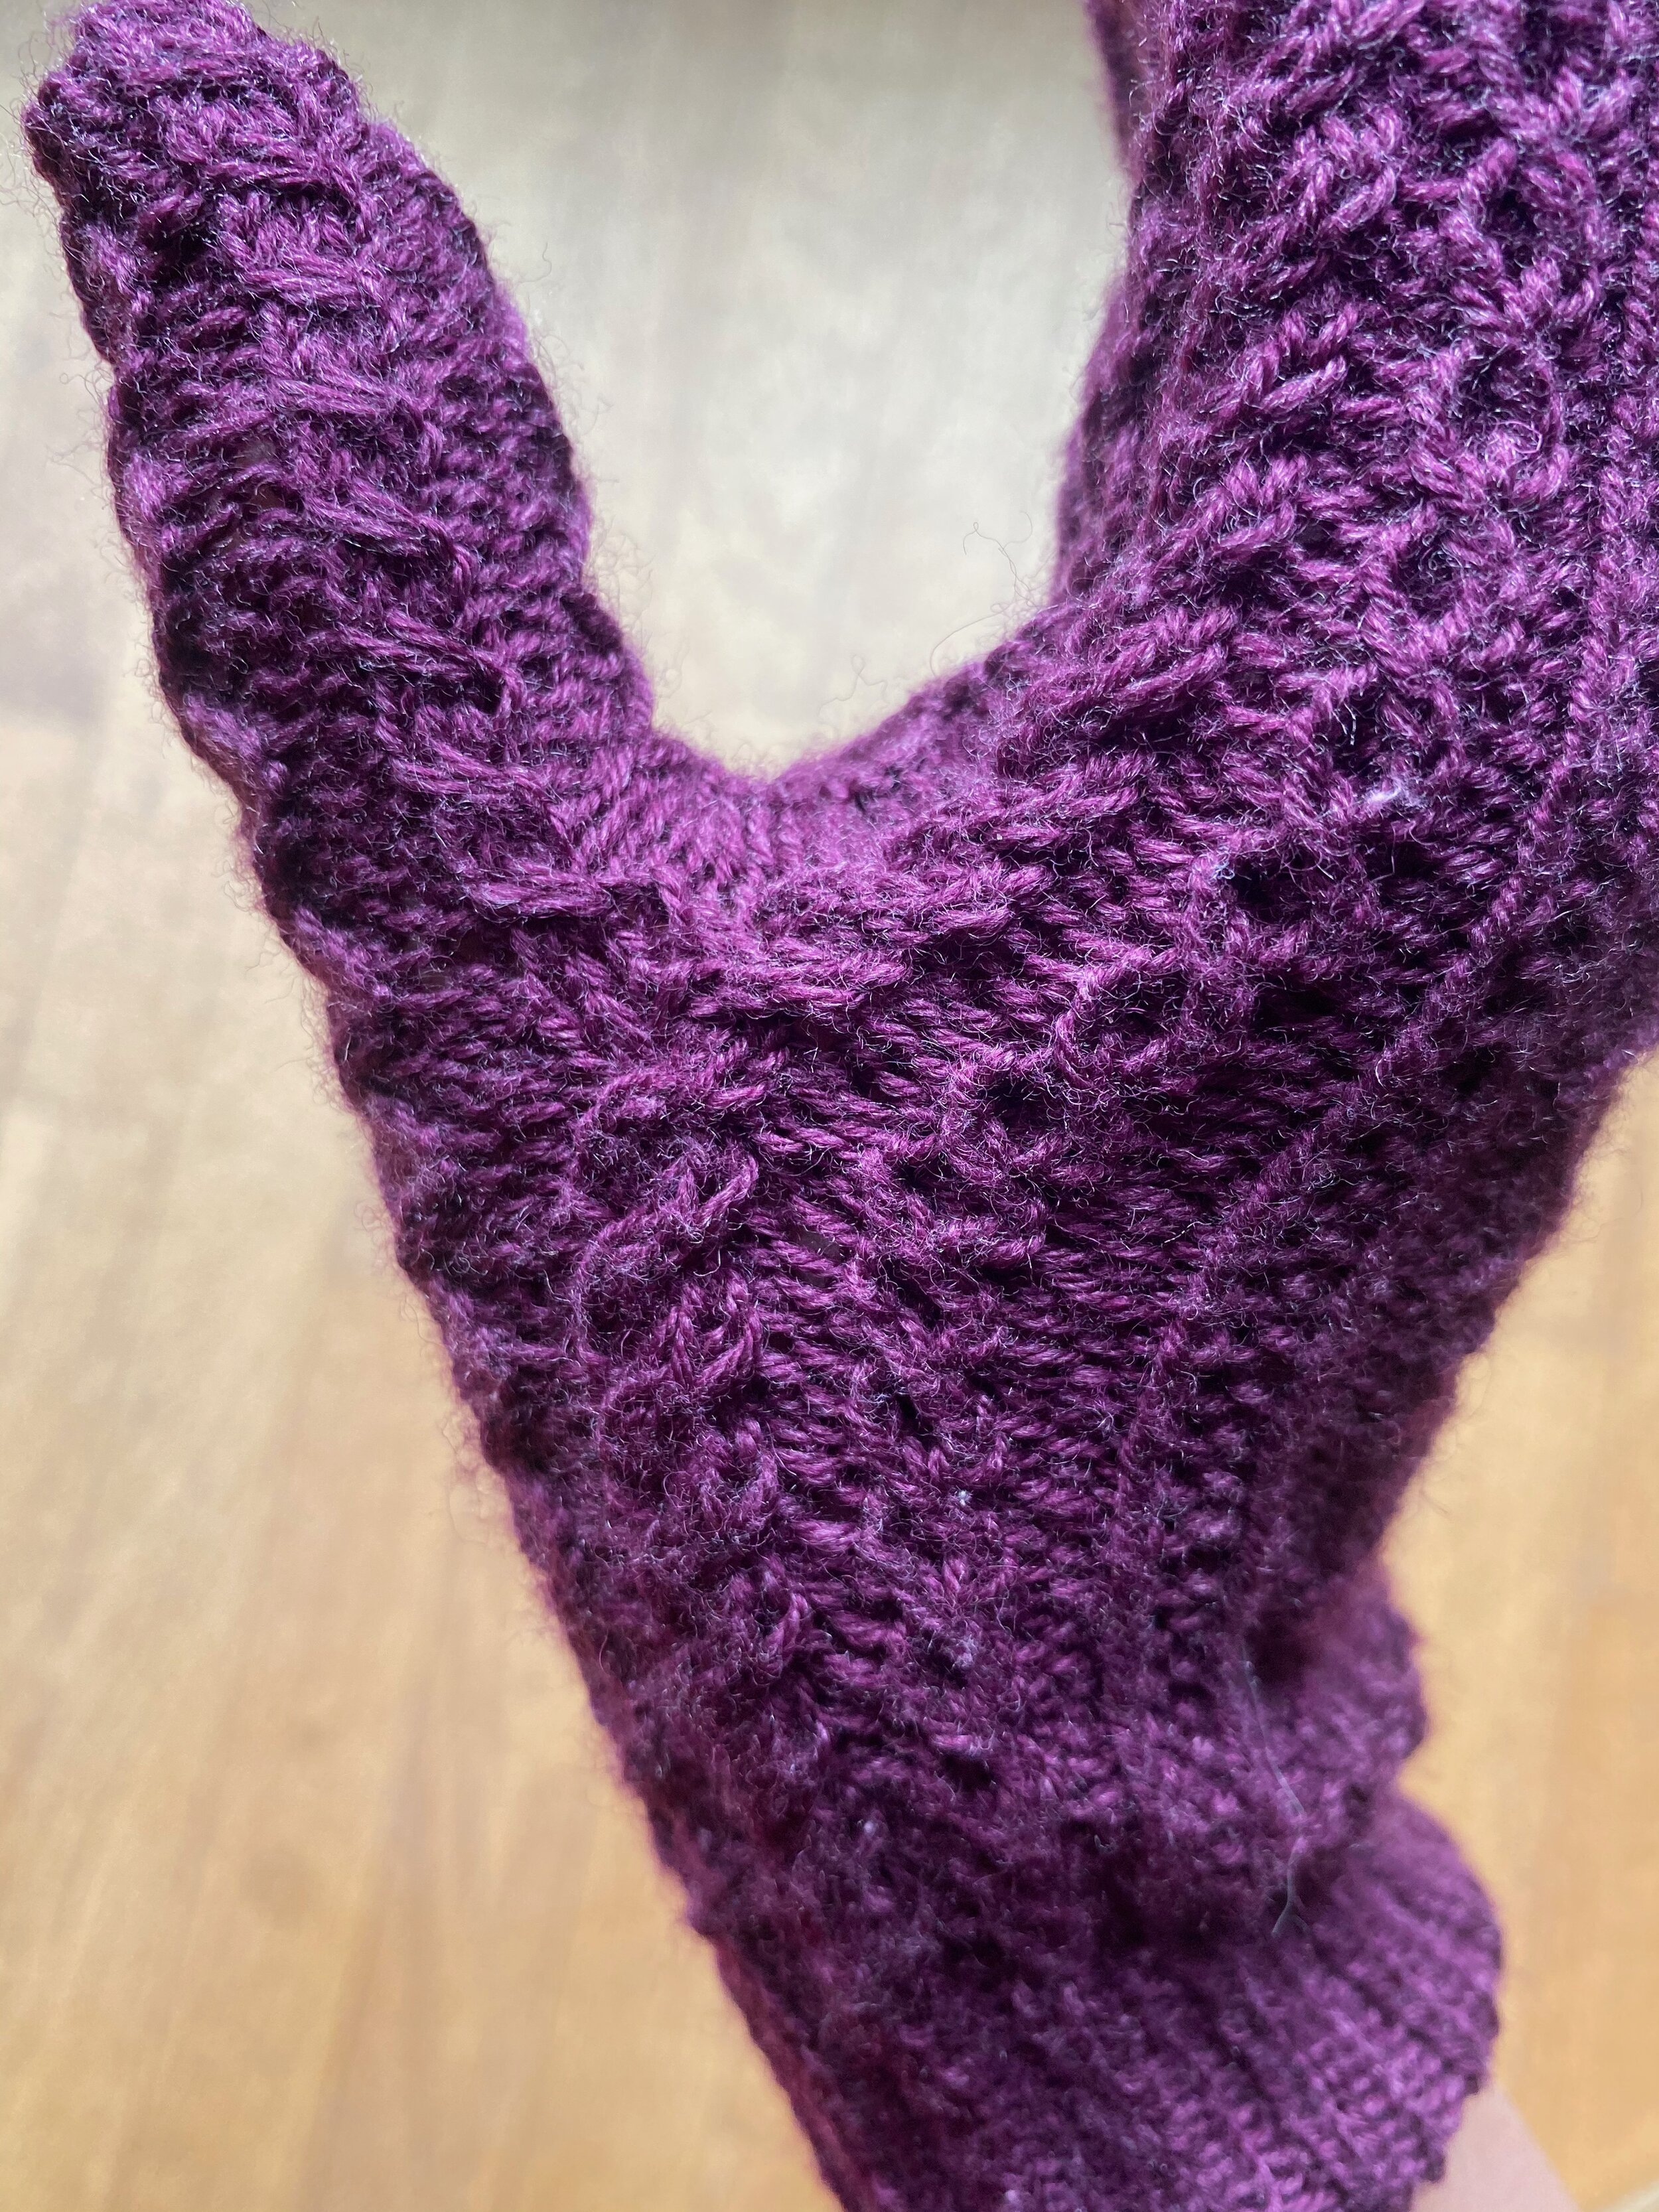
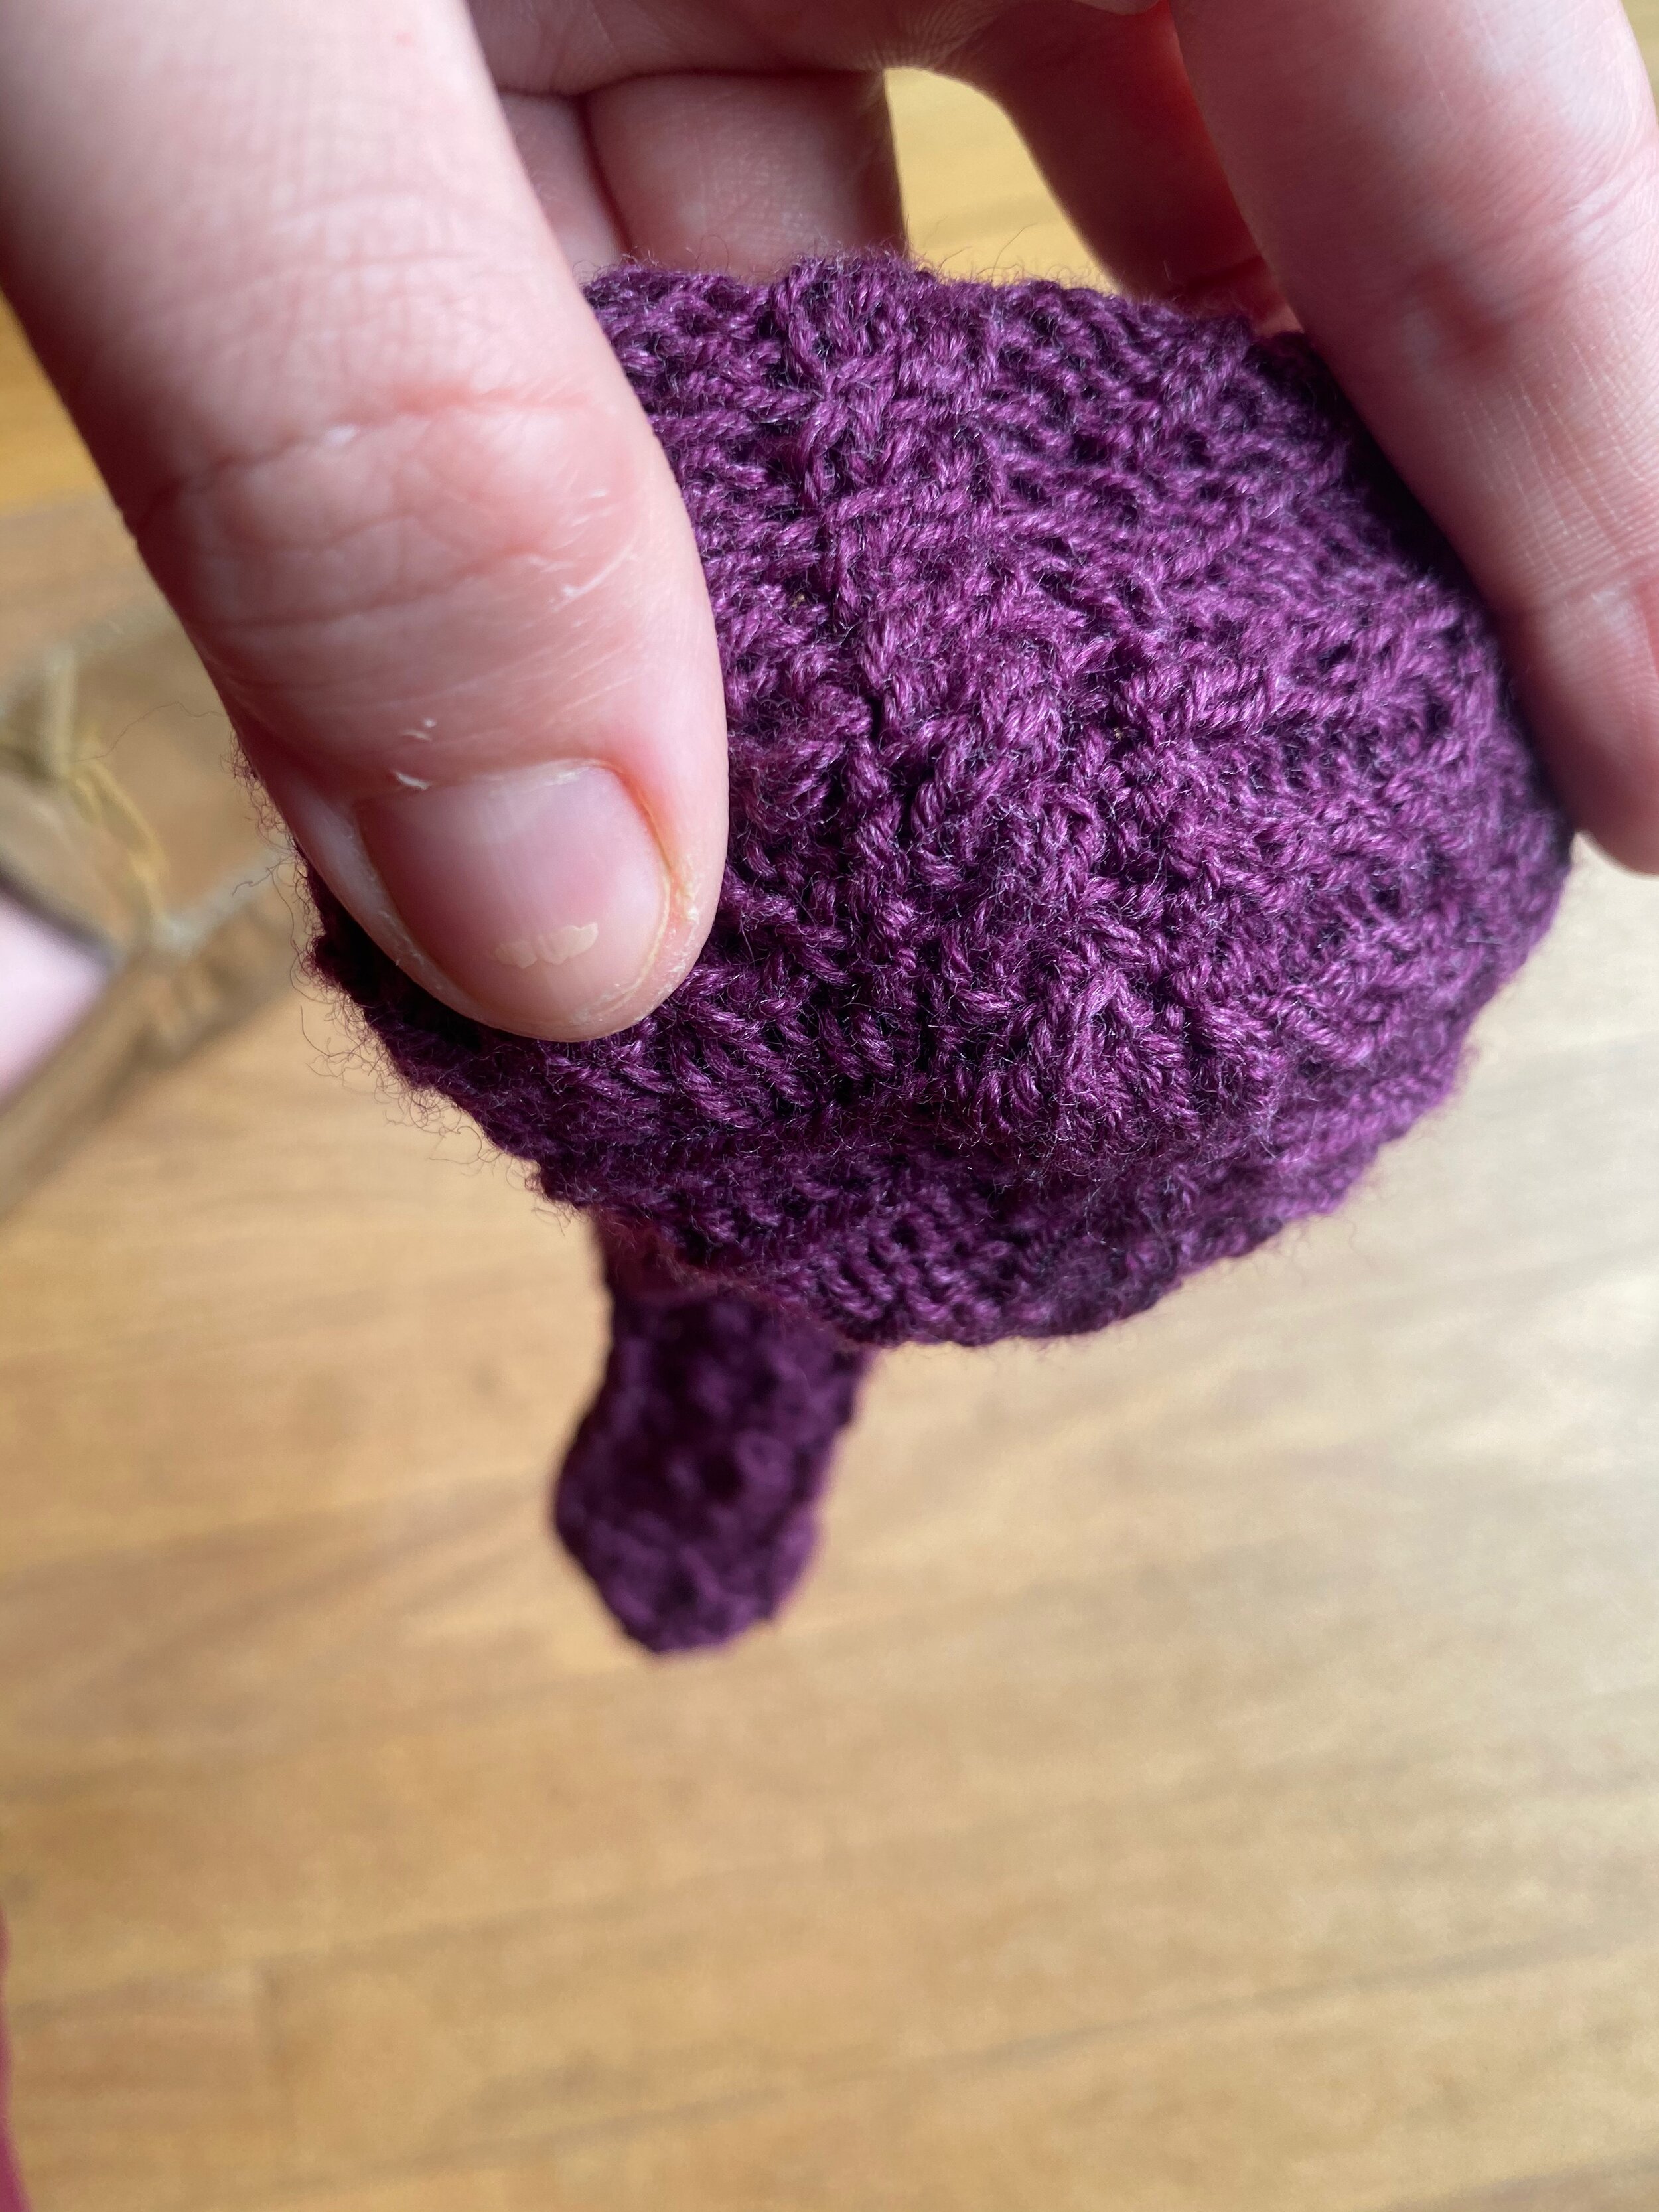
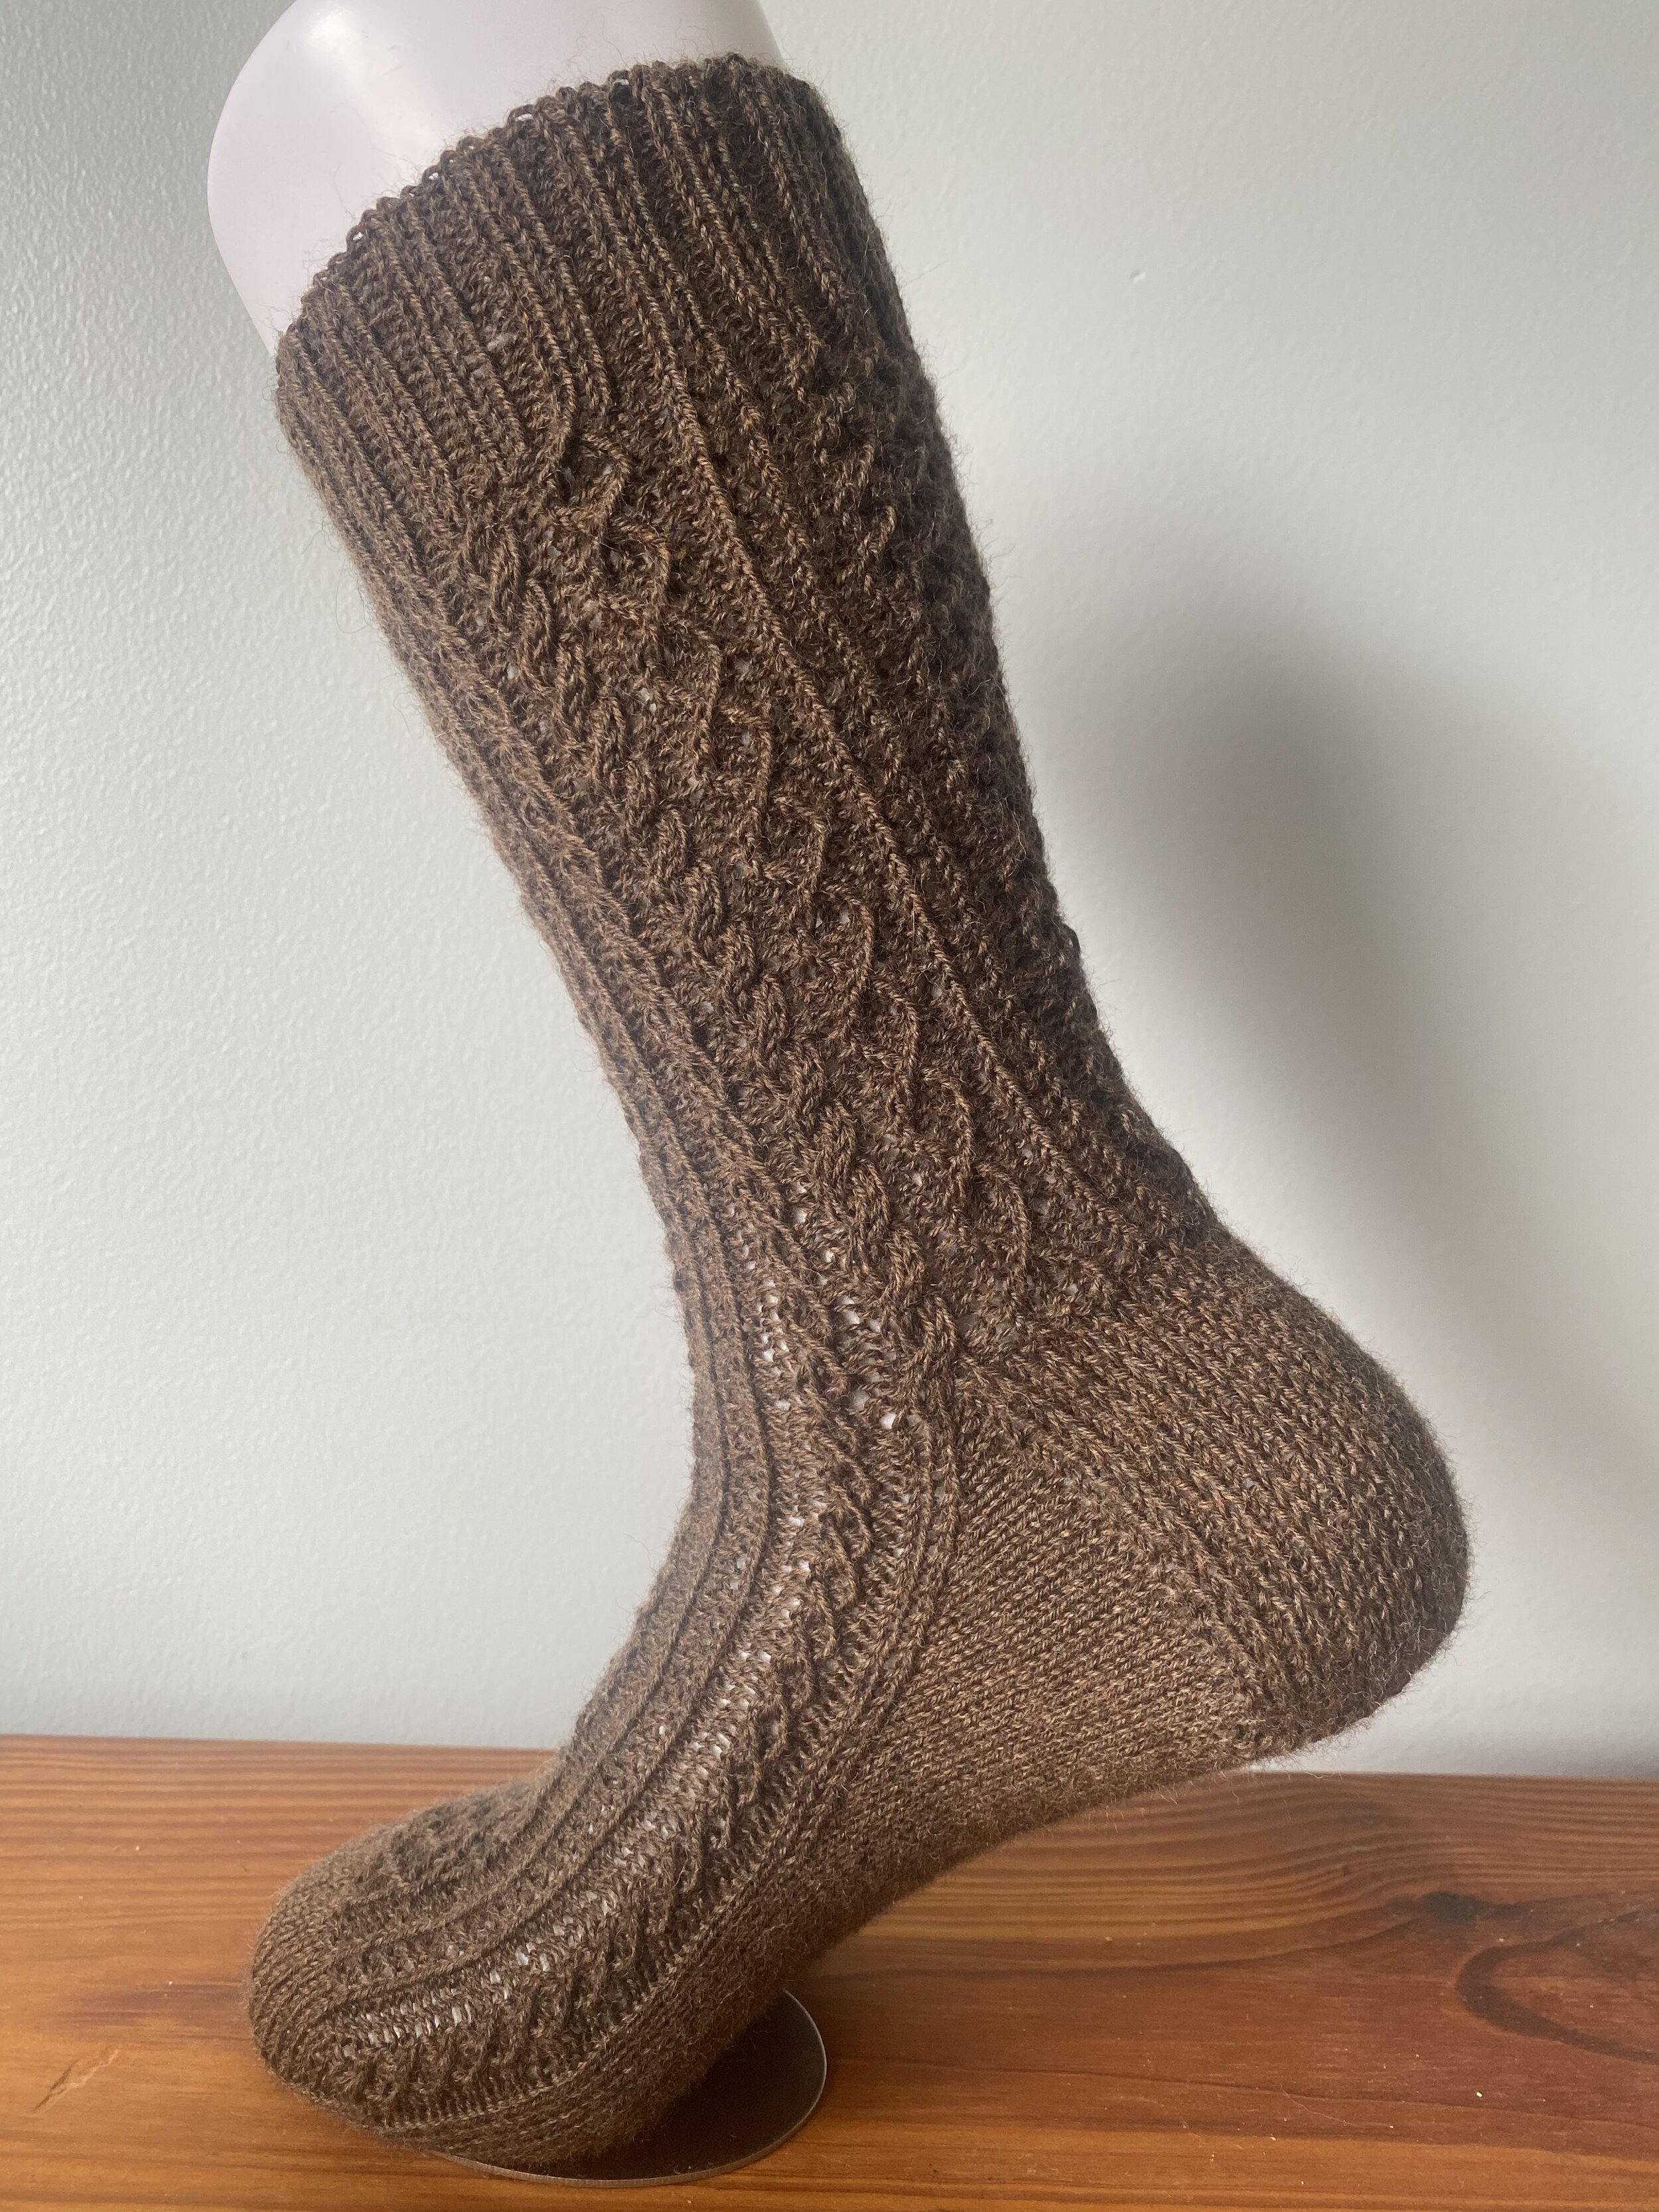
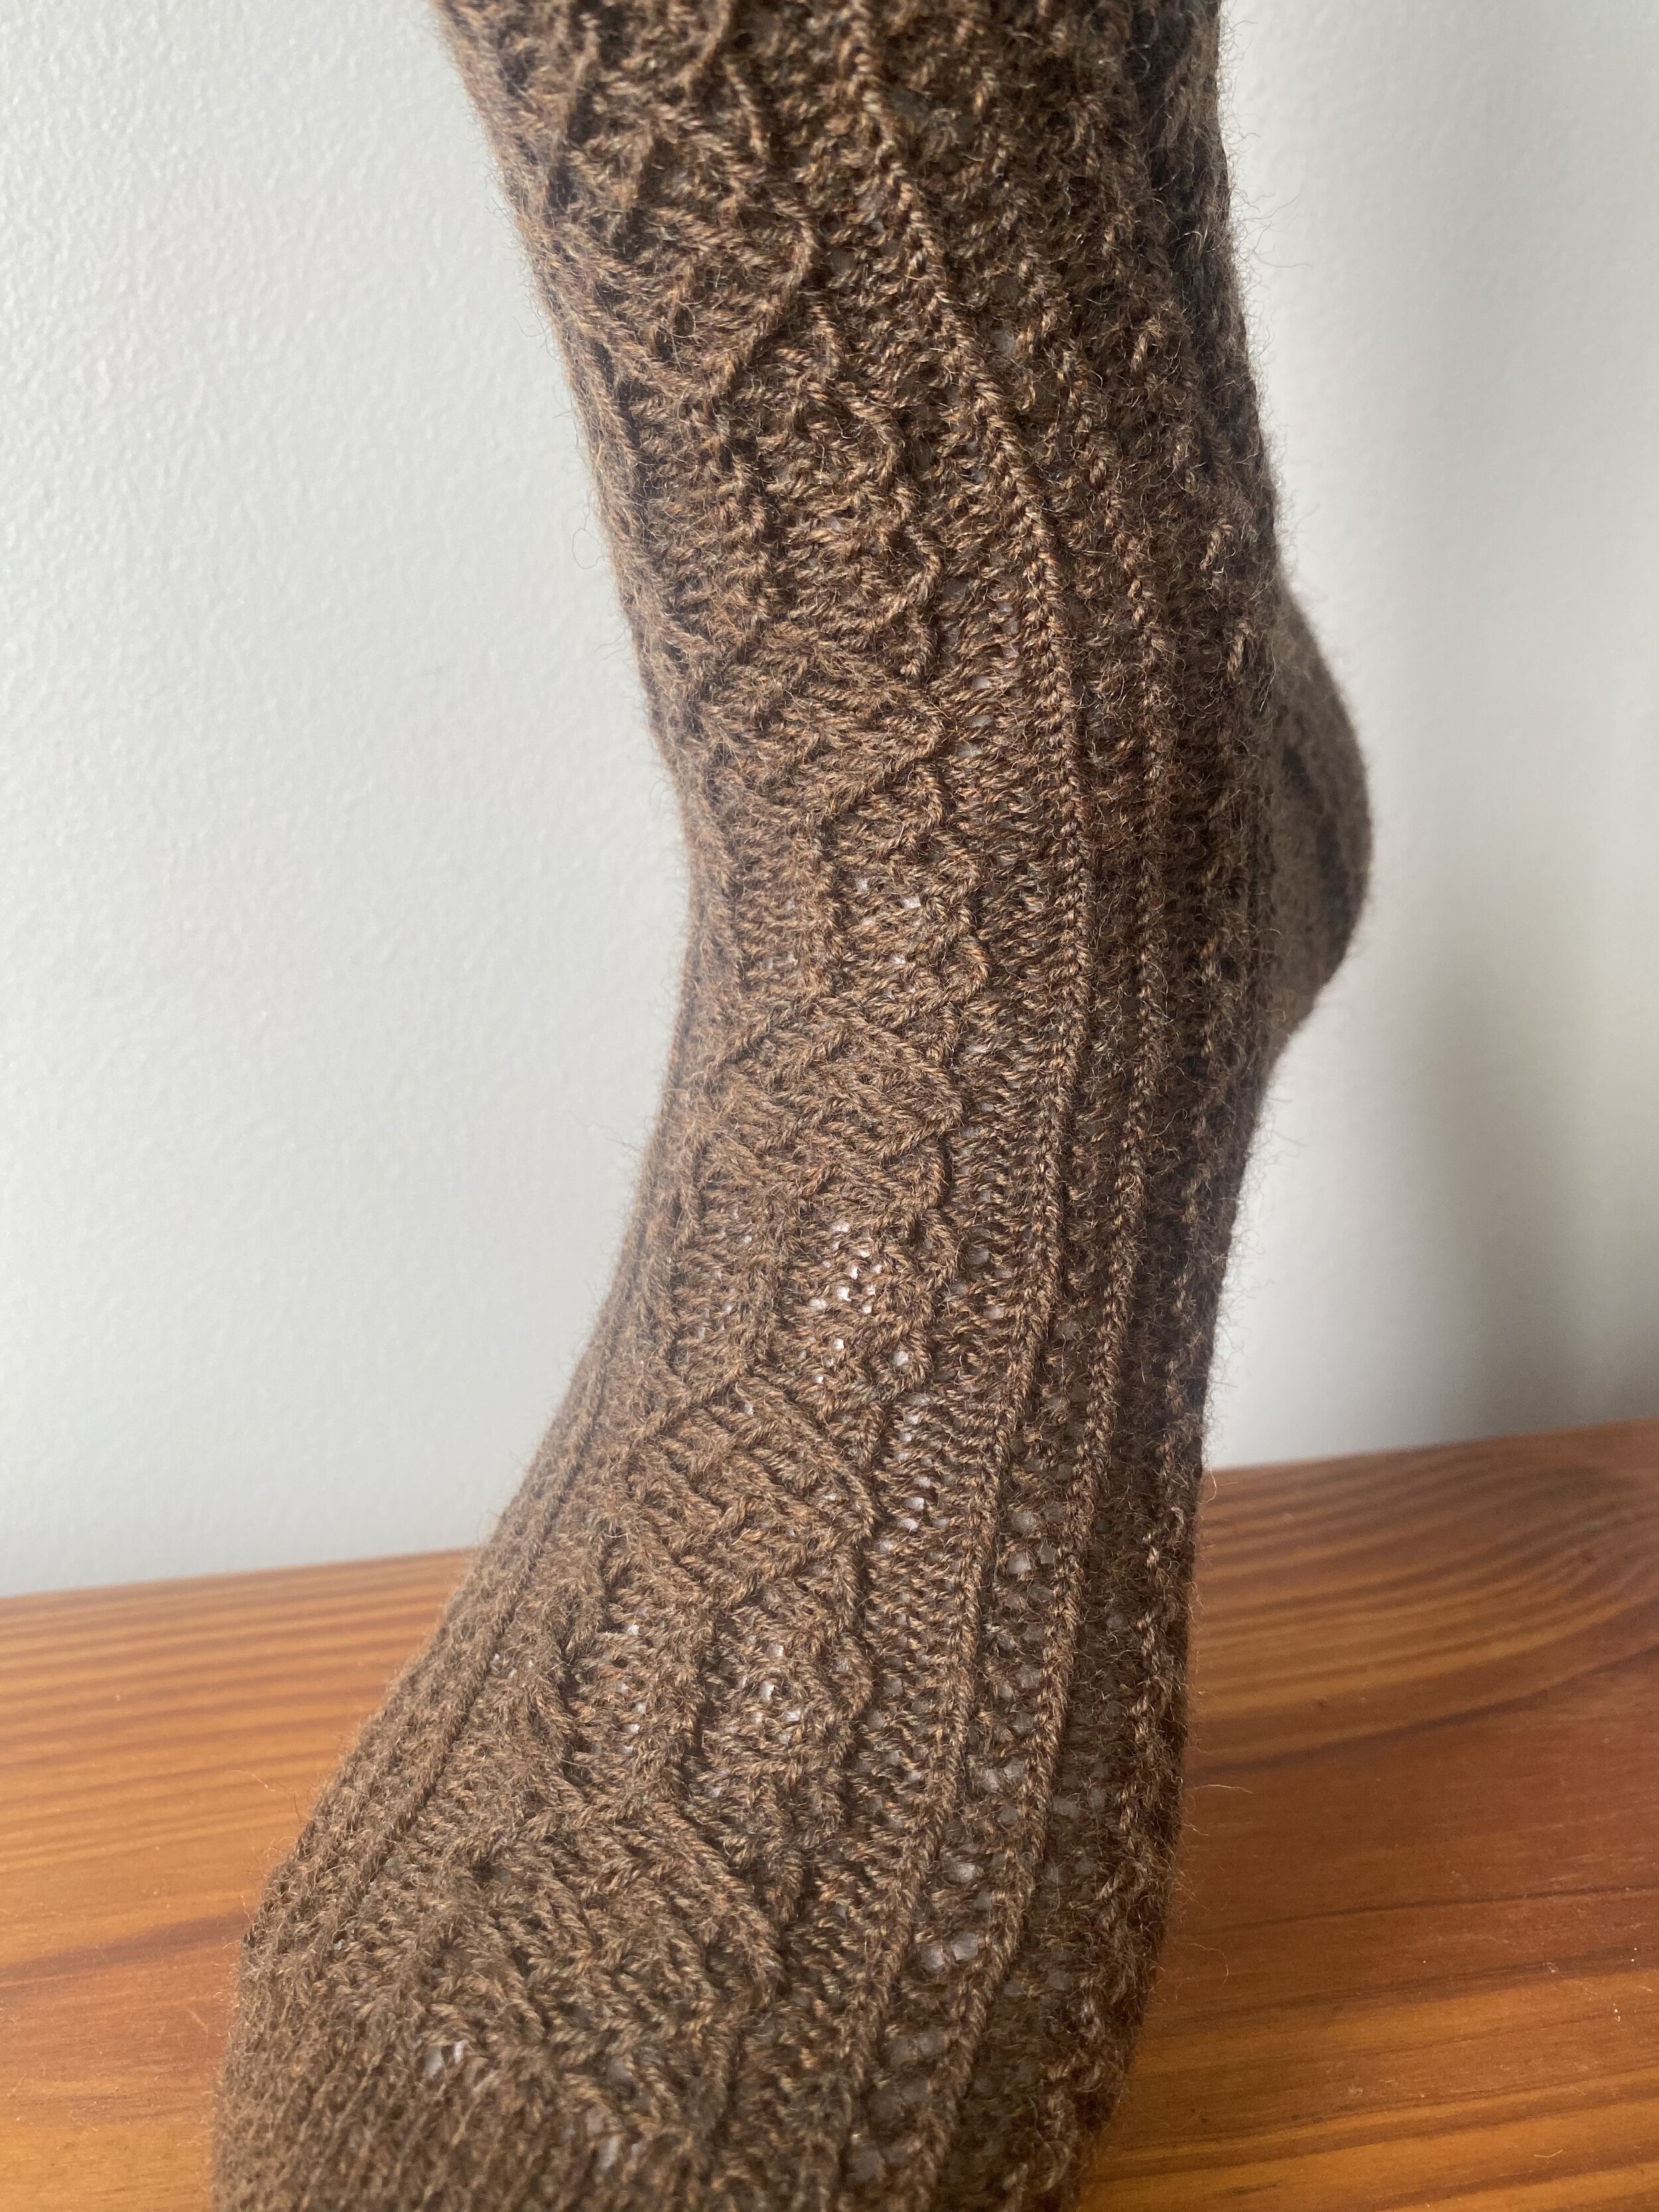
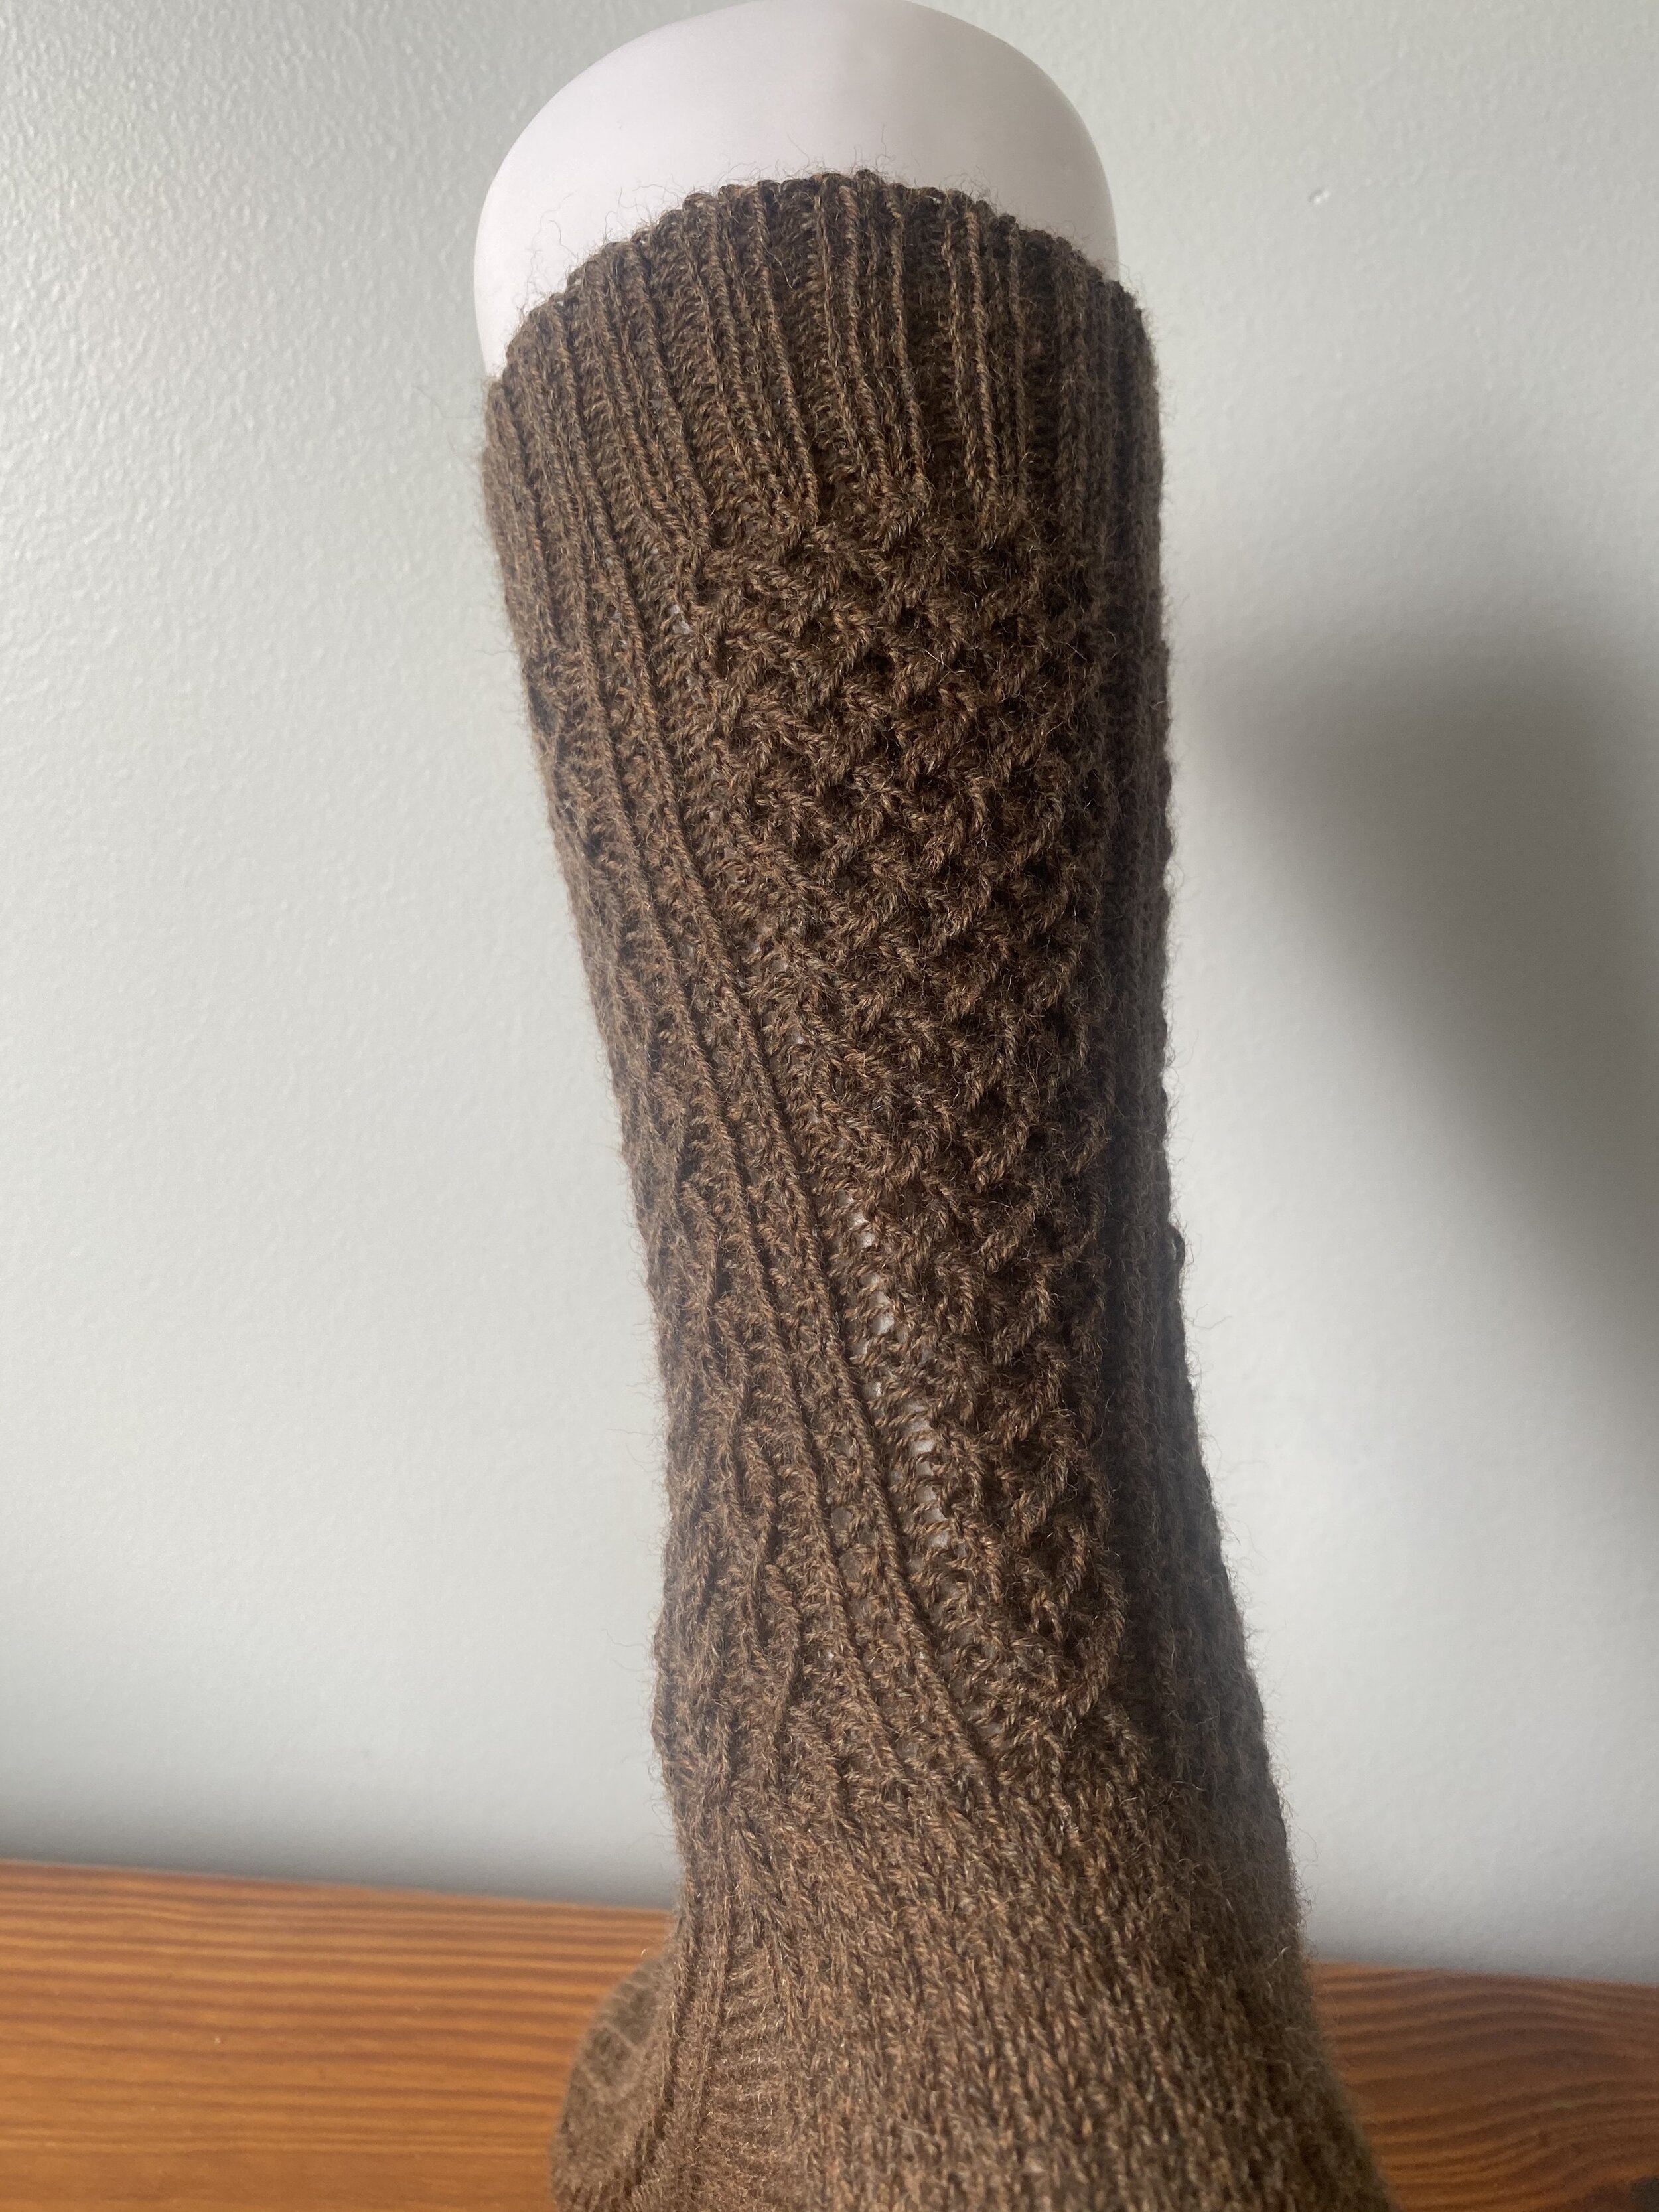
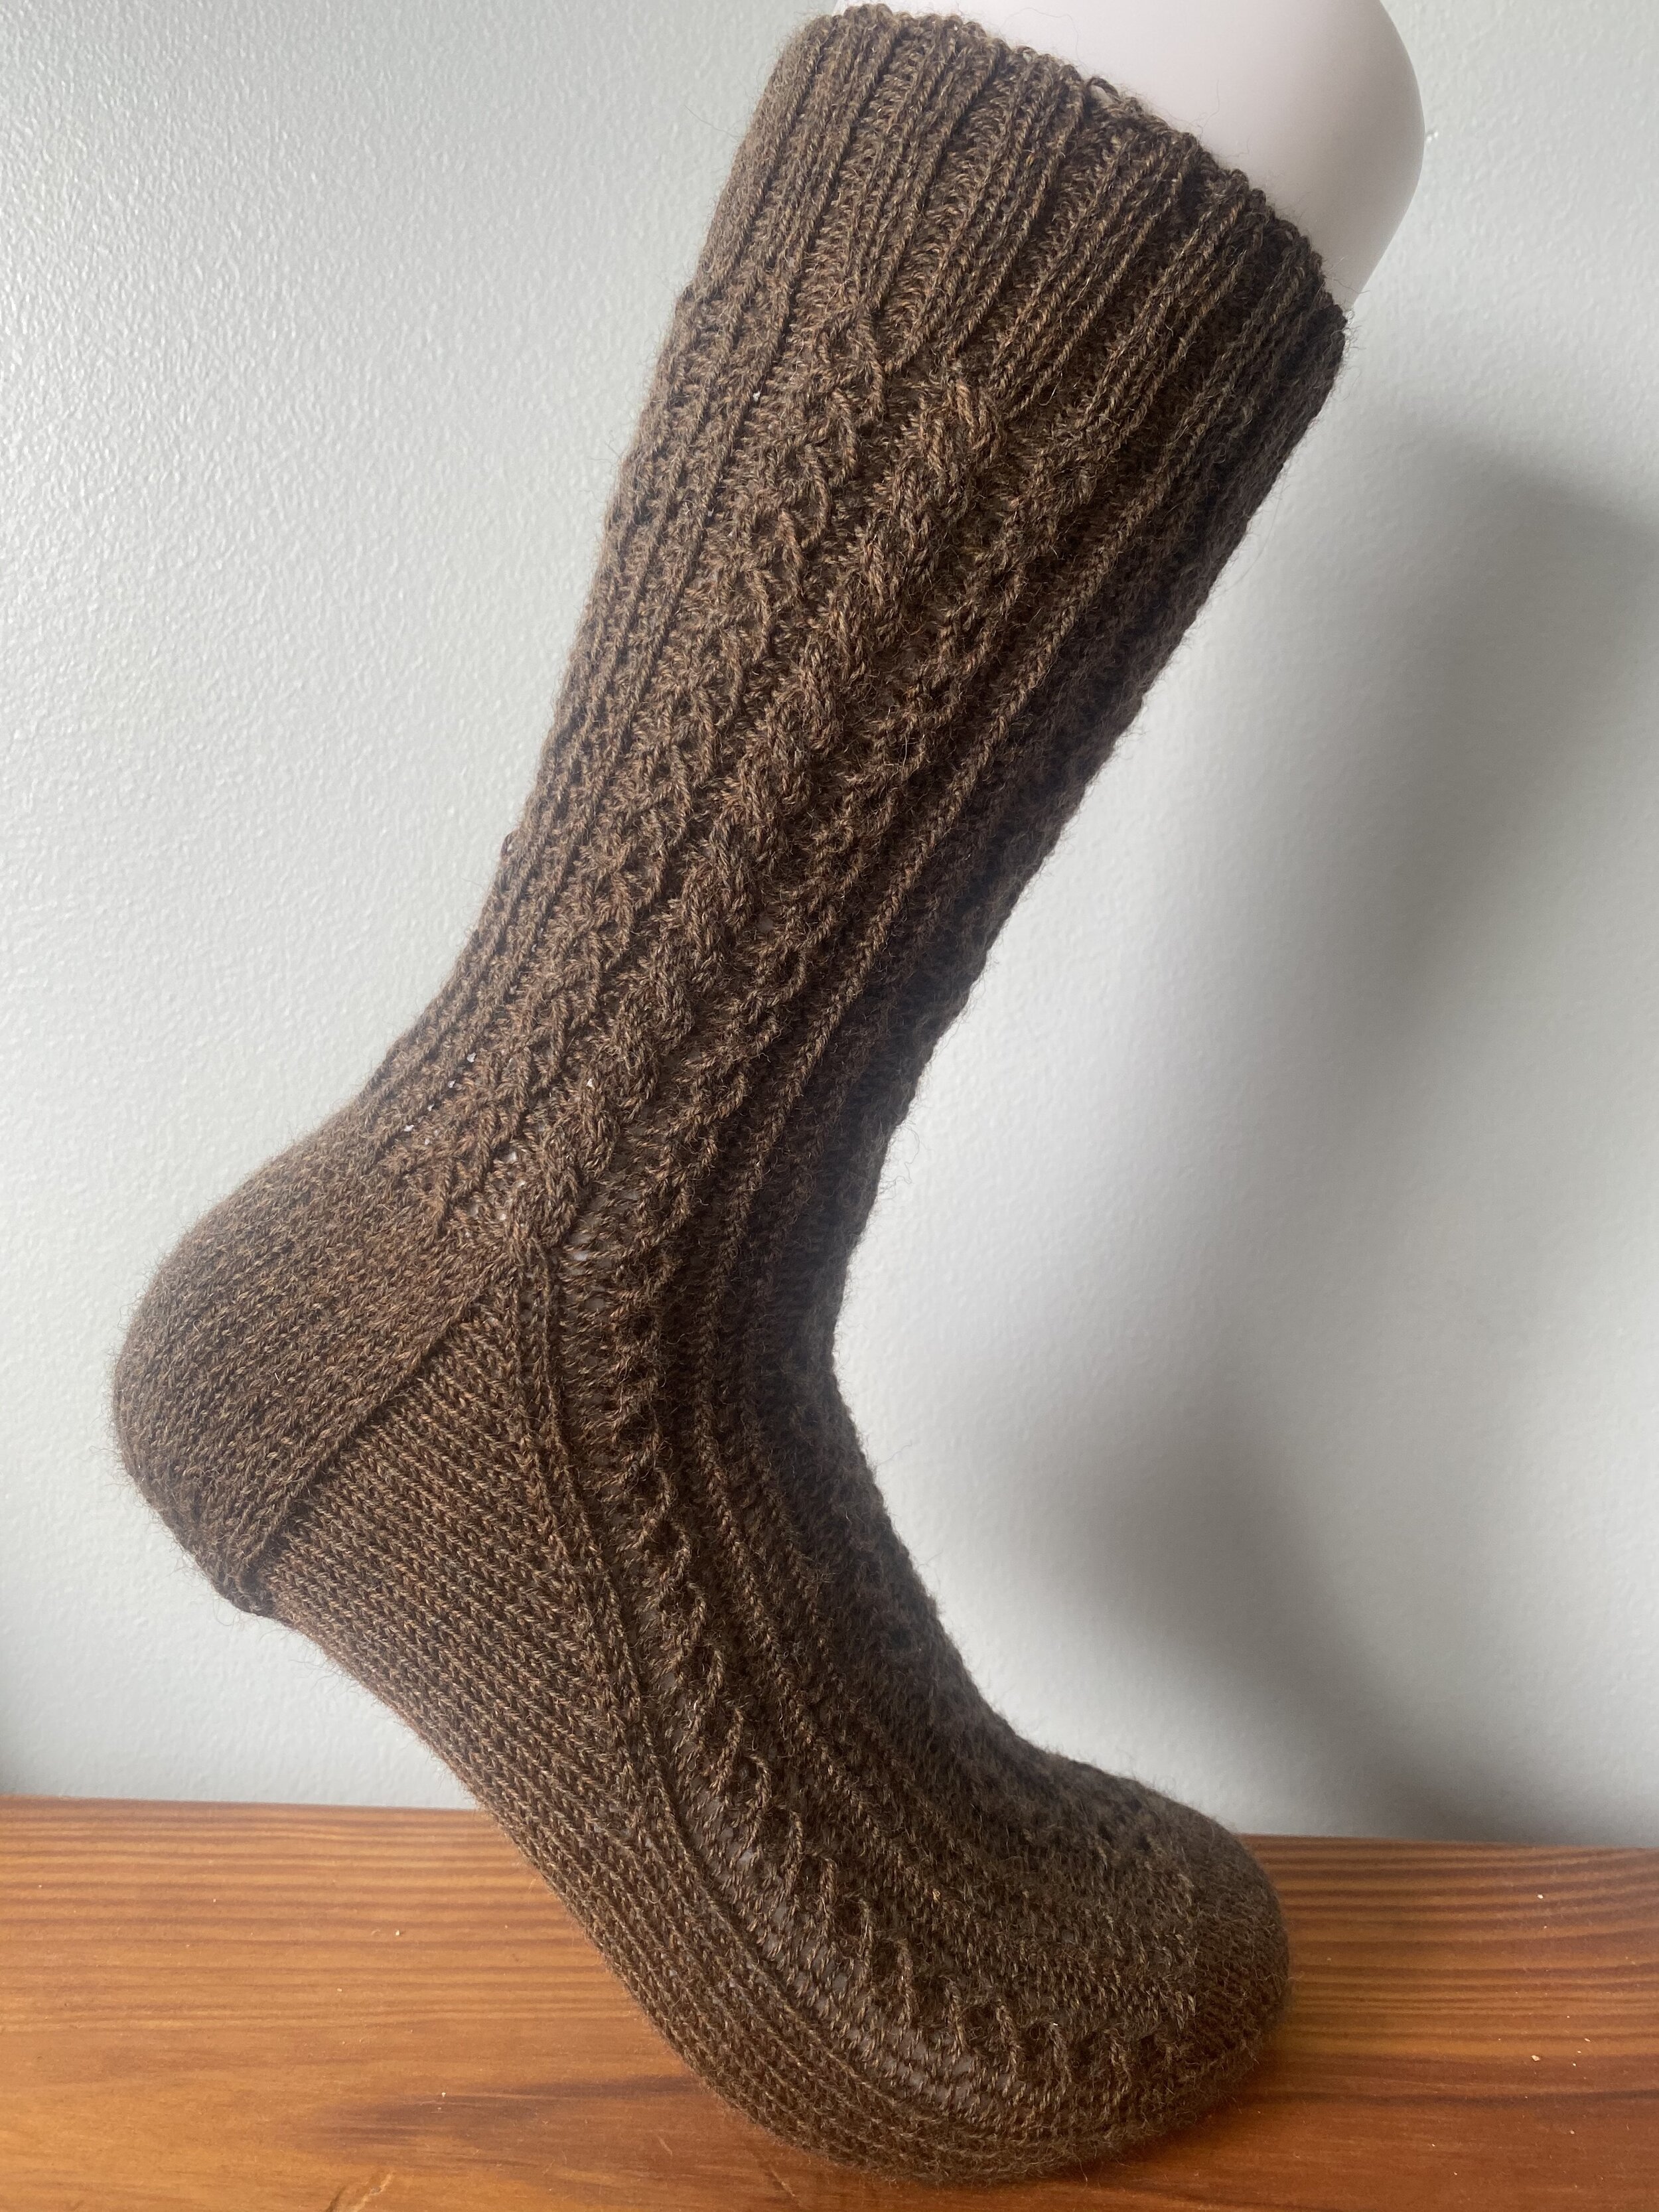
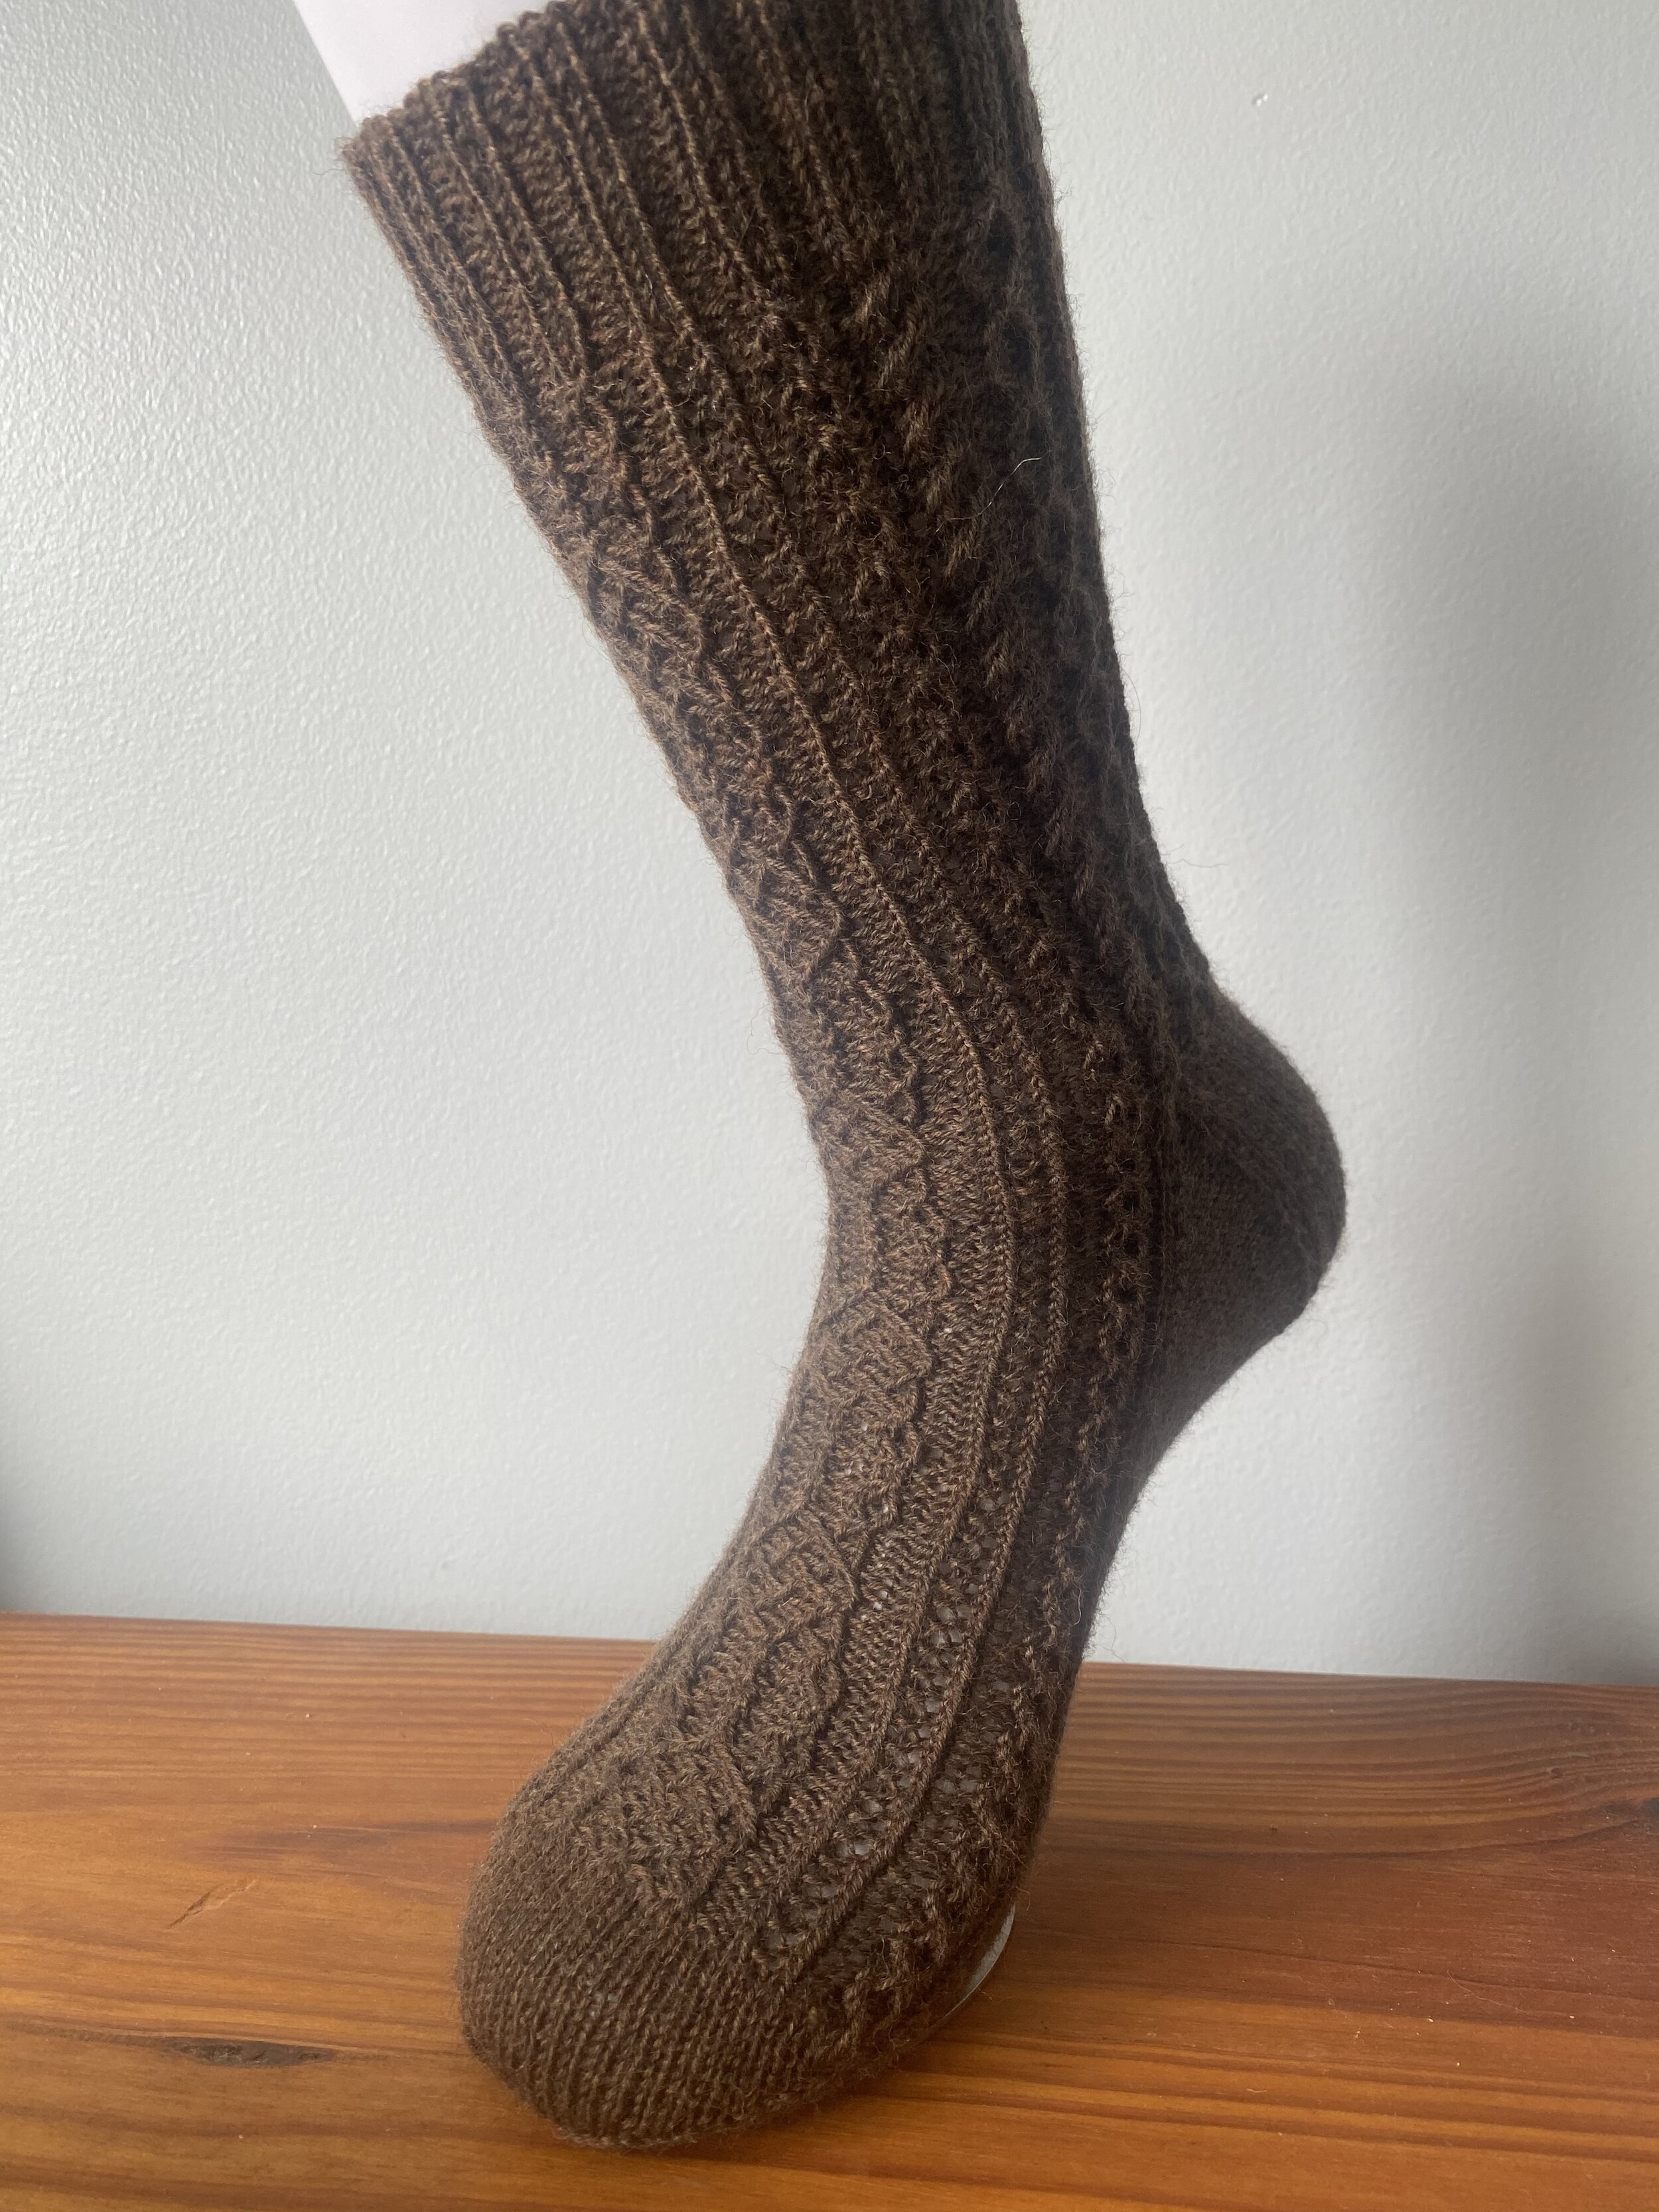
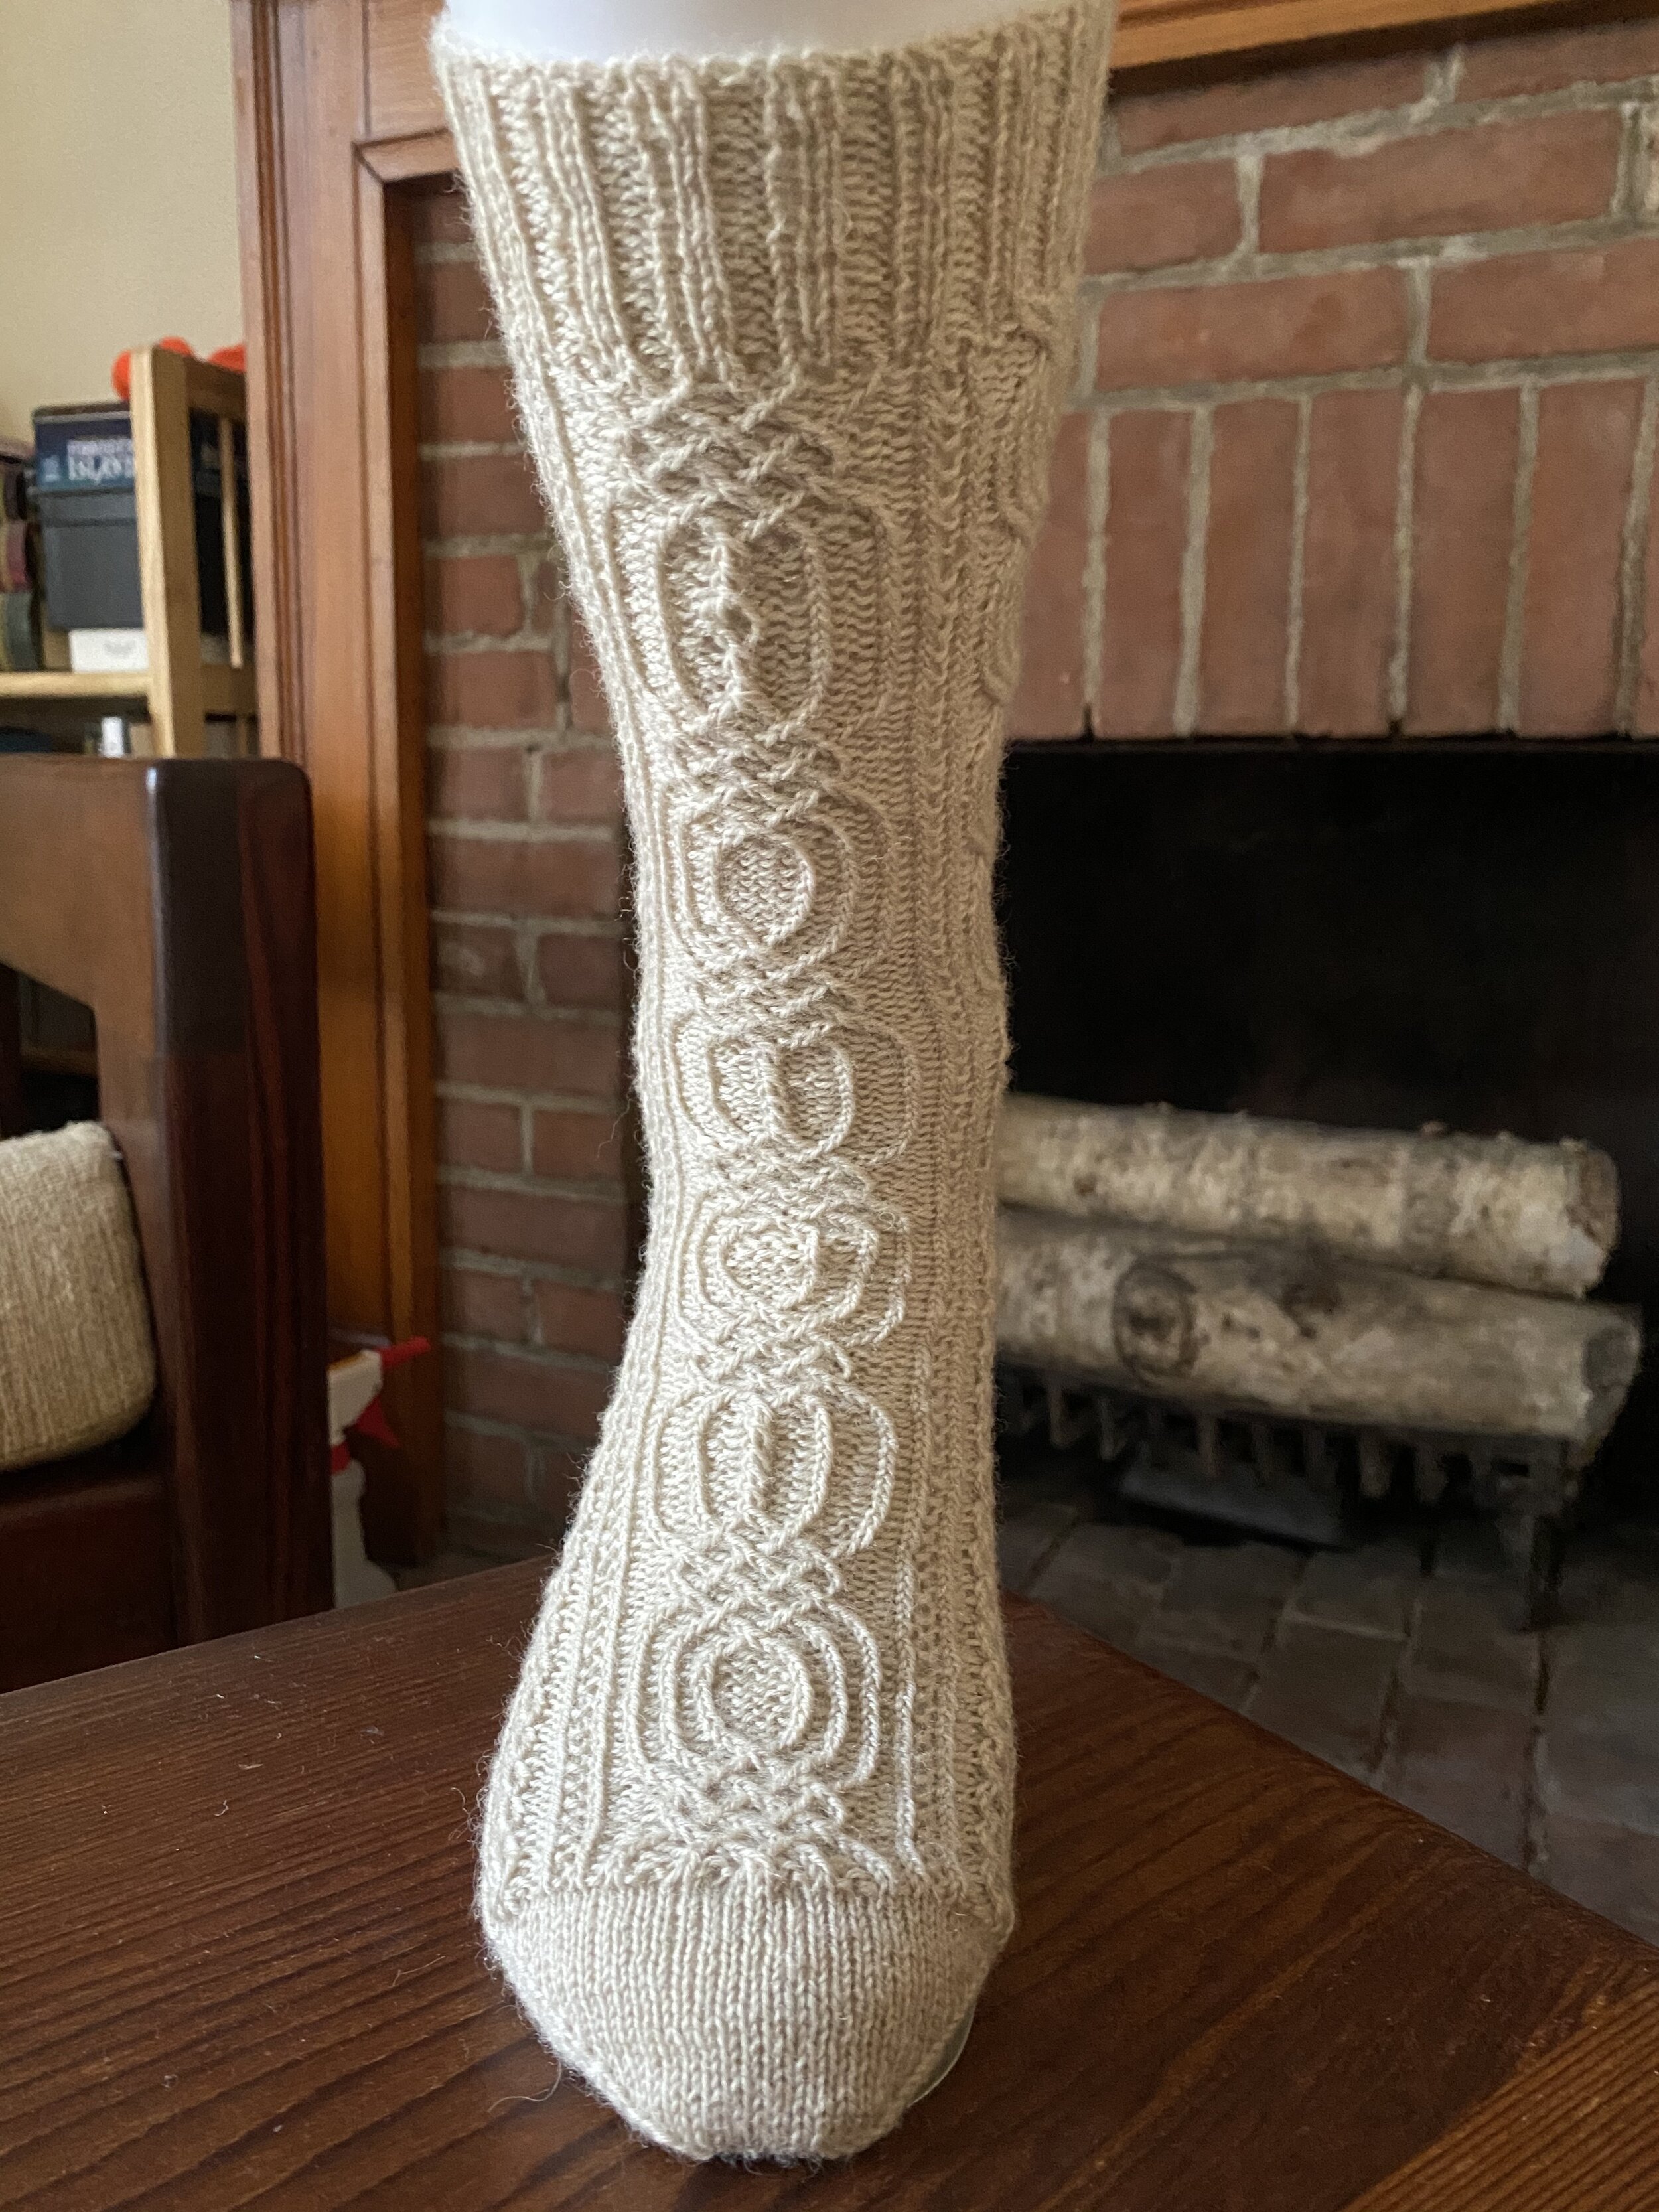
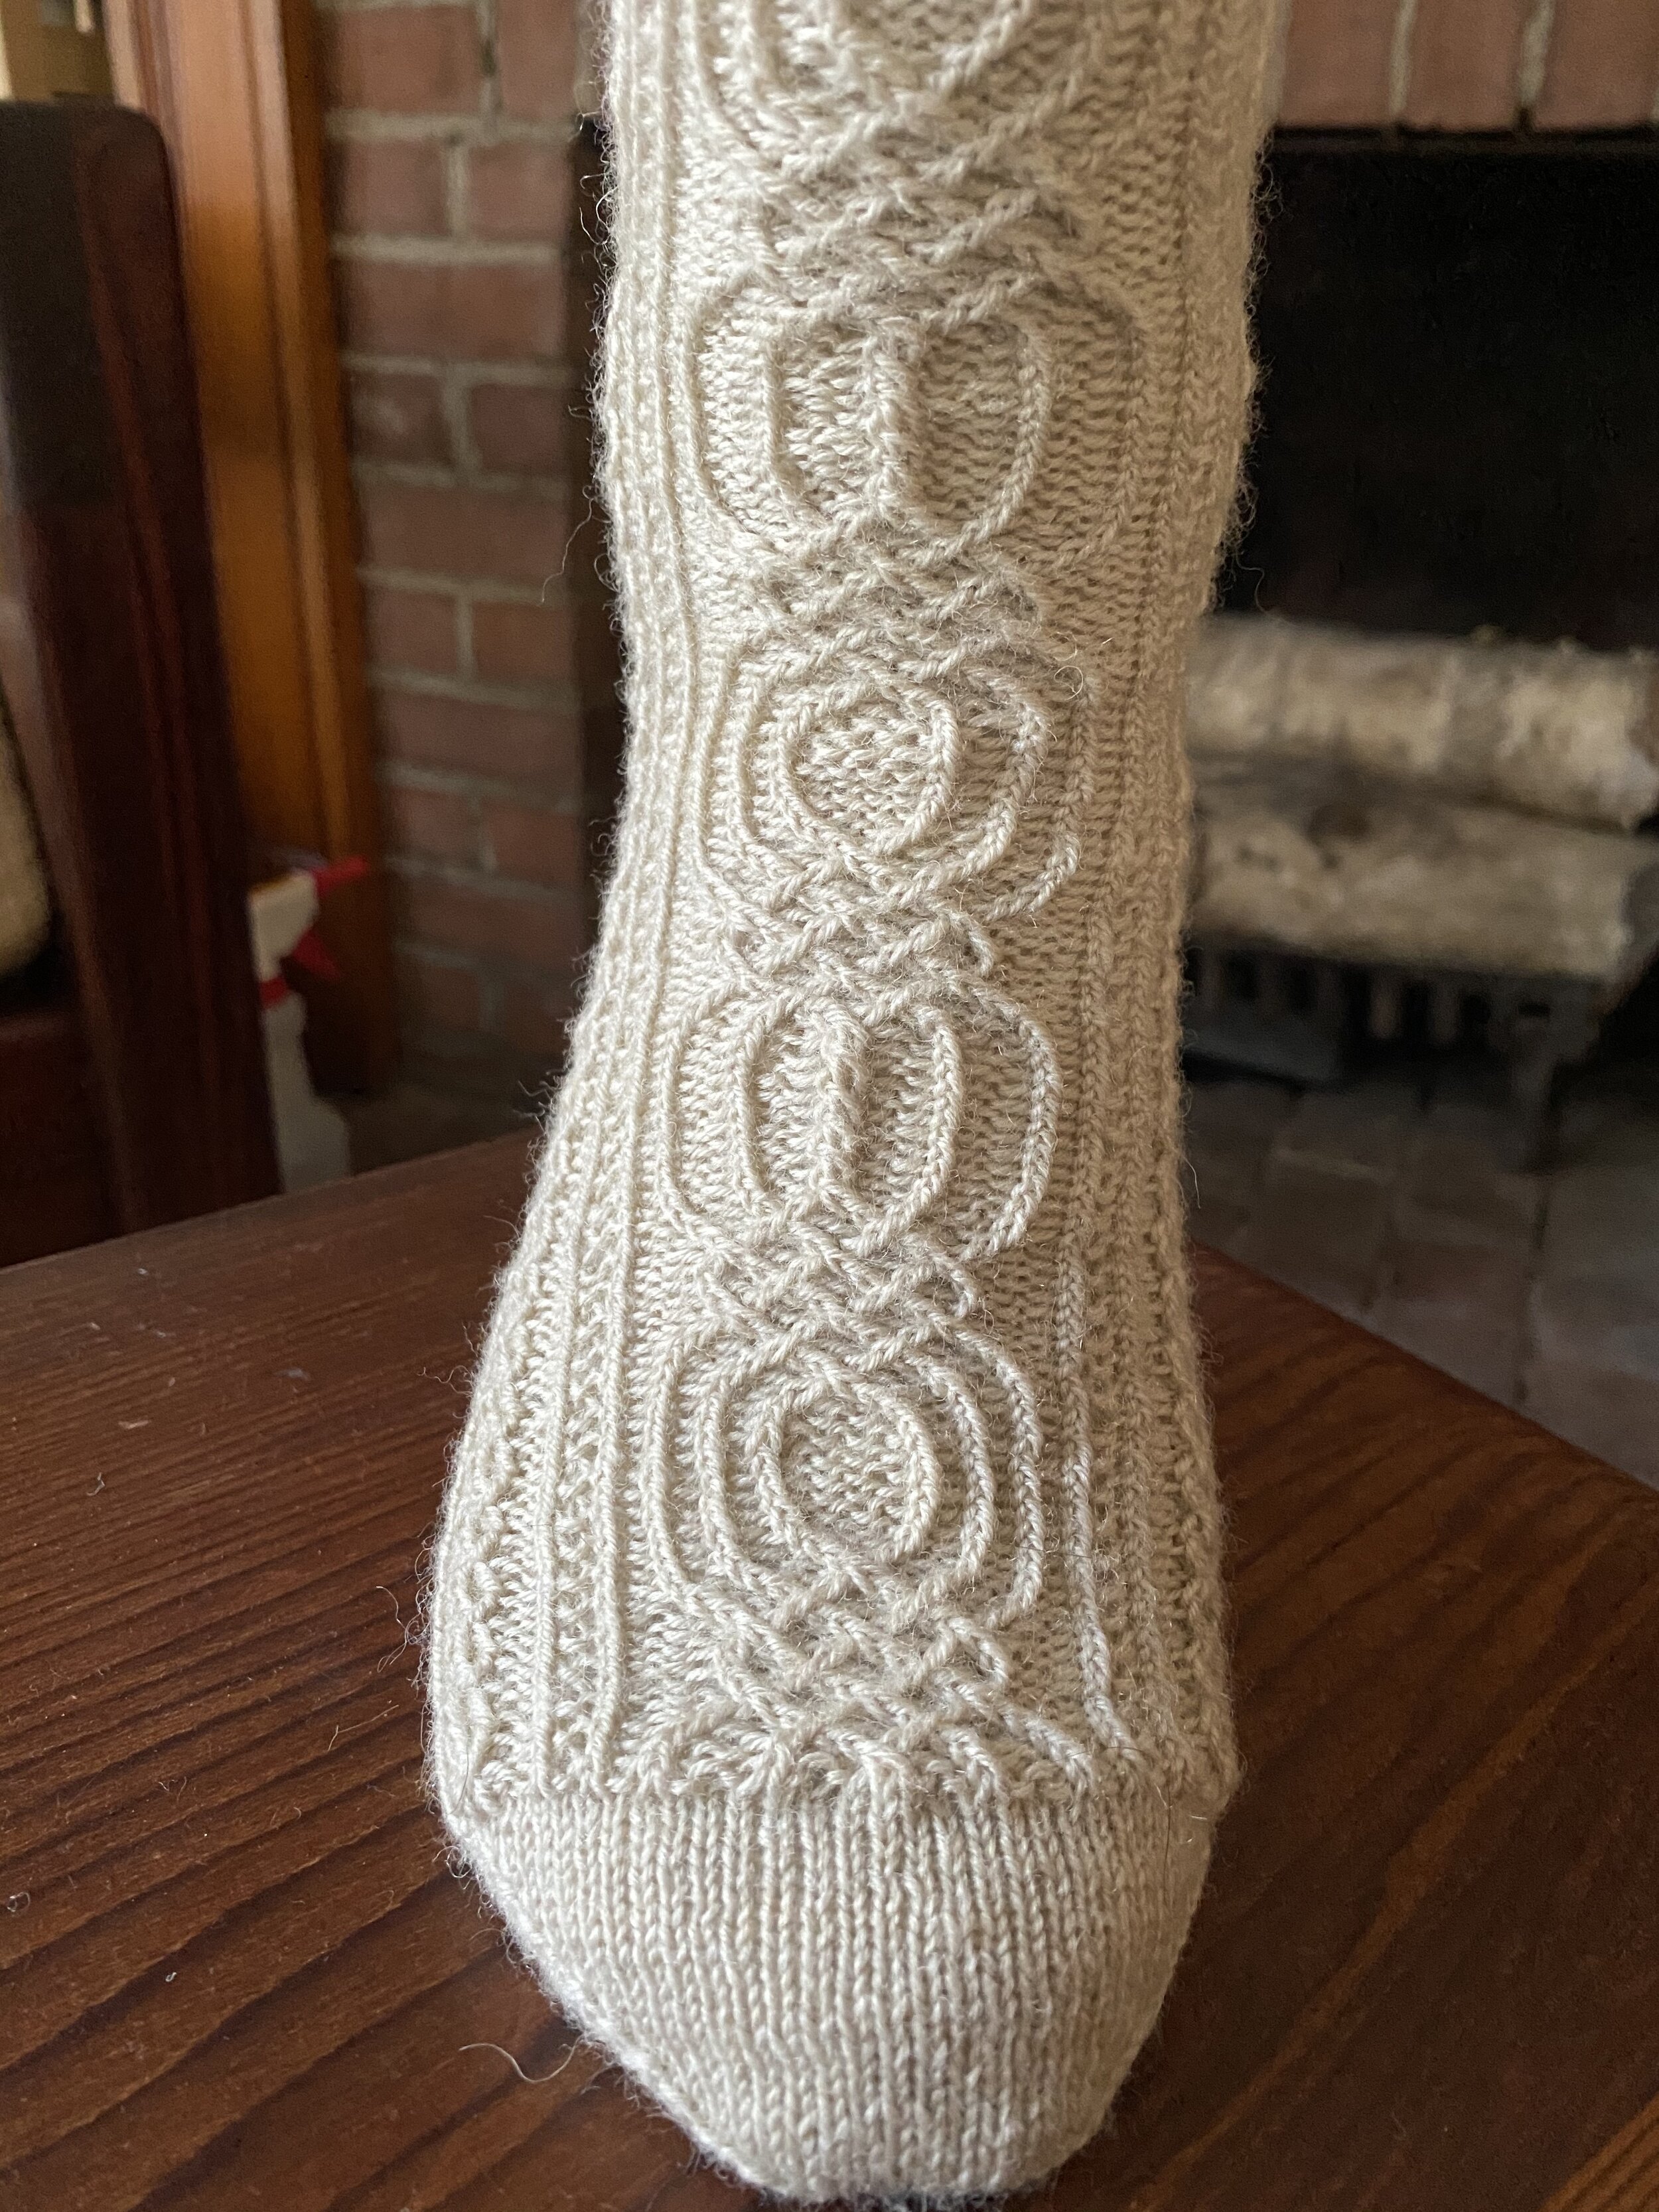
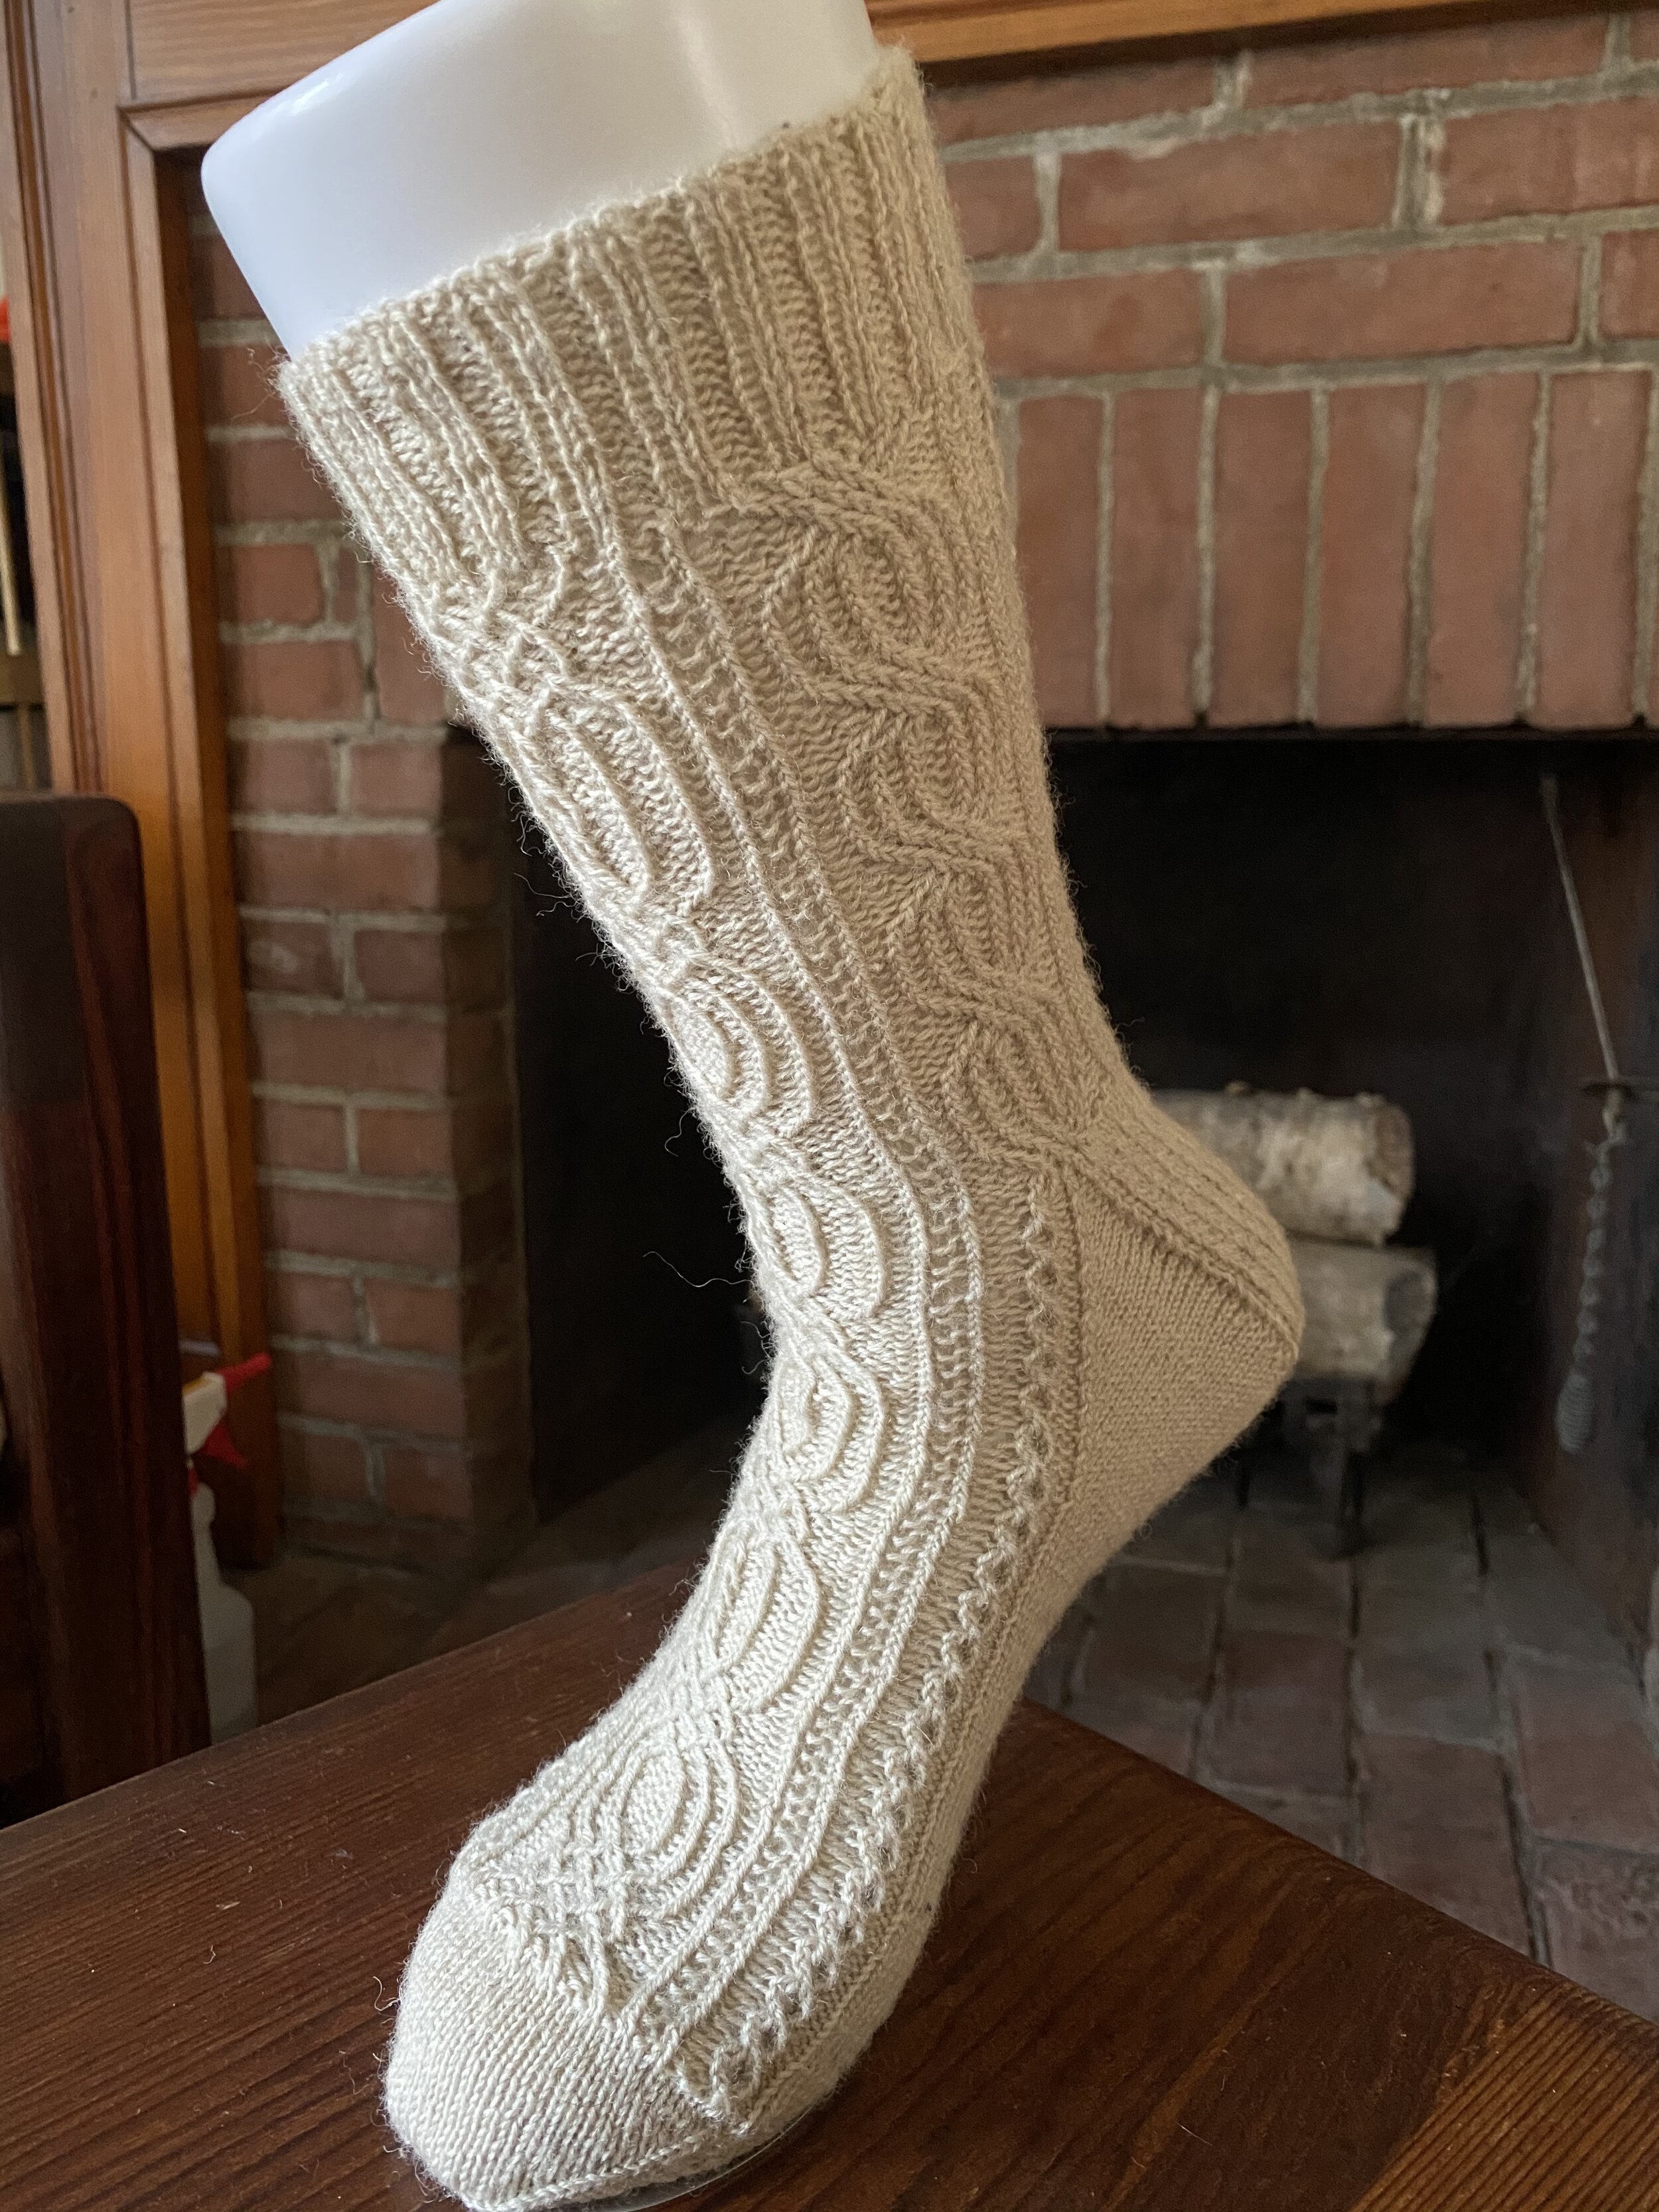
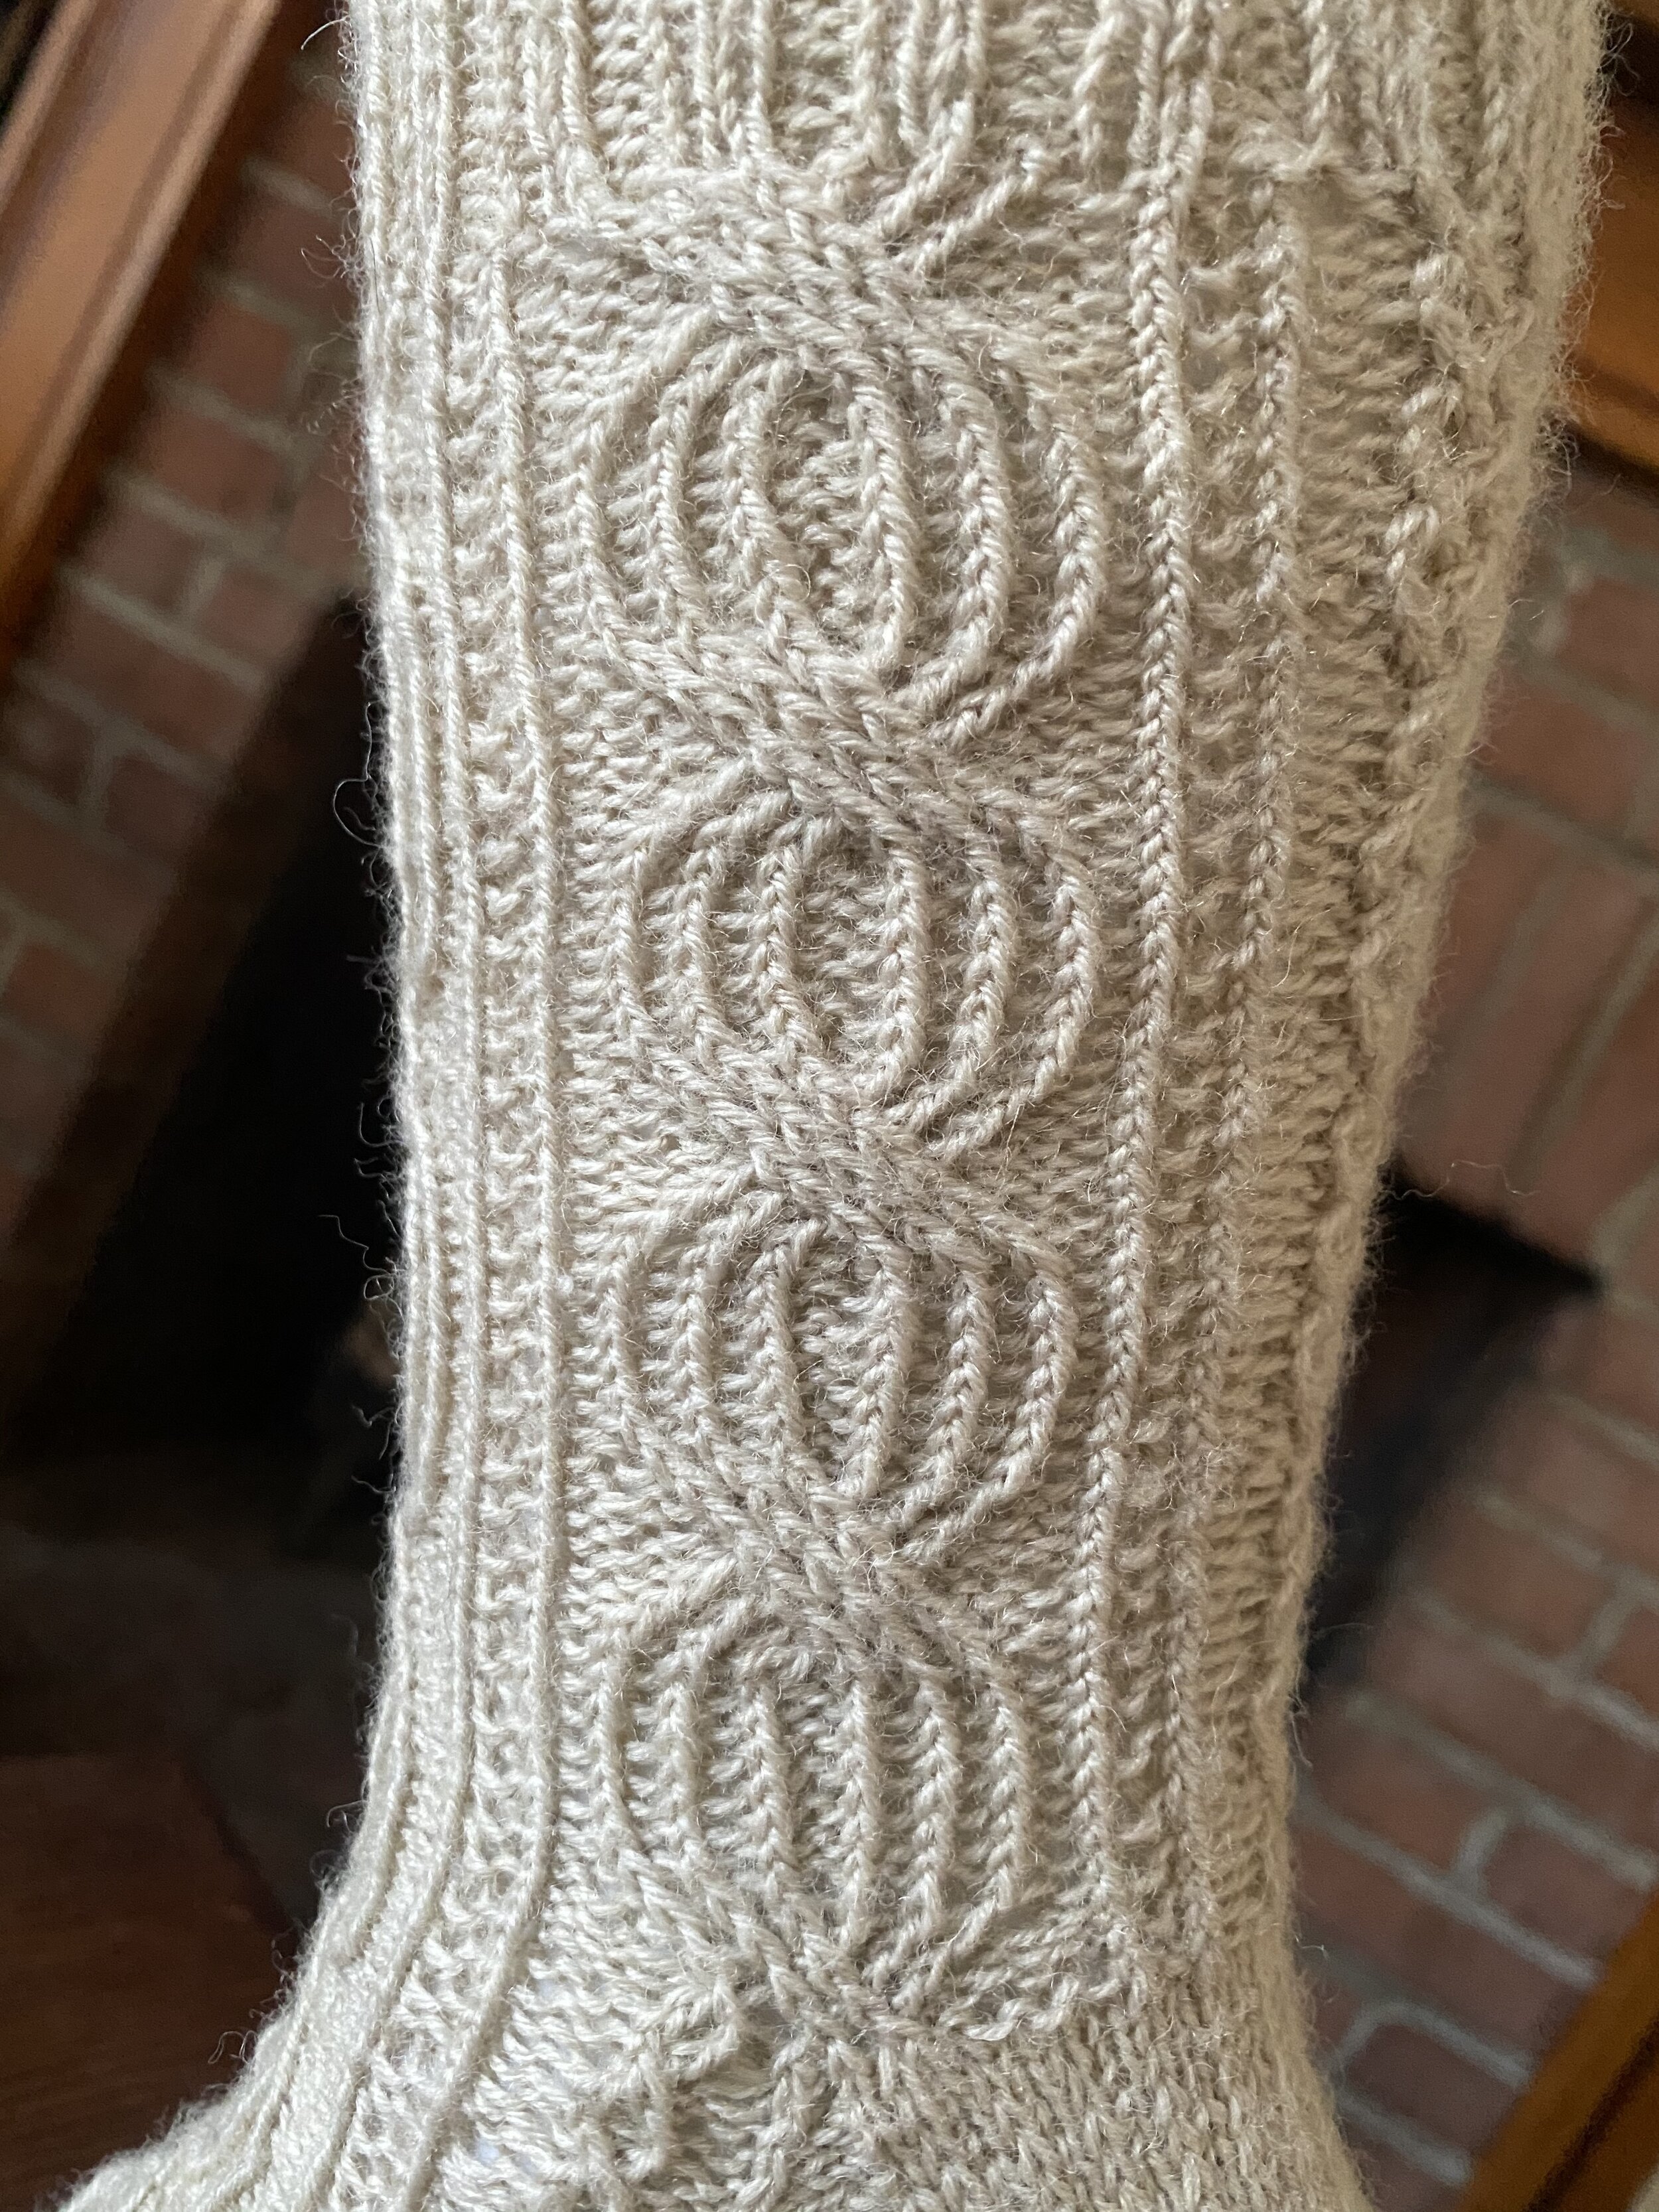
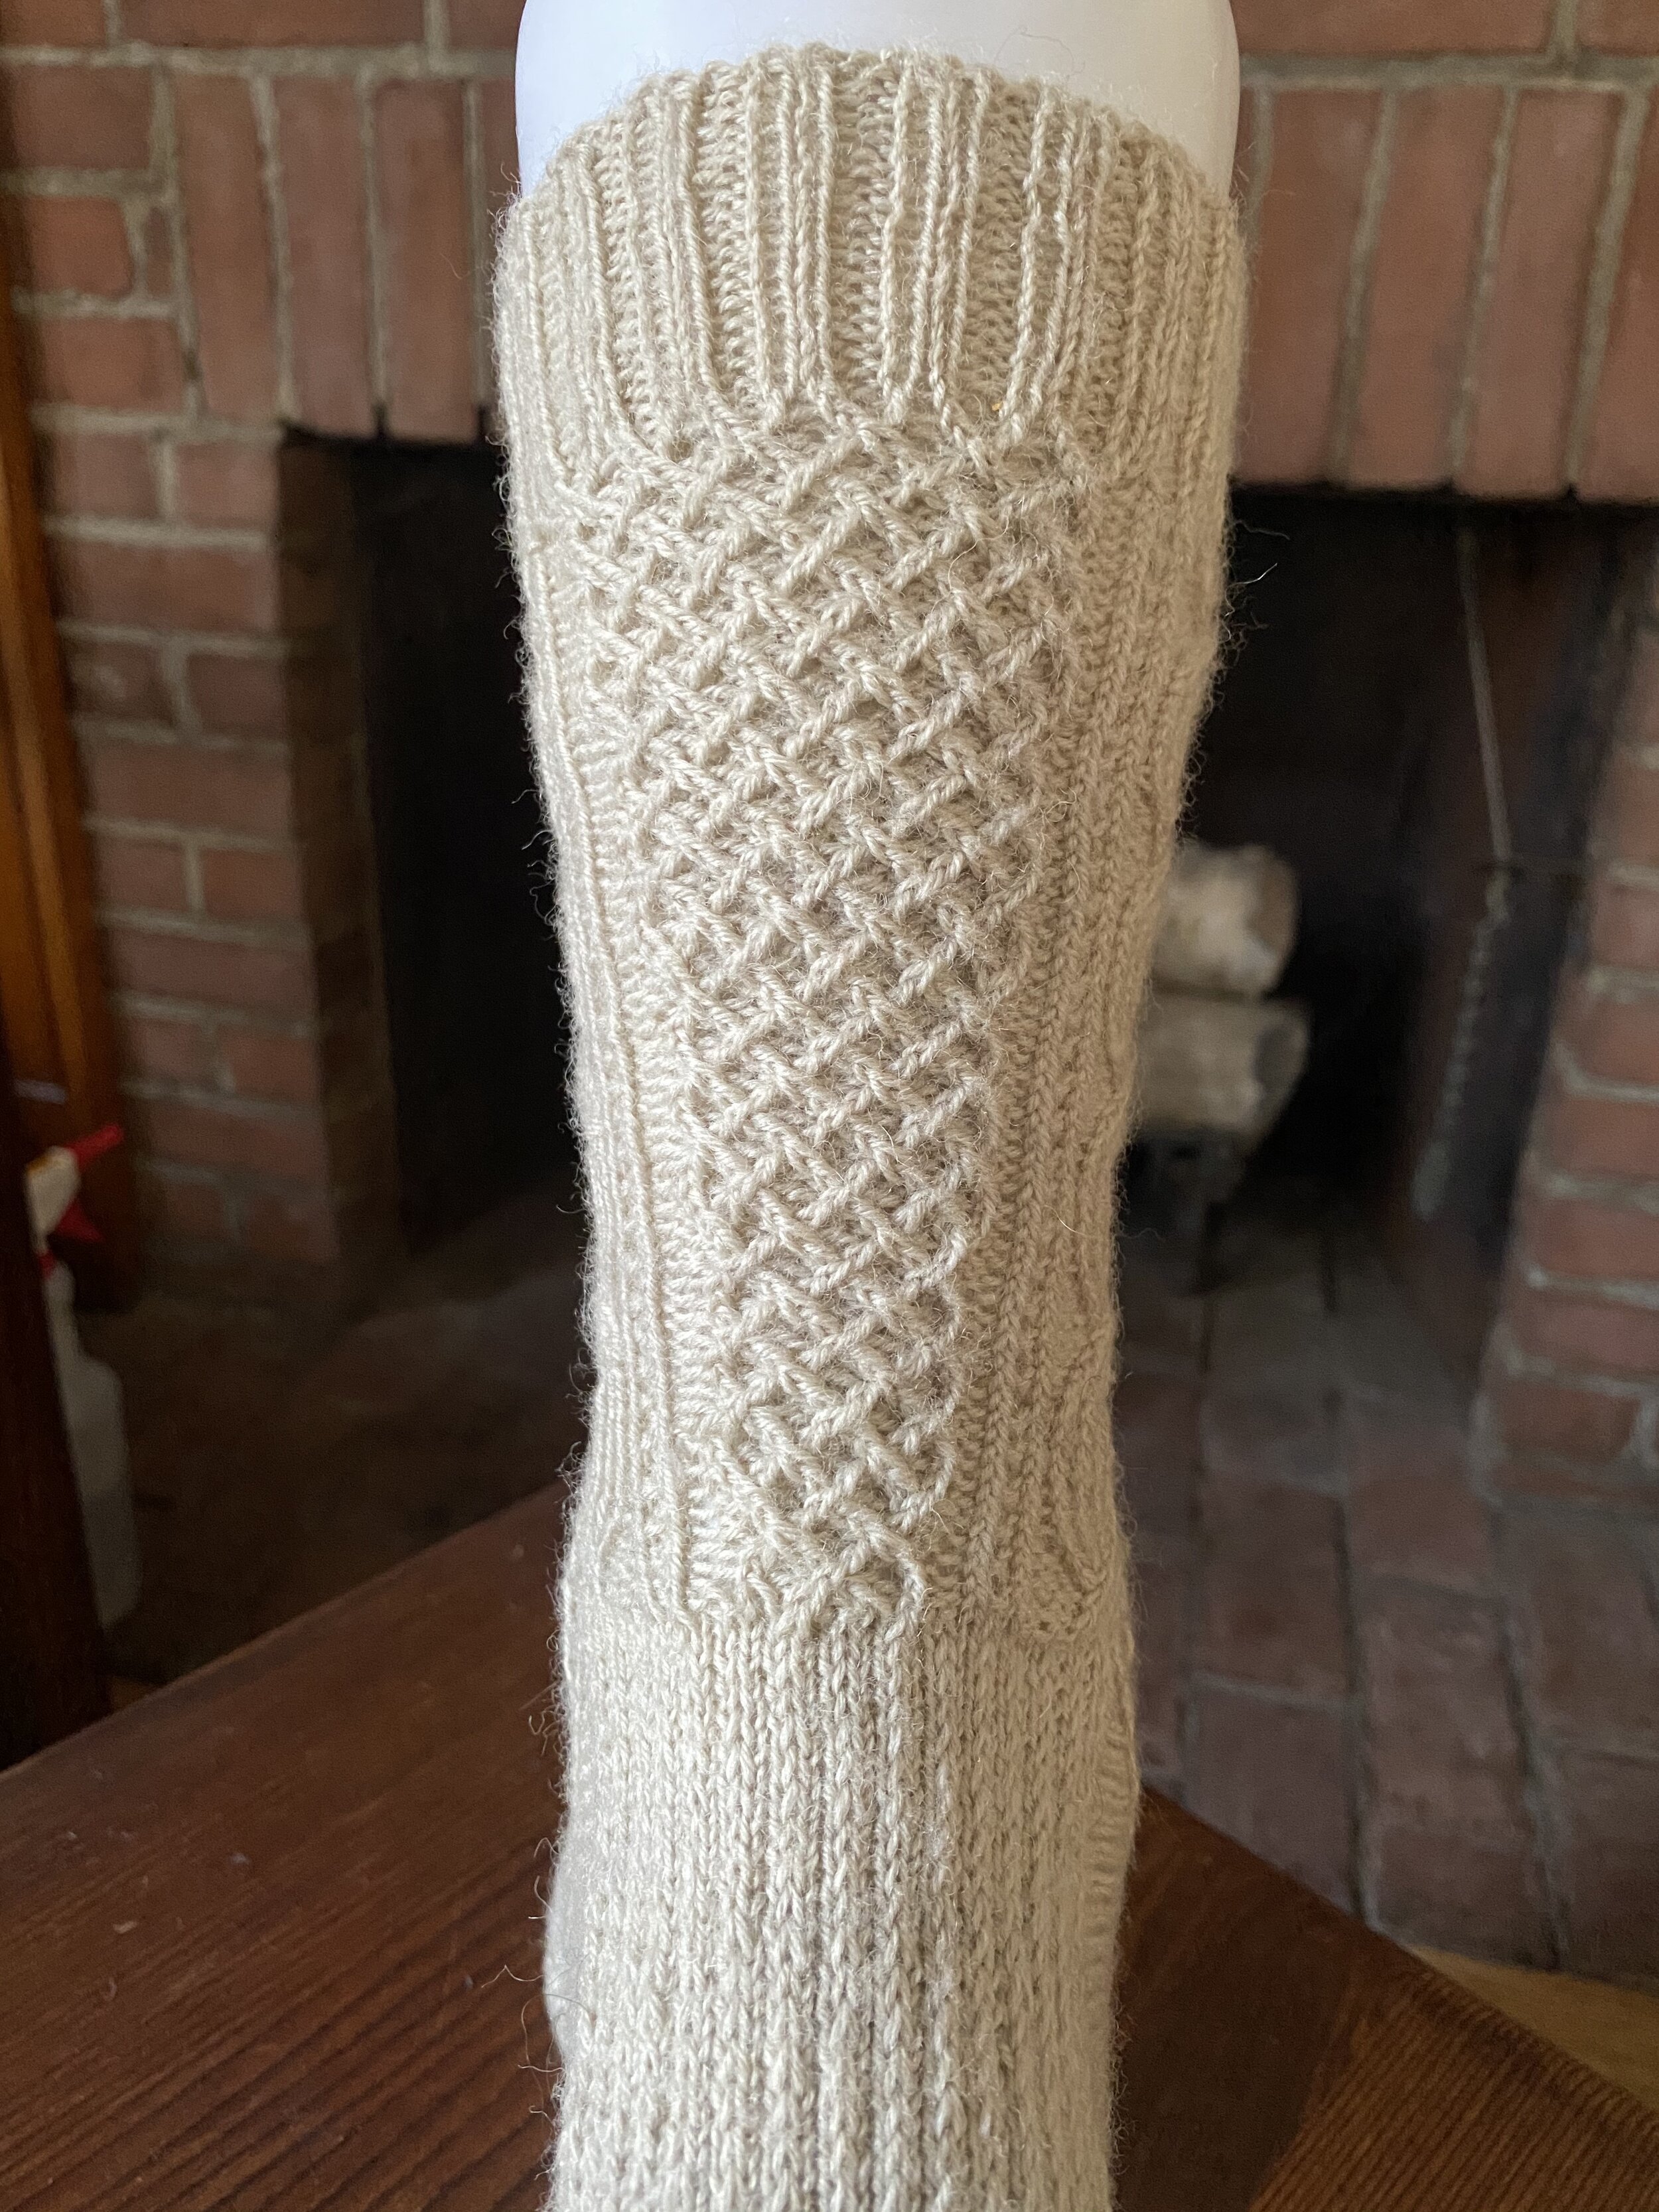
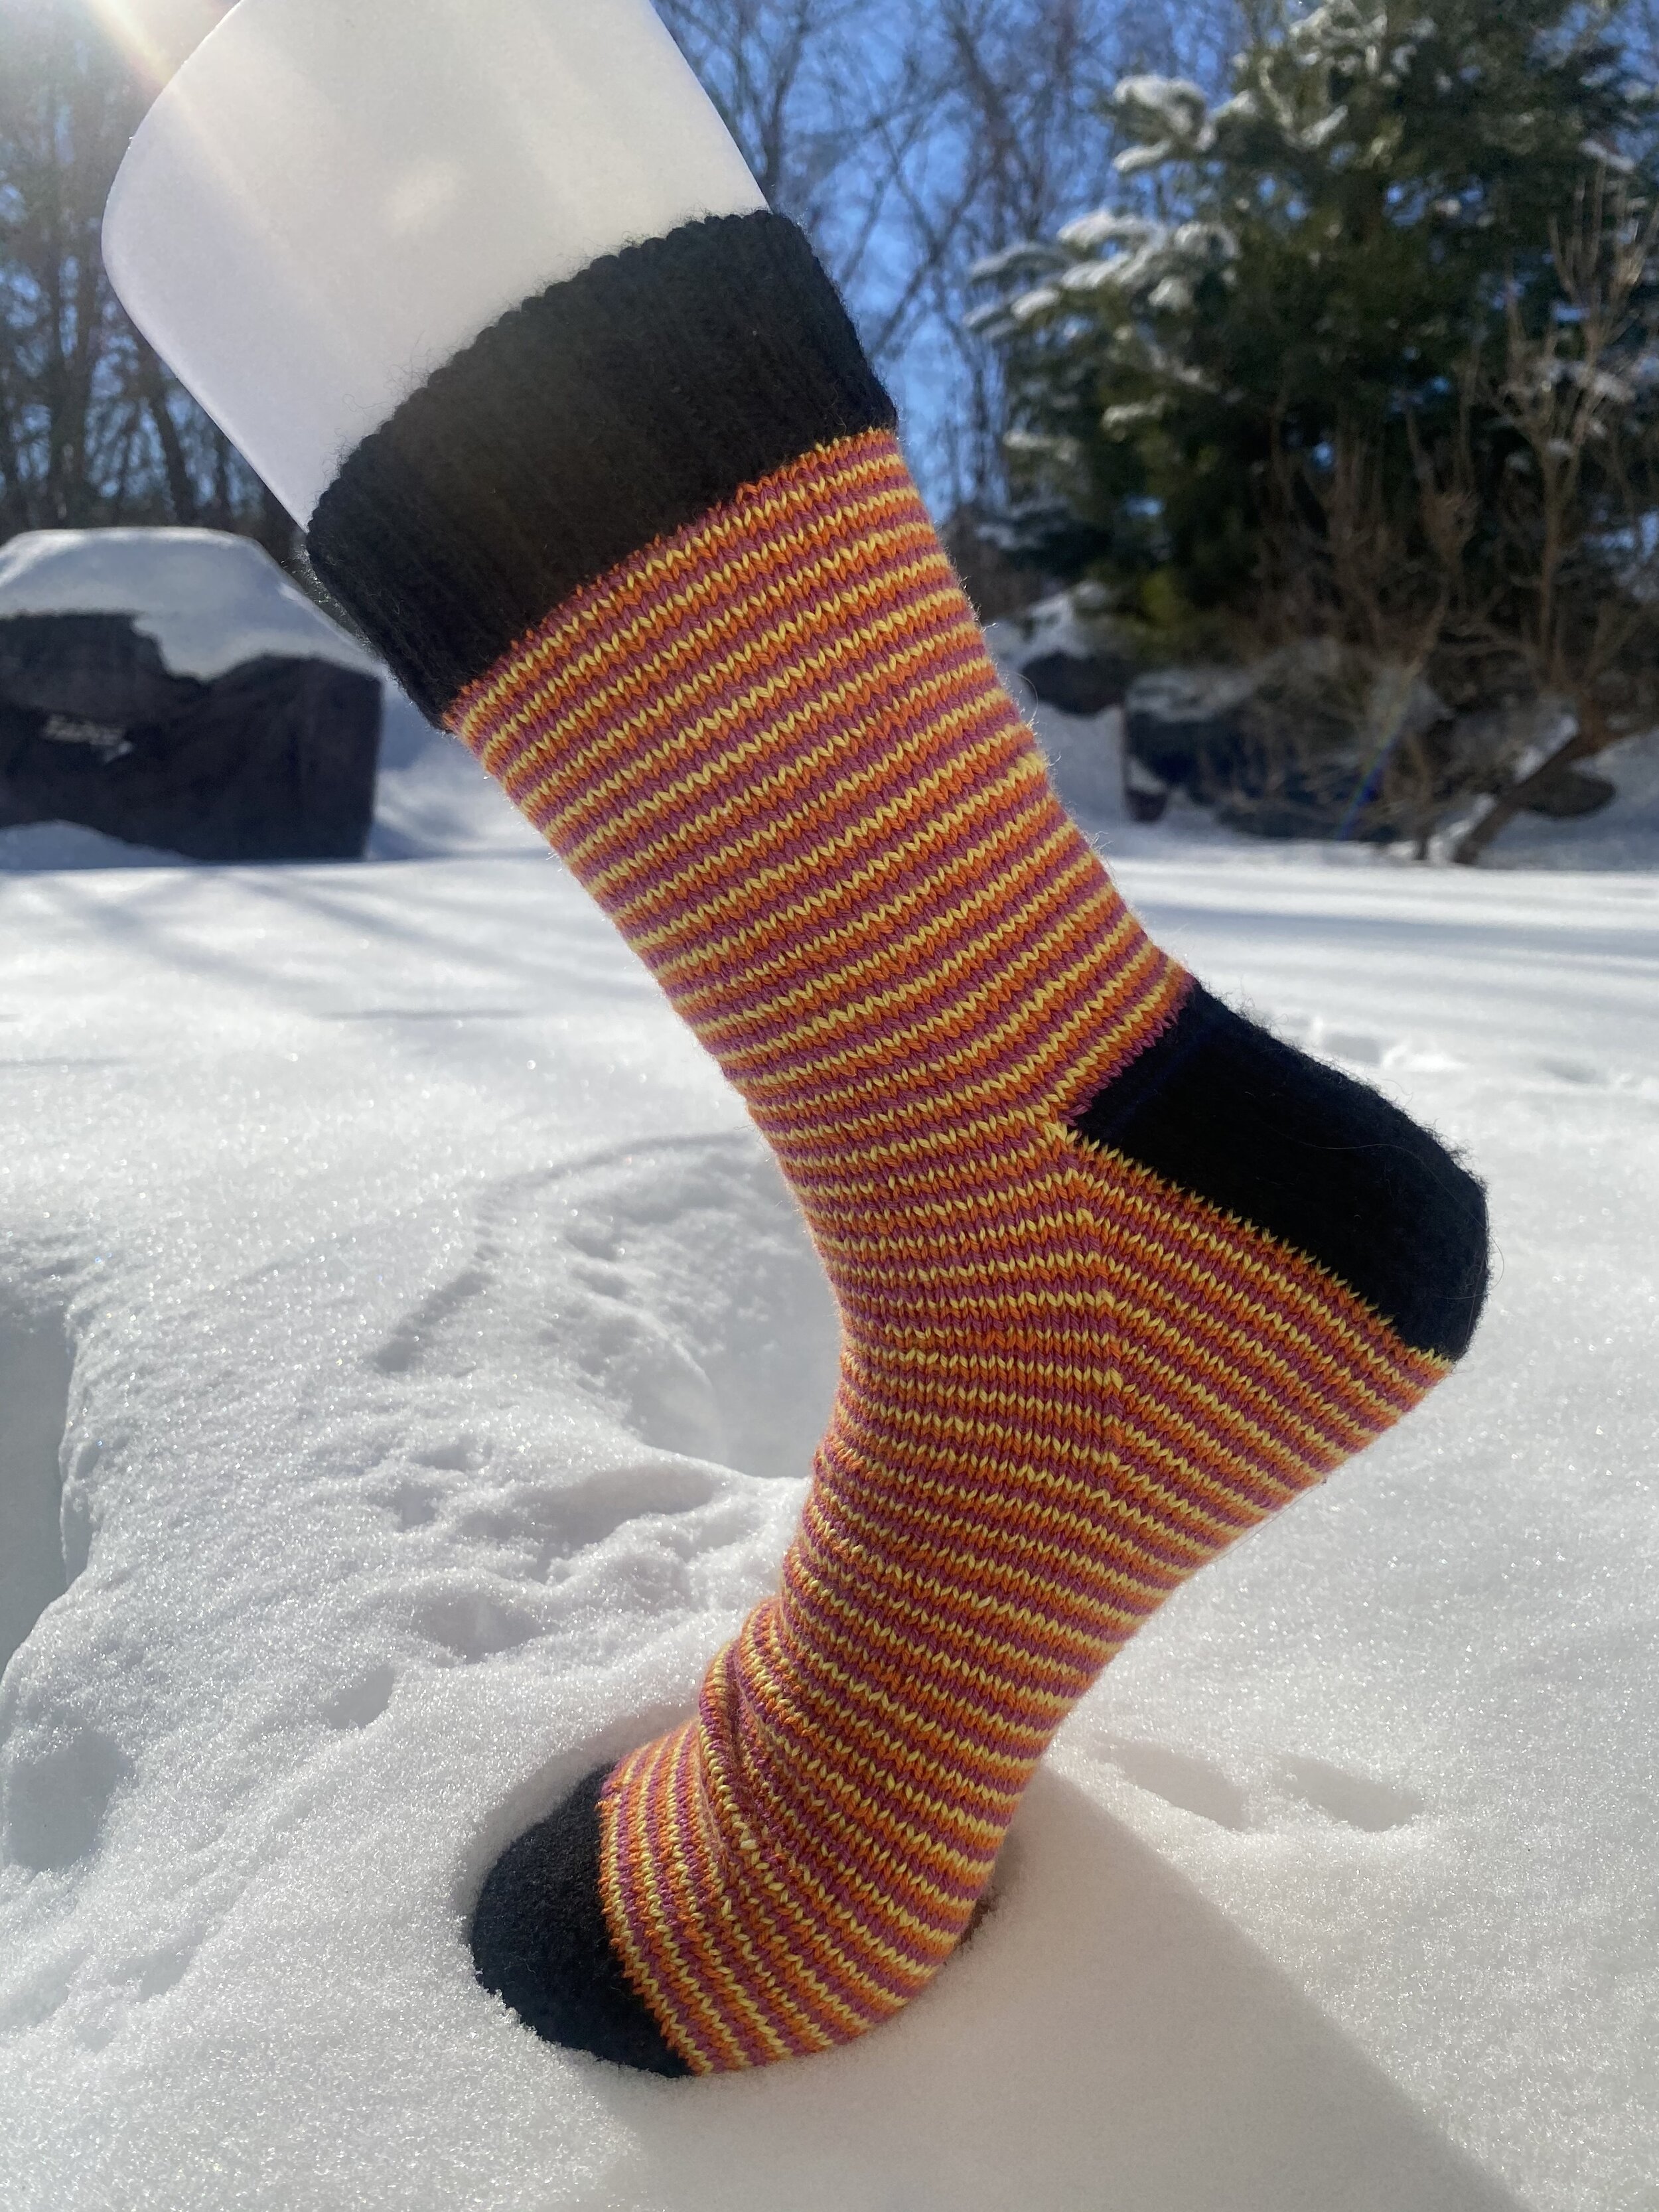
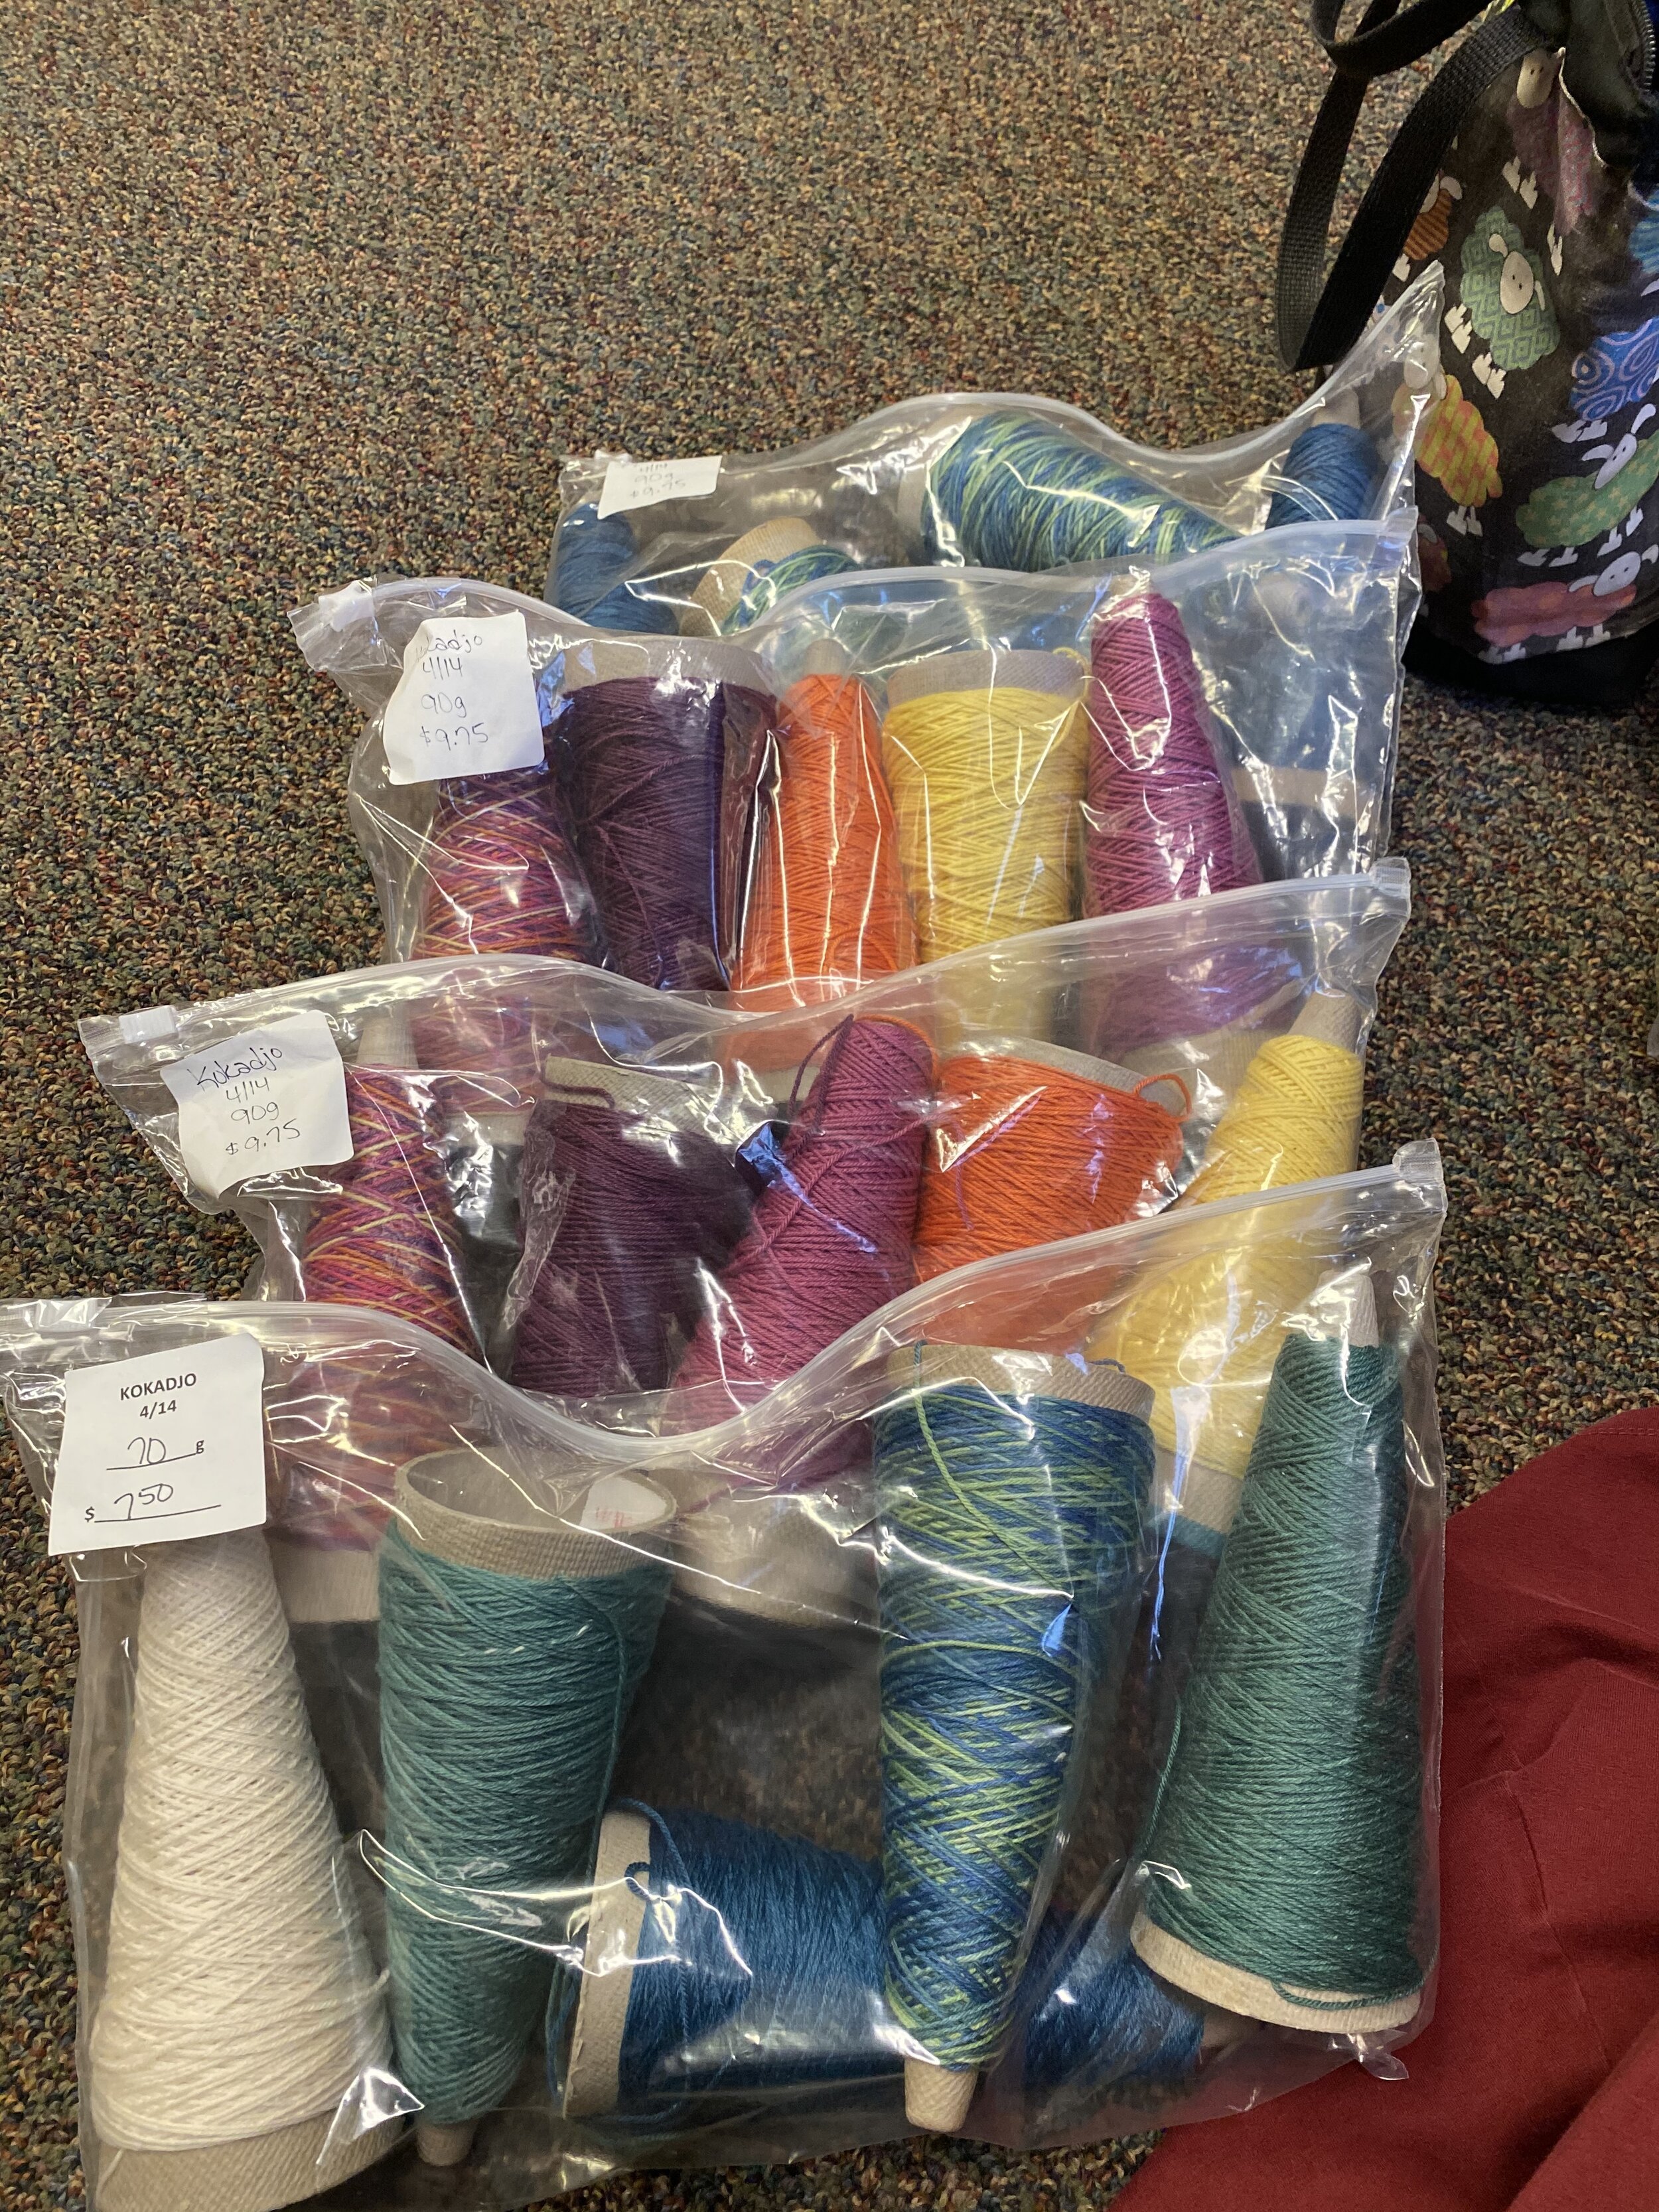
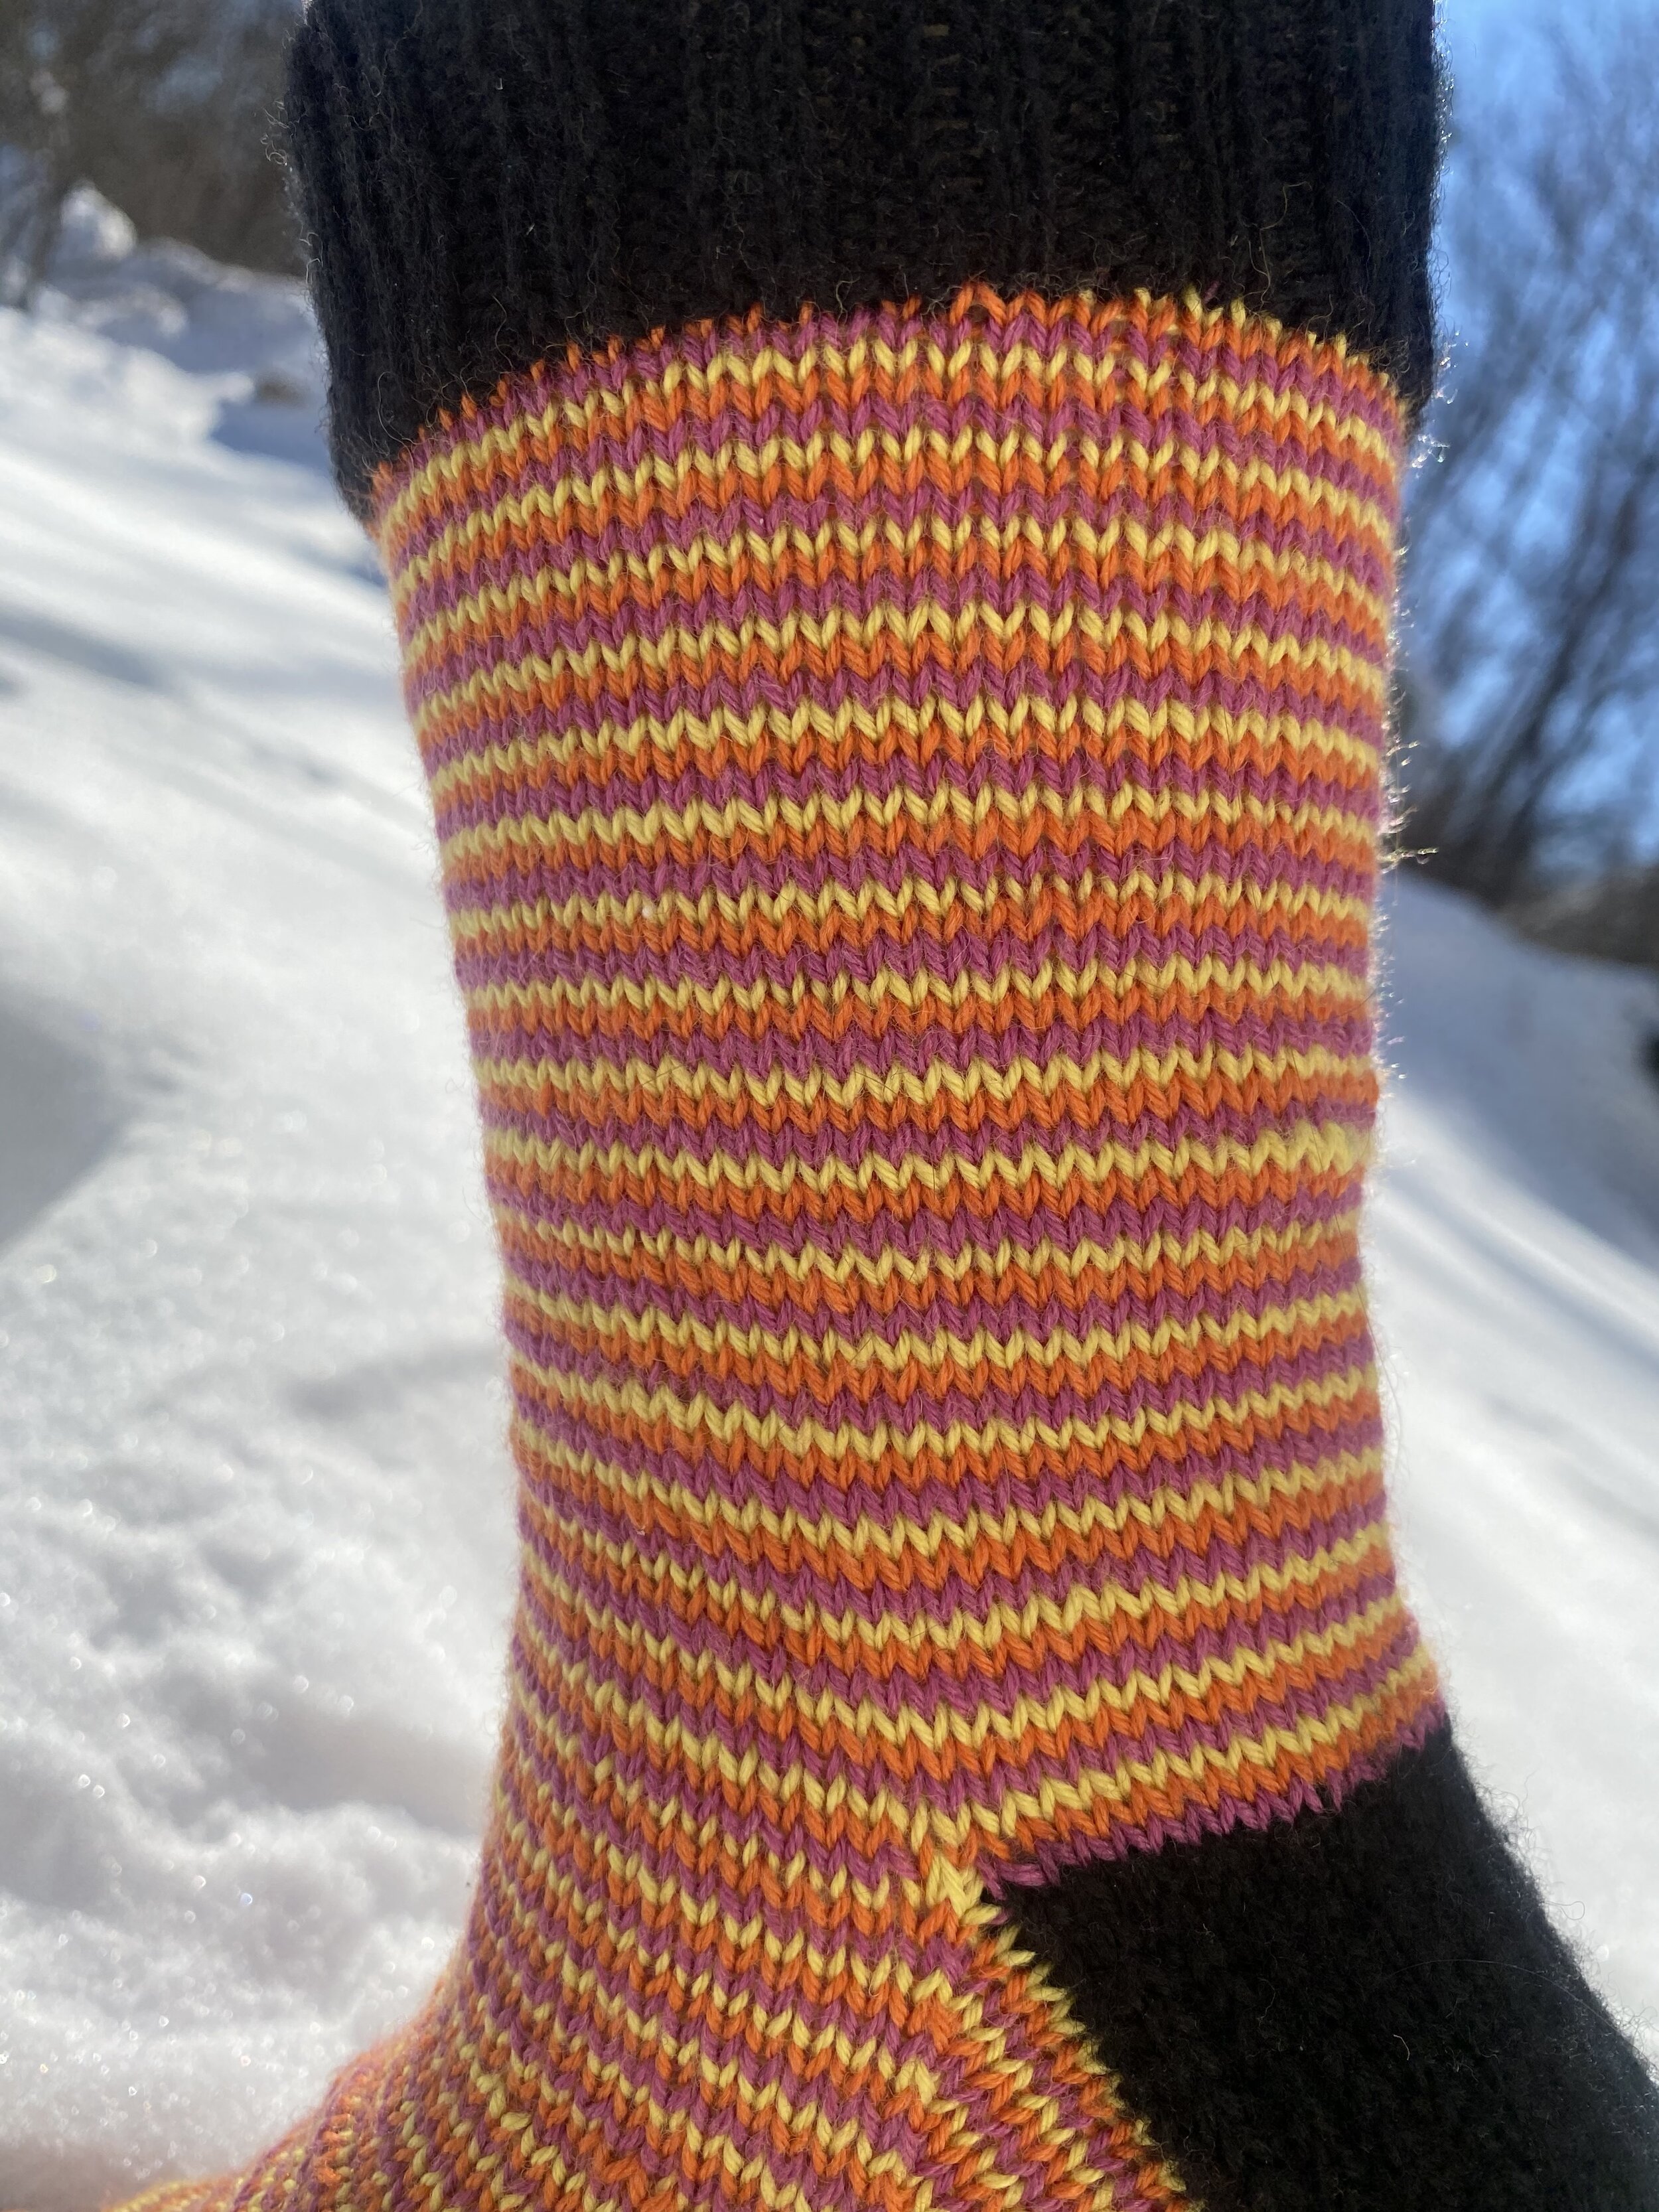
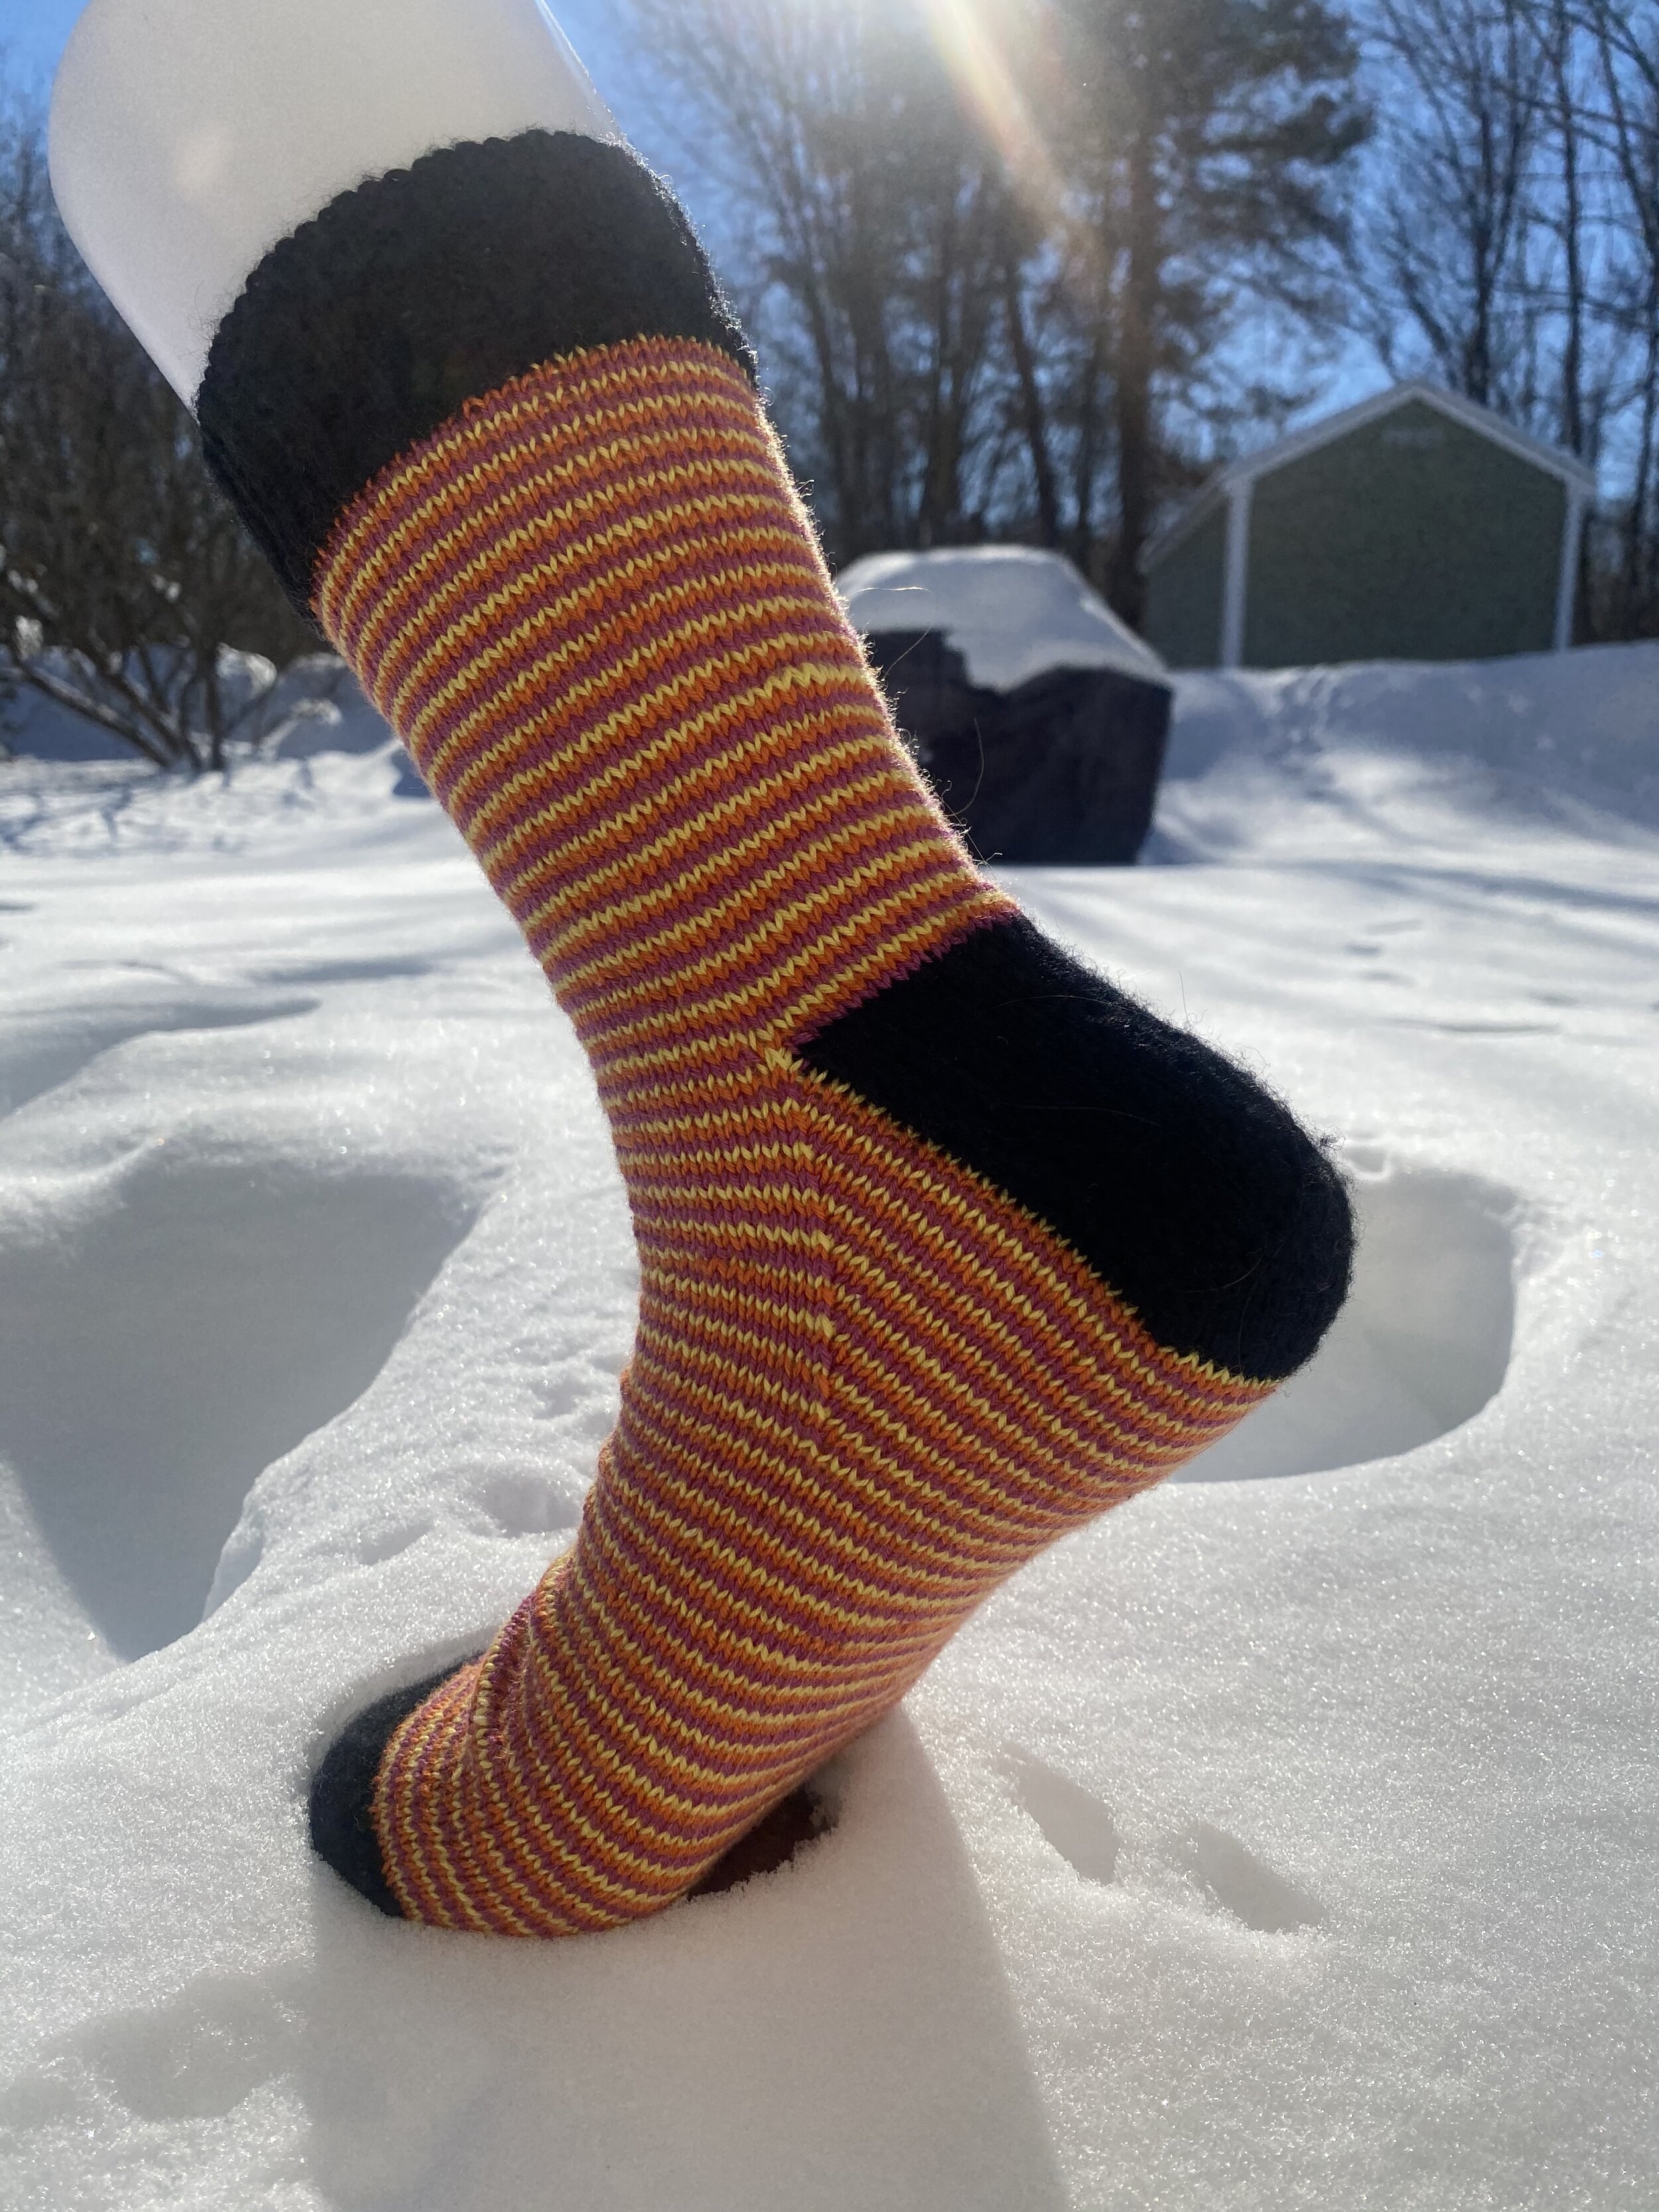
So, since you clearly came here to see pictures of knitting, I will oblige with these pictures of a sock in progress. The socks have been long since finished and gifted, but I apparently never took pictures of them done…. They’re very similar to the Jupiter socks I did earlier this year, using the same yarns from Jaggerspun on their Kokadjo base in the colors ‘Secret Sunset’ and ‘Sangria’. For this pair the cuffs, heels and toes are all in the solid ‘sangria’ color, but for the leg and foot I used the spiral knitting technique to alternate between the two colors. I’m really a fan of the spiral knitting, as compared to switching colors at a fixed point on each row, since it doesn’t have that step up look and it doesn’t feel any different to knitting straight with one color.

Cluster of grapes socks

I don’t want to admit to how long these socks were on the needles-it was way too long. I got the first sock and most of the second sock done fairly quickly. In fact, I was almost at the toe when I noticed that my gauge was different between the two socks. Not enormously, but… the yarn is my handspun, and I was knitting them from opposite ends of the ball, with the hope that the colors would all line up. Apparently I need to work more on my quality control, as the first sock had thinner yarn and the second sock thicker. So the project went into time out, and sat there until I was willing to face it again. I decided to just make the two socks the same length, and pretend the whole thing never happened.

This is one of the hazards of using handspun yarn, and it shows up clearly on socks. I really like using handspun for shawls, or in weaving, where any variations aren’t as critical. In a shawl you can claim it as a design feature if the bottom is thicker/thinner than the top, and in weaving you can alternate from different parts of the skein to minimize the impact of any variations. However, I knit socks. It’s in the name of the website. So, if I want to actually use my yarn instead of just watching it accumulate, I should spin for socks. And I need to work on my consistency.

Otherwise, I’m really happy with this pair. I love the colors, particularly the muted rainbow. The bright rainbow of the initial roving (colorway ‘cluster of grapes’ by ThreeWatersFarm, hence the sock name) was also beautiful, but I couldn’t see myself wearing those colors. Petting them, enjoying playing with them, yes, but wearing them? I also love the texture of this finished yarn, and the depth that adding that grey ply added. (For those who don’t hang on my every blog post, this is a six ply handspun where half is a brightly colored roving, and the other half is a grey blend of shetland wool, alpaca and nylon. The two singles were plied, and then I did a three-ply cable thing to make the overall six ply yarn.) I think the yarn does a great job of providing enough visual interest of its own, without a complicated pattern-I just love how the foot looks. I have enough yarn left for a short little anklet pair, so that’ll be next!

As seen on Wikipedia

To go along with the socks, my mum encouraged me to make a matching mitten pattern. The first mitten went quickly, as I was figuring out the pattern, but I’ve been struggling to work up interest in knitting the second, so that one took forever. It’s finally done though, and I’m really happy with how the pair turned out. There were only a few modifications from what I made to what I wrote up.

We determined that the sock pattern was pretty stretchy, so I decided to do an afterthought thumb, instead of trying to figure out how to work gusset increases into the pattern. It means that there’s a bit of an odd stretch at the thumb, but the mitten still fits fairly well. The stretchyness of the pattern also means that the gauge/sizing is very flexible on these mittens-I knit the small, but my mom knit the medium and it fit both her and my dad (mum’s hands and mine are the same, and dad’s are definitely bigger). I never really trust the ‘one size fits all’, but this actually does an okay job of fitting many. Since I was doing an afterthought thumb, I wanted to make sure that the pattern continued up the thumb as seamlessly as possible, and I think I succeeded. The feature I really like about this pattern is that the cable along the side continues up and over the top of the fingers/thumb. It turns out to be a really hard feature to capture in a photo (and maybe isn’t the most noticeable in real life either), but I really like that touch since otherwise I would have had to come up with a graceful way to end all the other design elements.

In other news, both the sock pattern and the mitten pattern are currently in the test knitting process. They’re at the stage where the super speedy testers are all done (with no major problems! Hooray!), but the rest of the testers are still knitting along. We (mum is helping me run it) gave them until the 30th to finish up, which currently seems like forever from now… After the test, there’s another wait period before Melissa from knitting the stash releases her farm-to-skein yarn and my two patterns, along with a third hat pattern, so I don’t know when this pattern will actually be released yet! Guess I just need to write up another pattern to keep myself occupied…

As seen on Wikipedia socks

The sock as shown on Wikipedia

If you go to the english wikipedia page on socks (at least, if you did so between December of 2010 and the time of writing), the first image is of ‘a hand knitted white sock made out of handspun wool’. I’ve been the proud owner of those socks for many years, and I’m now working on writing up the pattern for them, and knitting a pair of them myself. For my first sample I decided to use some of Jaggerspun’s Mousam Falls sock yarn, in the color Nutmeg, mostly because there was a cone of it near me when I wanted to cast on. In retrospect, I think a lighter yarn works better for these socks, which is super convenient, because I’ll be publishing the pattern in conjunction with the release of Shorn III from Melissa of knittingthestash. This is Melissa’s third time making a limited edition farm skein yarn, and this is how she describes it:

Shorn III is a blend of Corriedale and Corriedale/Teeswater fiber sheared from Cathe Capel’s Seven Sisters Farm in Sidney, IL and spun by Stonehedge Fiber Mill in Michigan. Each skein is 250 yds of 3-ply fingering weight yarn. It is natural, undyed yarn that is an off-white color.

I’m currently working on polishing up the pattern, but it should be available for test knitting soon! I’ve expanded the pattern to include different sizes (instead of just the exact size/sock pictured on Wikipedia), and I’ve added an option for calf shaping, like I did on my recent oatmeal colored traveling stitch socks. The wiki sock is equivalent to a medium size with no calf shaping in my pattern. With those changes, I decided that I needed to test knit a version with calf shaping, so the brown ones below are the small size with 16 stitches worth of calf shaping.

One interesting thing about the pattern is that the back is not symmetrical. On either side of the central back panel, there are two different 6 stitch designs, apparently because mum couldn’t decide which one she liked better when originally making these socks, and decided to simply use both. Even though you can’t see that in the picture on Wikipedia, I decided that I wanted to be true to the original socks, and wrote it up that way. I did make one change though, in the ribbing at the top. Specifically, on the original socks the ribbing does not line up nicely with the main pattern, so I fixed that. I also noticed that the original has a twisted stitch column on either side of the top through the length of the foot, and I decided not to keep that either, mostly for ease of writing the pattern (I can be lazy sometimes…). Other than that though, I did my best to accurately represent the original Wikipedia socks, with added size options.

oatmeal traveling stitches socks

I’ve been playing around with traveling stitches again. For this pair I couldn’t quite decide what pattern I wanted down the front, which is why the sock alternates between two different patterns. I think I like the open lozenge better, but I’m not sure. It was fun to do both, as it made the pattern repeat longer (and thus more interesting). I did my standard calf shaping at the back, so that the cuff is bigger around than the ankle. I hadn’t planned what was going to happen to the side design on the foot until I got to the heel and realized that it was too wide to have continue all the way down the foot, but I think it merges into the smaller design relatively gracefully?

I made these socks as a gift for a friend, as congratulations for getting her PhD. Since that was about two years ago, she gets a fairly fancy pair of socks!

birds

Jaggerspun spiral sherbert socks

When I went to visit Jaggerspun mills, they had a whole bunch of grab bags with about 100g of their Kokadjo yarn in various colors. I used two of the colors for the Jupiter socks, but these used the remaining colors from the brights packs I got. They remind me of rainbow sherbert…

I really like the spiral knitting technique for combining colors like this, particularly with the foot gusset. Pre-dyed striped yarn sometimes looks weird after the heel, since there are so many more stitches which changes how quickly self striping yarn stripes. With spiral knitting I’m able to control that, and you get one stripe of each color all the way around on the whole sock.

leftover hats, part 2

I had a partial skein of pink yarn left from the baby sweater/hat combo, and I didn’t really want to just stick it back in my stash. I also had the rest of the mohair glitzy yarn that I used in one of the previous leftover hats, so I decided to finish off both. Turned out I had enough of the pink for two hats, instead of one, but the glitz ran out after the brim on the first hat (which is what I expected). For the second hat I used some more of the blue sky baby alpaca yarn. It was heavier than the pink, but given that the textures are different for the different colors, I think it works well. It means that the hat is super soft!

baby sweater, take two

There were some pattern details that I didn’t really like with the pink baby sweater, so I decided to make it following my adaptation of the adult sweater pattern. I’m really pleased with how it turned out. Between the stretchiness in the yarn and the fact that it’s basically knit in ribbing, I’m hoping that it will have a relatively large window of use. I think the body circumference can not quite double with stretching, so the limit will probably be on arm/body length and not felting it. The yarn is sport weight: SugarBush Bliss, 70% Extra Fine Superwash Merino/20% Mulberry Silk/10% Cashmere and machine washable. It was lovely to work with and feels all squishy and soft.

I really don’t think there’s much I’d change if I were to knit this one again. I wasn’t quite sure what size I was aiming for when I started, and made things up a fair amount as I was going along. The shawl collar itself is the bit I’m the most dissatisfied with, mostly because it doesn’t want to cooperate when I’m taking pictures, and it slightly distorts the ribbing/cables, though I think that will disappear entirely when someone is actually wearing the sweater. I’m really looking forward to seeing what it looks like on!

Defying the sweater curse

IMG_5451.jpg

We decided it was time to defy the sweater curse. The first question: what type of sweater do you want? Ummm… Do you want it to have cables on it, color work, be plain knit, or…? (I distinctly decided not to ask about construction details, like do you want a raglan, yoke, etc.) We decided cables sounded good, so then there was a long trawl through all the cabled men’s sweater patterns on Ravelry. And when I say all, I don’t actually mean all, because oh my goodness, so many patterns. Once I had a browser window with about 50 tabs of different types of cabled sweaters, we got to flip through them, on and off, for about a week. The first step was to familiarize him with different styles and designs, and let him think about things enough to start rejecting things. Eventually Mommy and I realized that we would have to make a decision on his behalf, and we started rejecting patterns and studying the construction. The final winner was the ‘Wuthering Heights’ sweater by Les Tricoteurs Volants. I kept most of the construction details (though I did have to modify some of them), but went with an all-over cable ribbing pattern. Since my main body pattern is more stretchy/pulls in a lot more, that meant I had to significantly modify most of the numbers with regards to how many body stitches, how quickly to add stitches at the sleeves, etc., but other than that I was able to use a lot of the construction information from the pattern. I’m really happy with how the construction worked out, though if I do this again, I’d need to add more sleeve stitches sooner, because the sleeves were almost way too small. I’d also shrink the armhole size, though that was something I went back and forth on with mum as I was figuring it out, and we went with a large armhole since the button down shirts he’ll wear this with all have huge armholes.

At the same time we were choosing a pattern, we also had to pick out a yarn. We ended up deciding on the Heather Line sport weight yarn from Jaggerspun, in charcoal. There are so many things to like about this yarn, including that: it comes on a cone, which means less time balling and way fewer ends to sew in, it isn’t a super fine wool, so it should hold up better in a sweater that will be heavily worn in the winter, it’s made by a local mill (1 hr drive), and it isn’t super expensive. I also like the heathered colors, and this charcoal is a lovely grey with a lot of depth to it.

There are a lot of in progress shots this time, because oh my goodness is there a lot of knitting in this sweater. The body had 384 stitches around, and I used about a pound and a half of yarn…. So you all get a chance to appreciate it, step by step. Well, I only put in about half the distinct steps. There was a lot of trying it on to make sure everything was going well, particularly at first.

The sweater starts with little shoulder pieces, that I’ve been calling ‘epaulettes’. Once you have these two shoulder rectangles, you pick up the long side on each of the epaulettes and between then cast on stitches for the back of the neck. Then there’s some short row shaping to build up the back (I had to play with graph paper to make sure that I’d be in the right spot in all my cables at the end of the short rows). For the front you work the two sides separately, doing the short rows, and you start knitting back and forth over the arms, doing semi-raglan style sleeve increases. When you get far enough down the front you get to add in the front of the neck stitches, and then knit in the round. For forever. What I hadn’t expected from just looking at pictures of people in their sweaters, was that the pattern I was basing this off has you switch from sleeve increases to body increases near the bottom of the armhole-it’s a nice touch, and it hadn’t occurred to me. I also cast on a few stitches in the armpit when the sleeves separated. At that point it was fairly straightforward-the body just keeps on going down, with the same number of stitches (a lot of them) to the hem, and the sleeves slowly decrease along the length to the cuff. Straightforward, however, does not mean fast. SO MANY STITCHES!!!

We’re both really happy with the result. There are some changes I’d make (I should have increased faster at the top of the sleeves, and maybe switched needle sizes on the ribbing at the bottom), but on the whole it was a resounding success.