traveling stitch knee highs

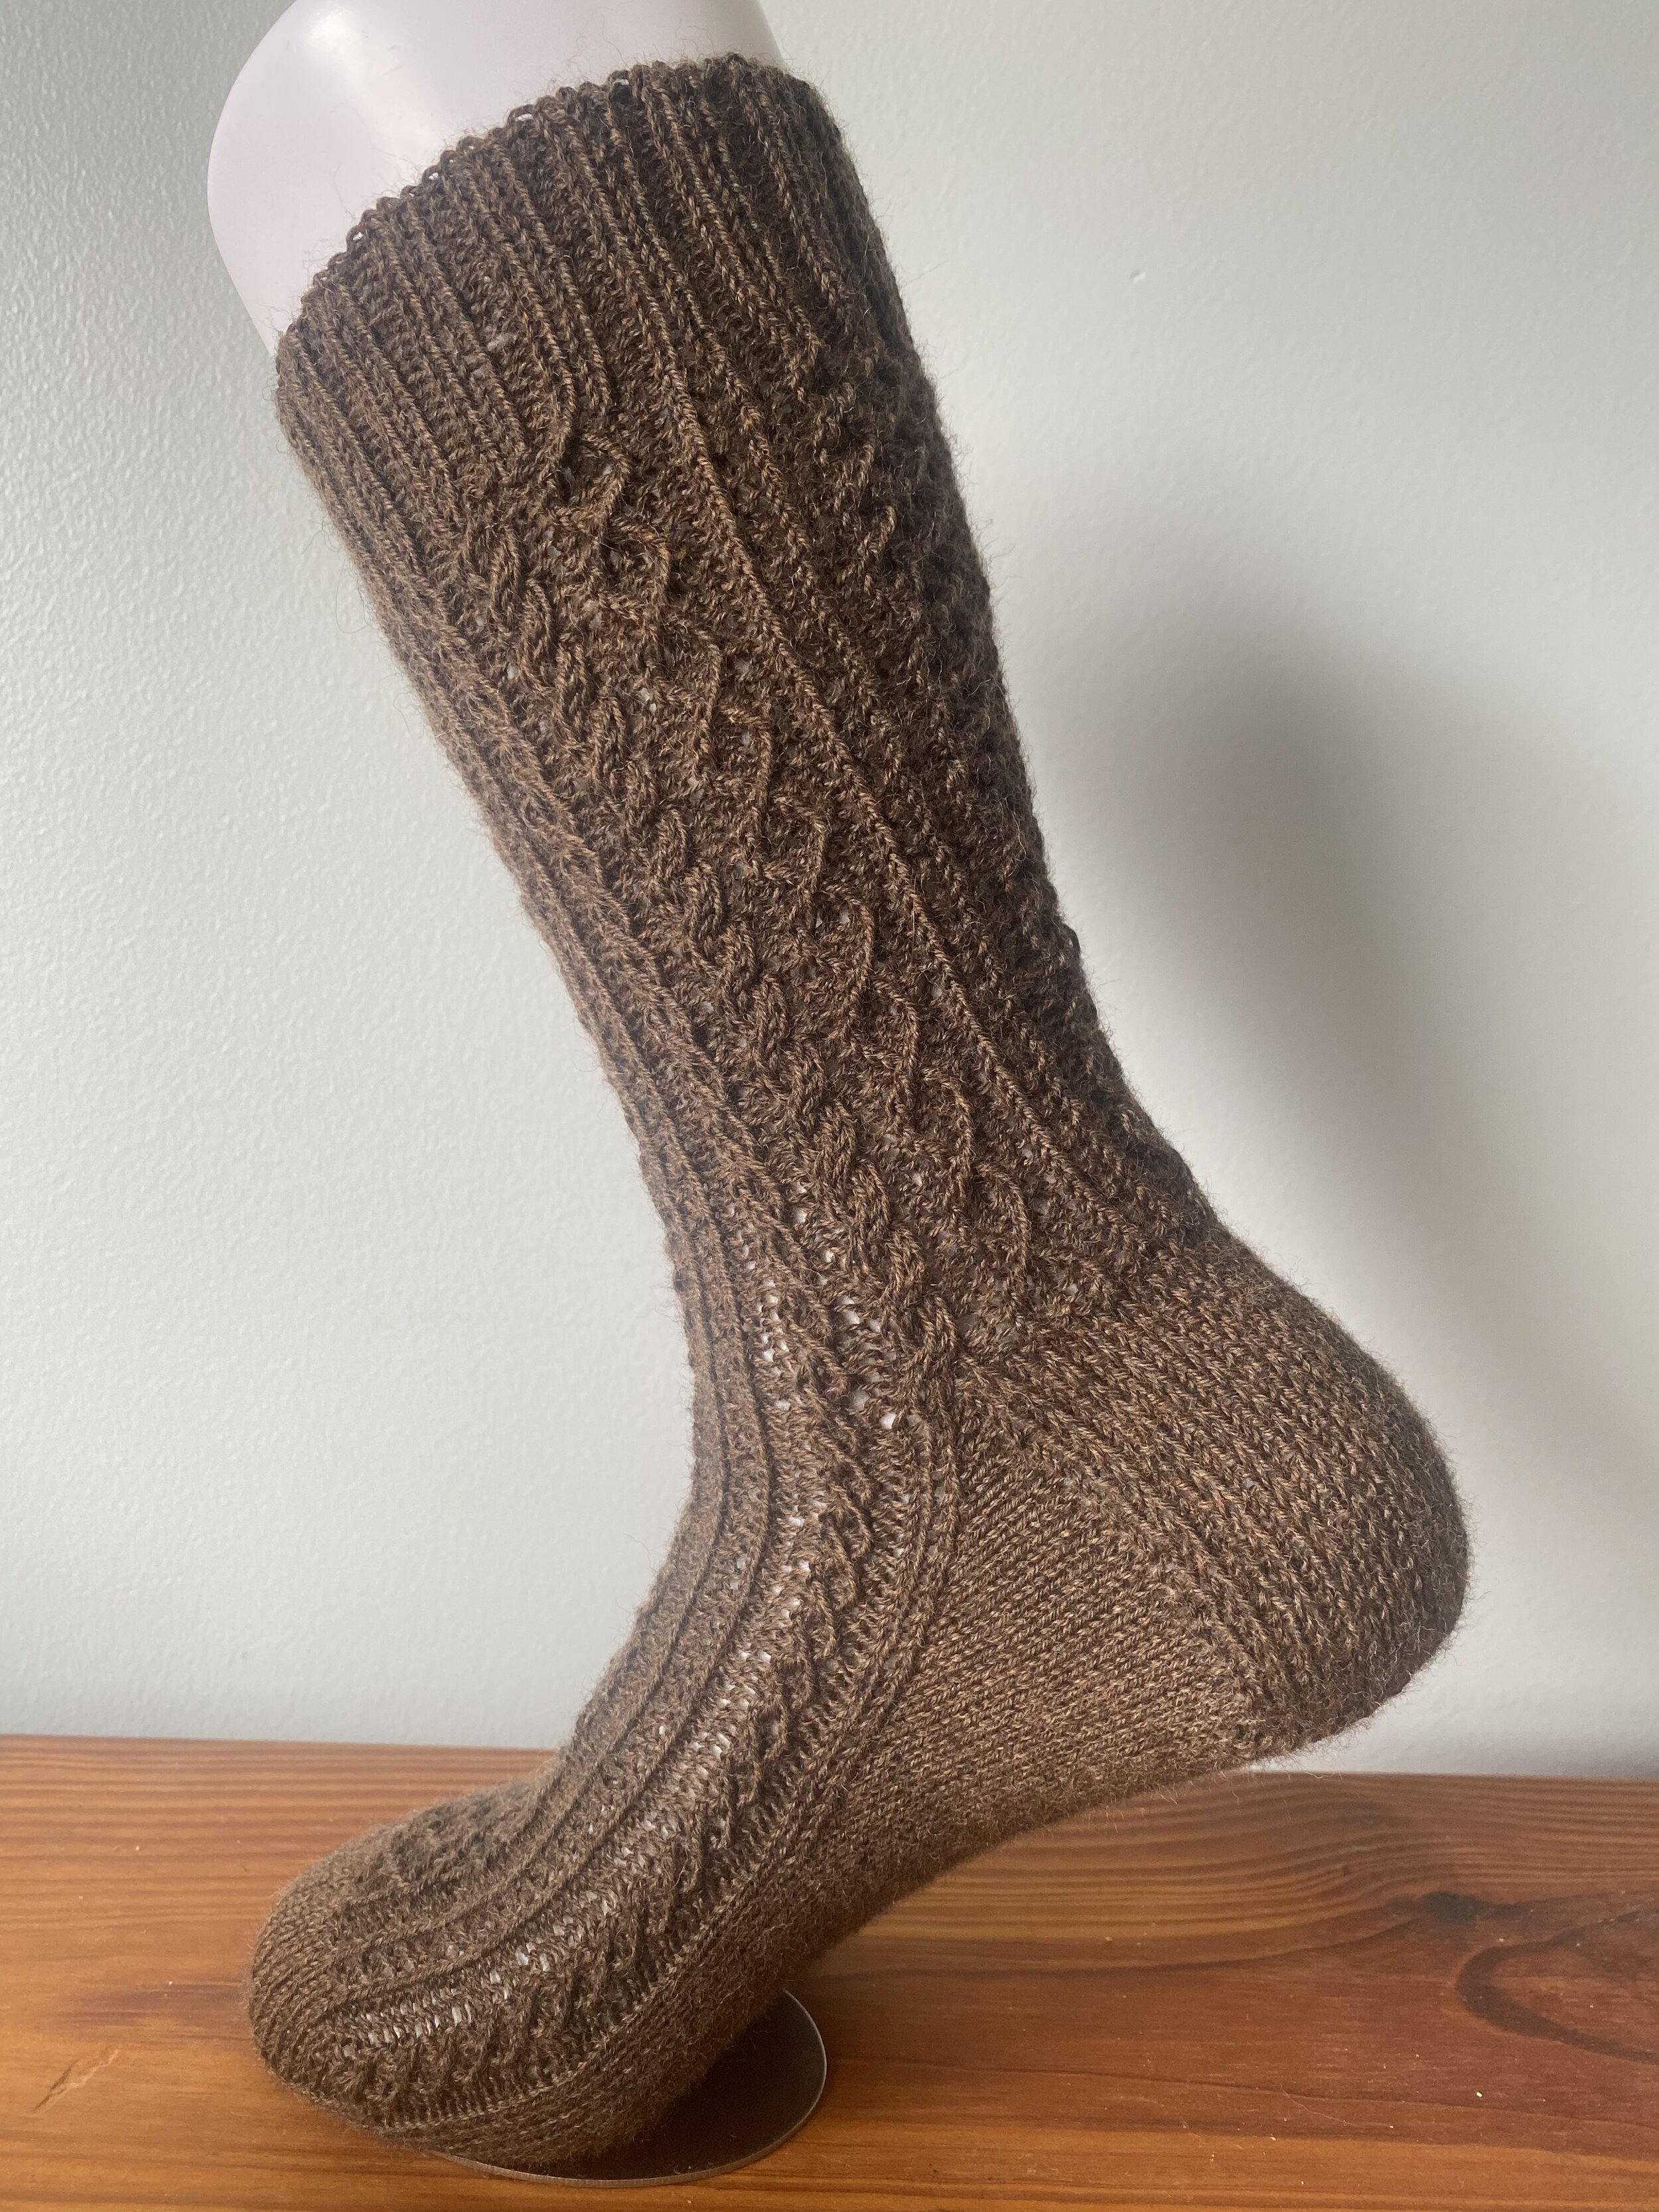
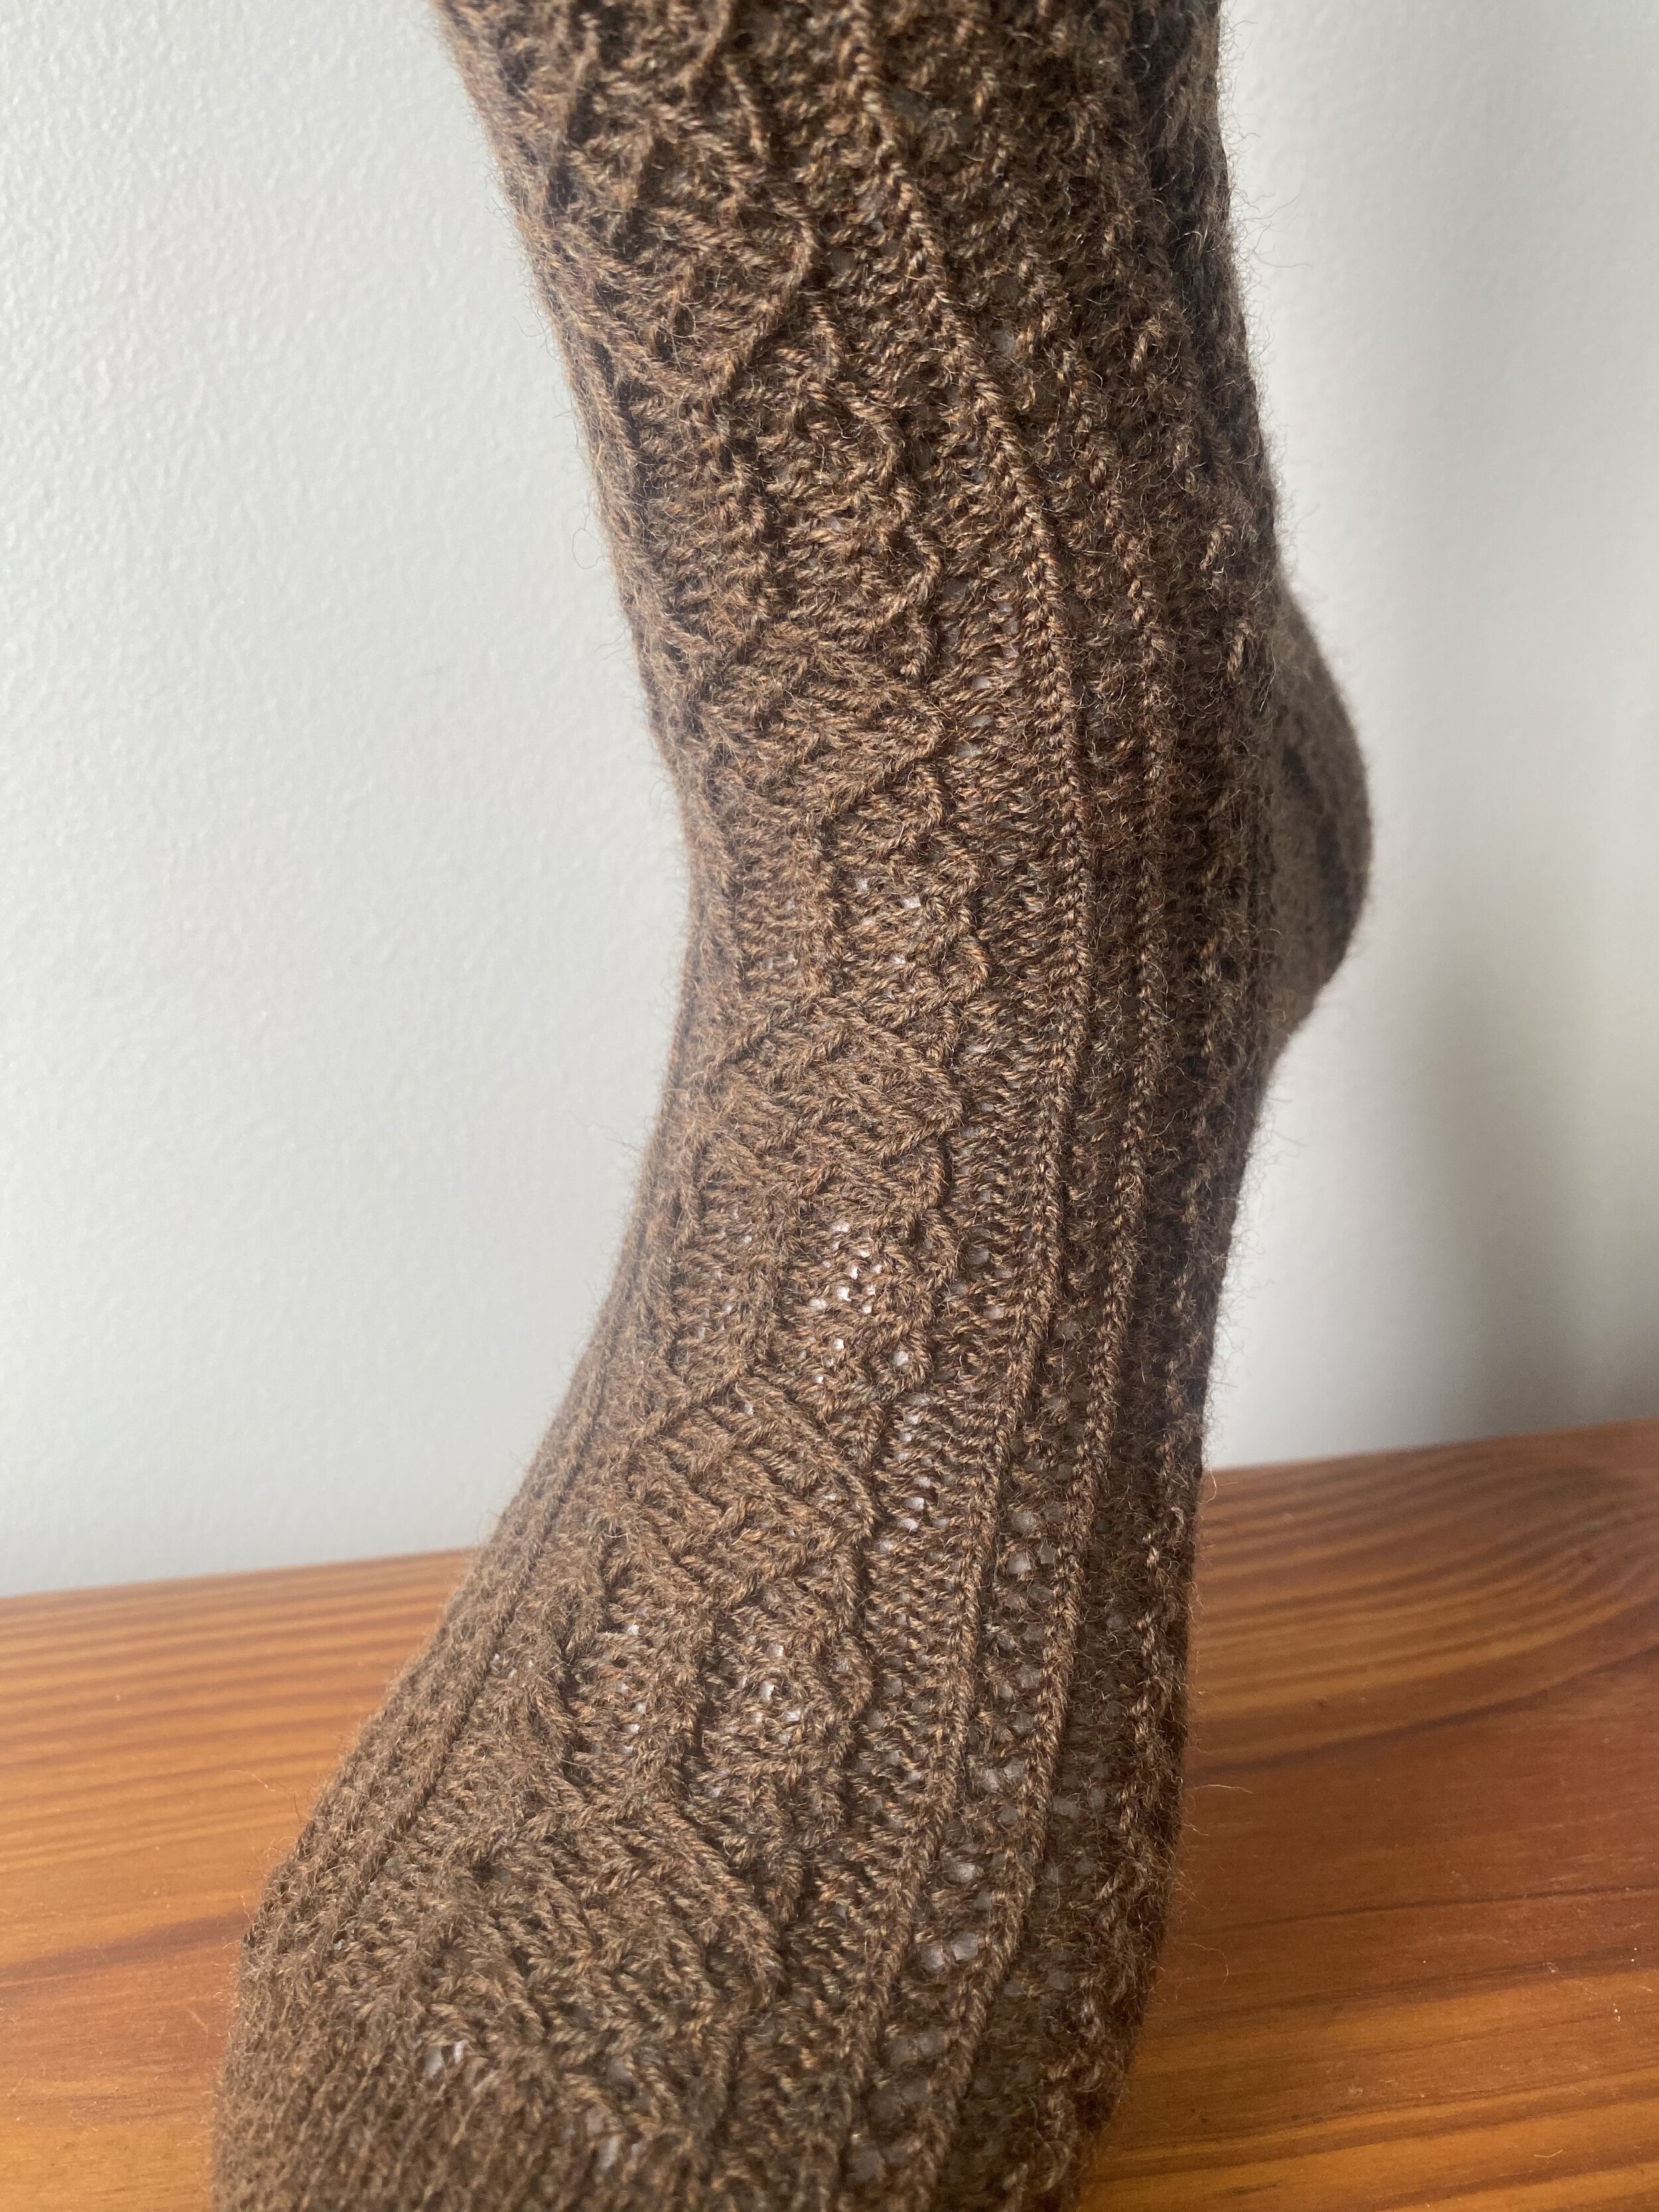
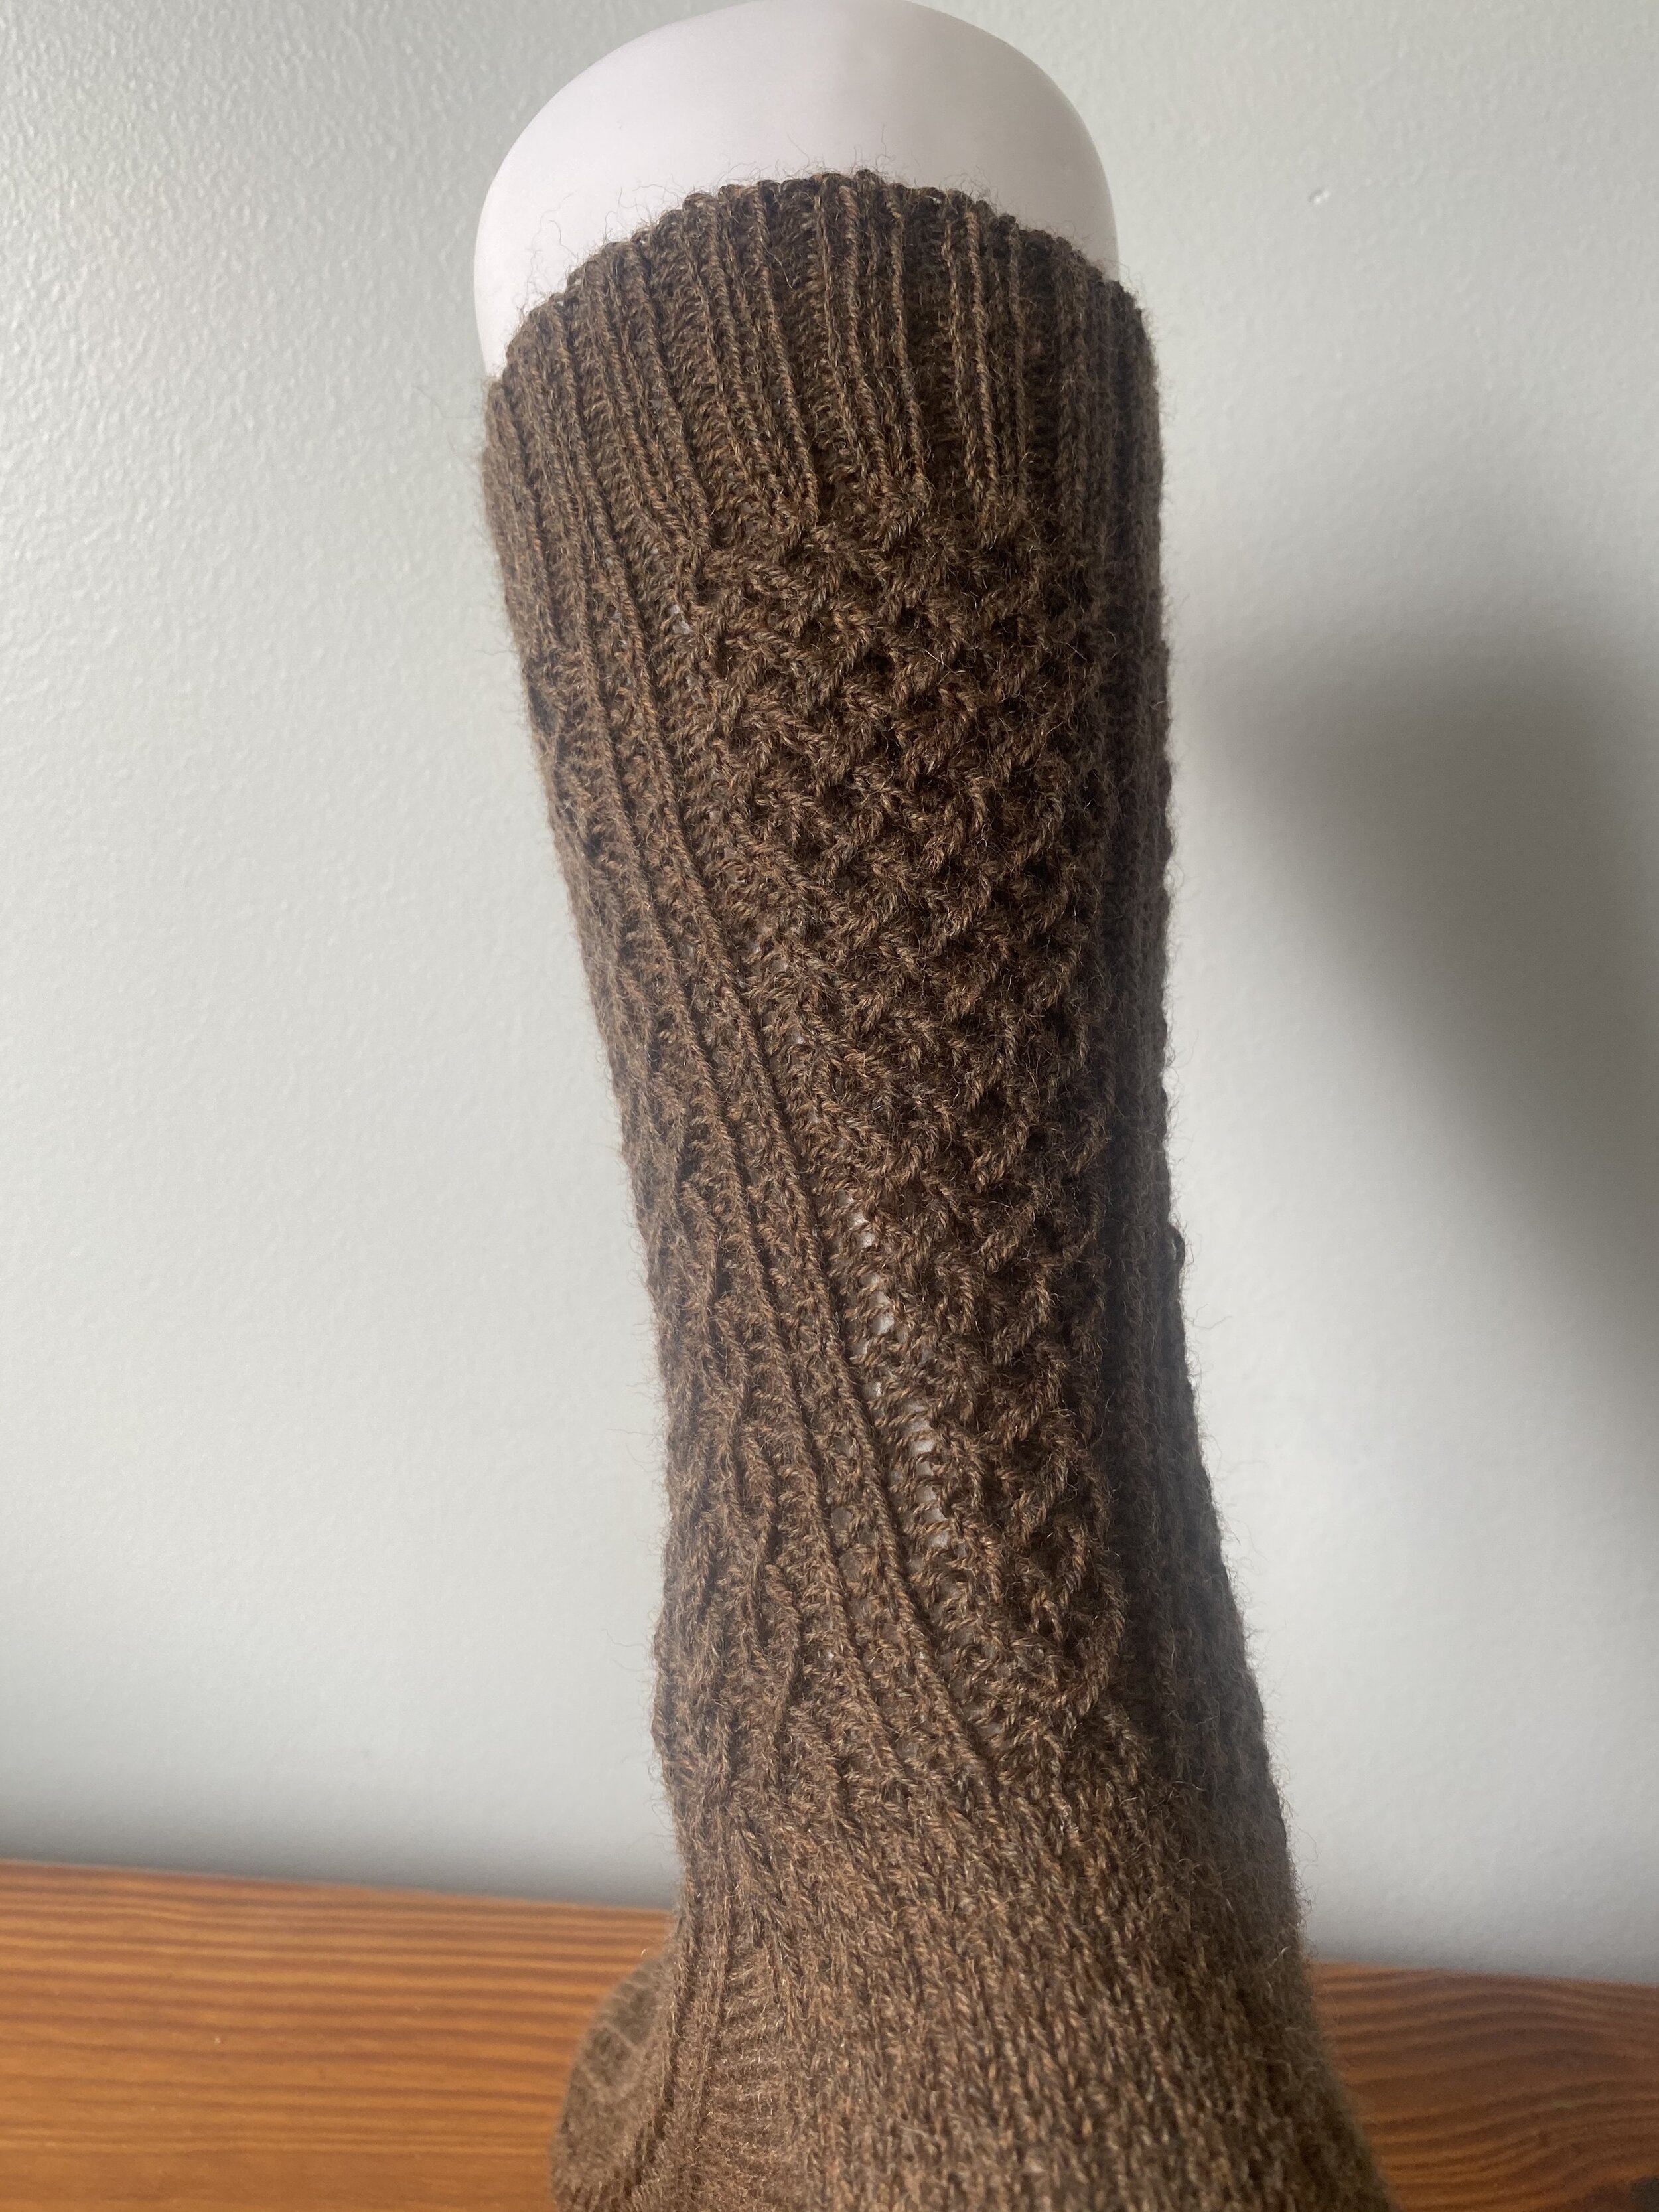
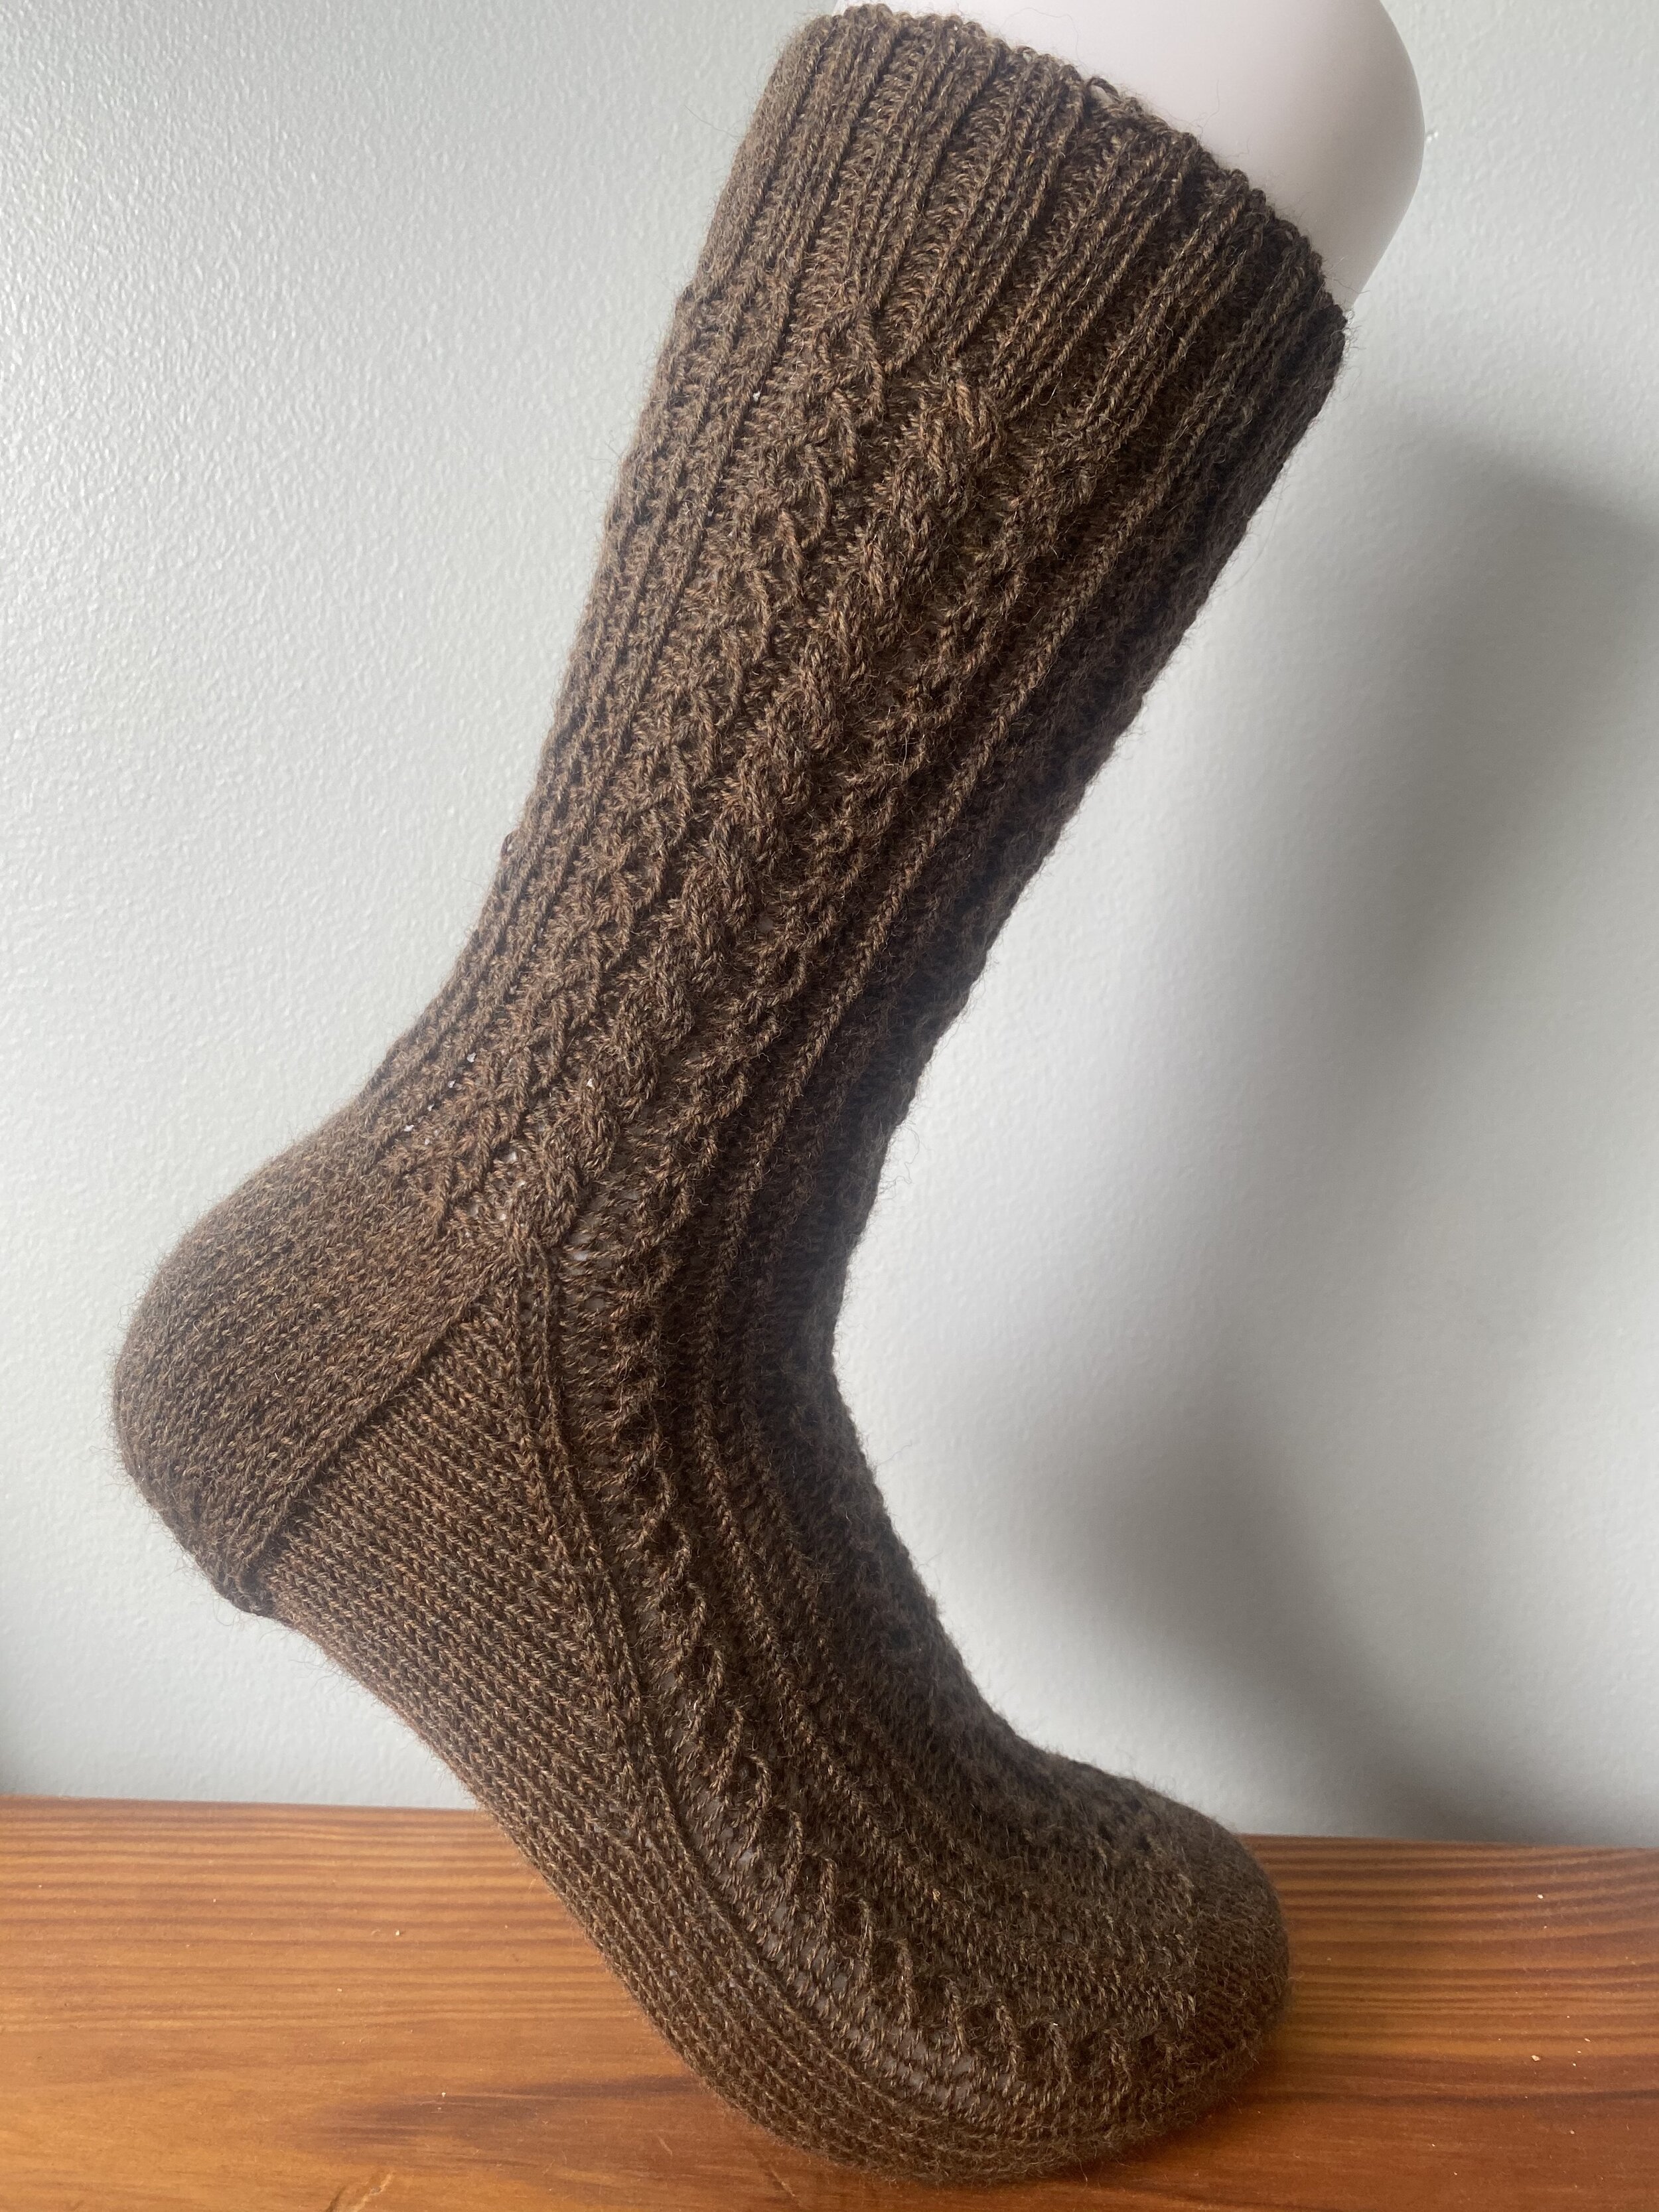
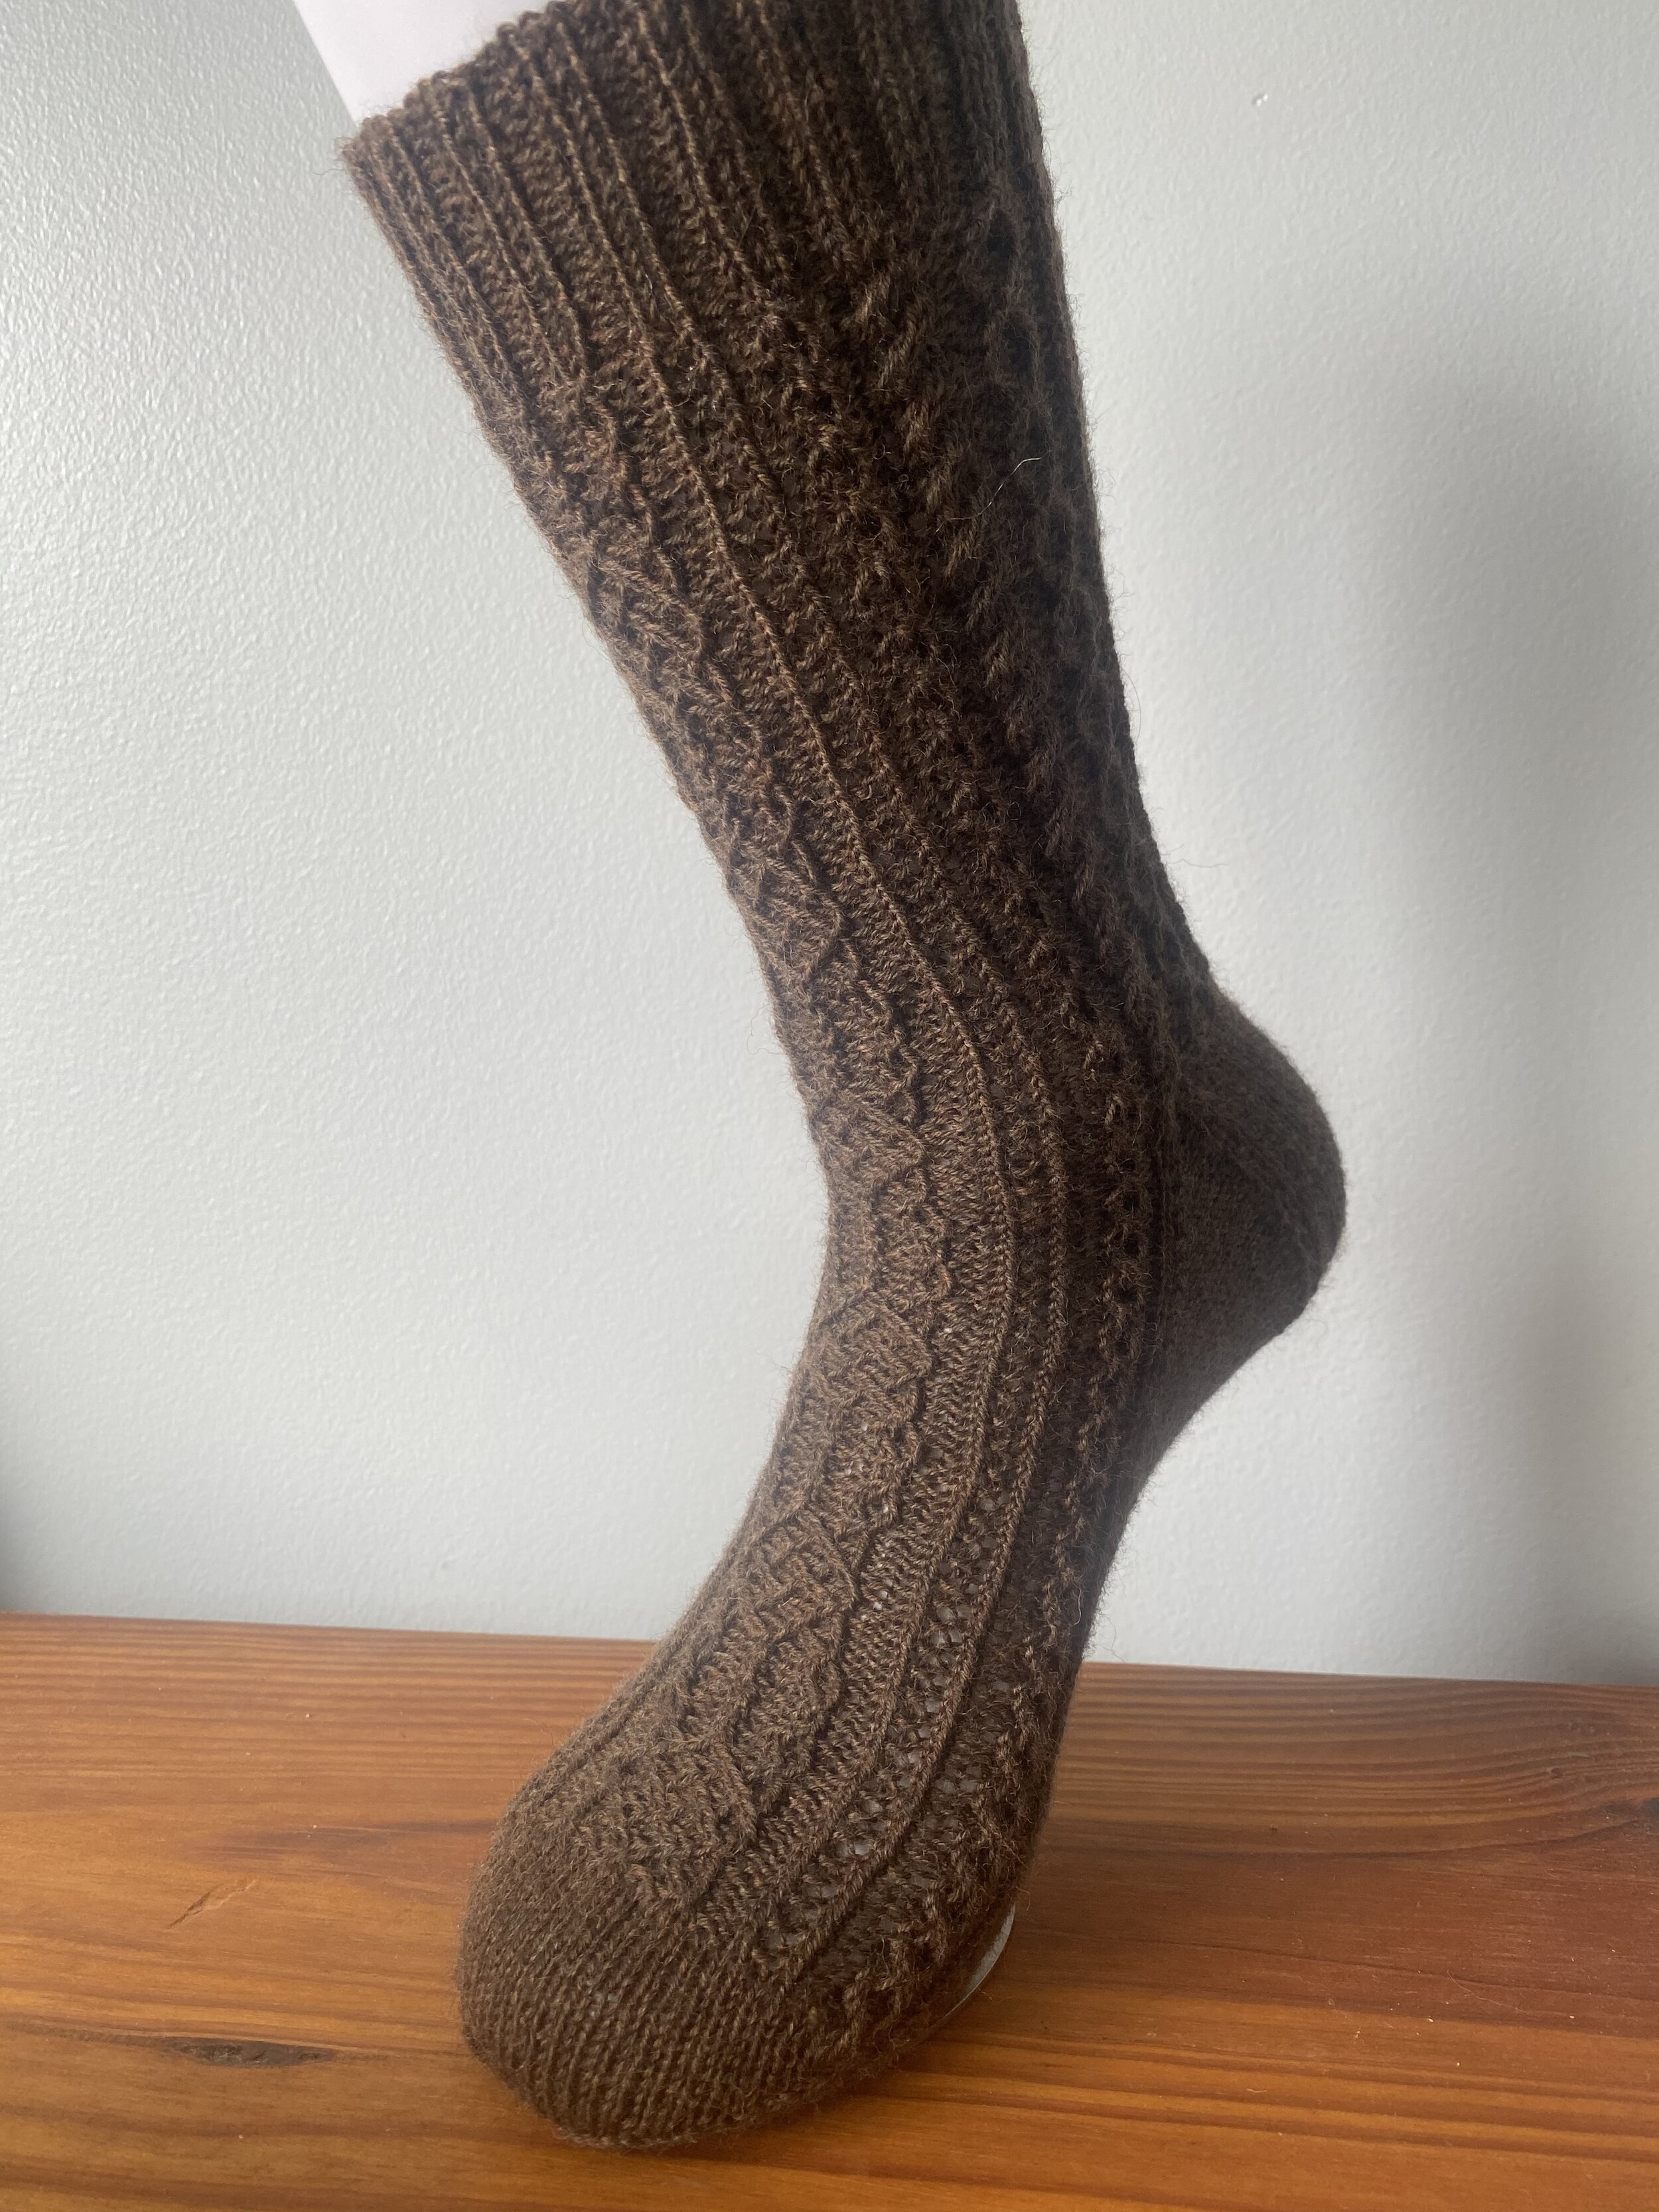
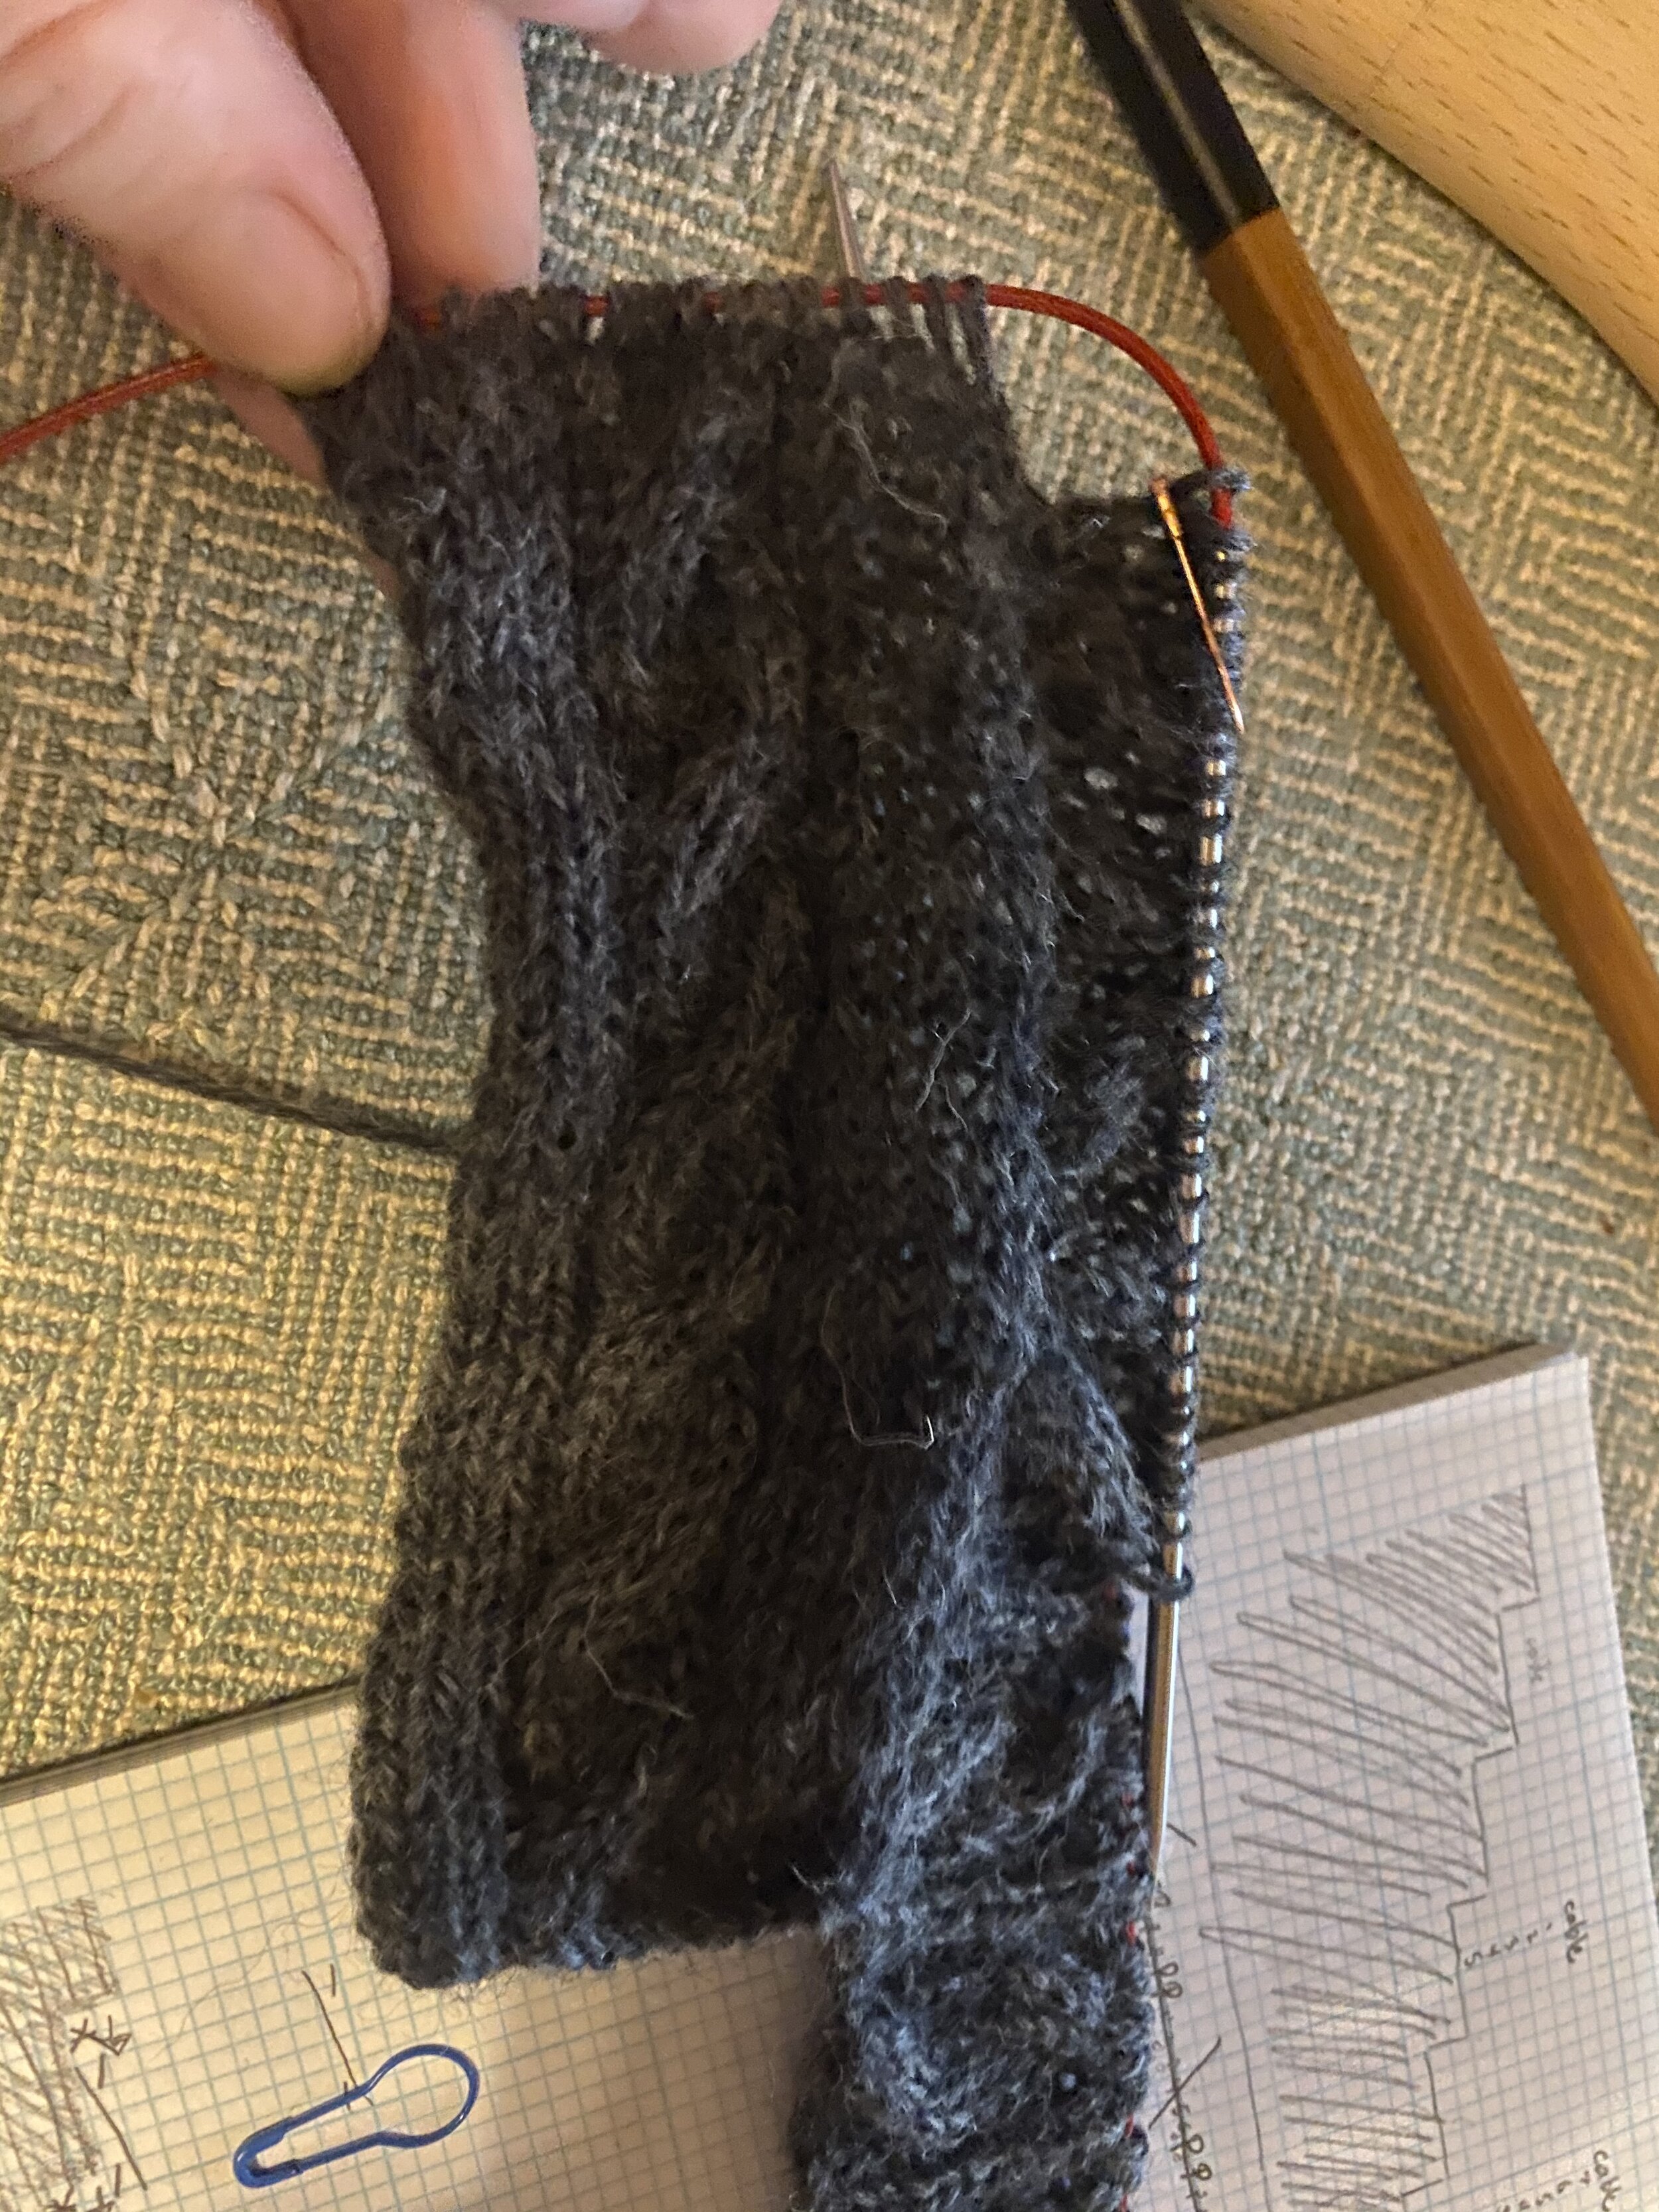
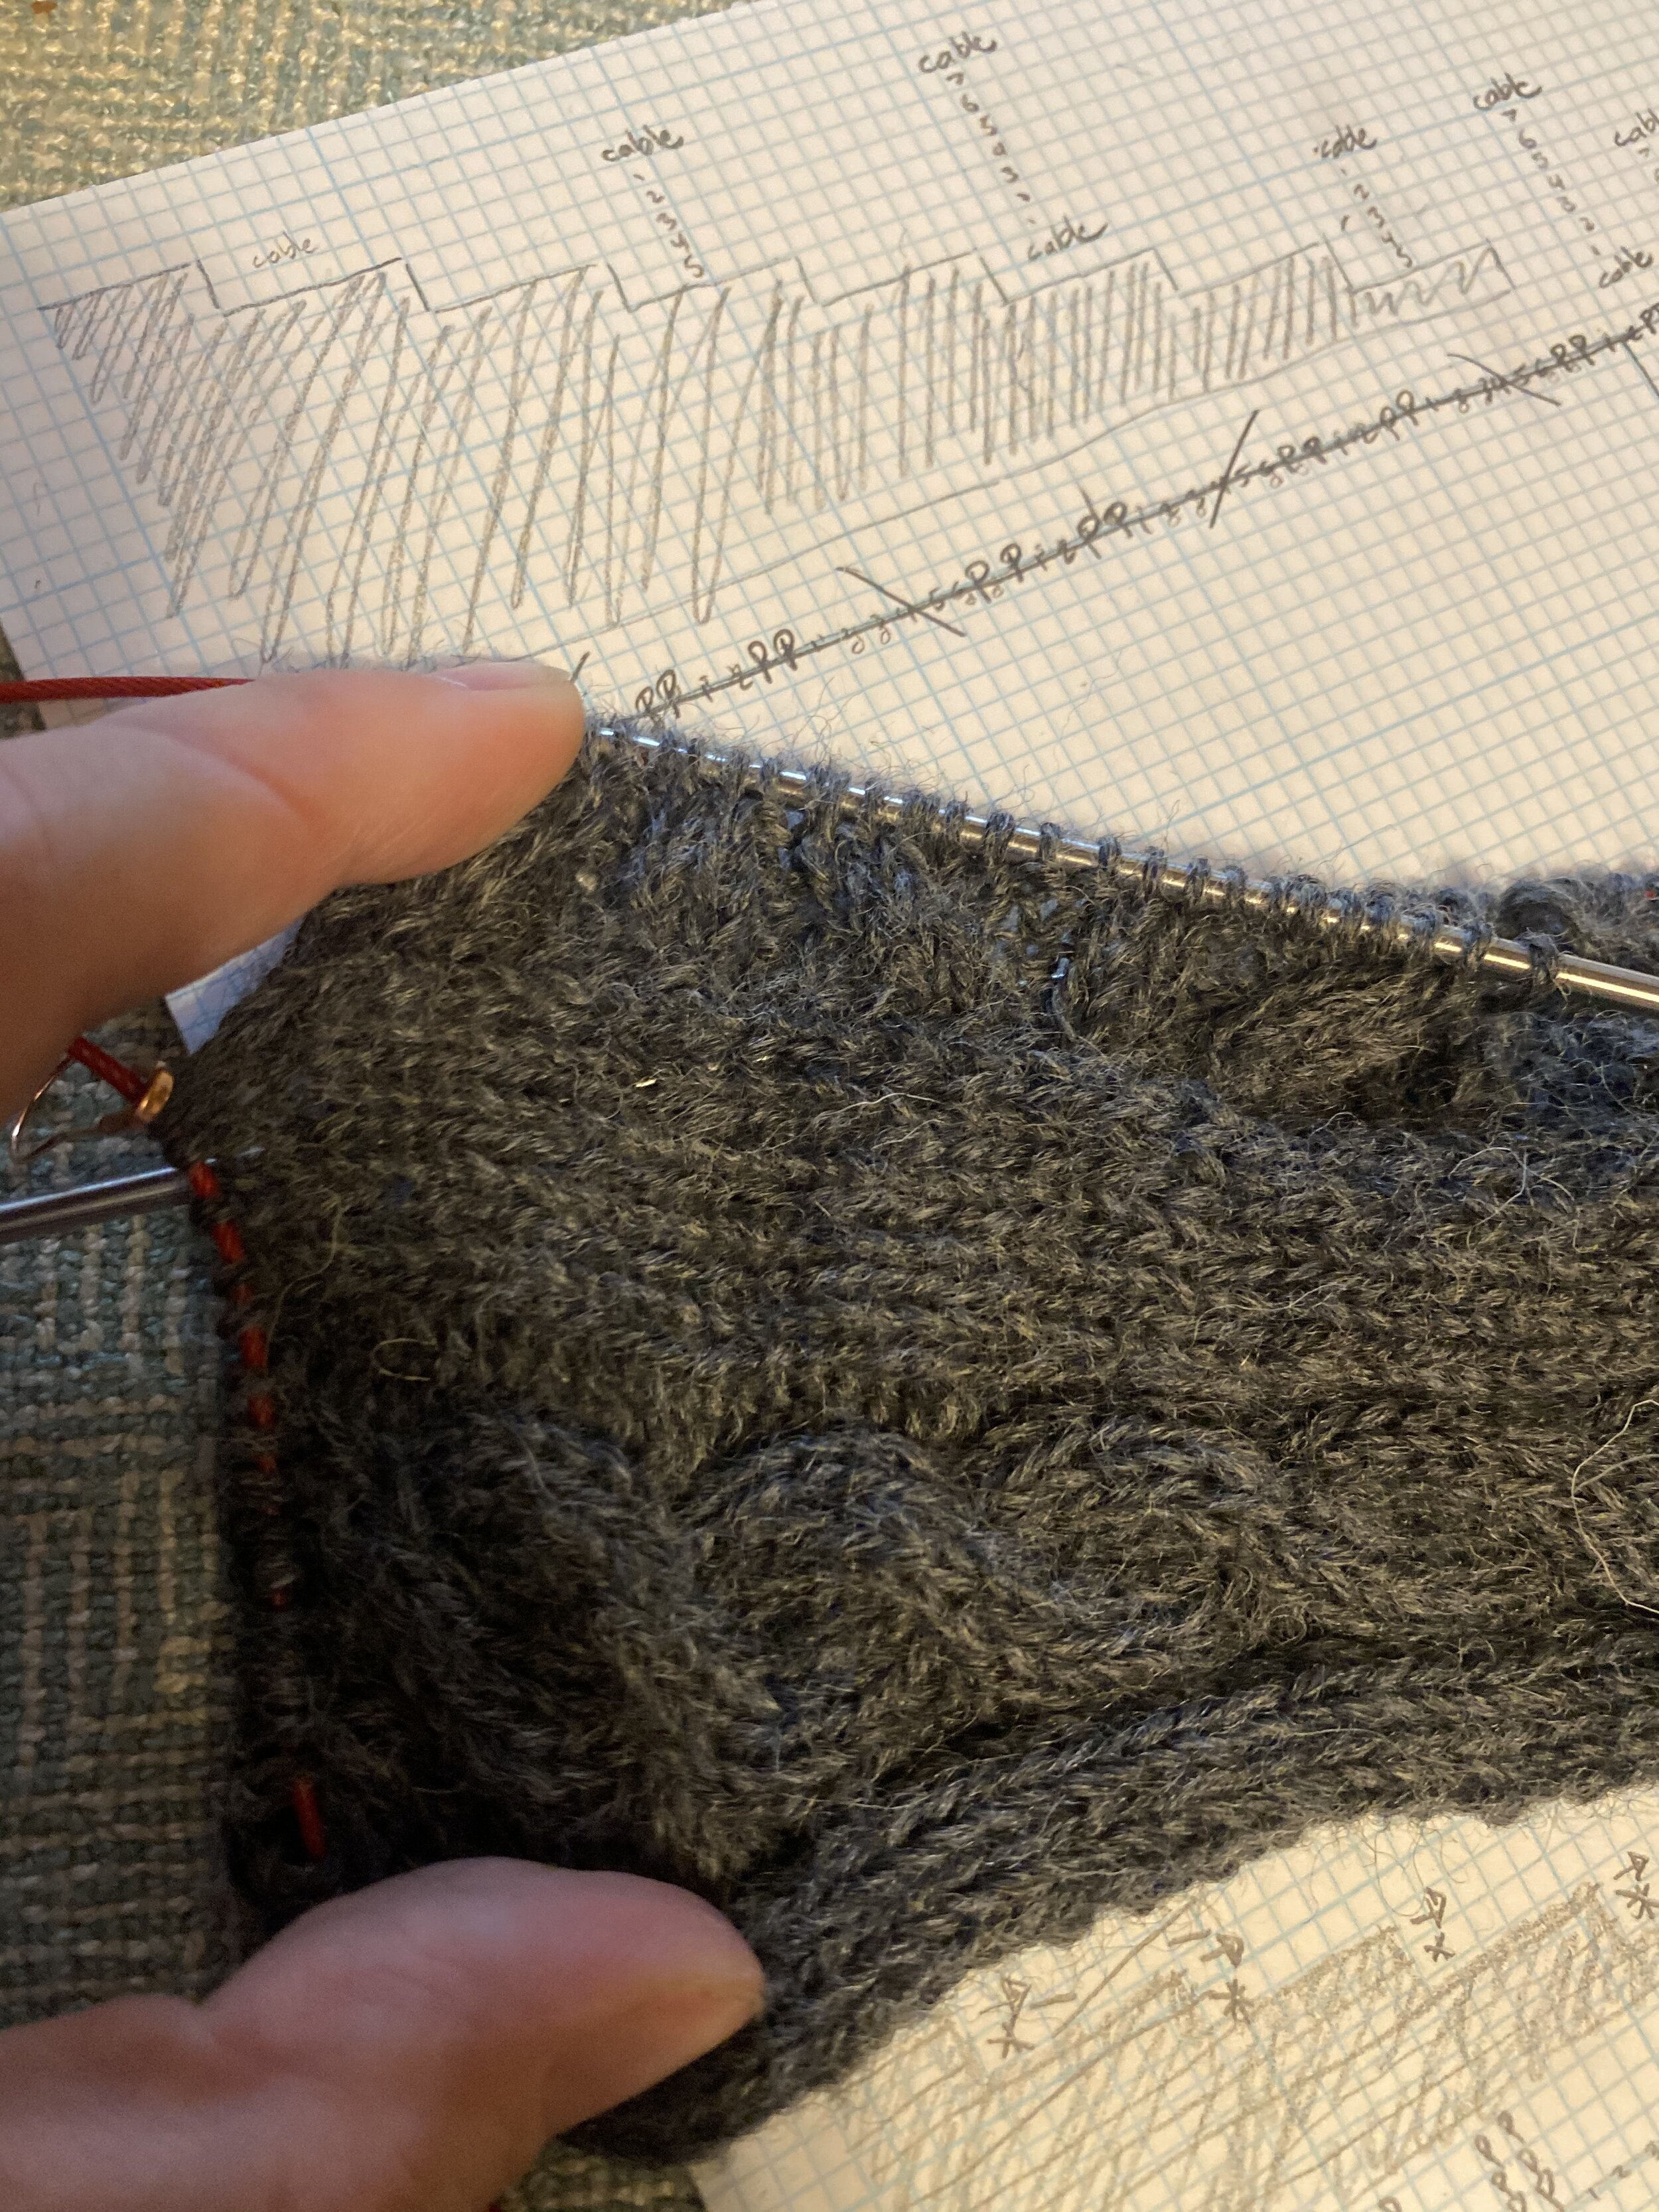
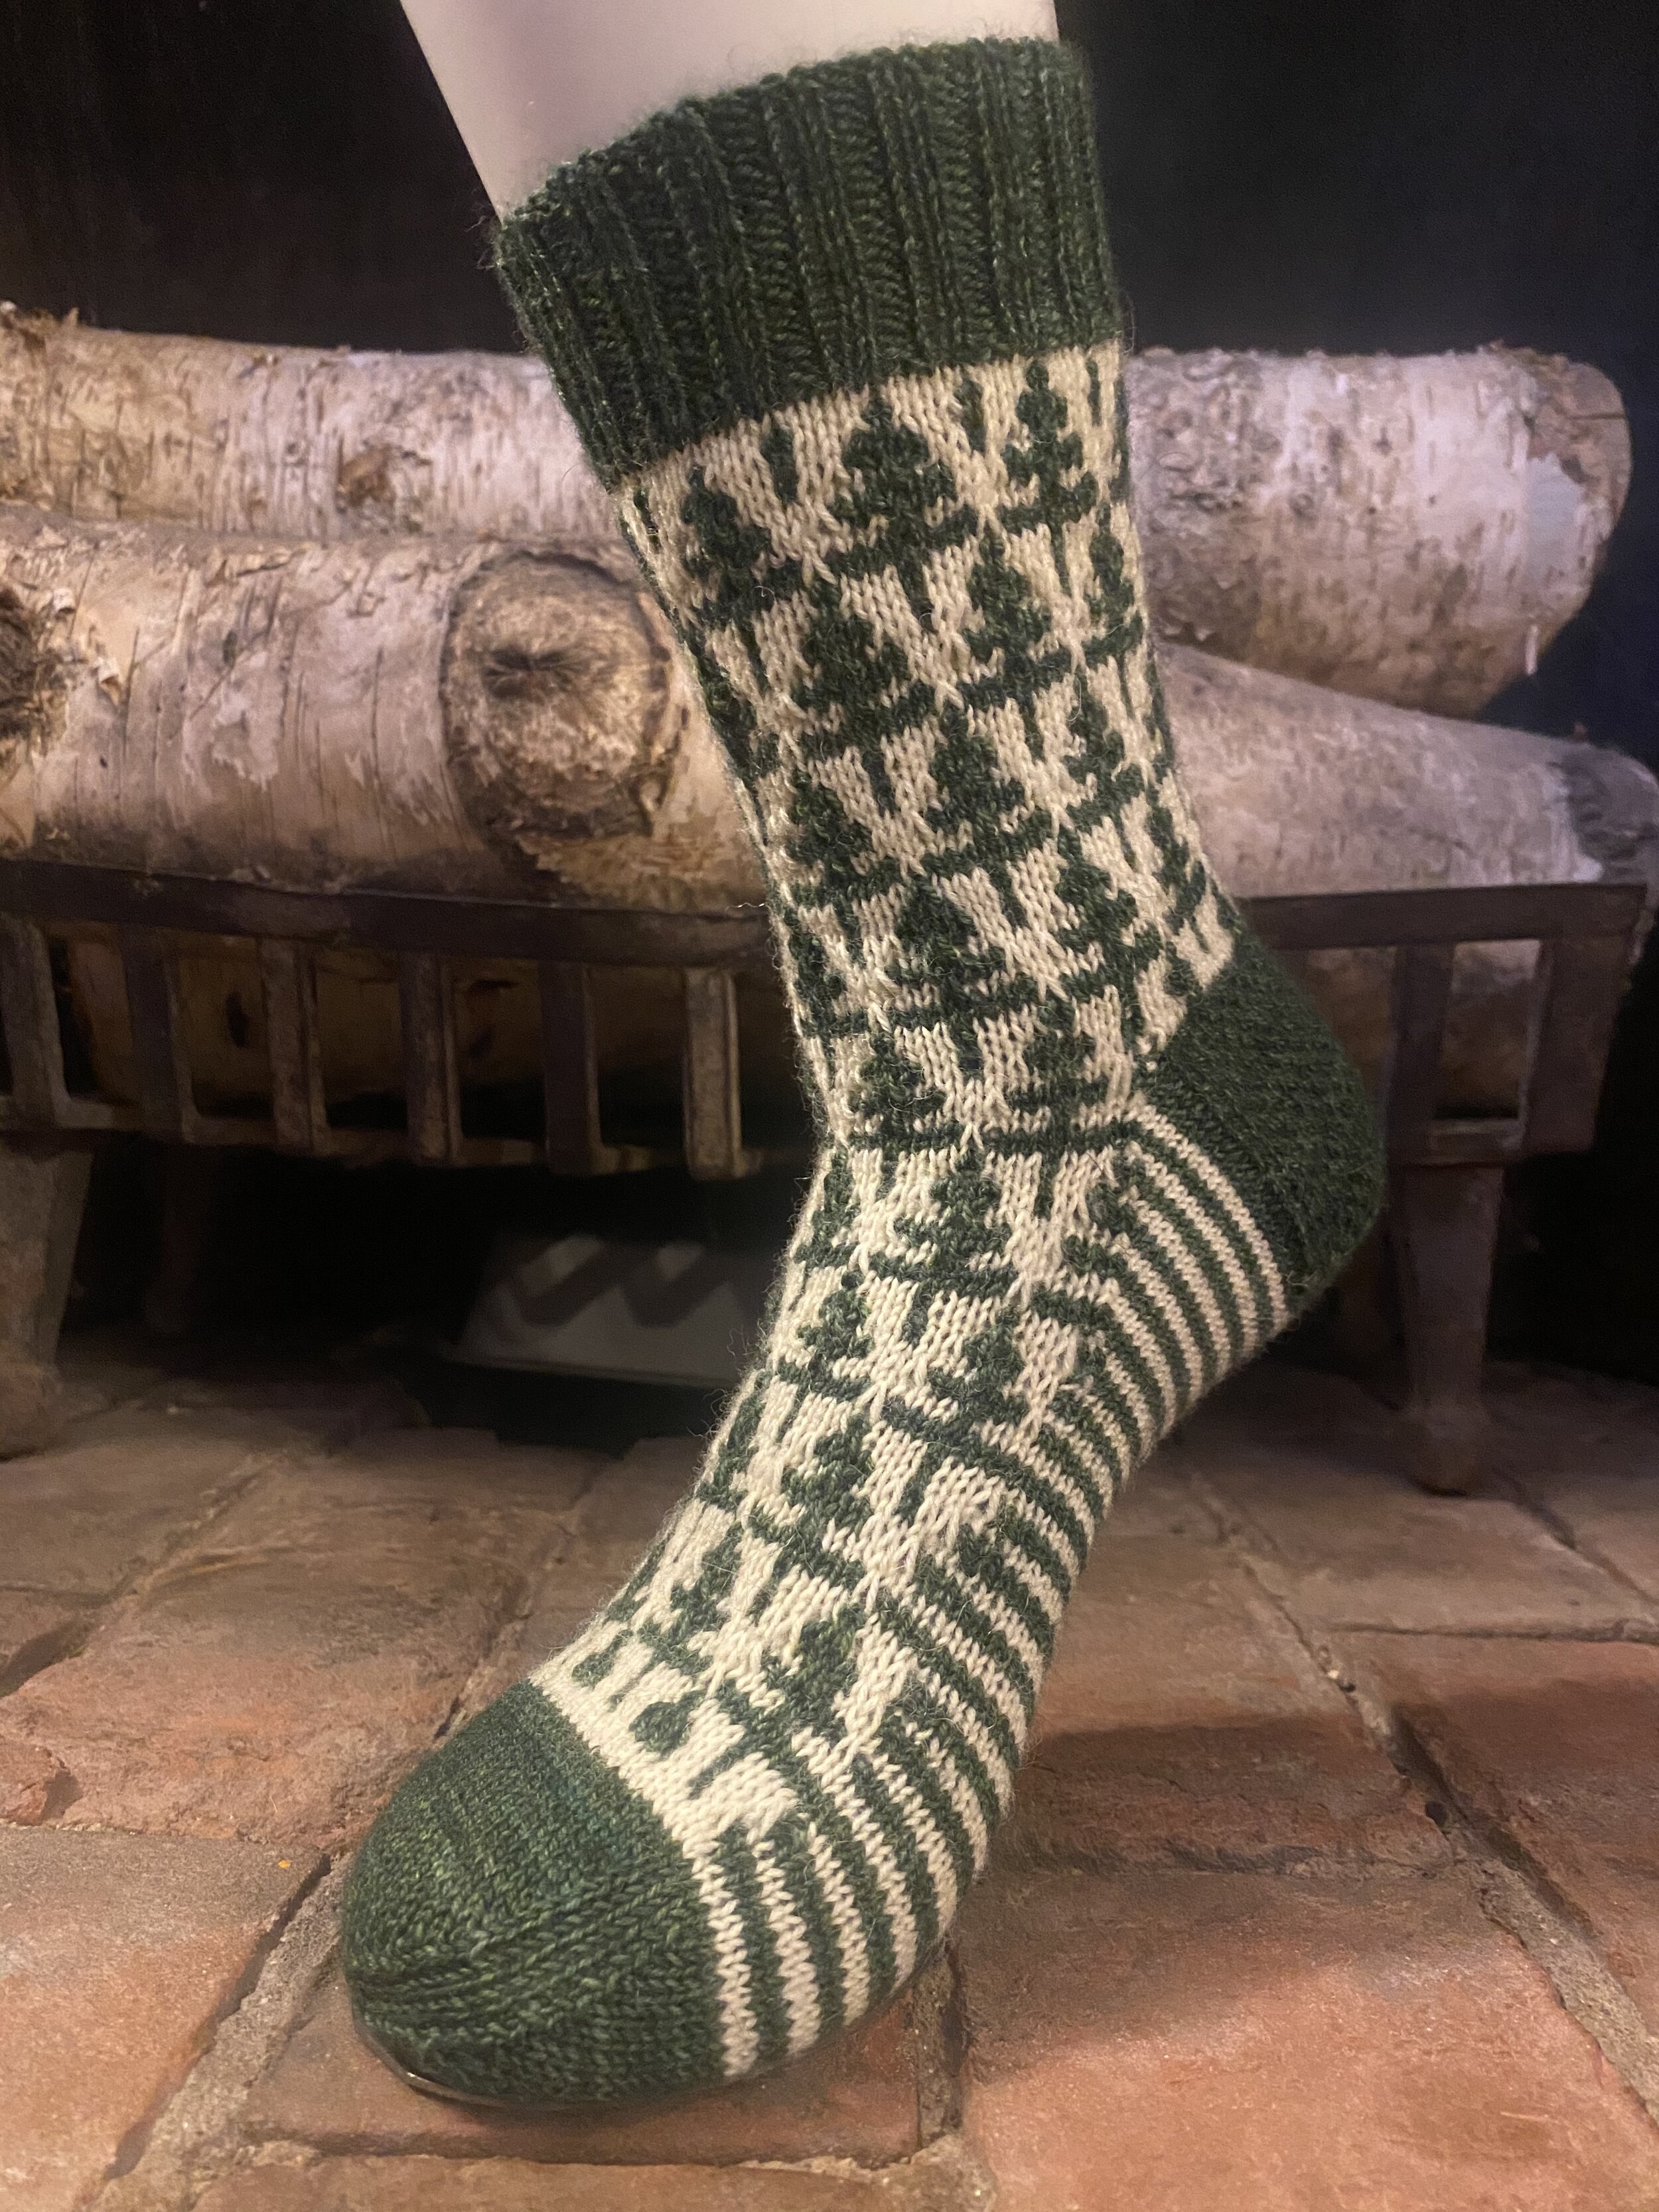
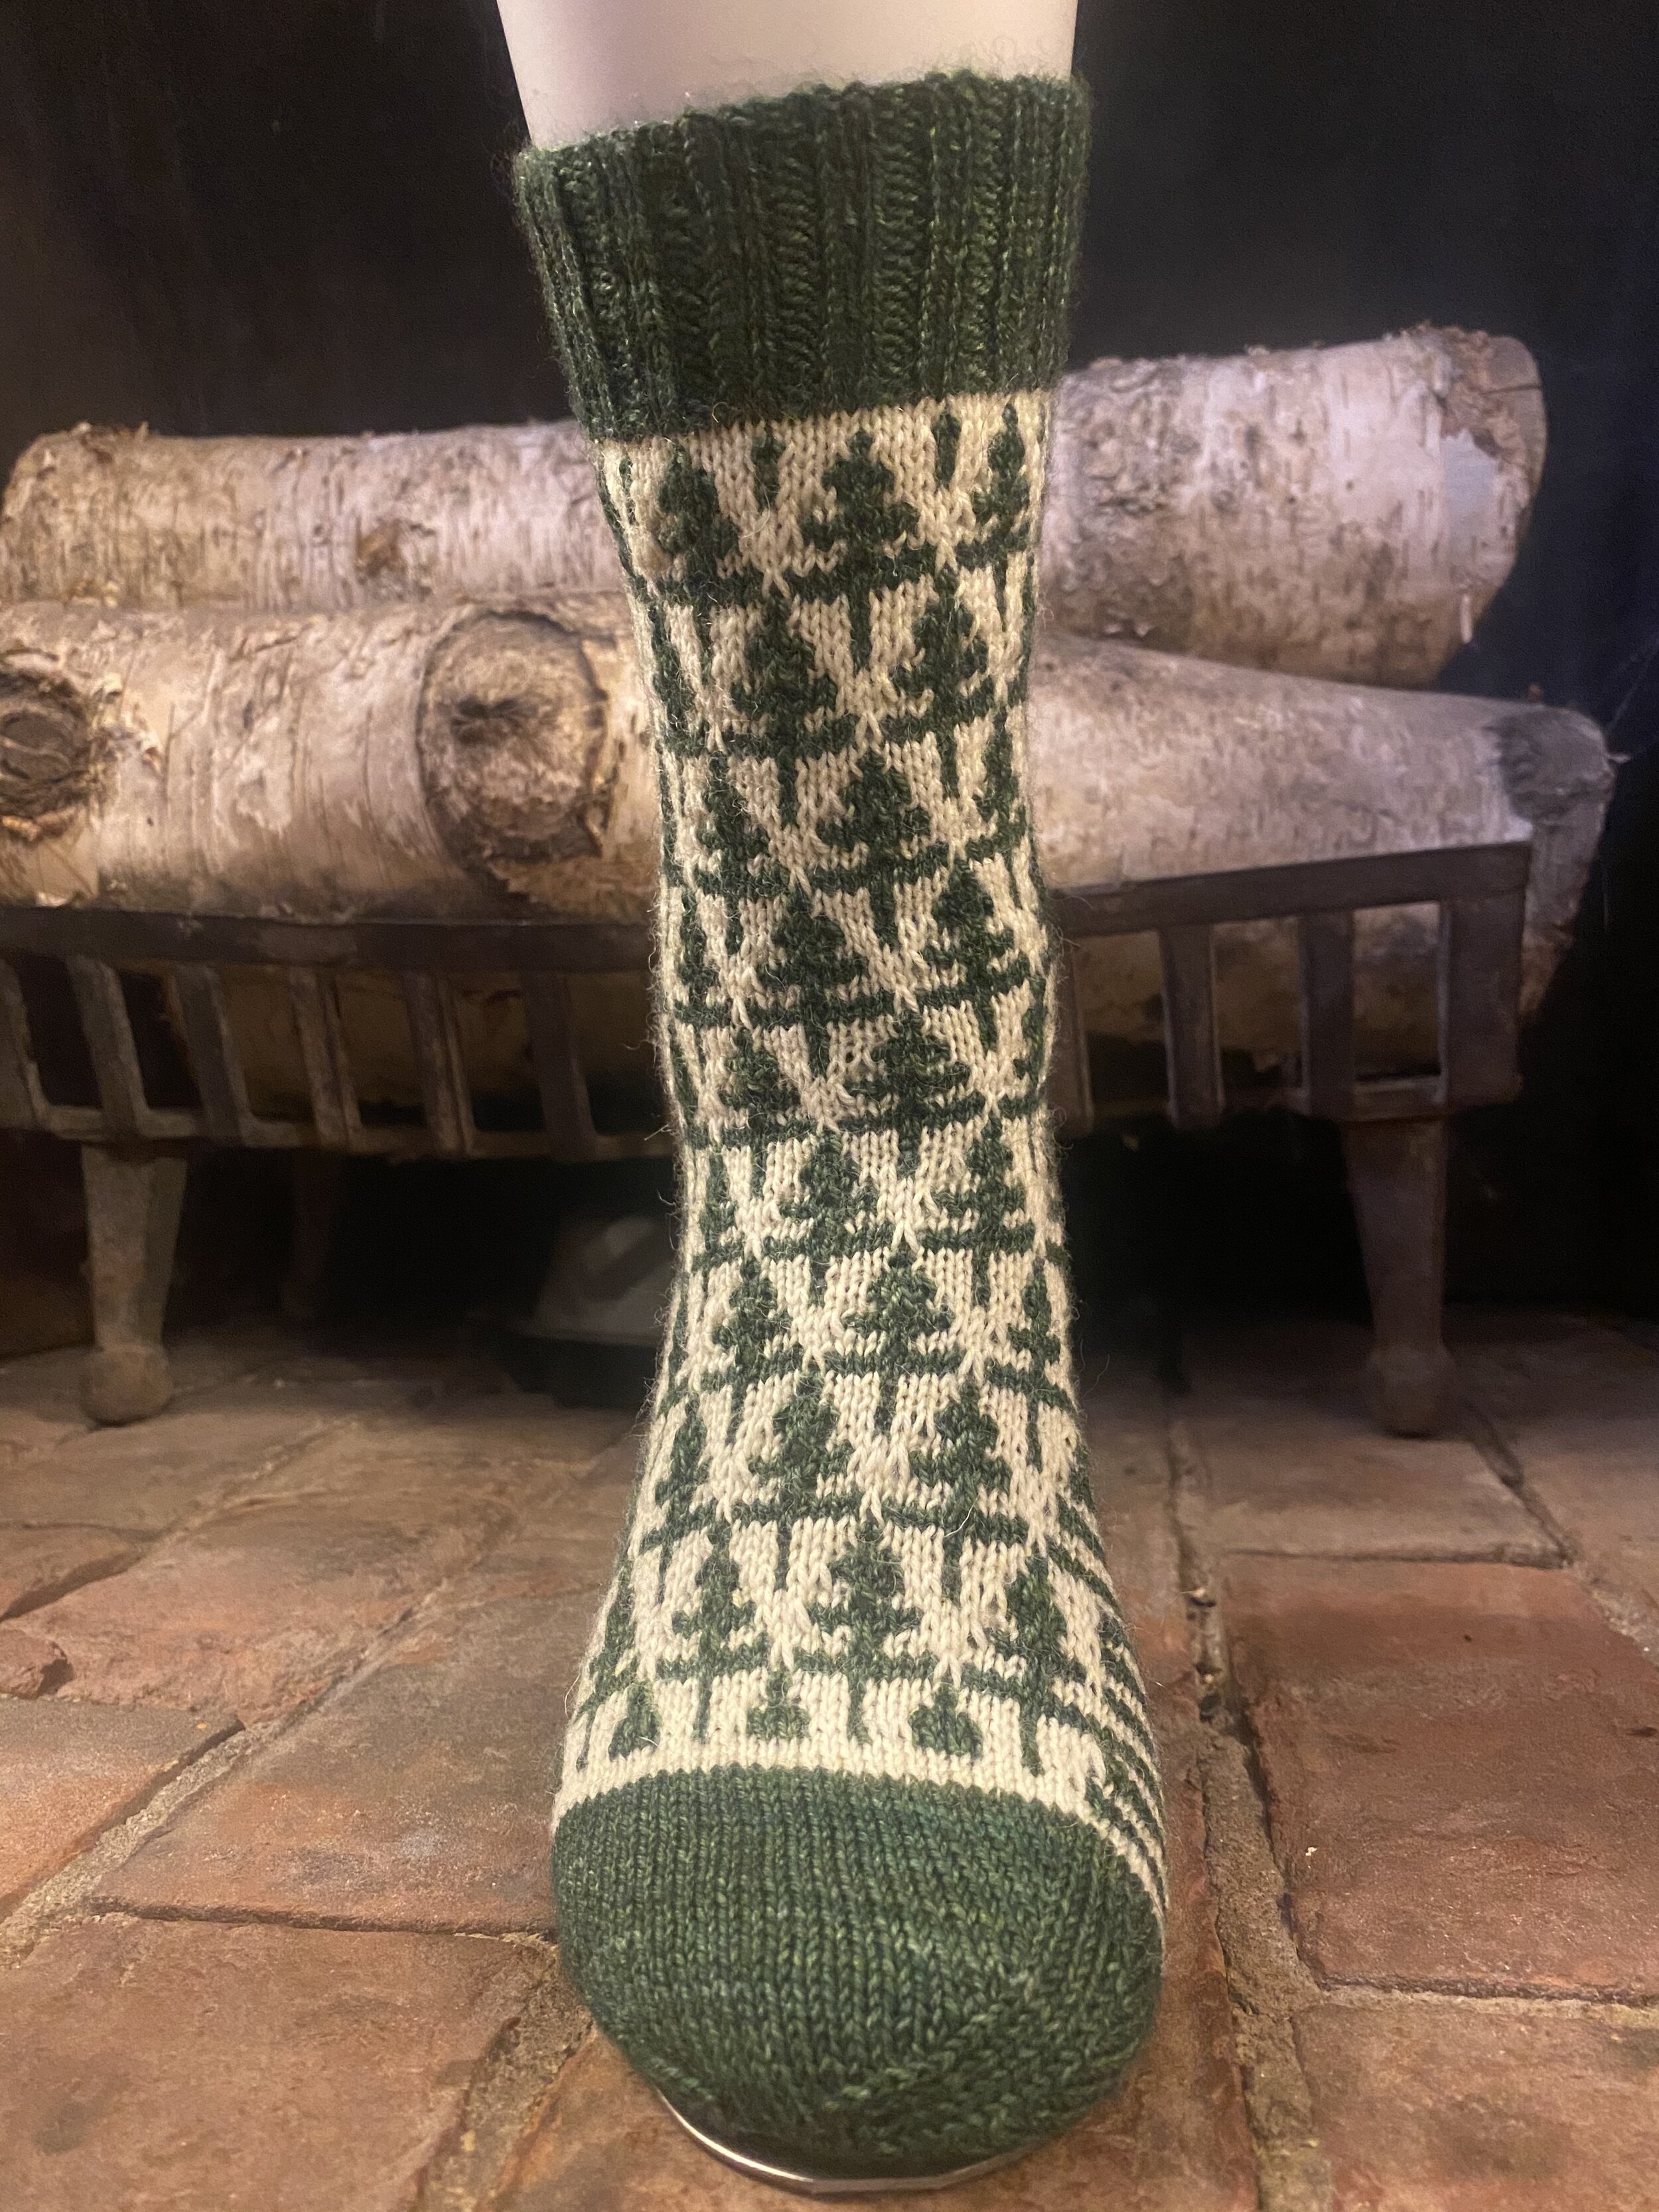
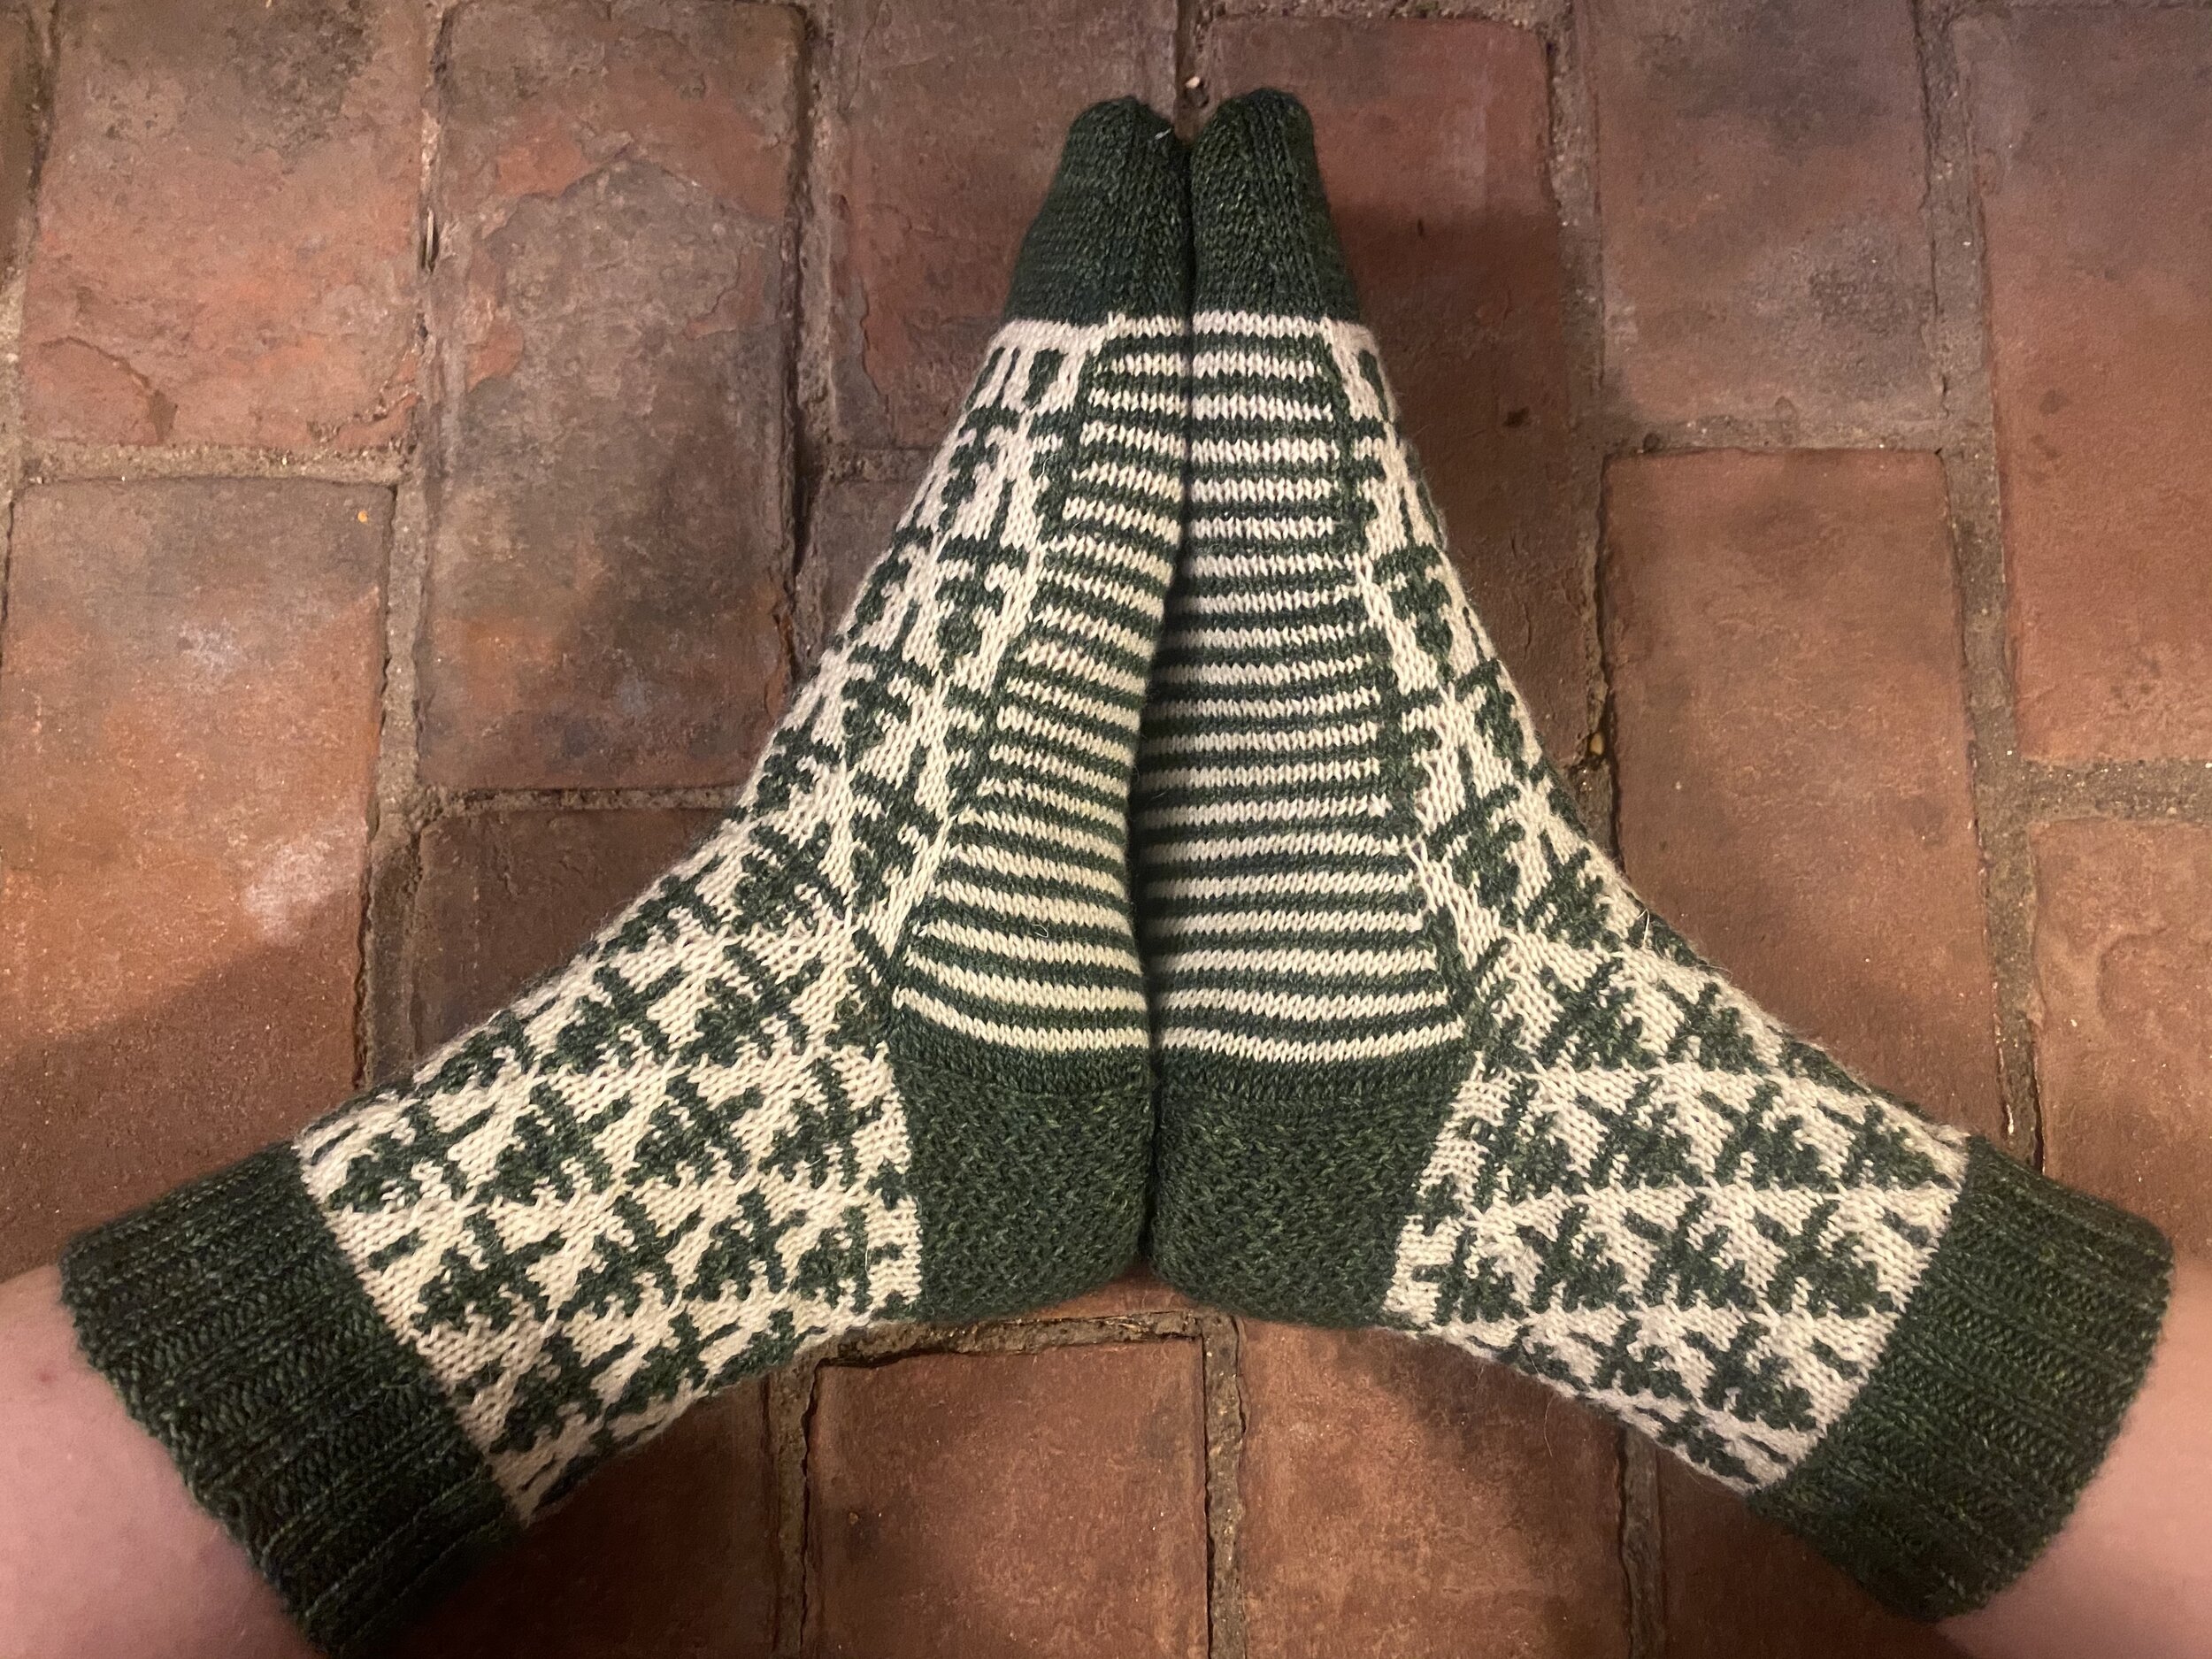
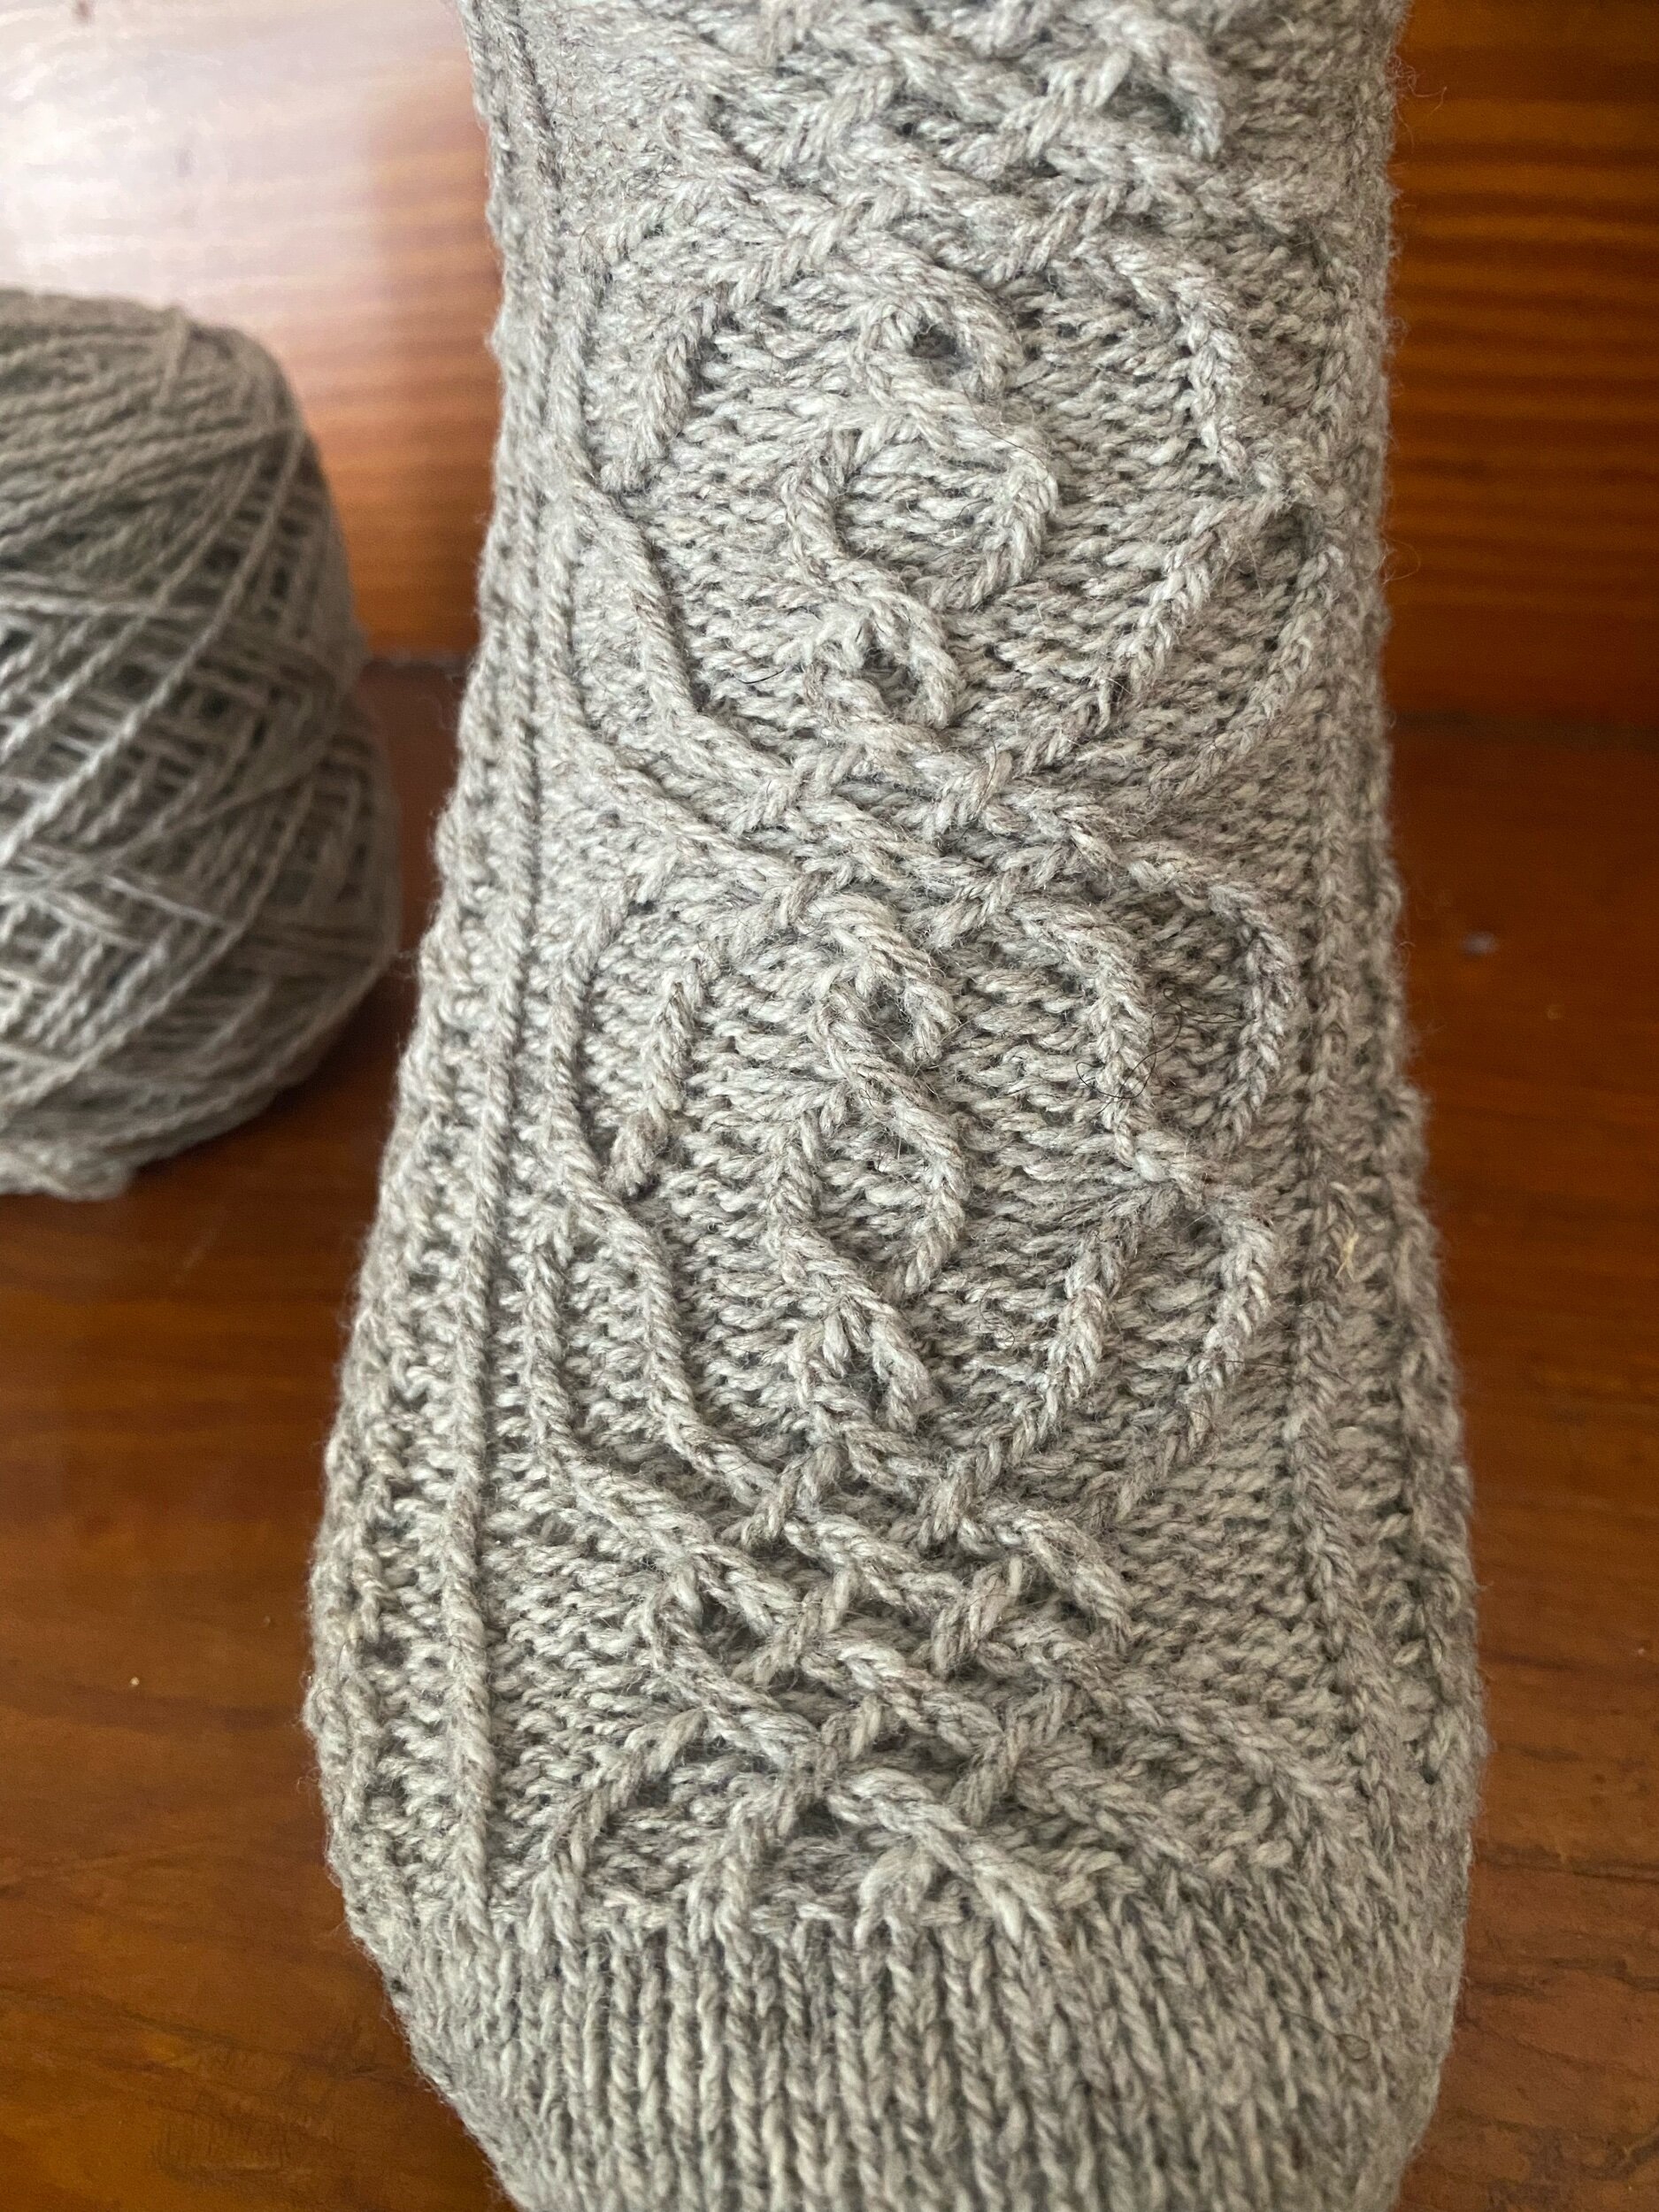
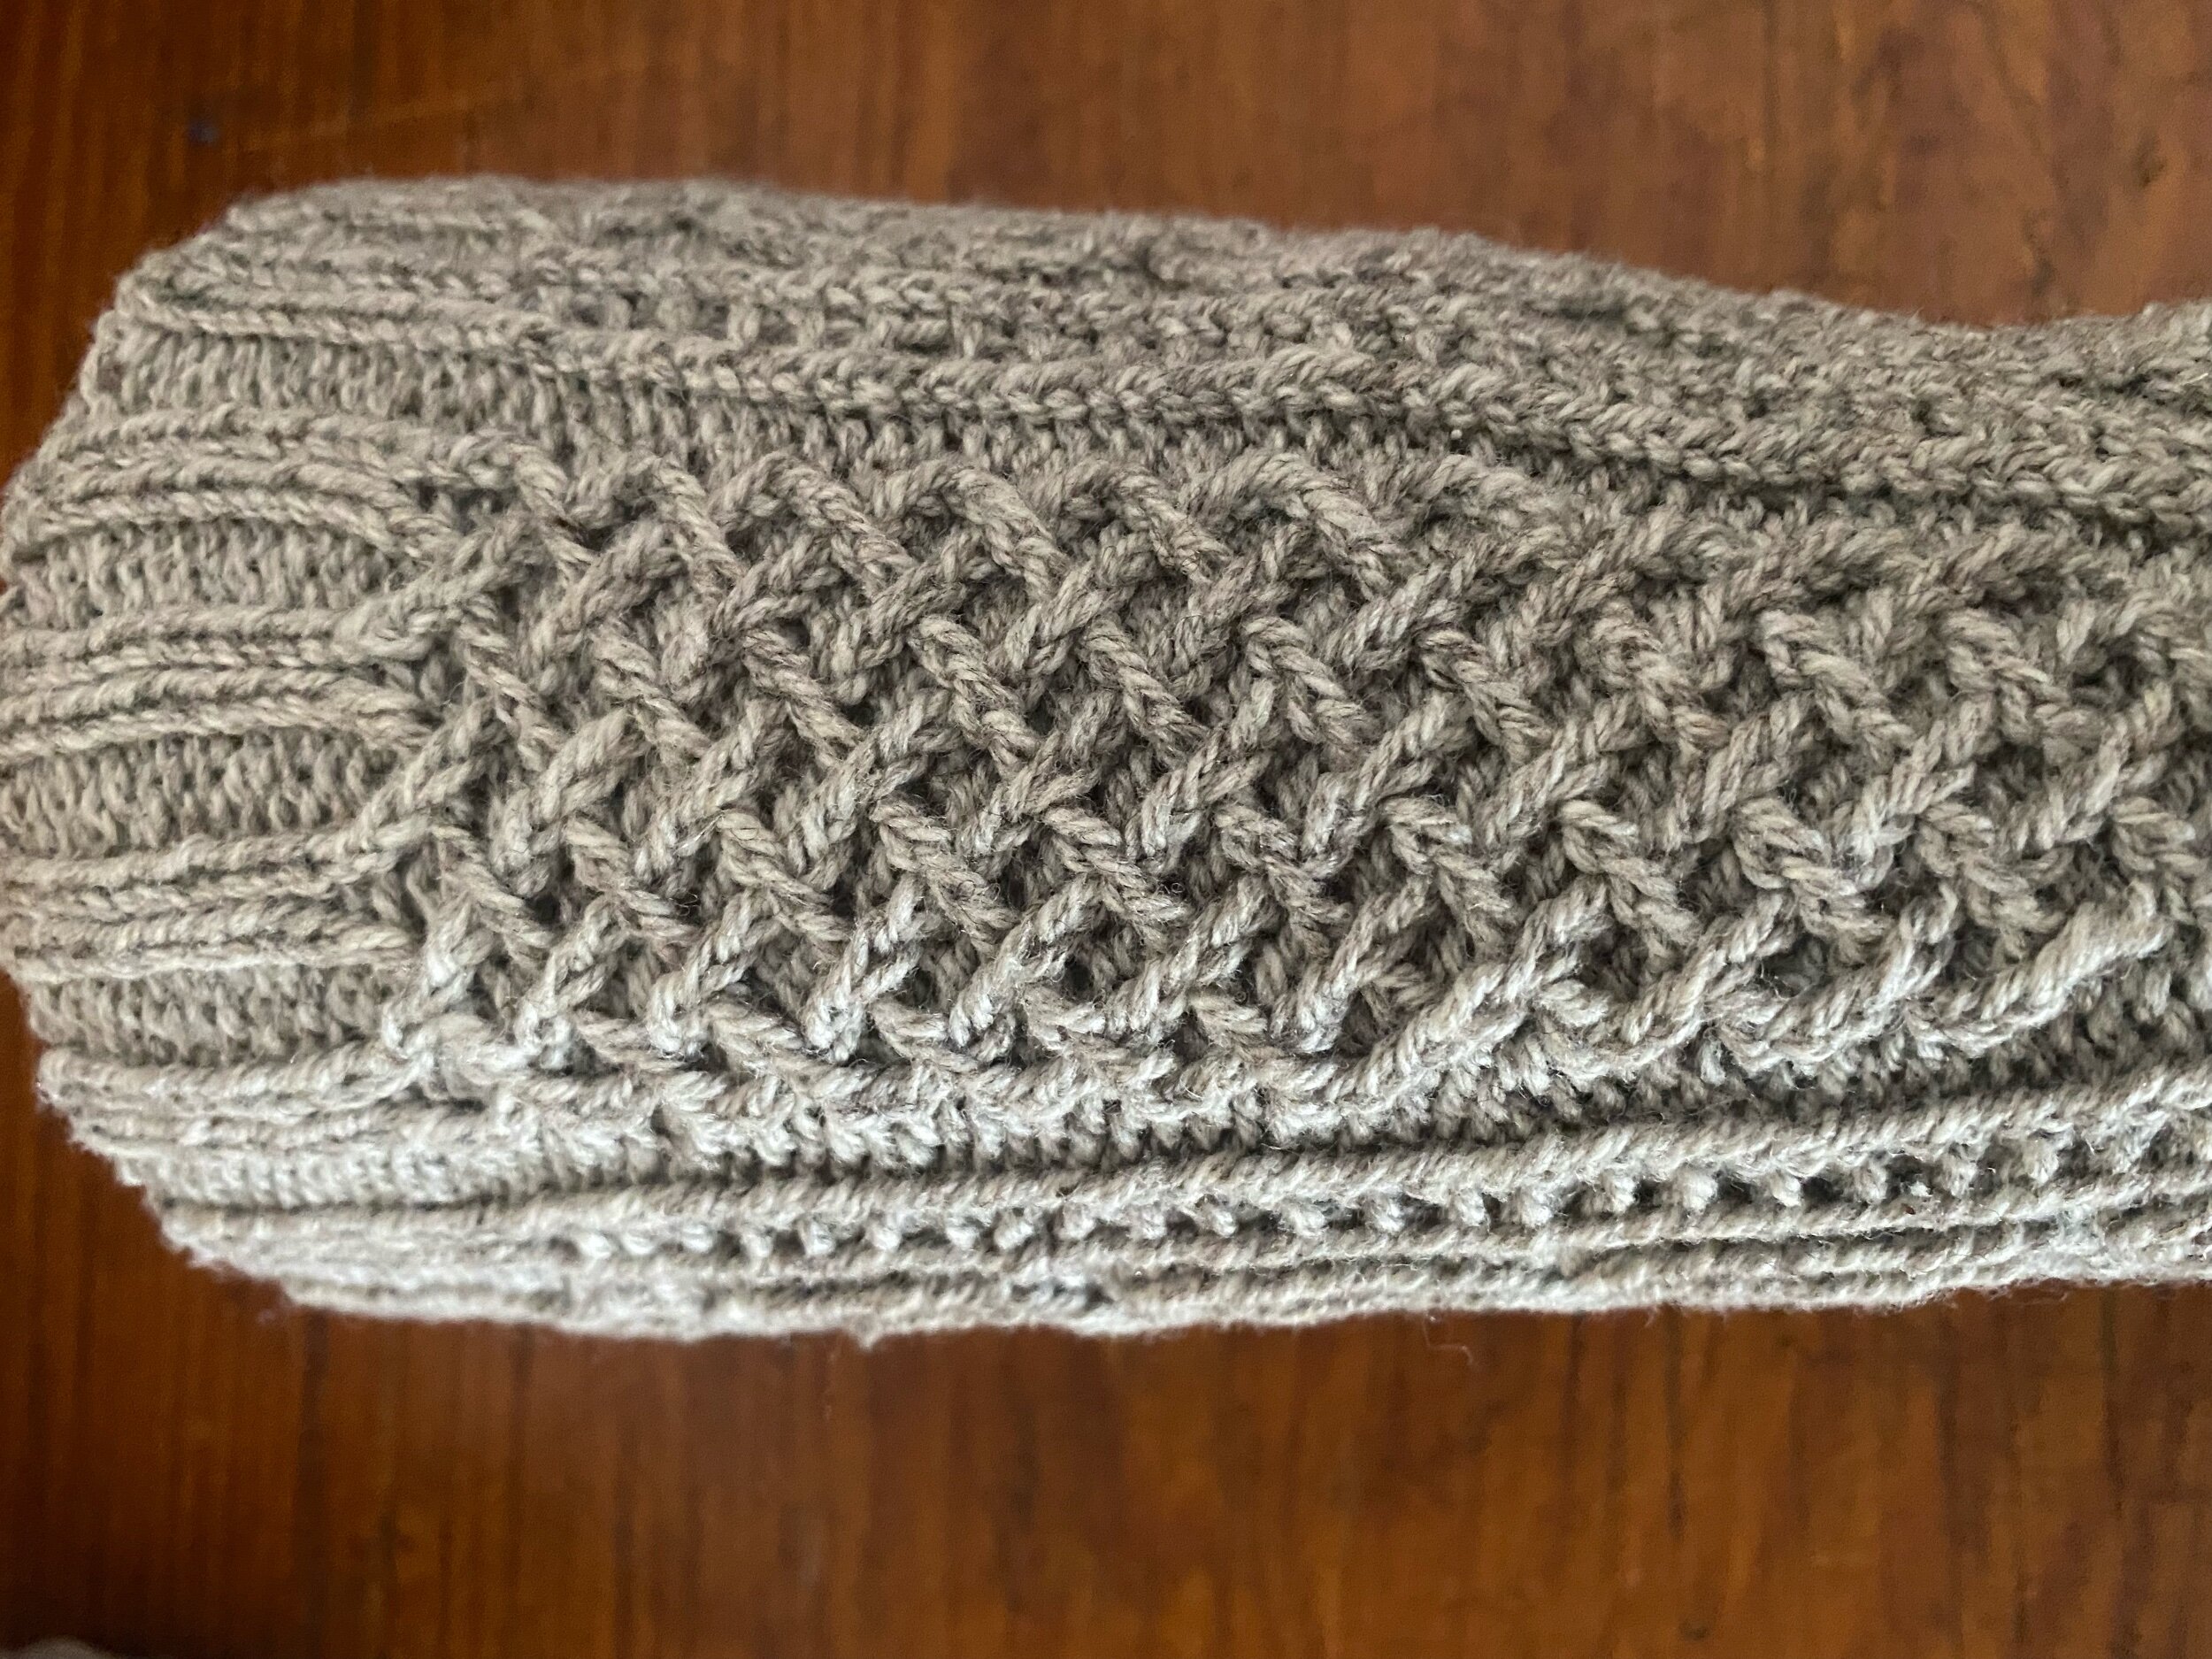
Another pair of twisted/traveling stitch knee highs! This was the first pair for a pattern I’m working on writing, that will allow for whatever calf shape you have. This not at all overly ambitious goal has been a bit tricky, but I think I’ve finally figured out all the correct arithmetic… it’s tricky not quite knowing how everyone’s legs are shaped. I have an idea of the range of max calf circumferences, and max ankle circumferences, and I assume the person with the smallest ankle doesn’t have the largest calf, but who knows? How large is the largest calf for the person with the tiny ankles? Hopefully this pattern will be such that everyone can have a well fitted sock.

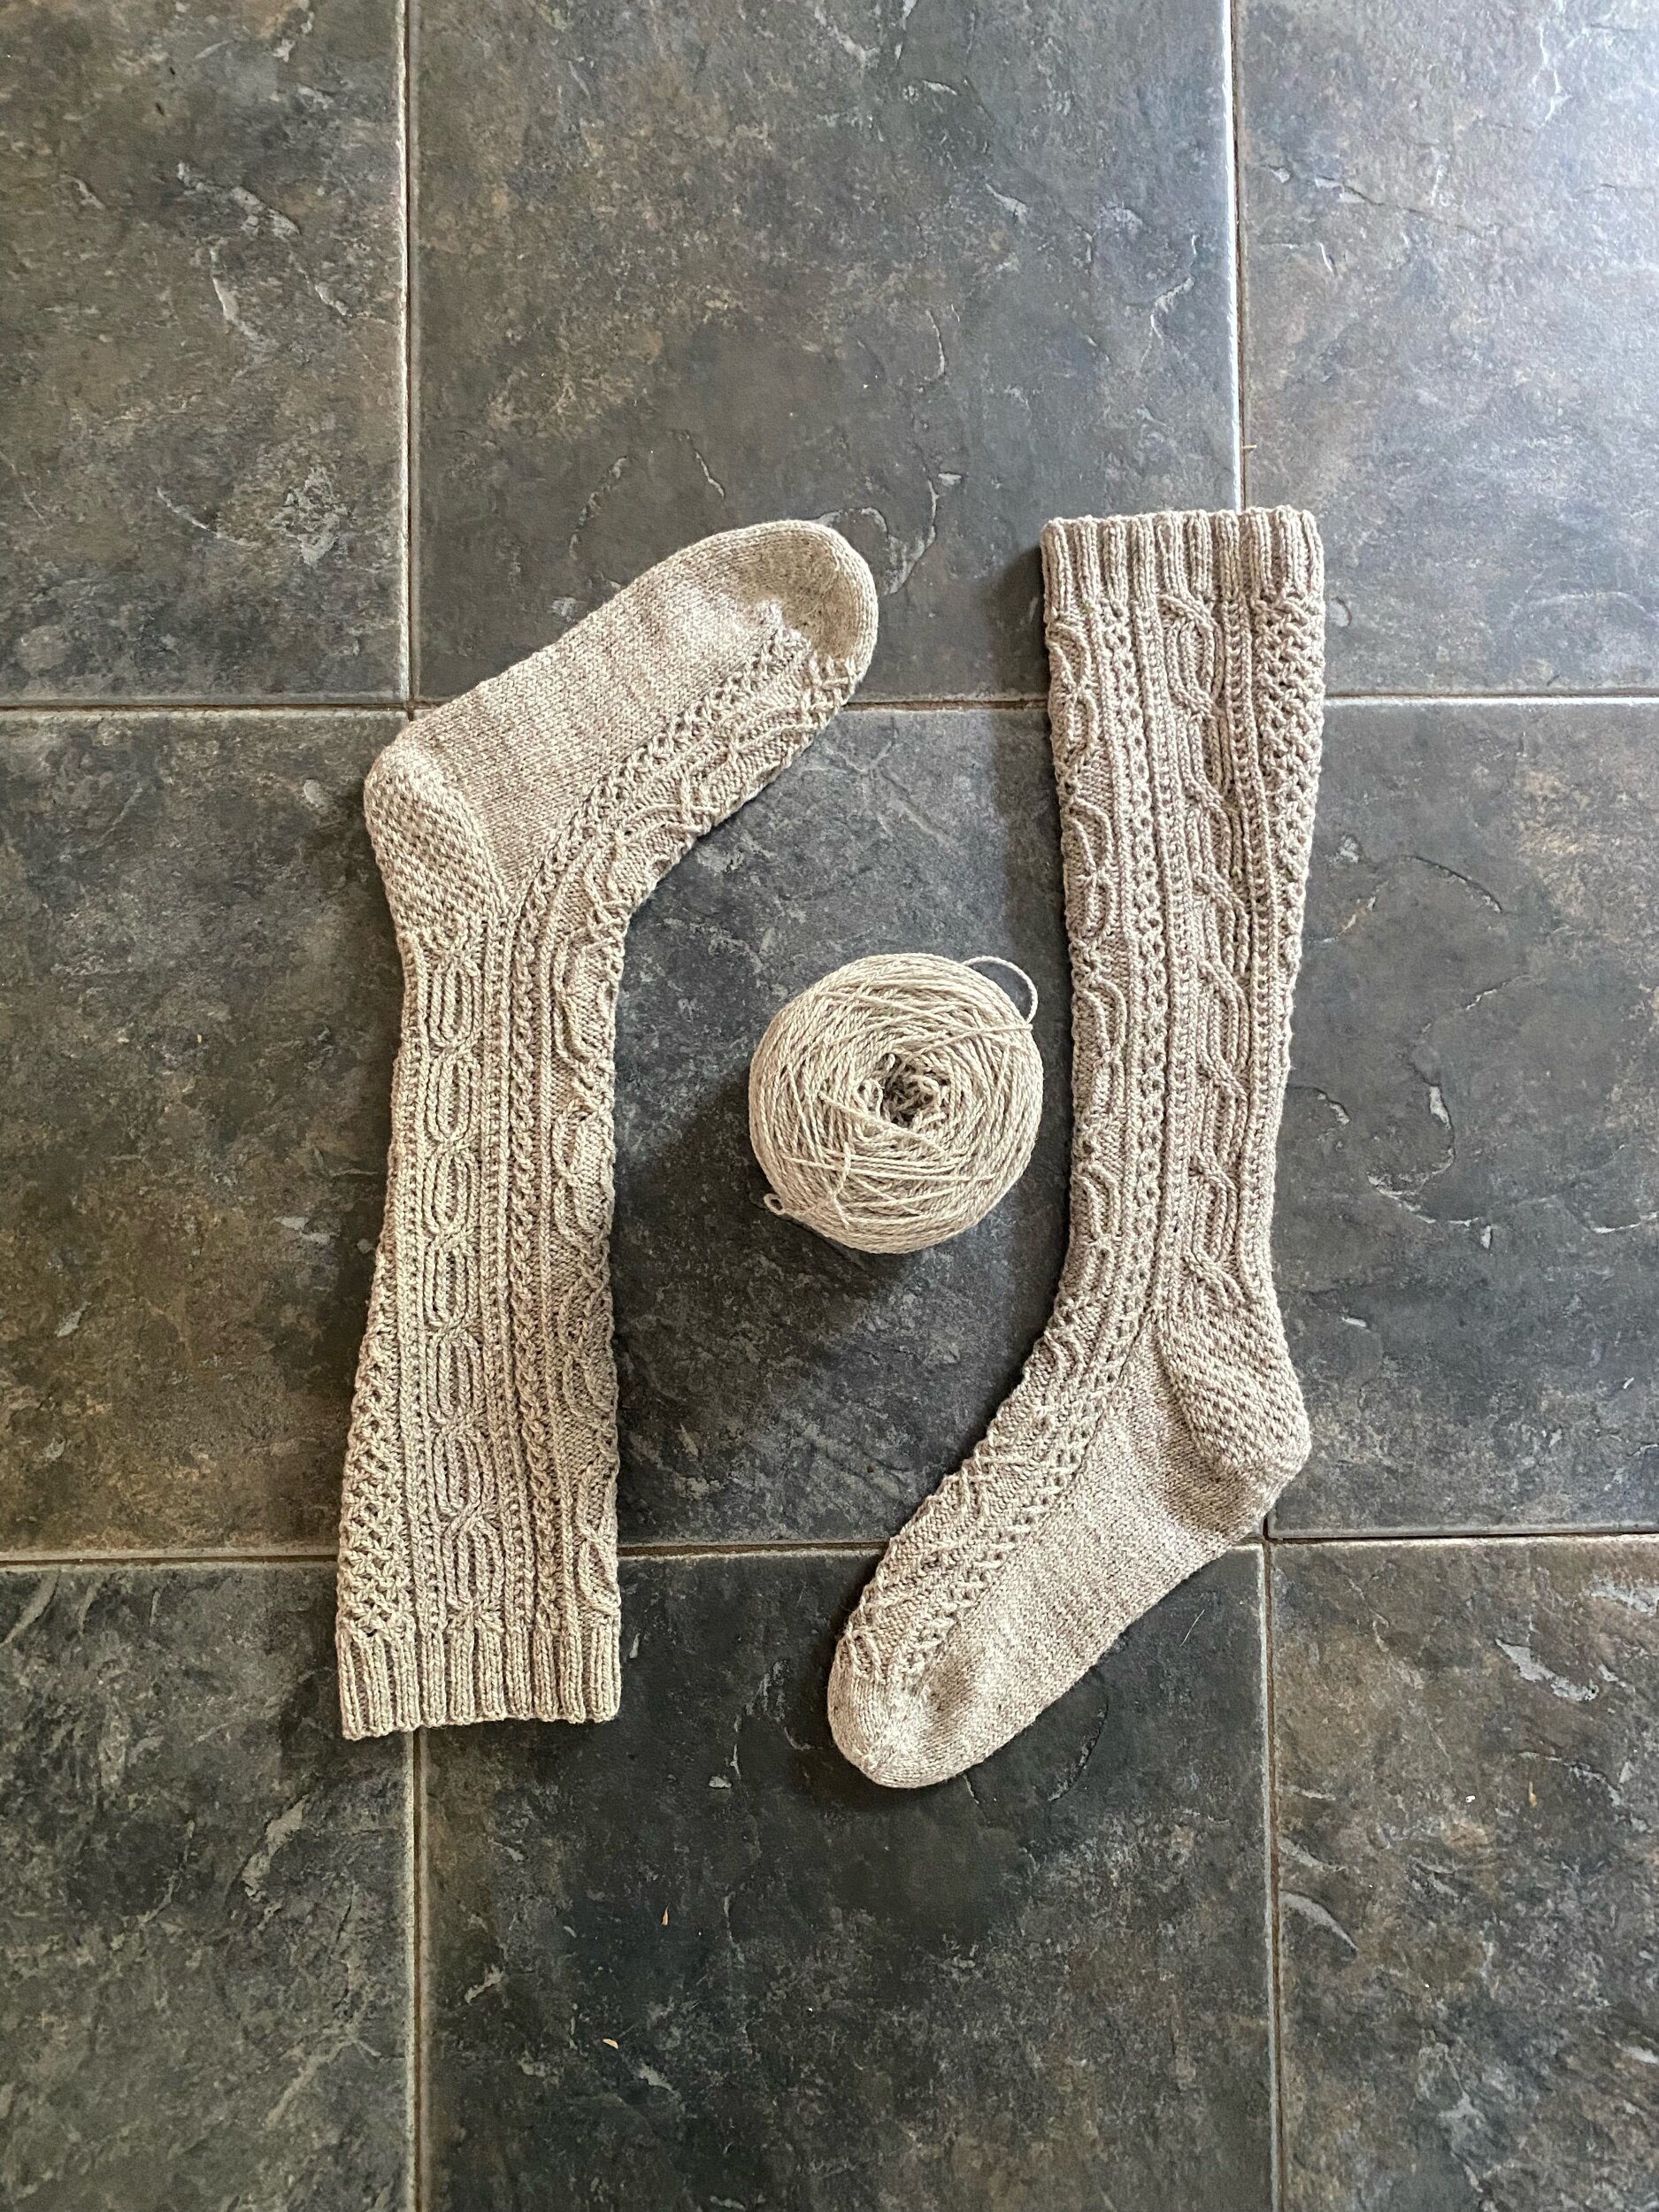
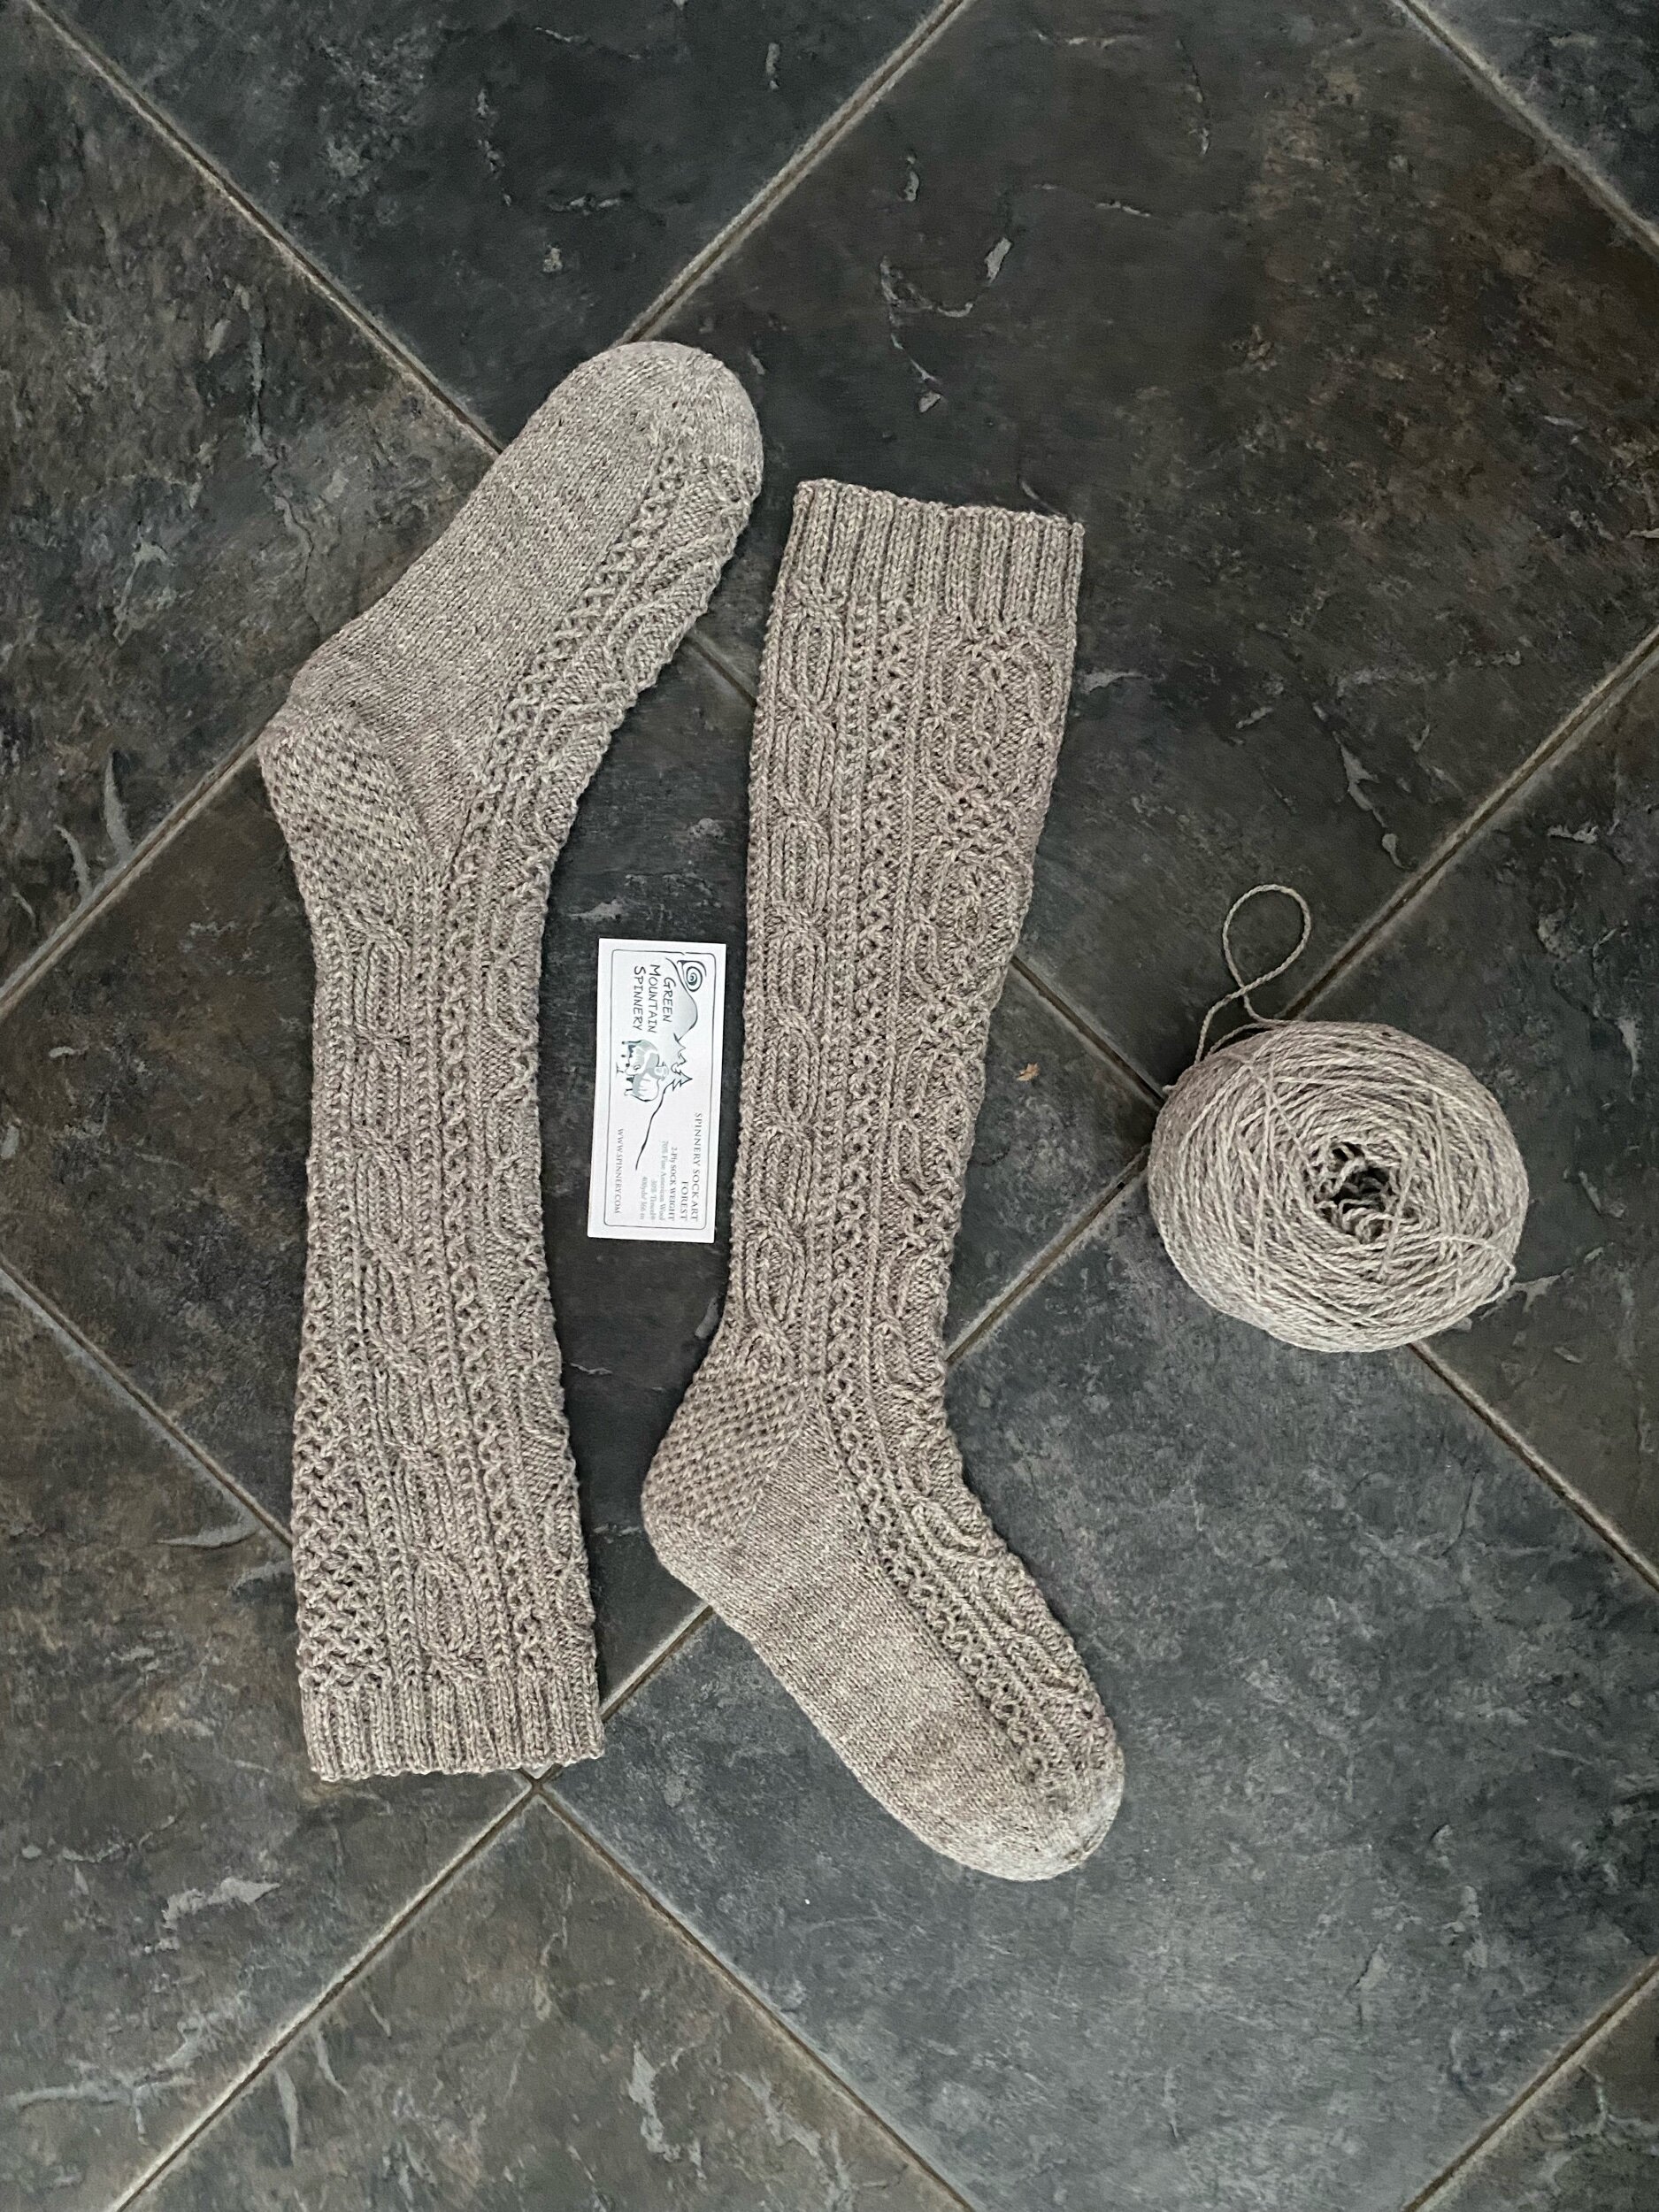
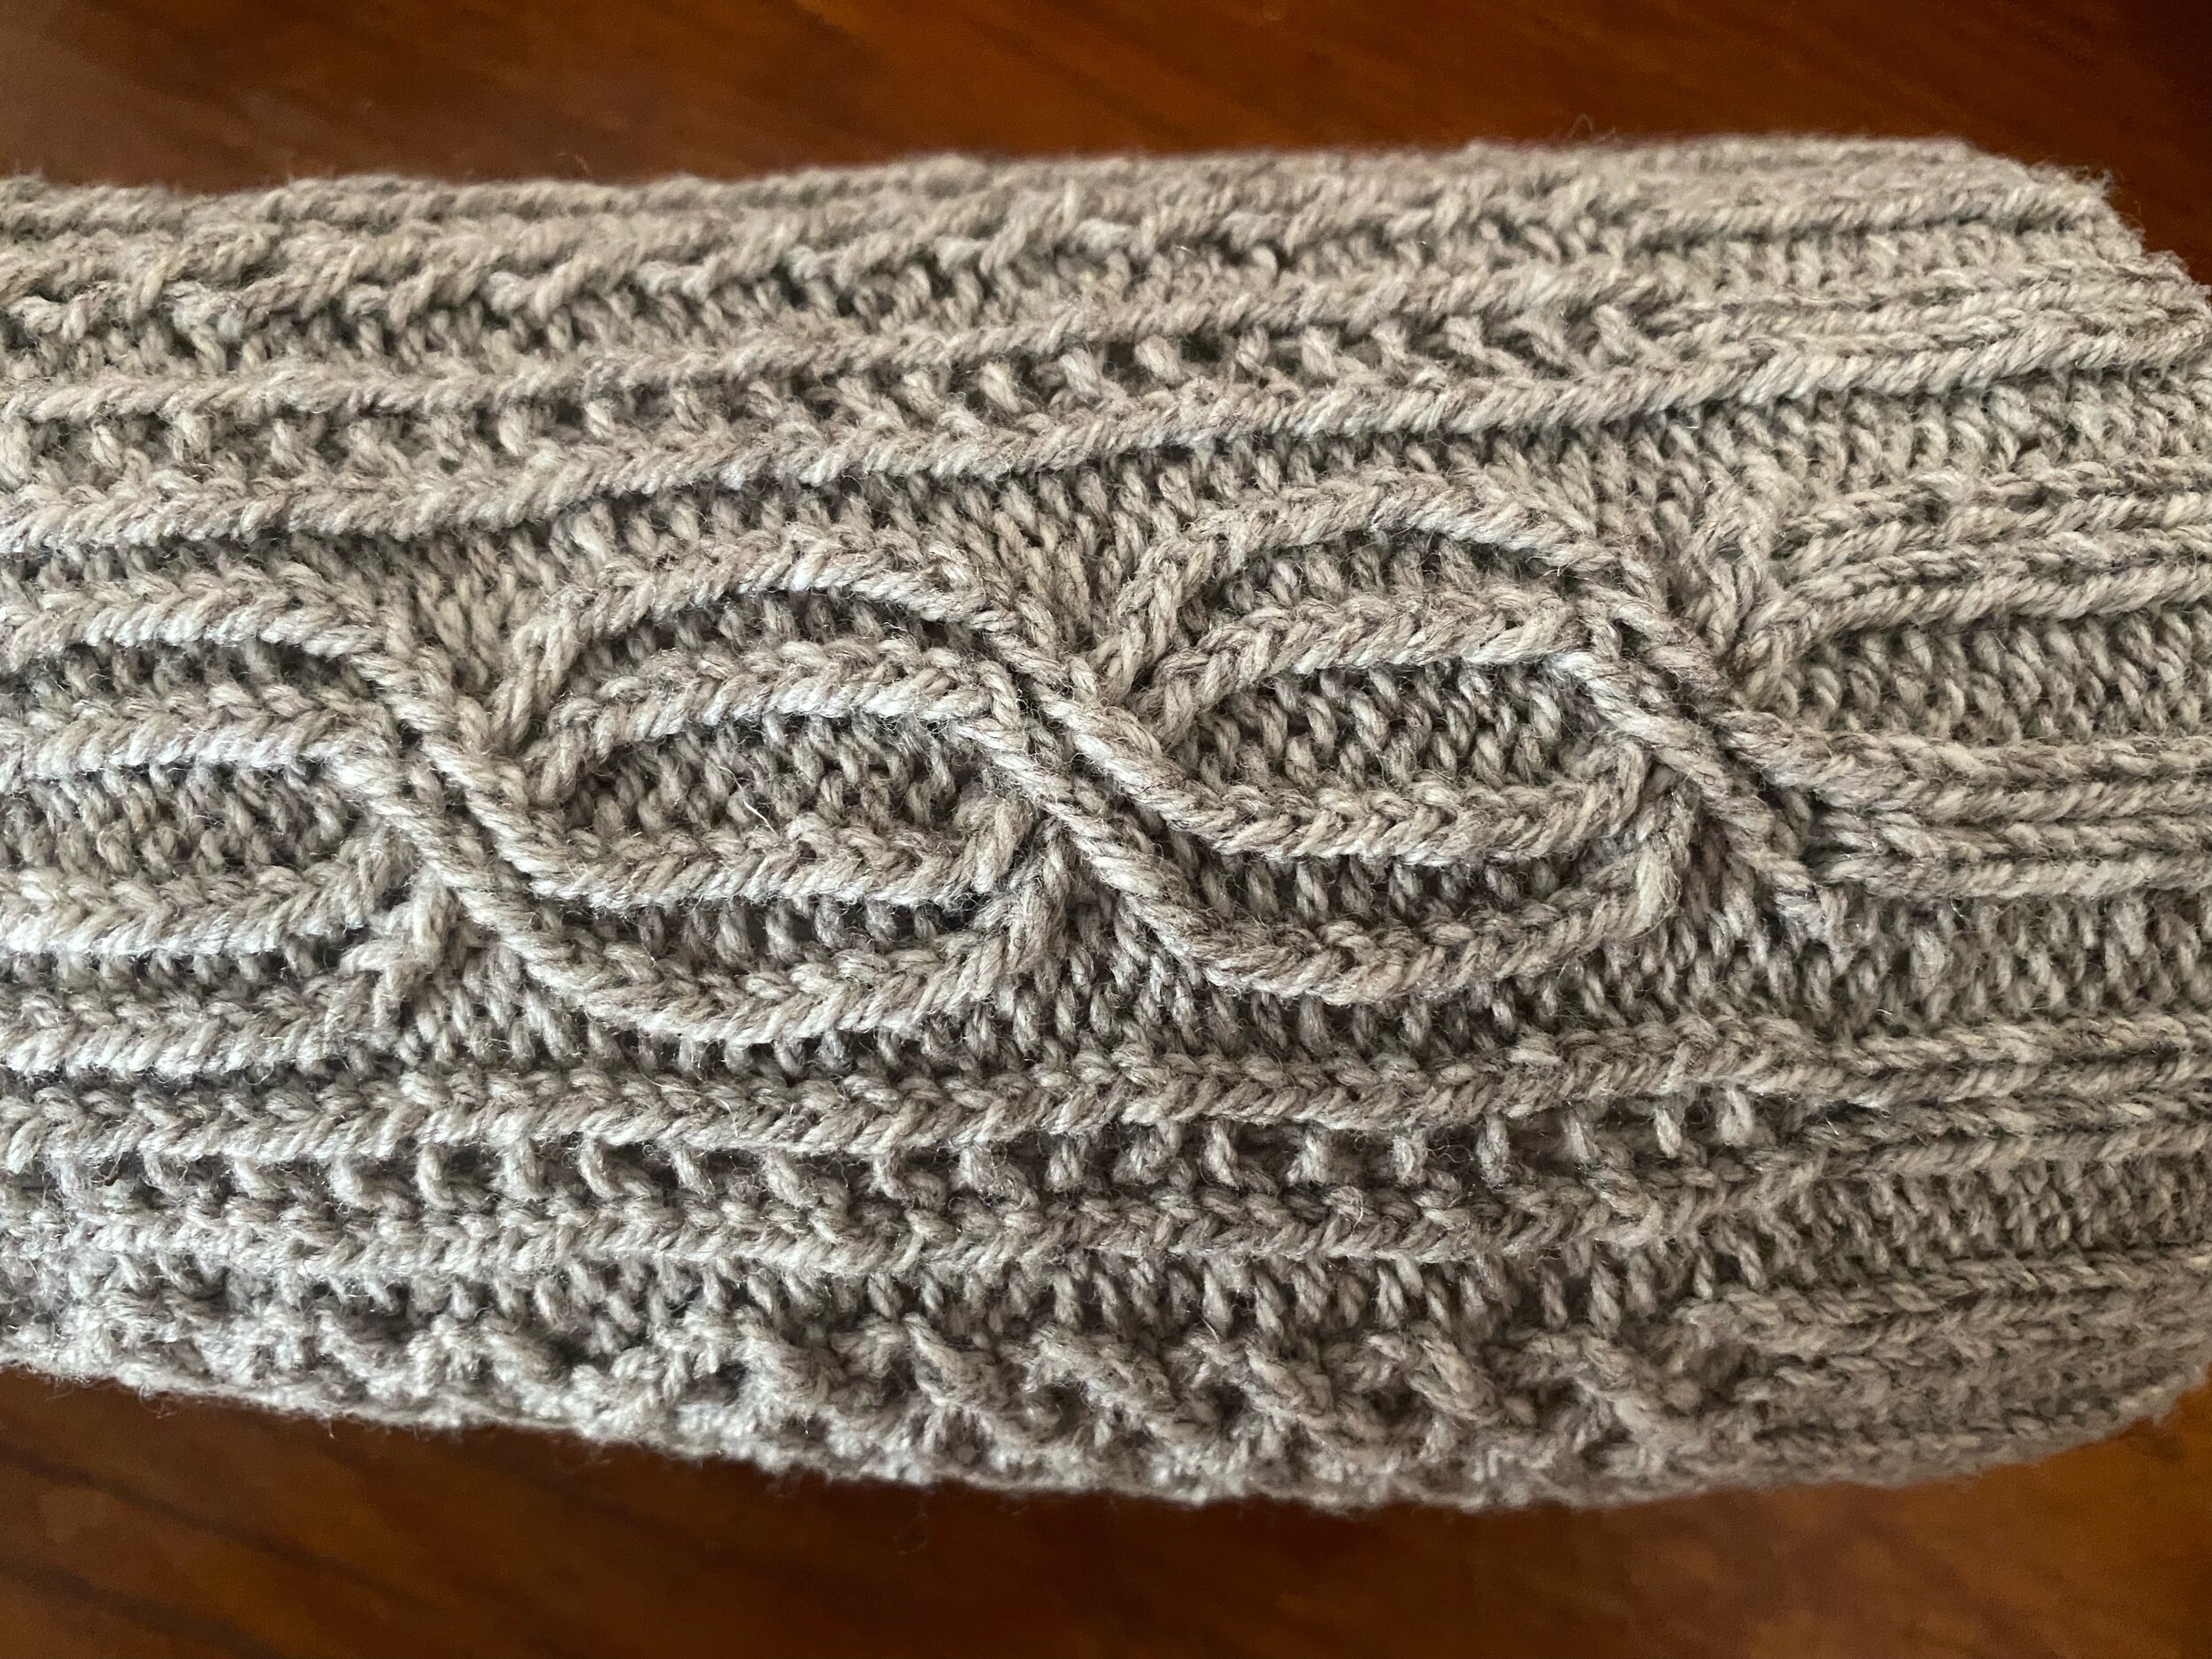
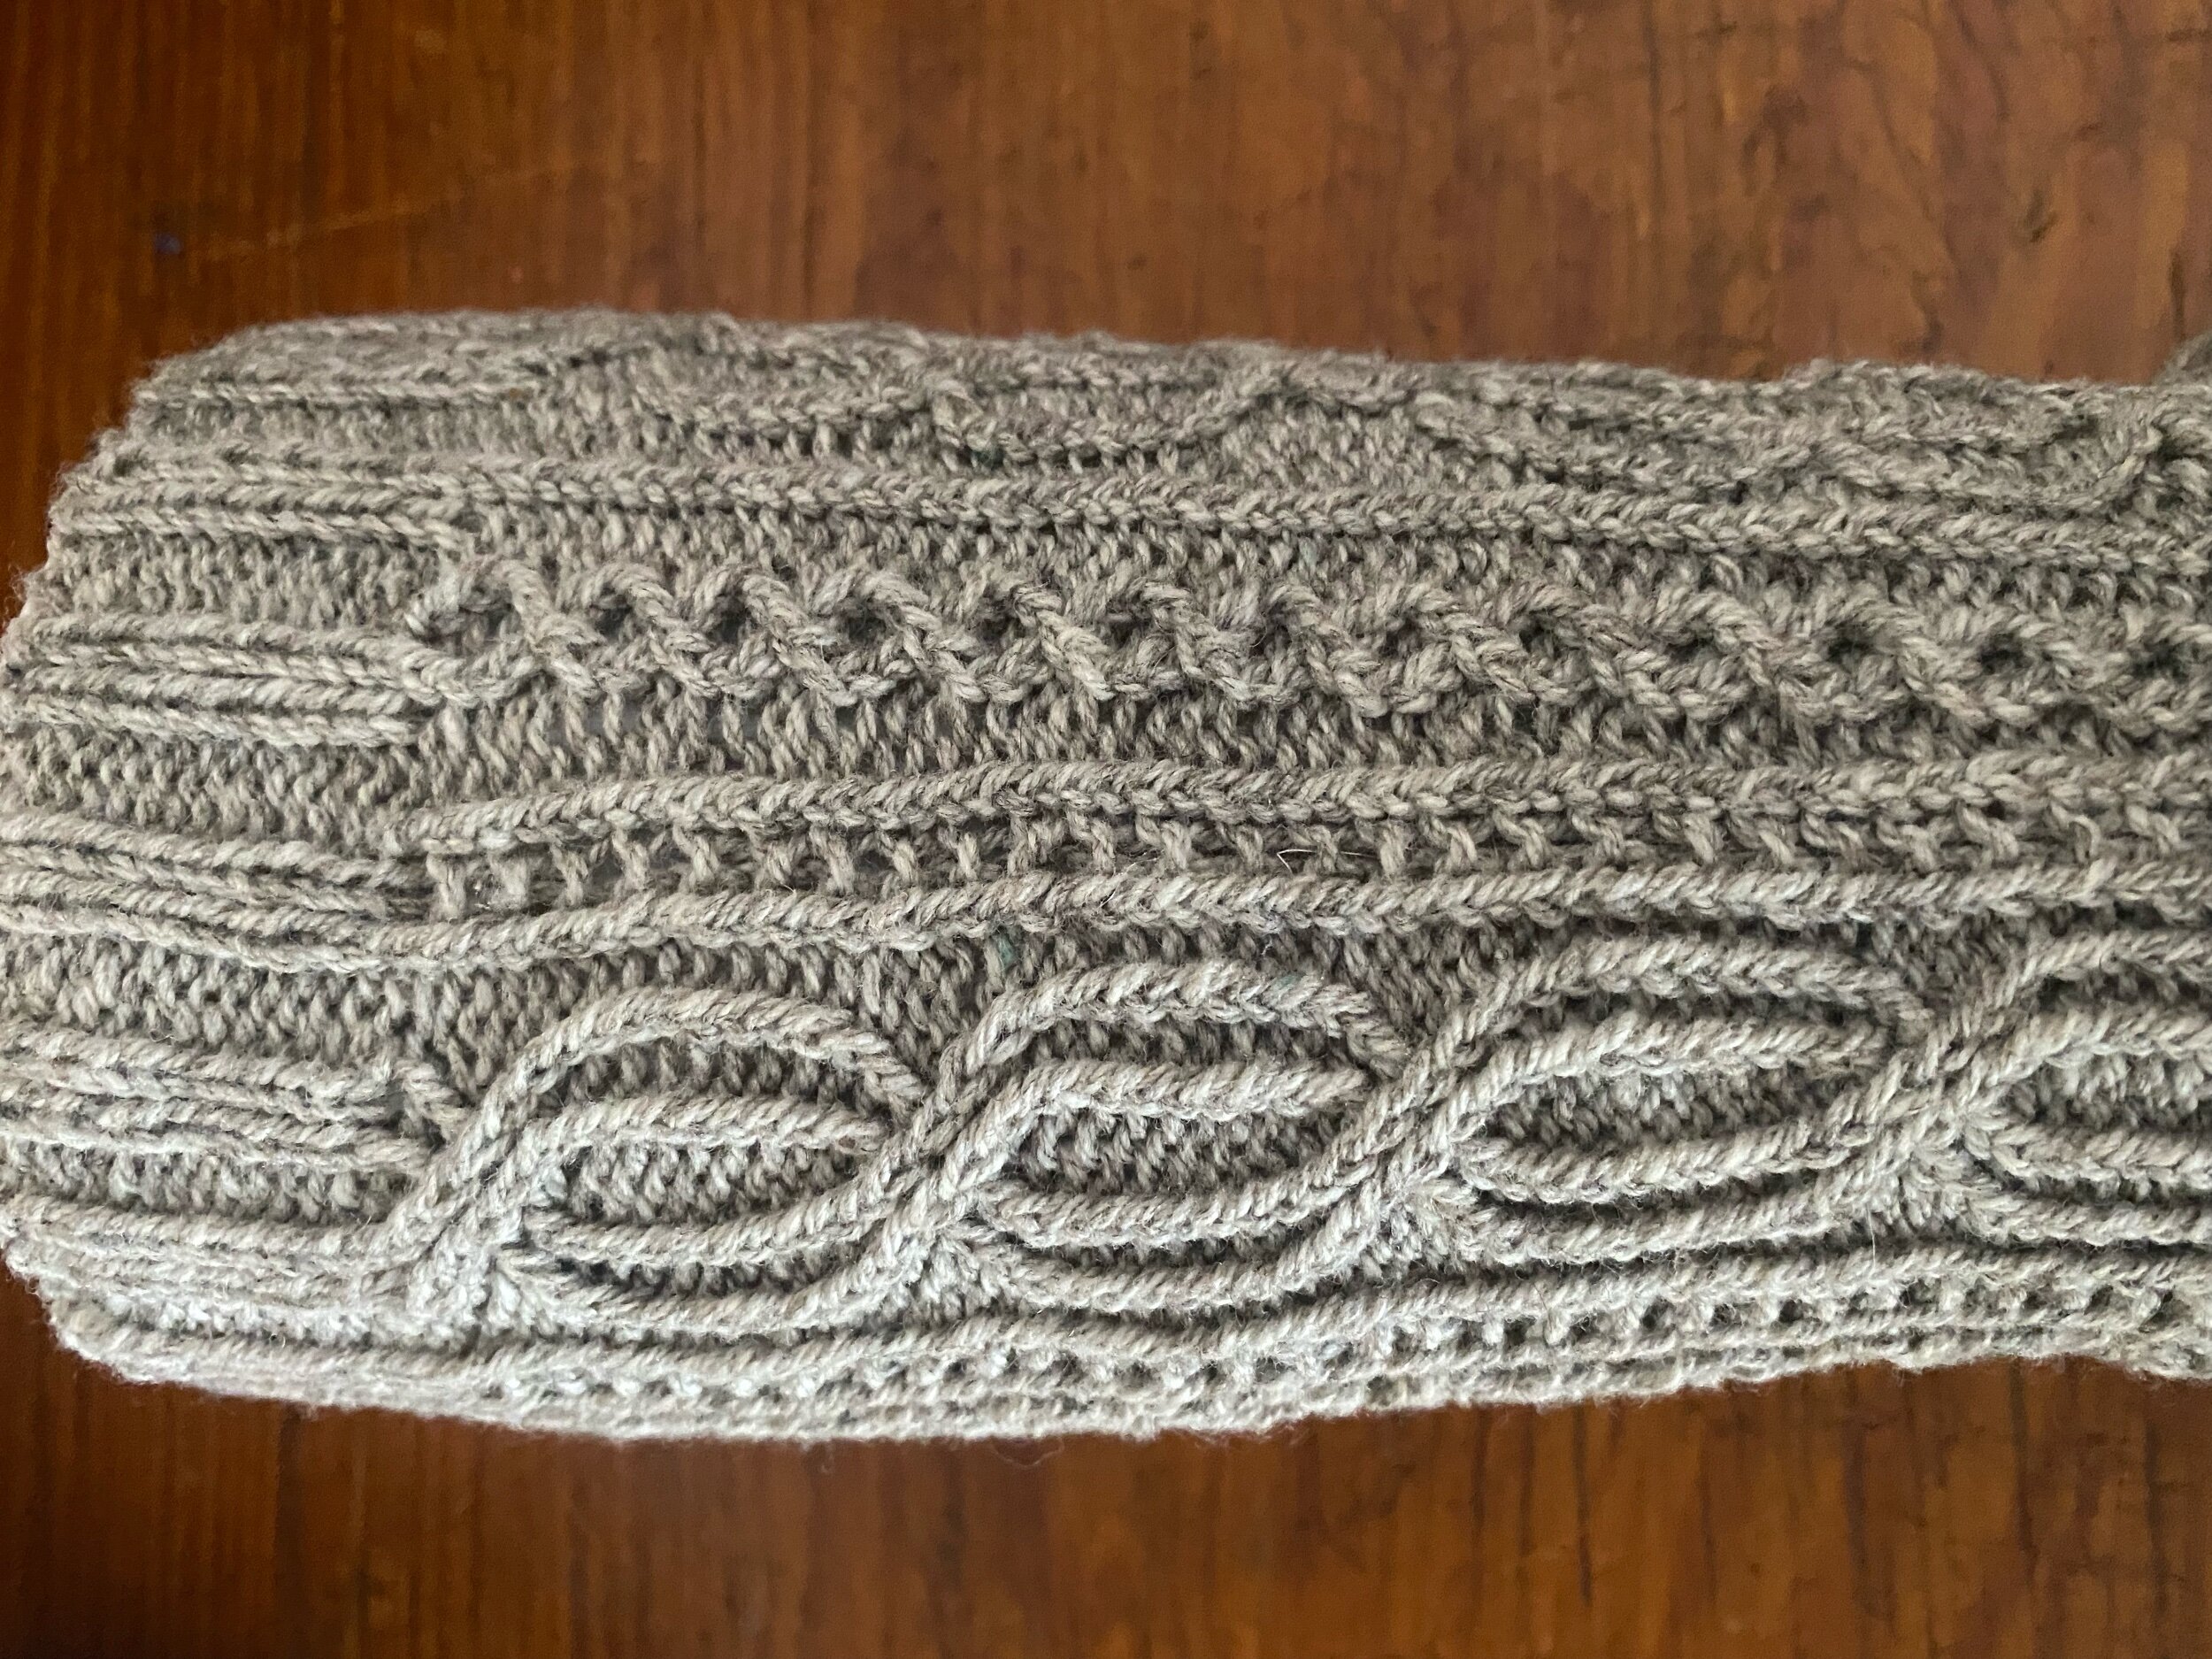
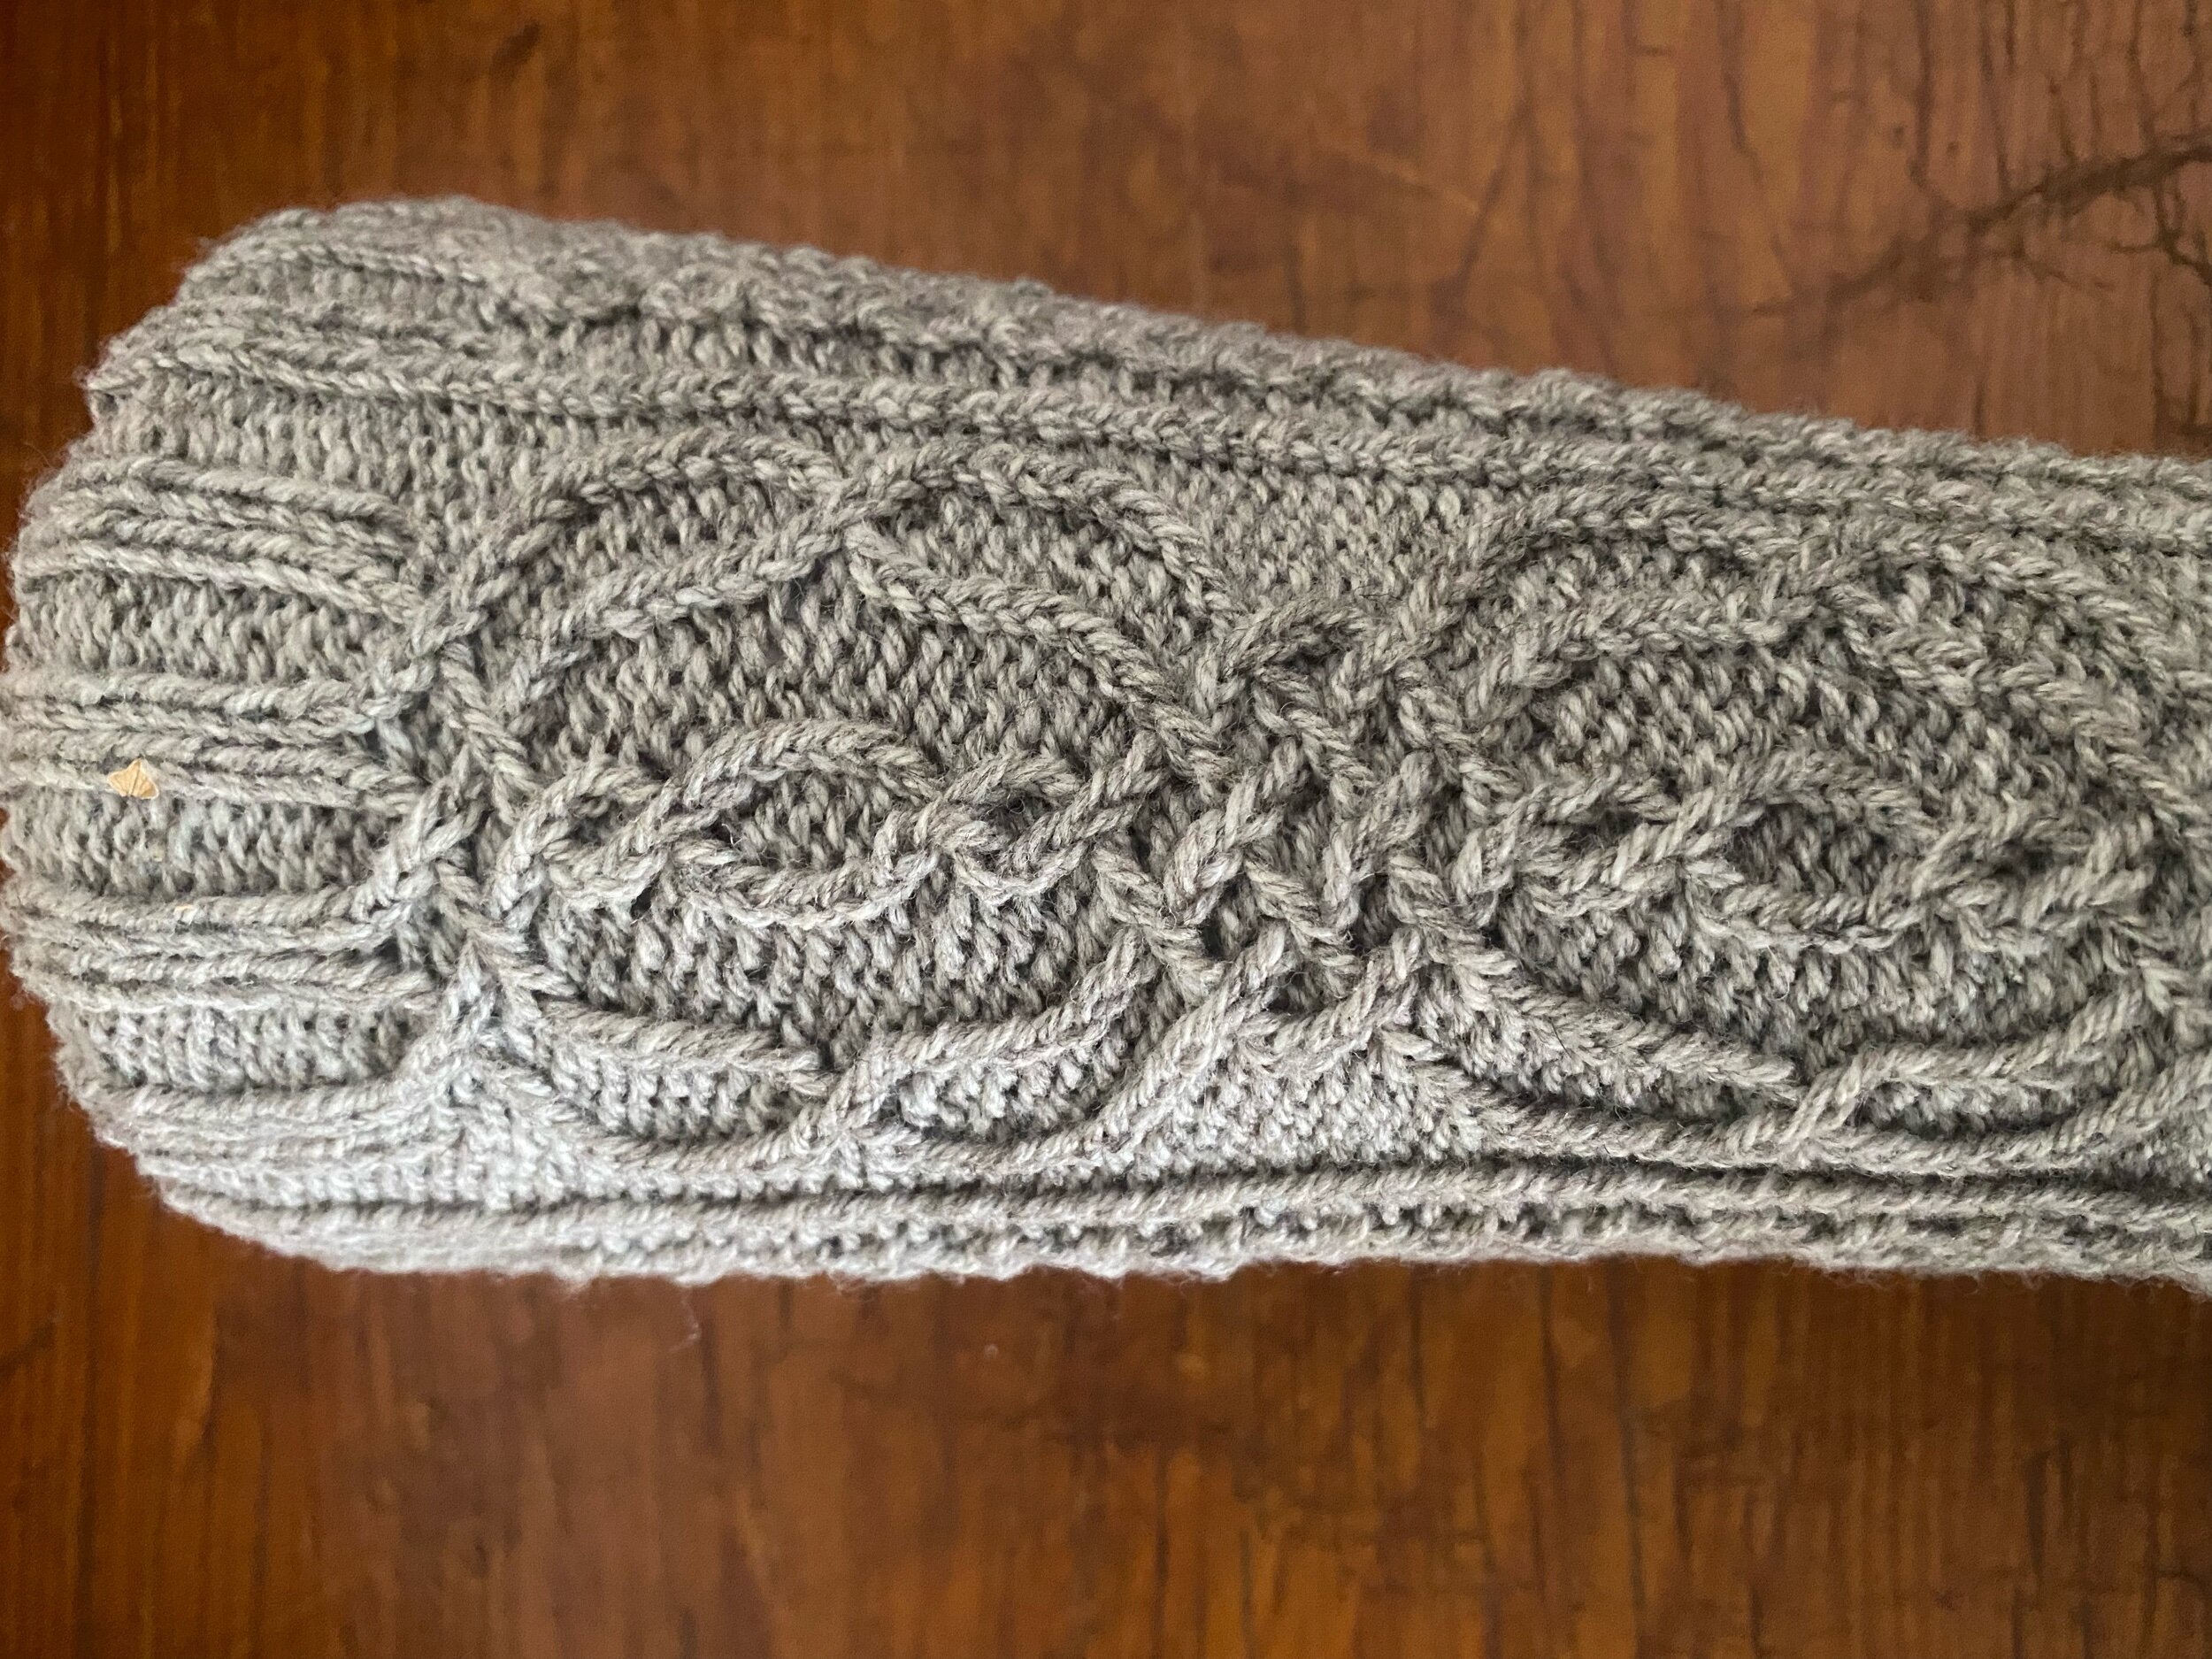
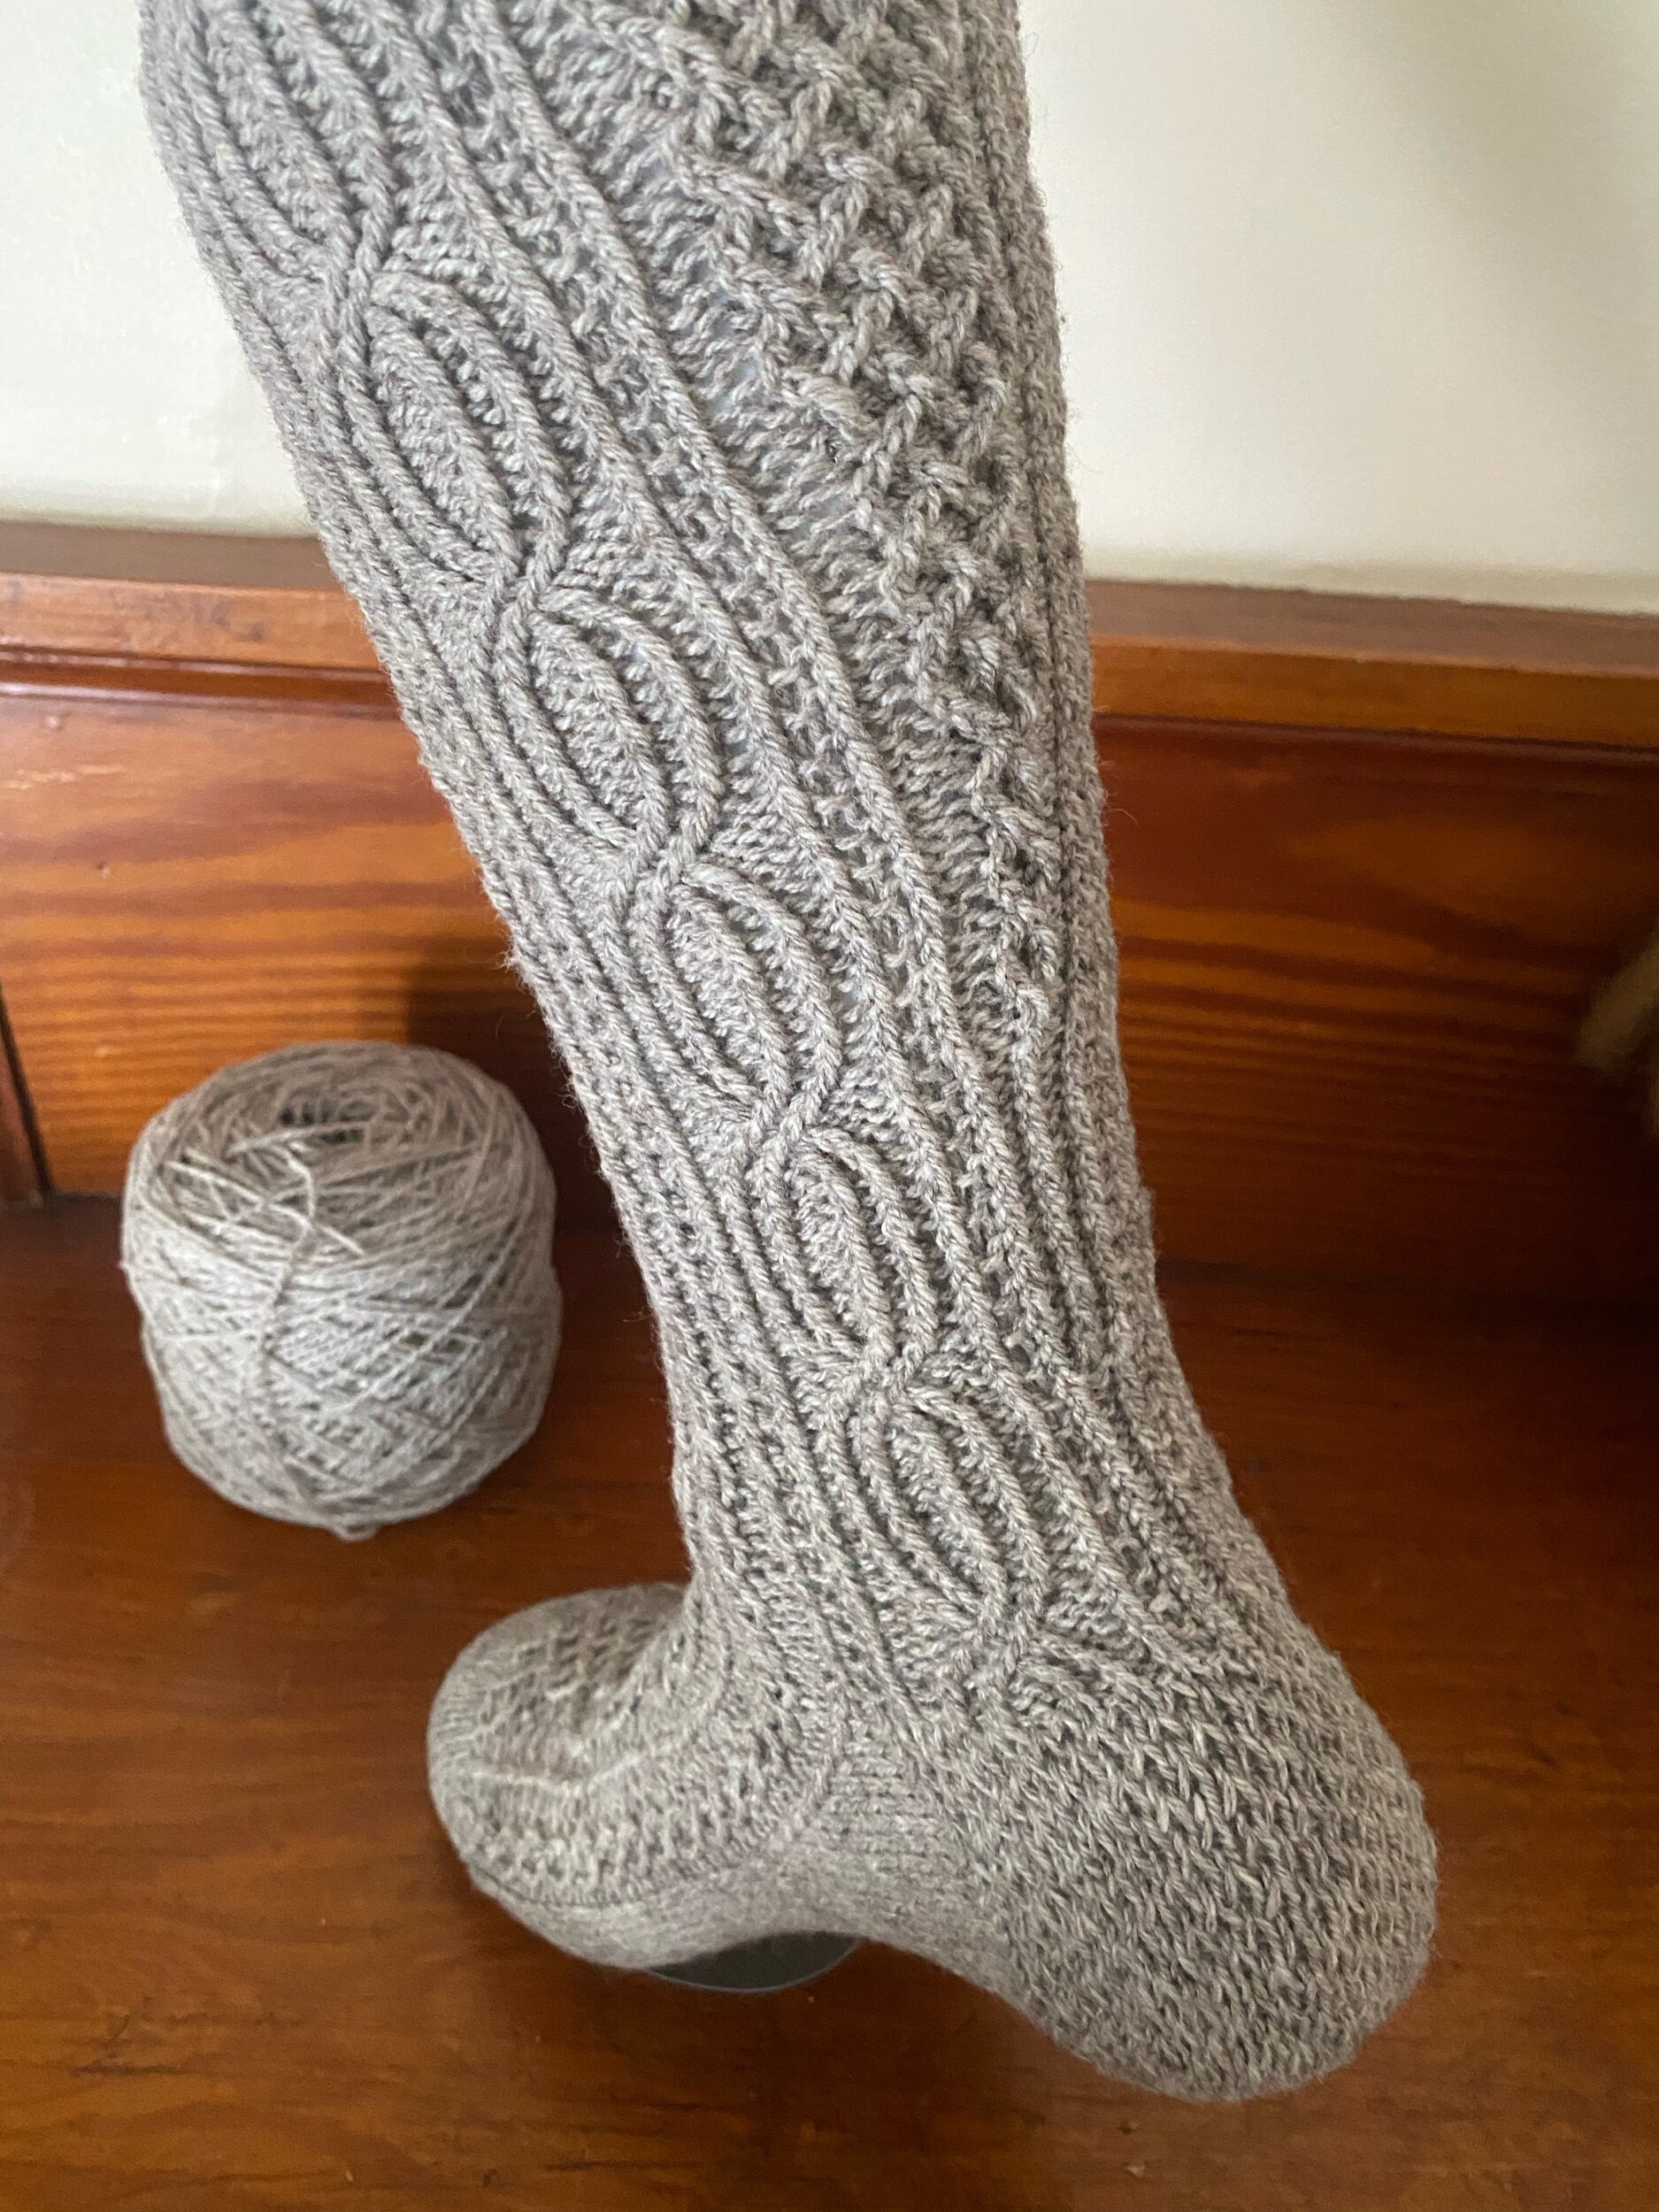
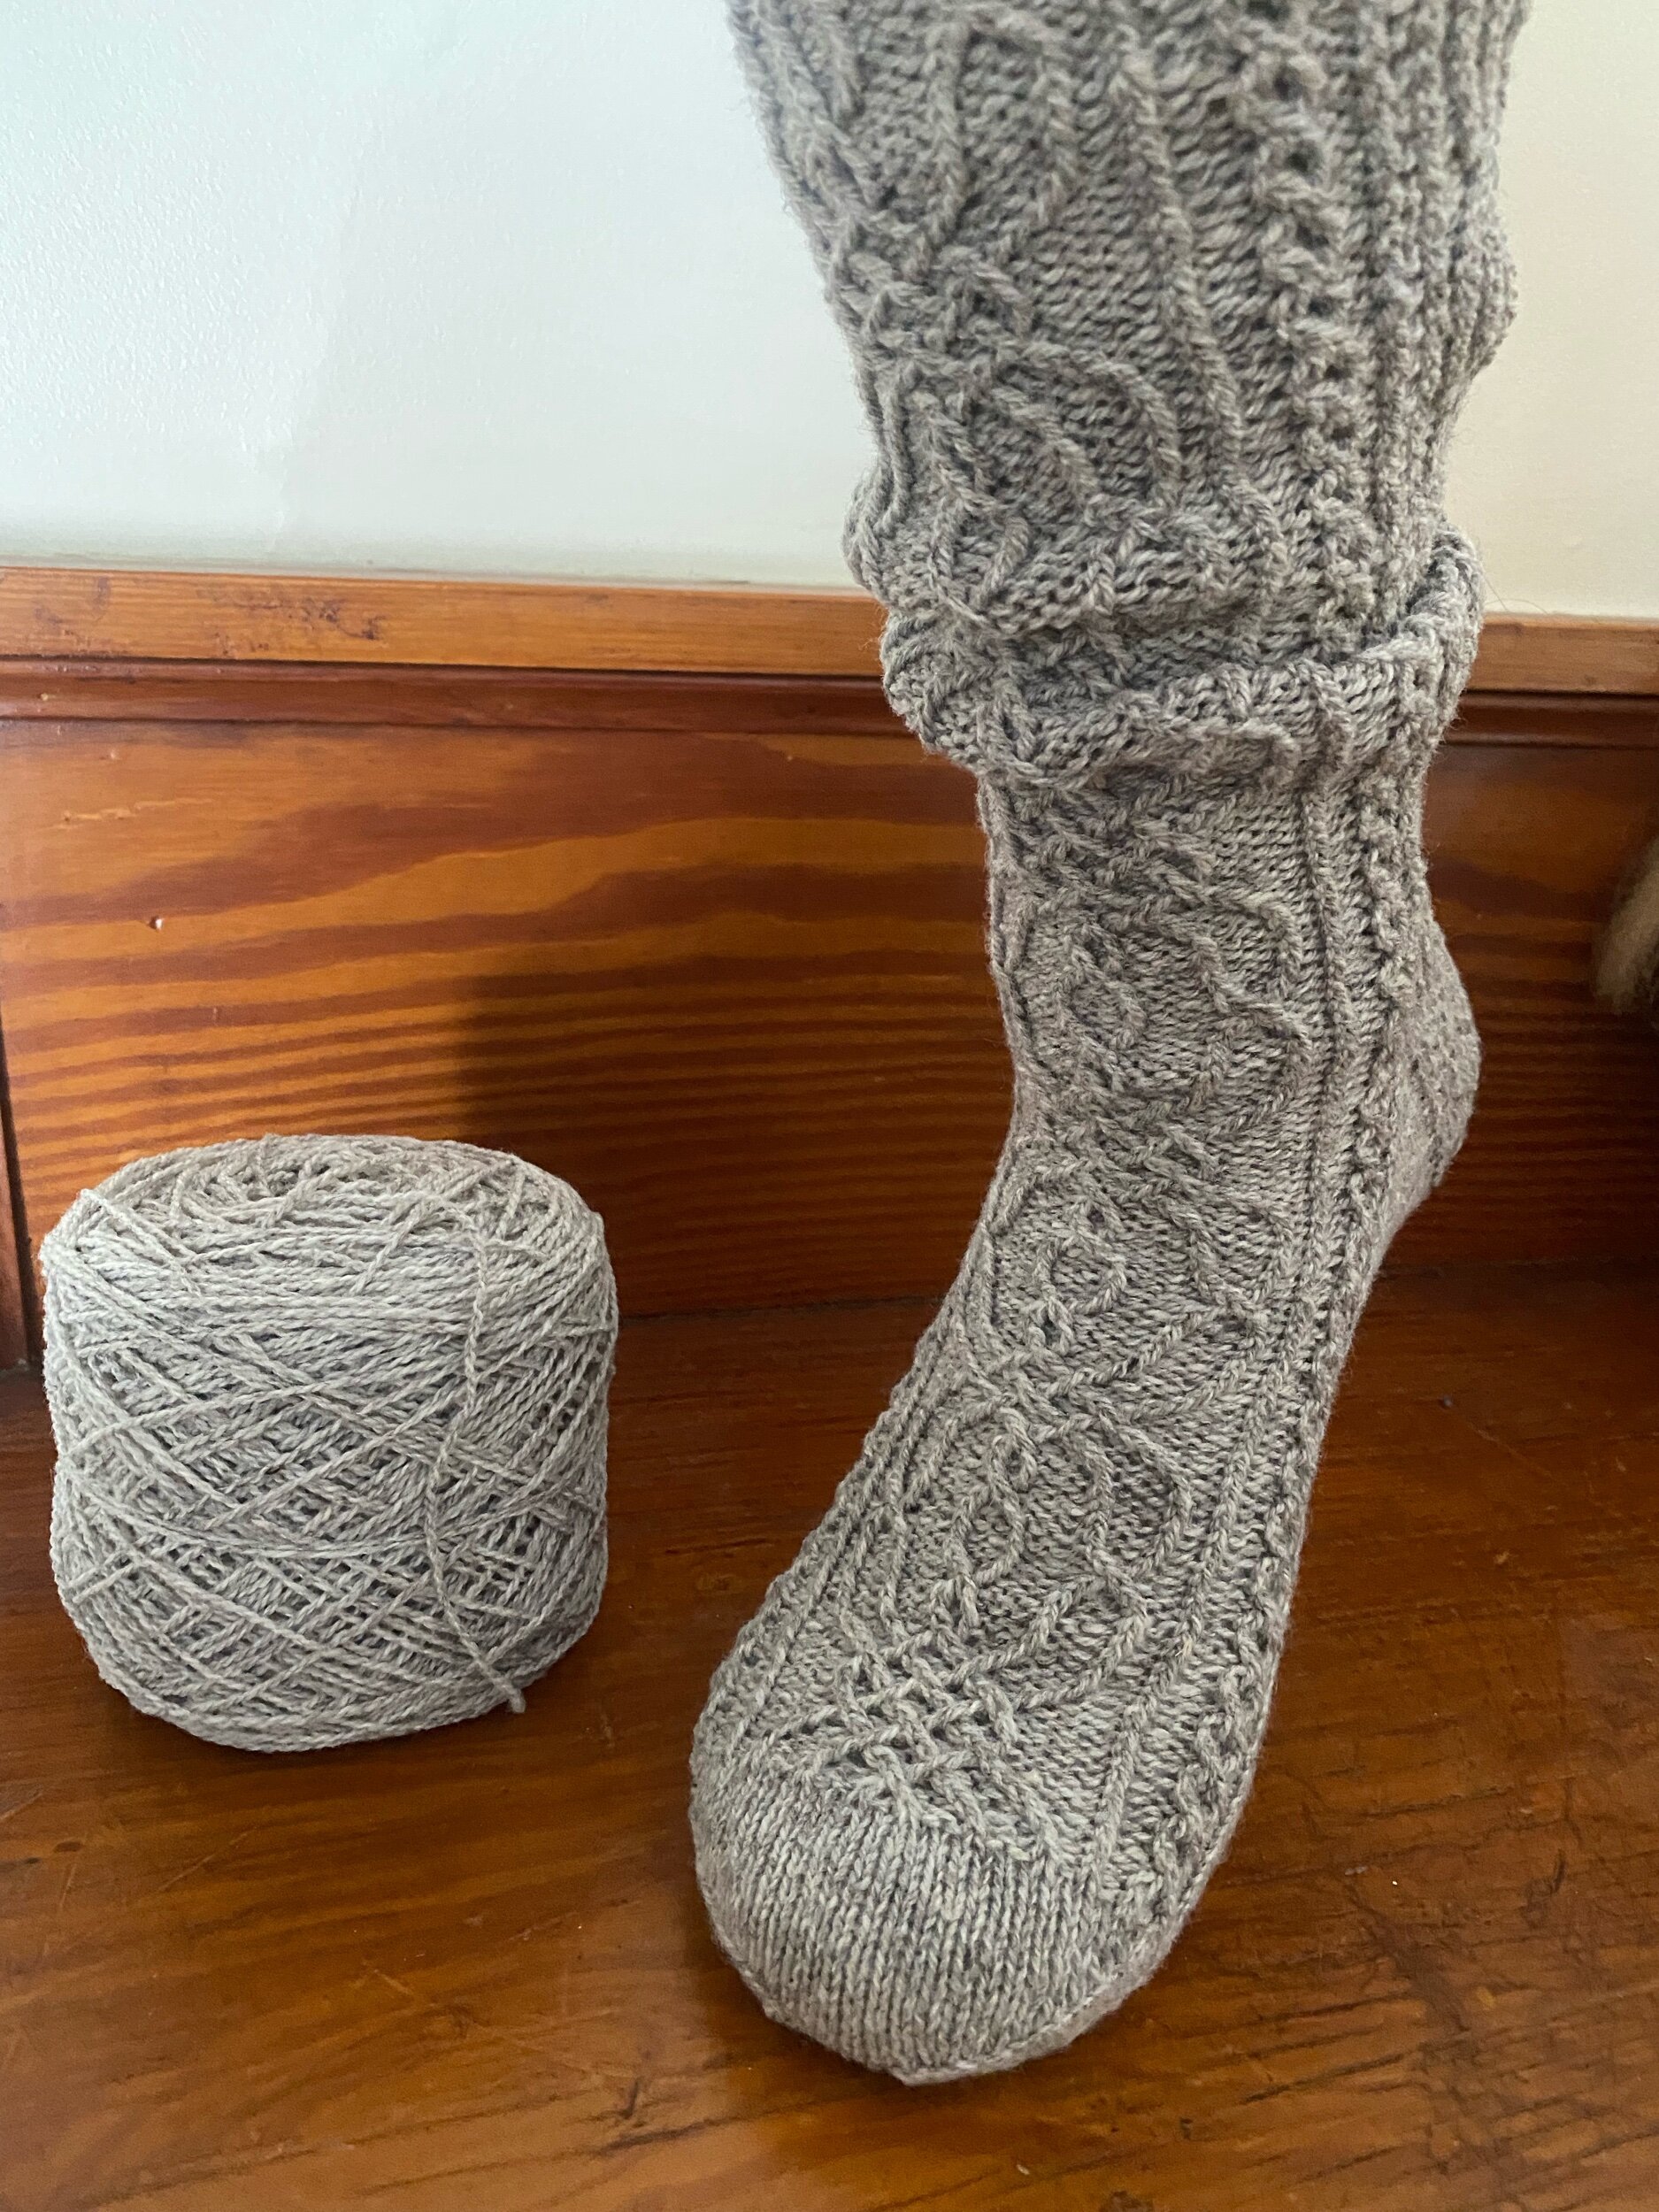
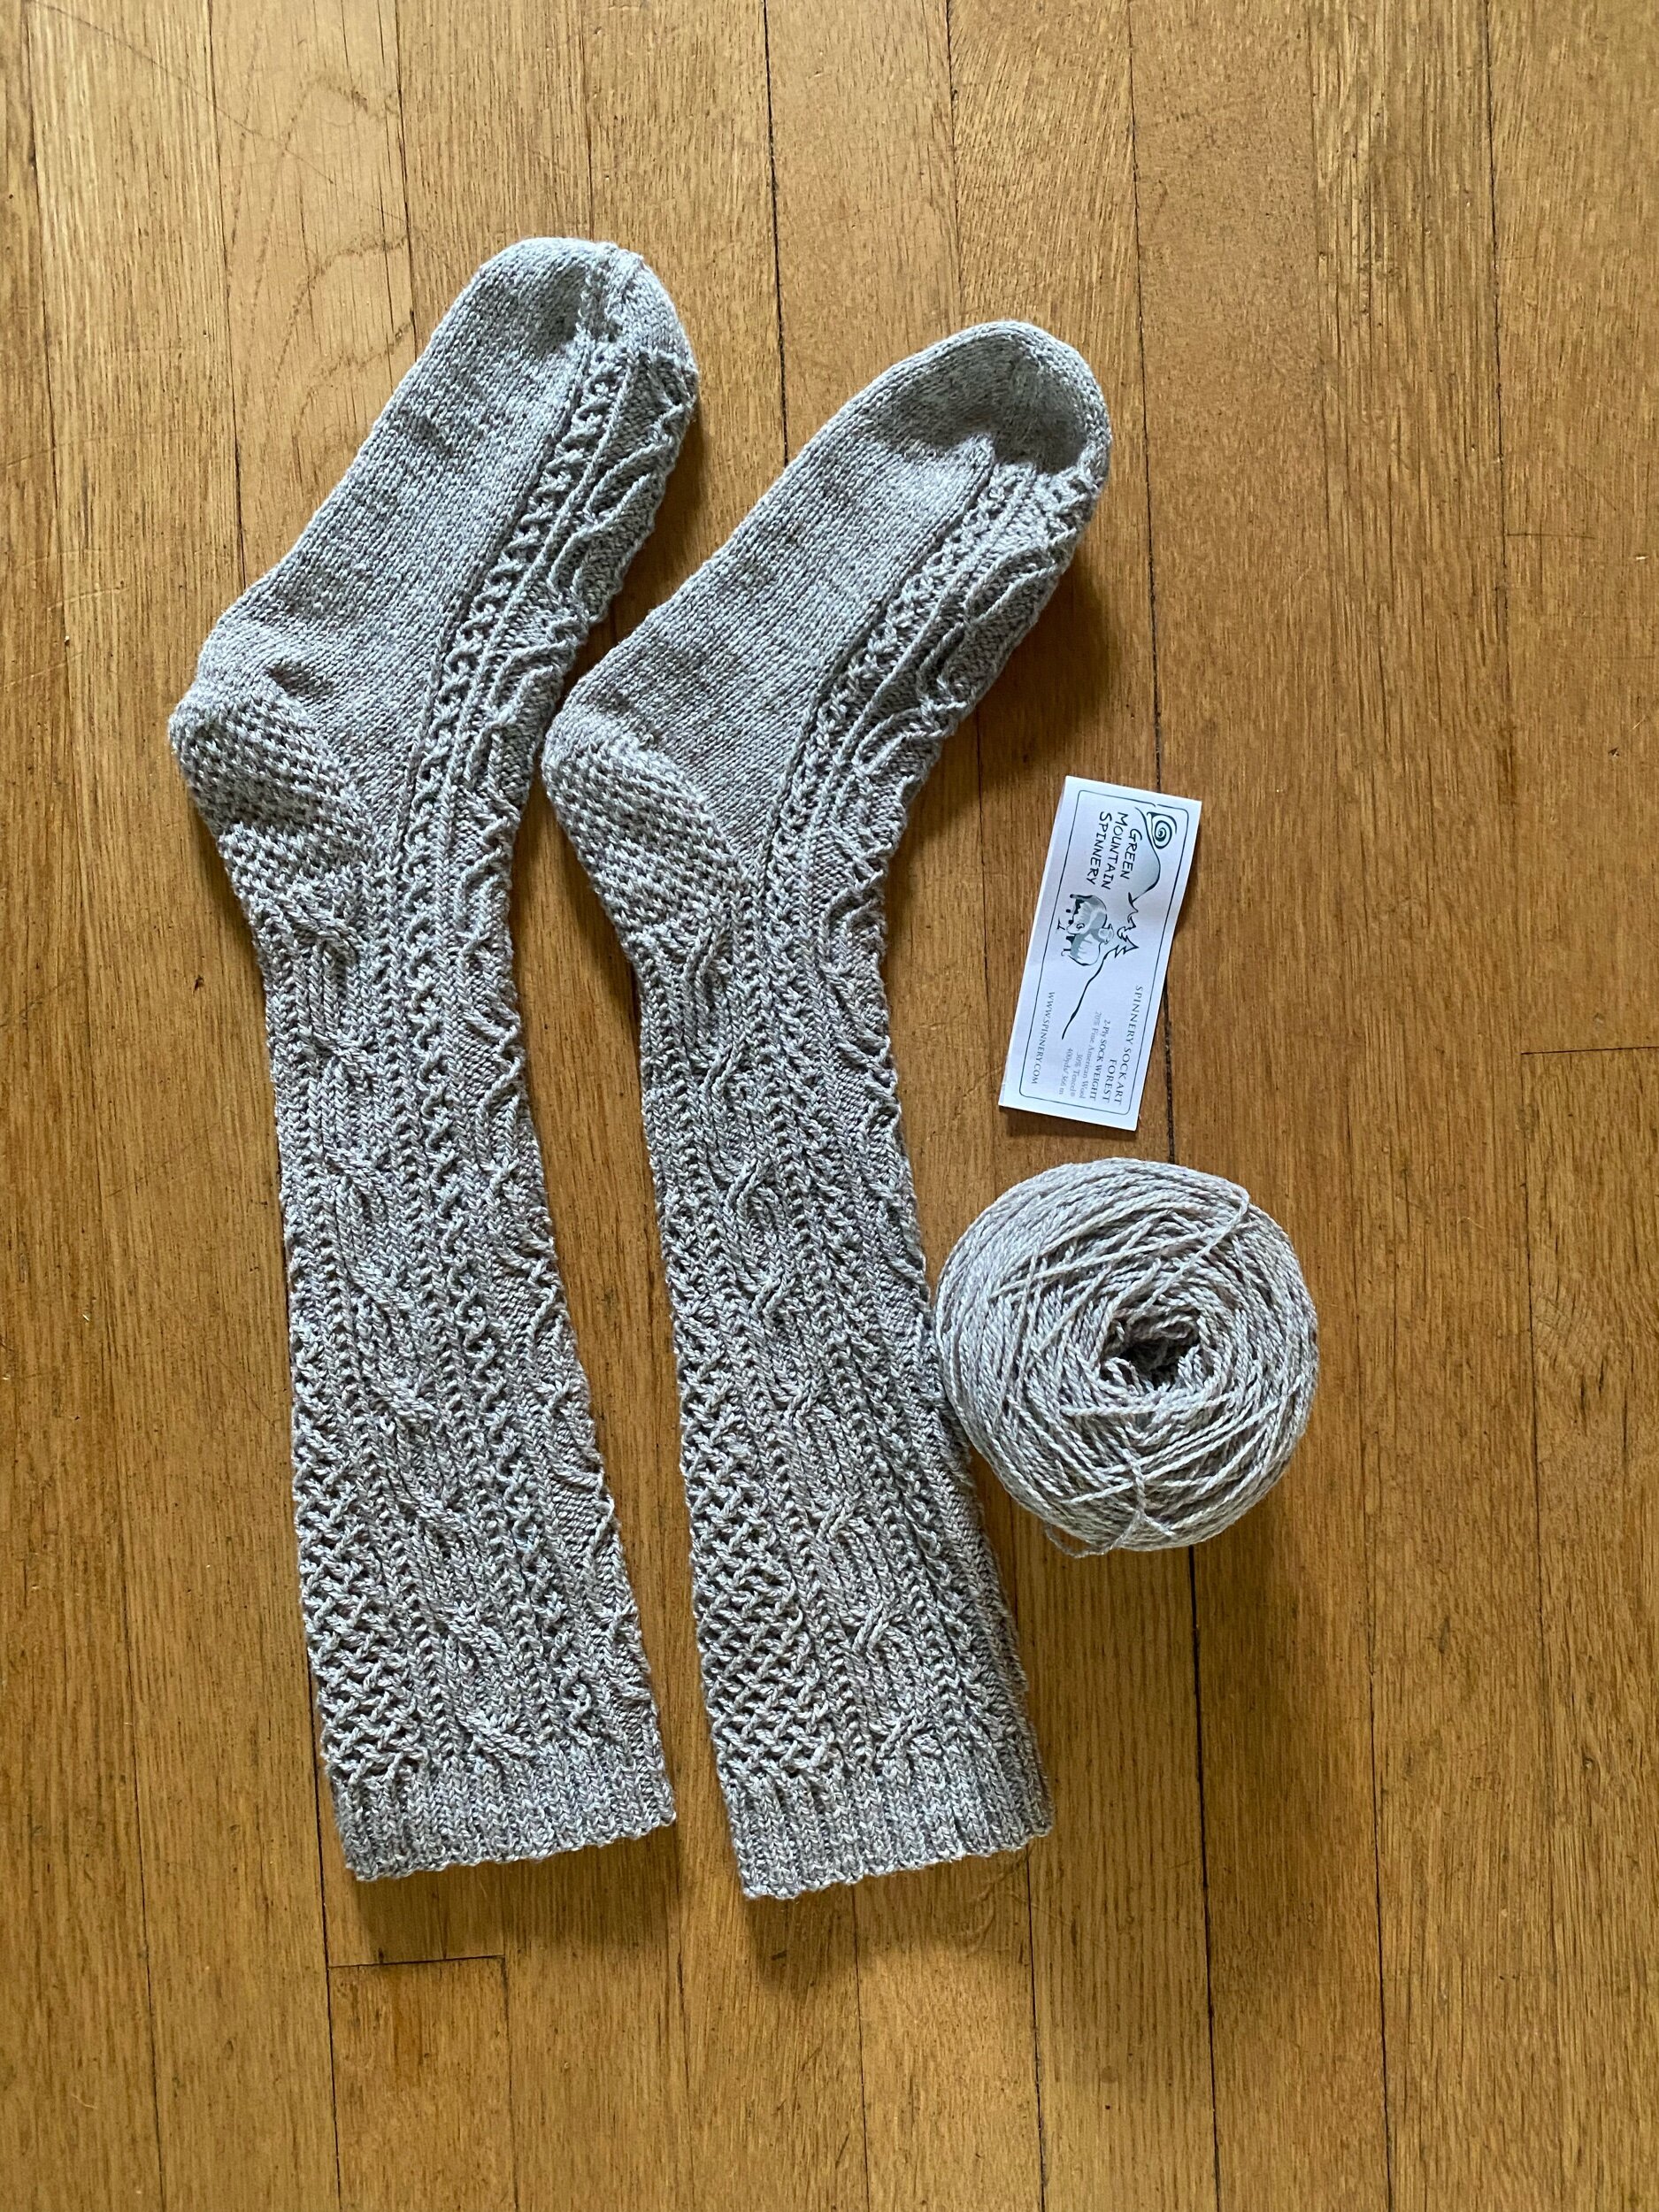
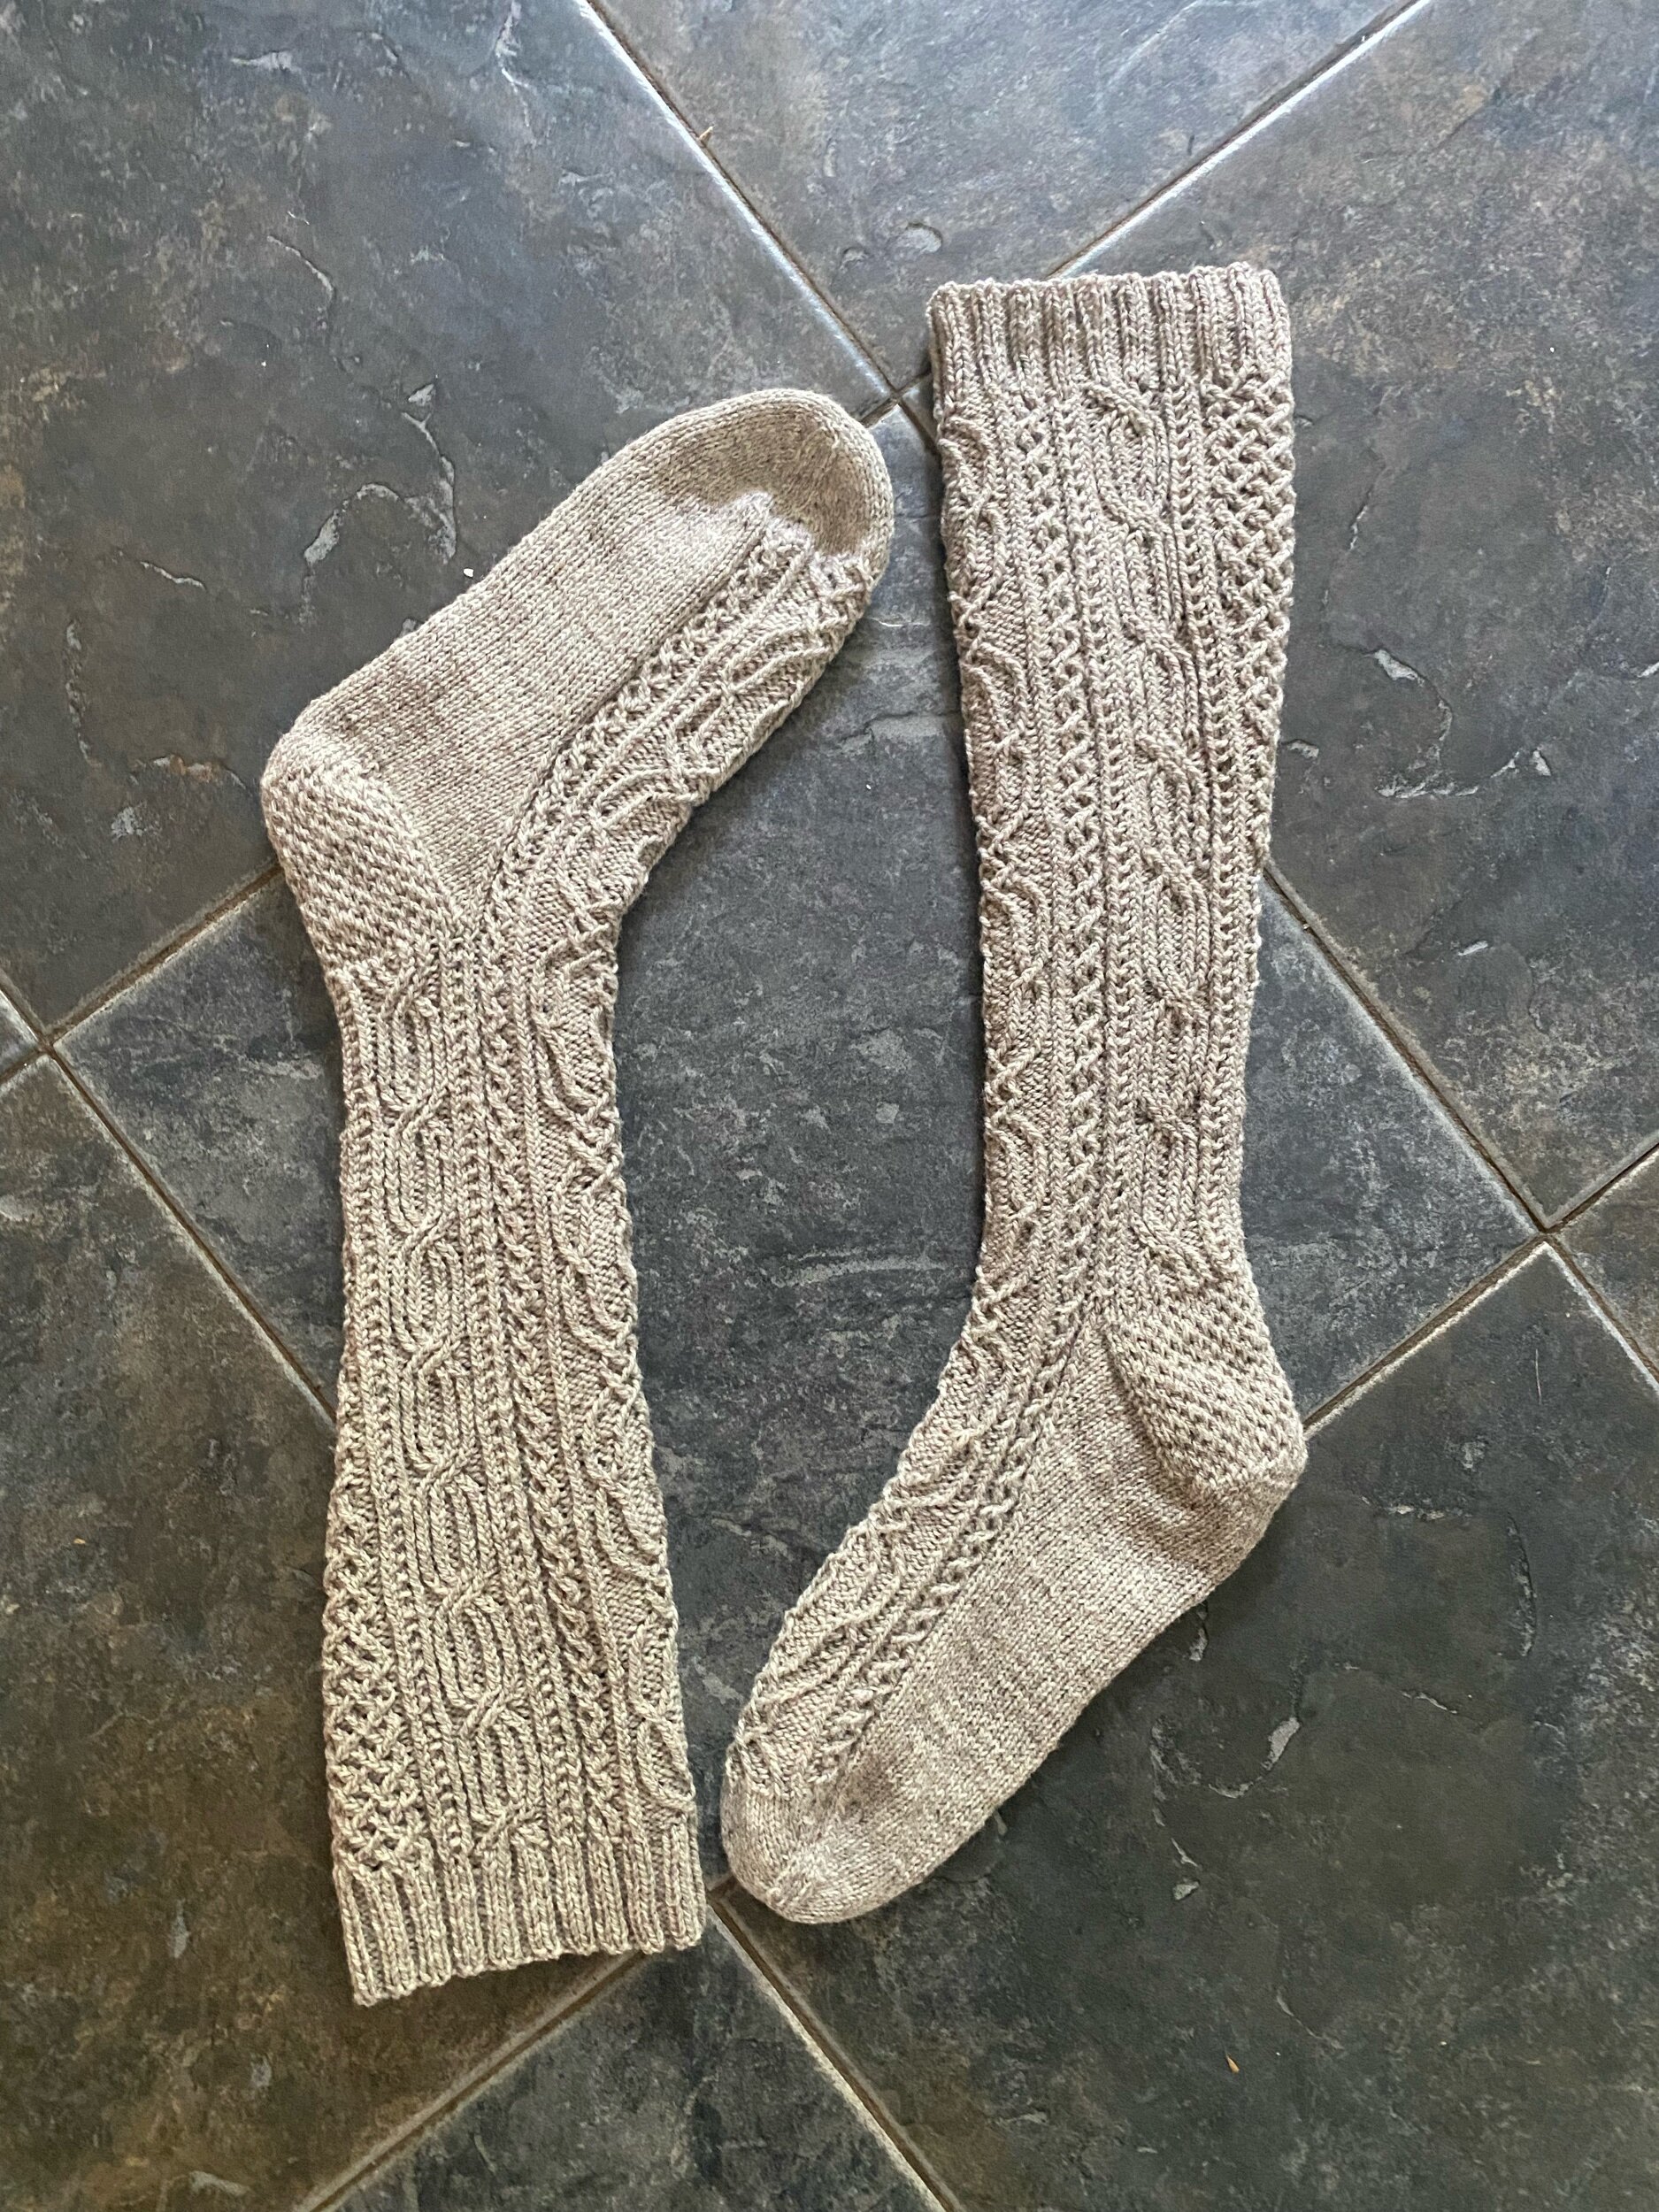
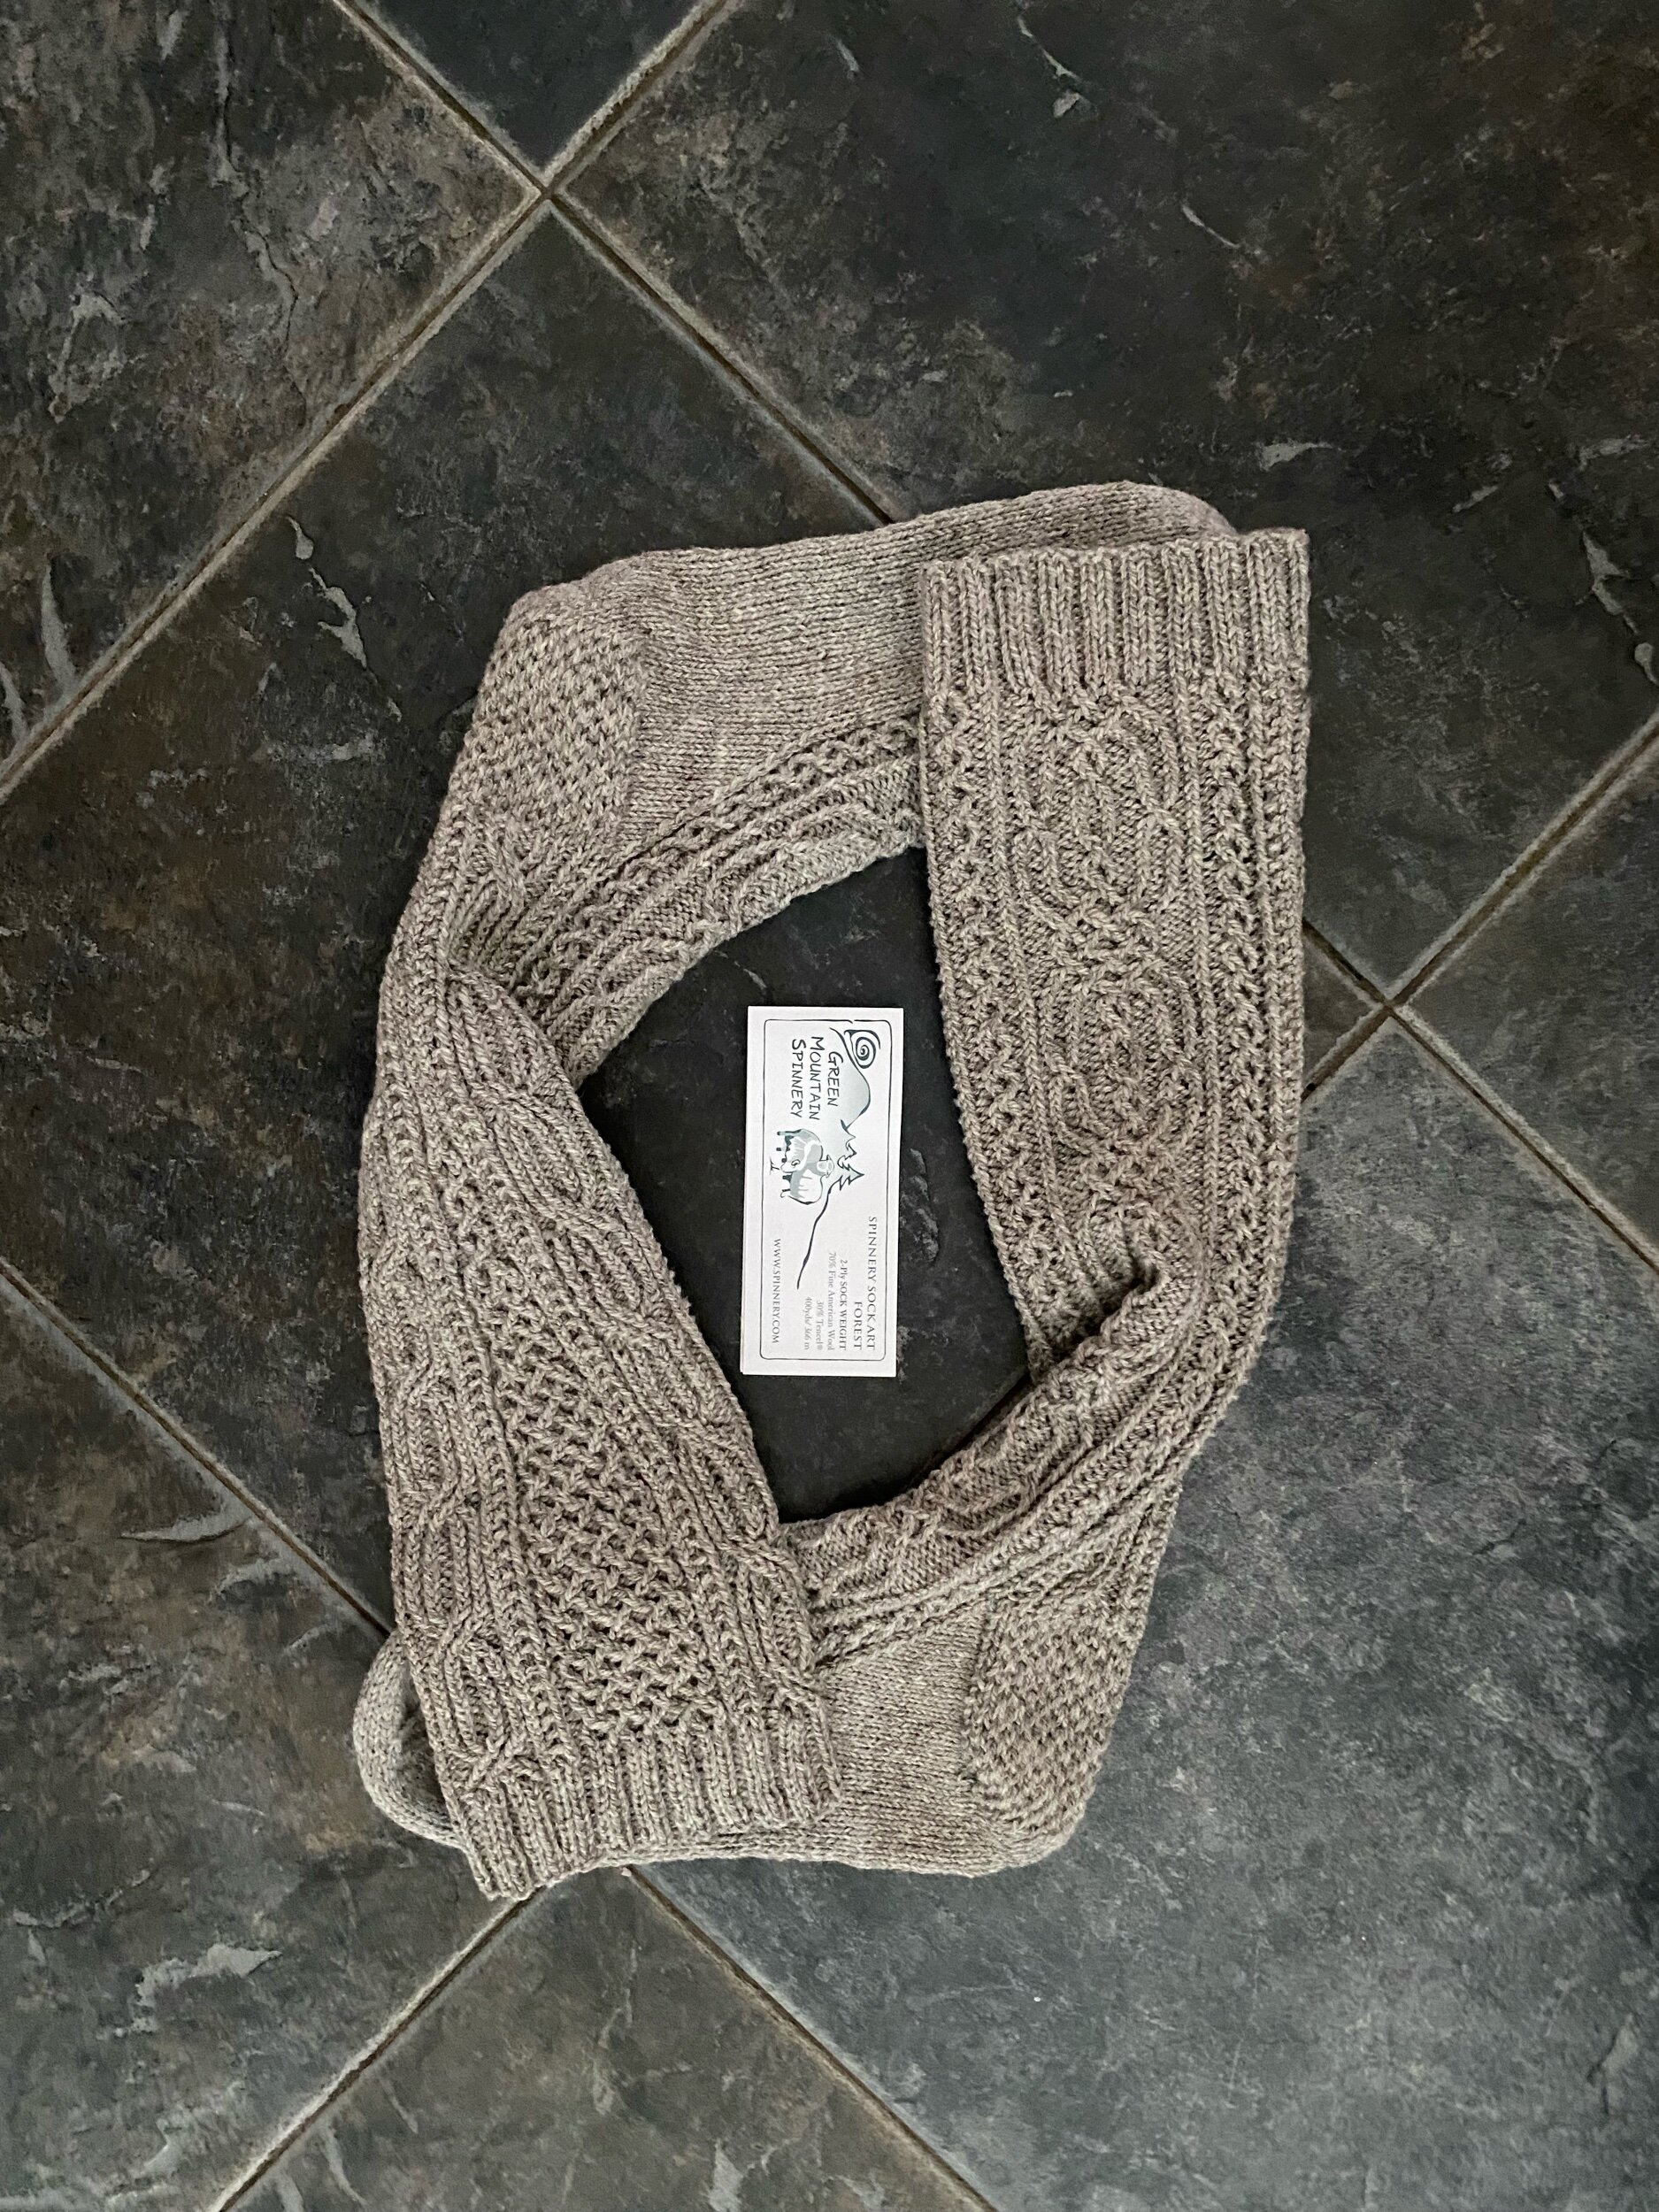
The yarn for this pair is a heavier fingering weight. It’s the Forest base from the Green Mountain Spinnery, in a lovely natural grey color. The fiber content is a blend of wool and tencel, so it feels different from a standard sock yarn. I was almost done with these socks (working down the foot, doing two at a time) when I realized I would need a second skein. It was listed as out of stock on their website, but happily when I called they still had some in stock! I was super grateful, as this pair of socks needed to be done and given to their new owner before I moved.

Out and Proud yarn from Round Mountain Fibers

I’m a sucker for rainbow yarns, and when I saw the limited edition ‘out and proud’ yarn from Round Mountain fibers, I just had to play with it. I really wanted to keep the colors separate, rather than allowing them to mix and become muddy. My first attempt was to try entrelac socks, figuring that the smaller squares would help get cool pooling.

I think it’s really neat how each square contains its own rainbow, but it wasn’t quite the overall effect I was looking for, so next I decided to try socks with a zig zag pattern on the cuff. I need to work on calculating the number of stitches better-on these the ankles are a bit on the big size, as I increased too many when switching to the zig zags. After the heel flap I decreased until the sock felt snug, so I now have a better idea of how many stitches I should have used!

My third (and final) attempt is the one I’m super excited about-I’ve written up the pattern, and should be looking for test knitters soon. I figured out how many stitches I’d need to get the colors to pool, and in order to use that number of stitches for the ankle, I did short rows so that I knit at an angle, increasing and decreasing two stitches every 4 rows.

I’ve written instructions for both a short row heel and a heel flap, though both heel styles had to be modified to fit the sock. The short row heel has a swipe of black that goes up into the top of the sock to make the geometry work out, and similarly the heel flap is shorter on one side than the other. Also, the socks are “handed”, with a right and a left foot. I considered writing them with a symmetric toe, but the “handed” toe follows so naturally from the rest of the pattern that it seemed a shame not to give it a try.

I’m really excited about this pattern because it not only looks really cool with indie dyed yarn (particularly this yarn from Round Mountain Fibers), but also in self striping sock yarn. The socks below are done in Knit Picks Felici, in the color “rainbow” (matches some of the hats I made last winter). I love how the stripes make ‘v’s down the cuff and foot. I did the heel flap for this pair. Normally I have a really strong preference for a heel flap heel, and I make it really long, but something about knitting on the bias seems to make both a short row heel and a short heel flap work really well for my foot. I love that these socks have a lot more stretch and give to them, just because the knitting is at a slight angle. My working title for this pattern is the 22.5 degree socks, as that’s the angle the stitches are tilted by. I’m still trying to decide if I should stick with that name or come up with something different!

As seen on Wikipedia socks

The sock as shown on Wikipedia

If you go to the english wikipedia page on socks (at least, if you did so between December of 2010 and the time of writing), the first image is of ‘a hand knitted white sock made out of handspun wool’. I’ve been the proud owner of those socks for many years, and I’m now working on writing up the pattern for them, and knitting a pair of them myself. For my first sample I decided to use some of Jaggerspun’s Mousam Falls sock yarn, in the color Nutmeg, mostly because there was a cone of it near me when I wanted to cast on. In retrospect, I think a lighter yarn works better for these socks, which is super convenient, because I’ll be publishing the pattern in conjunction with the release of Shorn III from Melissa of knittingthestash. This is Melissa’s third time making a limited edition farm skein yarn, and this is how she describes it:

Shorn III is a blend of Corriedale and Corriedale/Teeswater fiber sheared from Cathe Capel’s Seven Sisters Farm in Sidney, IL and spun by Stonehedge Fiber Mill in Michigan. Each skein is 250 yds of 3-ply fingering weight yarn. It is natural, undyed yarn that is an off-white color.

I’m currently working on polishing up the pattern, but it should be available for test knitting soon! I’ve expanded the pattern to include different sizes (instead of just the exact size/sock pictured on Wikipedia), and I’ve added an option for calf shaping, like I did on my recent oatmeal colored traveling stitch socks. The wiki sock is equivalent to a medium size with no calf shaping in my pattern. With those changes, I decided that I needed to test knit a version with calf shaping, so the brown ones below are the small size with 16 stitches worth of calf shaping.

One interesting thing about the pattern is that the back is not symmetrical. On either side of the central back panel, there are two different 6 stitch designs, apparently because mum couldn’t decide which one she liked better when originally making these socks, and decided to simply use both. Even though you can’t see that in the picture on Wikipedia, I decided that I wanted to be true to the original socks, and wrote it up that way. I did make one change though, in the ribbing at the top. Specifically, on the original socks the ribbing does not line up nicely with the main pattern, so I fixed that. I also noticed that the original has a twisted stitch column on either side of the top through the length of the foot, and I decided not to keep that either, mostly for ease of writing the pattern (I can be lazy sometimes…). Other than that though, I did my best to accurately represent the original Wikipedia socks, with added size options.

baby sweater, take two

There were some pattern details that I didn’t really like with the pink baby sweater, so I decided to make it following my adaptation of the adult sweater pattern. I’m really pleased with how it turned out. Between the stretchiness in the yarn and the fact that it’s basically knit in ribbing, I’m hoping that it will have a relatively large window of use. I think the body circumference can not quite double with stretching, so the limit will probably be on arm/body length and not felting it. The yarn is sport weight: SugarBush Bliss, 70% Extra Fine Superwash Merino/20% Mulberry Silk/10% Cashmere and machine washable. It was lovely to work with and feels all squishy and soft.

I really don’t think there’s much I’d change if I were to knit this one again. I wasn’t quite sure what size I was aiming for when I started, and made things up a fair amount as I was going along. The shawl collar itself is the bit I’m the most dissatisfied with, mostly because it doesn’t want to cooperate when I’m taking pictures, and it slightly distorts the ribbing/cables, though I think that will disappear entirely when someone is actually wearing the sweater. I’m really looking forward to seeing what it looks like on!

Defying the sweater curse

IMG_5451.jpg

We decided it was time to defy the sweater curse. The first question: what type of sweater do you want? Ummm… Do you want it to have cables on it, color work, be plain knit, or…? (I distinctly decided not to ask about construction details, like do you want a raglan, yoke, etc.) We decided cables sounded good, so then there was a long trawl through all the cabled men’s sweater patterns on Ravelry. And when I say all, I don’t actually mean all, because oh my goodness, so many patterns. Once I had a browser window with about 50 tabs of different types of cabled sweaters, we got to flip through them, on and off, for about a week. The first step was to familiarize him with different styles and designs, and let him think about things enough to start rejecting things. Eventually Mommy and I realized that we would have to make a decision on his behalf, and we started rejecting patterns and studying the construction. The final winner was the ‘Wuthering Heights’ sweater by Les Tricoteurs Volants. I kept most of the construction details (though I did have to modify some of them), but went with an all-over cable ribbing pattern. Since my main body pattern is more stretchy/pulls in a lot more, that meant I had to significantly modify most of the numbers with regards to how many body stitches, how quickly to add stitches at the sleeves, etc., but other than that I was able to use a lot of the construction information from the pattern. I’m really happy with how the construction worked out, though if I do this again, I’d need to add more sleeve stitches sooner, because the sleeves were almost way too small. I’d also shrink the armhole size, though that was something I went back and forth on with mum as I was figuring it out, and we went with a large armhole since the button down shirts he’ll wear this with all have huge armholes.

At the same time we were choosing a pattern, we also had to pick out a yarn. We ended up deciding on the Heather Line sport weight yarn from Jaggerspun, in charcoal. There are so many things to like about this yarn, including that: it comes on a cone, which means less time balling and way fewer ends to sew in, it isn’t a super fine wool, so it should hold up better in a sweater that will be heavily worn in the winter, it’s made by a local mill (1 hr drive), and it isn’t super expensive. I also like the heathered colors, and this charcoal is a lovely grey with a lot of depth to it.

There are a lot of in progress shots this time, because oh my goodness is there a lot of knitting in this sweater. The body had 384 stitches around, and I used about a pound and a half of yarn…. So you all get a chance to appreciate it, step by step. Well, I only put in about half the distinct steps. There was a lot of trying it on to make sure everything was going well, particularly at first.

The sweater starts with little shoulder pieces, that I’ve been calling ‘epaulettes’. Once you have these two shoulder rectangles, you pick up the long side on each of the epaulettes and between then cast on stitches for the back of the neck. Then there’s some short row shaping to build up the back (I had to play with graph paper to make sure that I’d be in the right spot in all my cables at the end of the short rows). For the front you work the two sides separately, doing the short rows, and you start knitting back and forth over the arms, doing semi-raglan style sleeve increases. When you get far enough down the front you get to add in the front of the neck stitches, and then knit in the round. For forever. What I hadn’t expected from just looking at pictures of people in their sweaters, was that the pattern I was basing this off has you switch from sleeve increases to body increases near the bottom of the armhole-it’s a nice touch, and it hadn’t occurred to me. I also cast on a few stitches in the armpit when the sleeves separated. At that point it was fairly straightforward-the body just keeps on going down, with the same number of stitches (a lot of them) to the hem, and the sleeves slowly decrease along the length to the cuff. Straightforward, however, does not mean fast. SO MANY STITCHES!!!

We’re both really happy with the result. There are some changes I’d make (I should have increased faster at the top of the sleeves, and maybe switched needle sizes on the ribbing at the bottom), but on the whole it was a resounding success.

o Tannenbaum hat

I put my mitten pattern up on yarnpond to look for test knitters, and I was overwhelmed by the response. Within 2 days I’d had 16 knitters offer to test knit, not including my mom. She’s currently finished four pairs of the mittens, each slightly different. It was while she was wearing her new mittens that she decided there should be a hat pattern to go with them. When Mommy tells me I need to write a hat pattern, I sit down and do it!

Conceptual design for the hat

I started by jotting down instructions on a piece of paper, complete with this picture that I am inordinately proud of. Mum had sport weight yarn in the appropriate colors, while I had worsted. I decided to write the pattern up for both. With worsted weight I can keep the same 8 stitch pattern decrease that I used on the full mittens, while a sport weight adult hat requires slower decreases. By the time we both cast on our respective samples, the pattern was already all typed up, with this drawing and a picture of my fingerless mittens as placeholders.

I made the large child size, which I think may be a bit small for me, even though I do have a smaller head. It was a quick knit, and I’m really pleased with how it turned out-particularly how the decreases look from above. I’m still working on training up my photographer, so I don’t have the best pictures ever, and we will need to iterate a bit more to get the pattern pictures… I tried showing him exactly the style of picture we were aiming for, that my mum took of me in a different hat, and while that helped get a good angle of the hat, we apparently weren’t super picky about making sure the background looked good. I’m really considering getting a head model, to put on the mantelpiece next to my foot model.

My plan is to look for test knitters for this one as soon as mom finishes (and photographs) her second hat, which she’s making to be her size. Then I’ll have a matching set of sock, mitten and hat patterns!

o Tannenbaum fingerless mittens

Since my Christmas present pair of socks was a year late, I determined that I needed to make matching fingerless mittens to go along with! I debated a fair amount how to go about the thumb, mainly if I should try to do it in pattern, with trees, or if I should do green and white stripes. I ended up carefully charting increases so that I could maintain some level of trees along the thumb, though the thumb trees are slightly smaller than the trees on the rest of the mitten. I think they turned out pretty cute!

IMG_4851.jpg

I am really pleased with how these mitts turned out, though I had to block the thumbs a bit so that they weren’t way too small! I ended up sticking a large lip balm and a chopstick in each thumb while they were drying. After that, they seem to fit me pretty well, but I don’t know how big my hands are compared to others… One difference in these mitts is that there’s one extra pattern (tree) repeat in the palm as compared to the wrist. I measured my hand, and it’s about an inch smaller before the thumb as compared to after the thumb, so I’m reflecting that in the actual pattern. Thus, some of the increases for the thumb actually turn into body stitches, and stick around for the rest of the mitten. I’m really happy with how they fit me, and interested to see how they fit others.

I’ve decided to write up this mitten pattern, and I’m calling the size I knit ‘extra small’, though I don’t think I quite stuck to the gauge I’m writing up, so it isn’t quite clear exactly what size they are. These ones only have 18 stitches around on the thumb, but I’ve also figured out charts for 24 stitch and 30 stitch thumbs. I got my mum to test knit the ‘medium’ size, and she made full mittens (as compared to fingerless).

With the full mittens I had to figure out how to end the pattern. Normally I wouldn’t decrease as quickly, but I was limited in how I could get the decreases to fit with the tree motif, so the top of the mittens (and thumb) dive in pretty fast. I originally thought I’d go with a more standard stranded colorwork mitten top, but then I realized that some of the sizes have odd numbers of trees, which wouldn’t frame as nicely in those triangles that the standard mitten top has, since I didn’t really want half a tree. I’m quite pleased with how these decreases turned out on my mum’s sample, so I feel that I made the right choice.

o Tannenbaum socks

I first cast these on over a year ago, with the idea that they would be a Christmas gift for a friend. I got as far as the ribbing on the cuff, and then the yarn languished in a box for a year. This is my second time knitting this pattern, and I really love this color for it-it’s called ‘Central Park’ by Forbidden Fiber Co. It is a lovely deep green, and it was nice to work with. For the white I used some Opal sock yarn. The pattern is one I designed and published! I’m really happy with how the pattern has turned out, and it’s been fun seeing the socks people have made with it. I think its my most popular pattern.