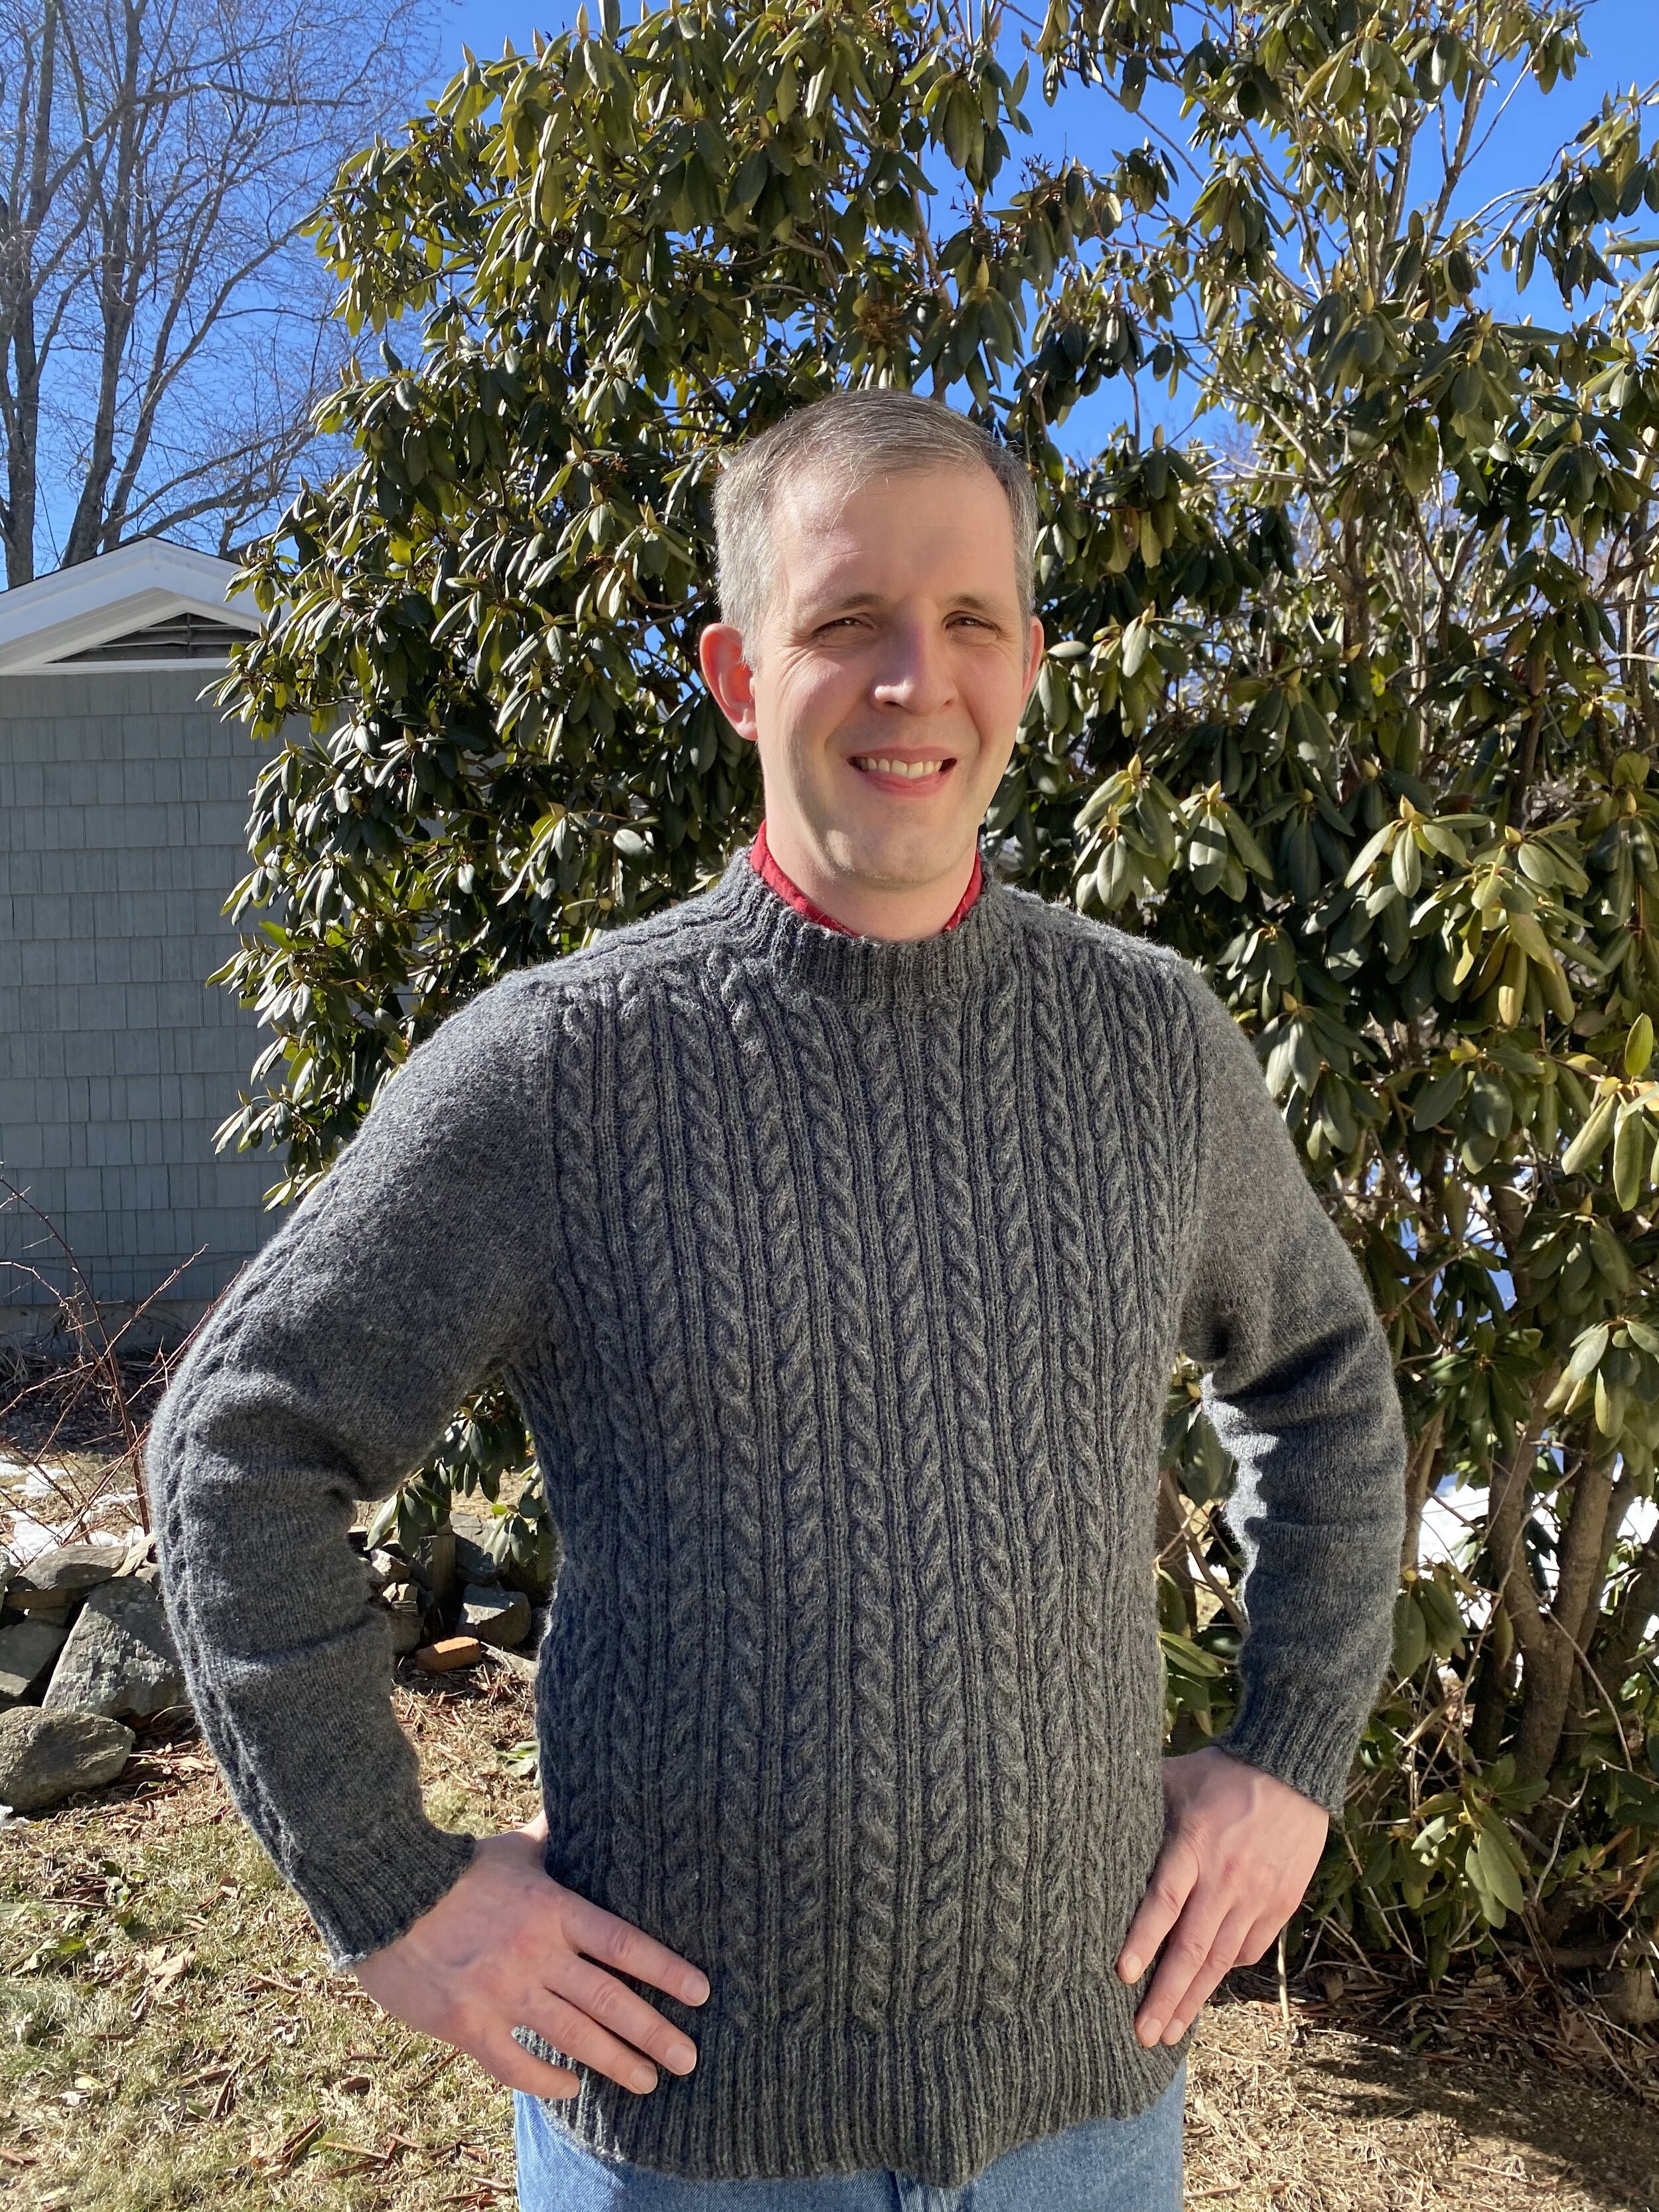
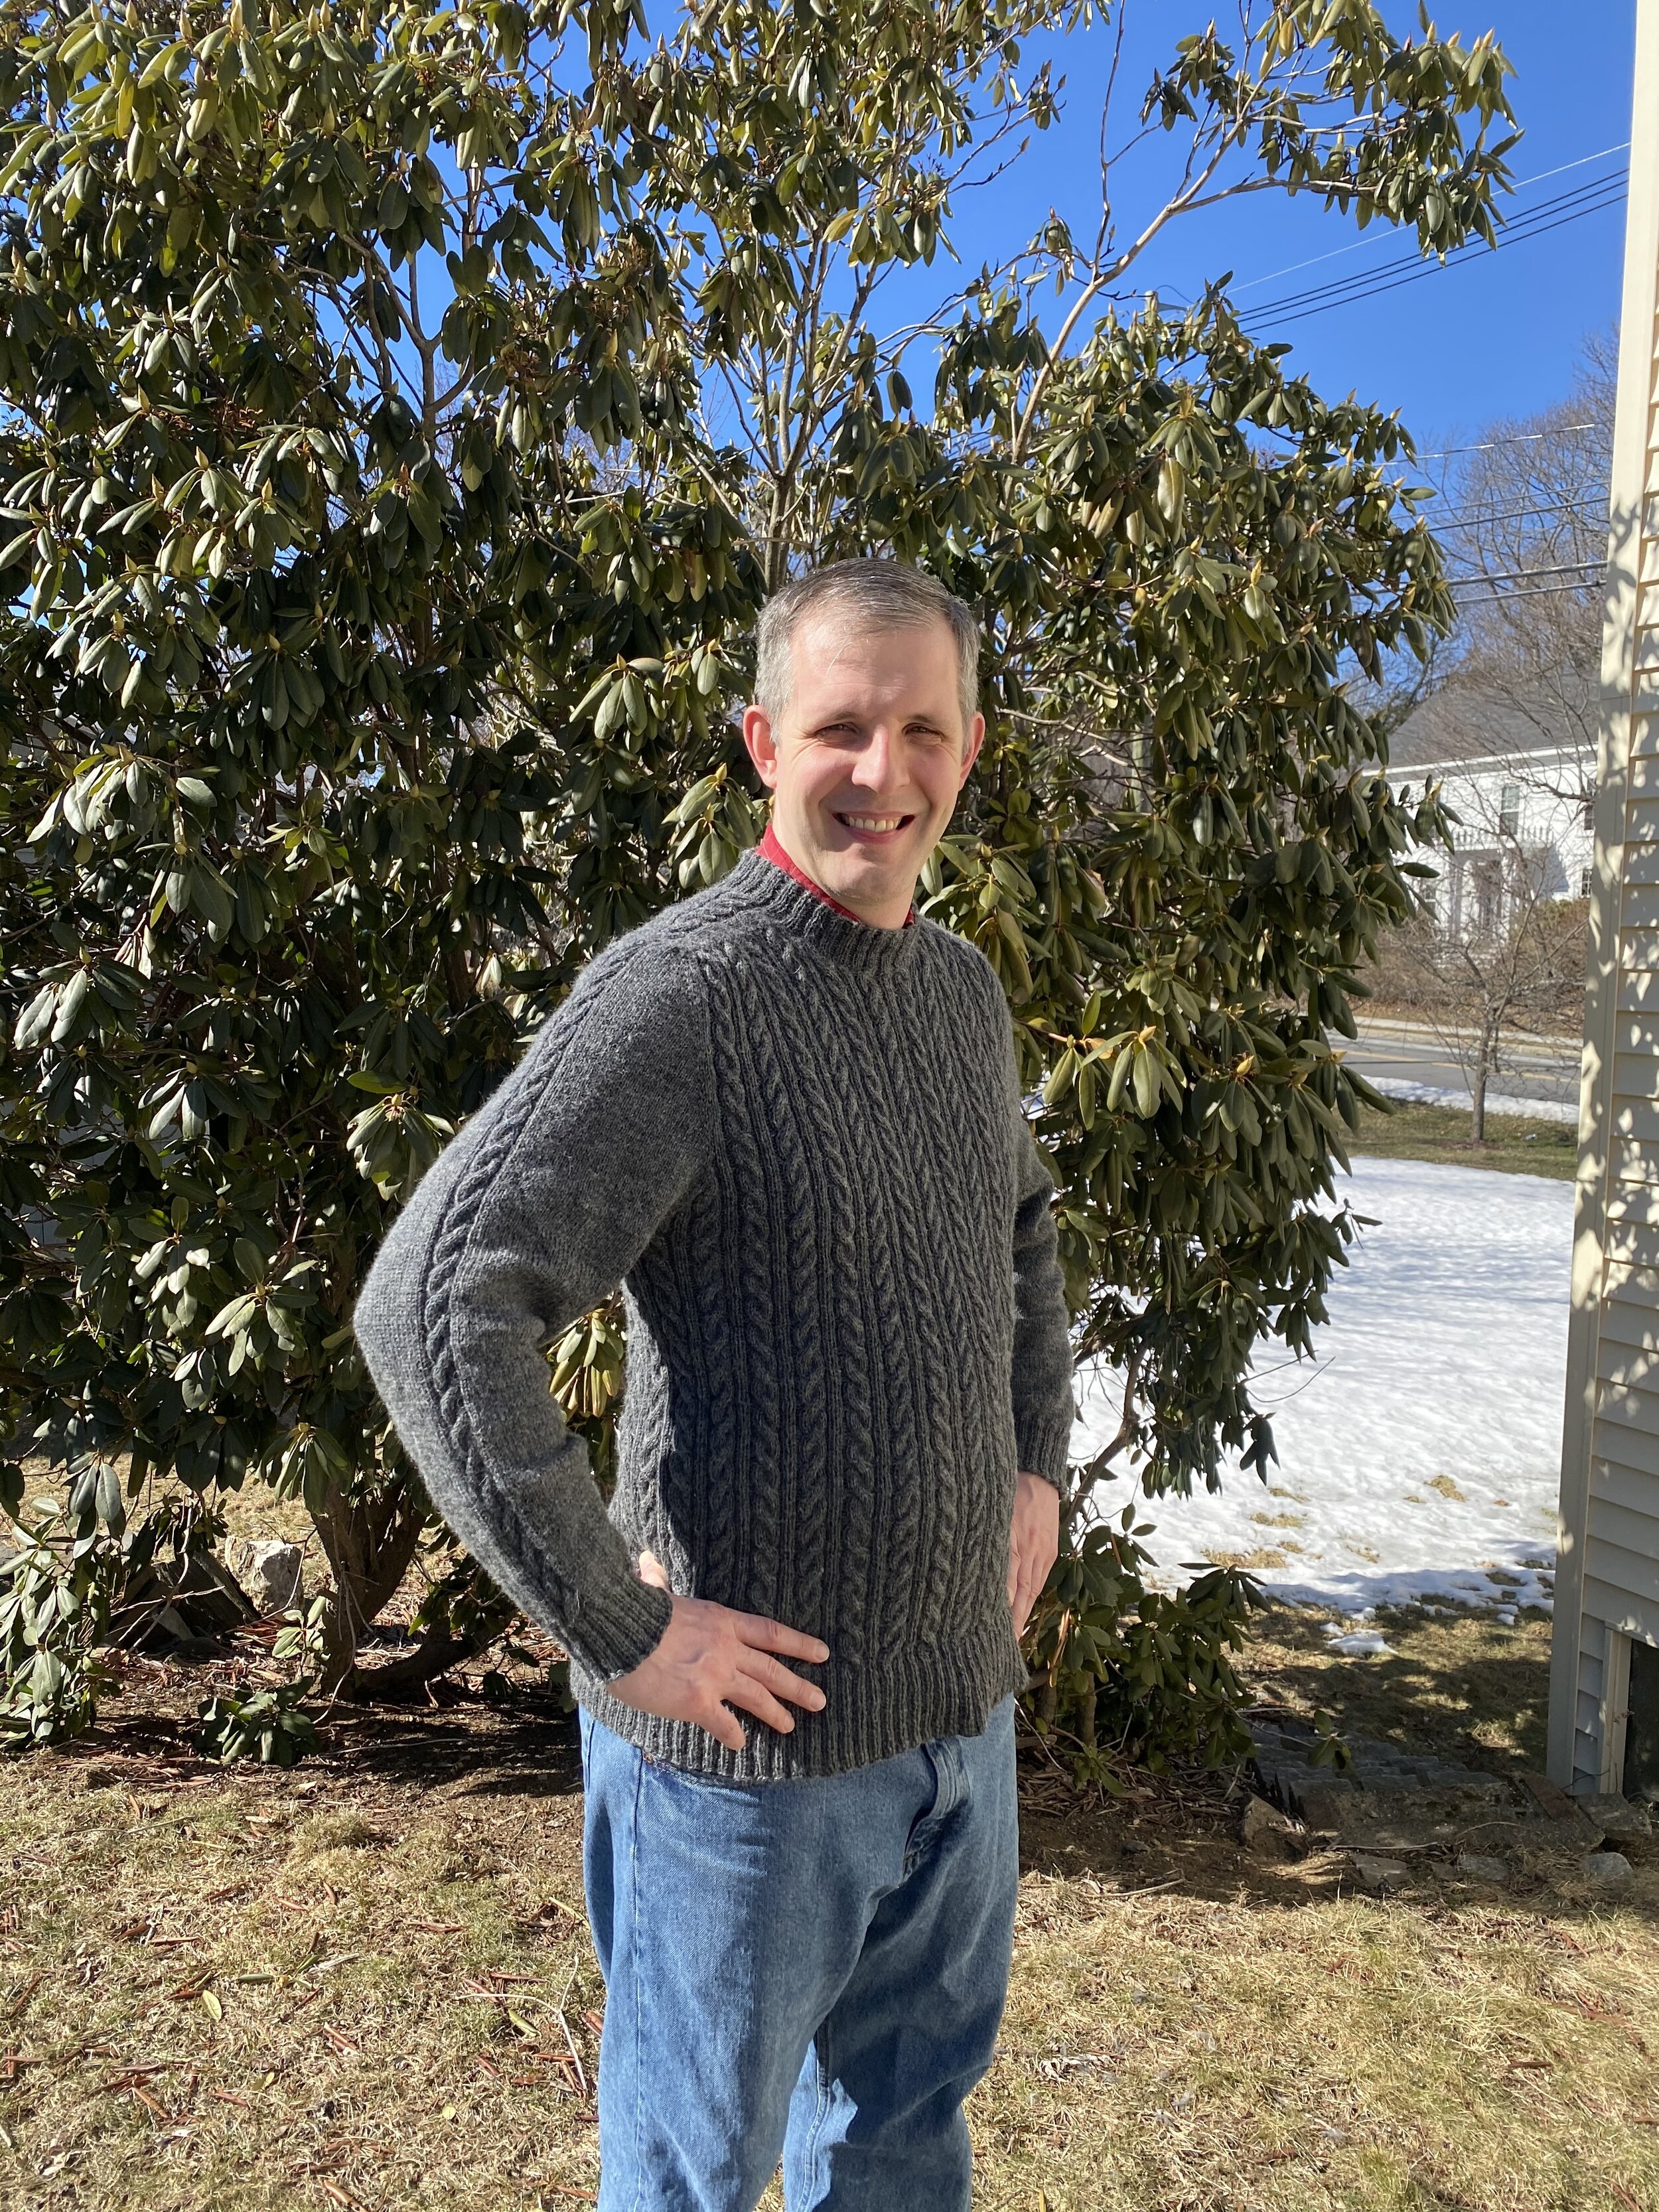
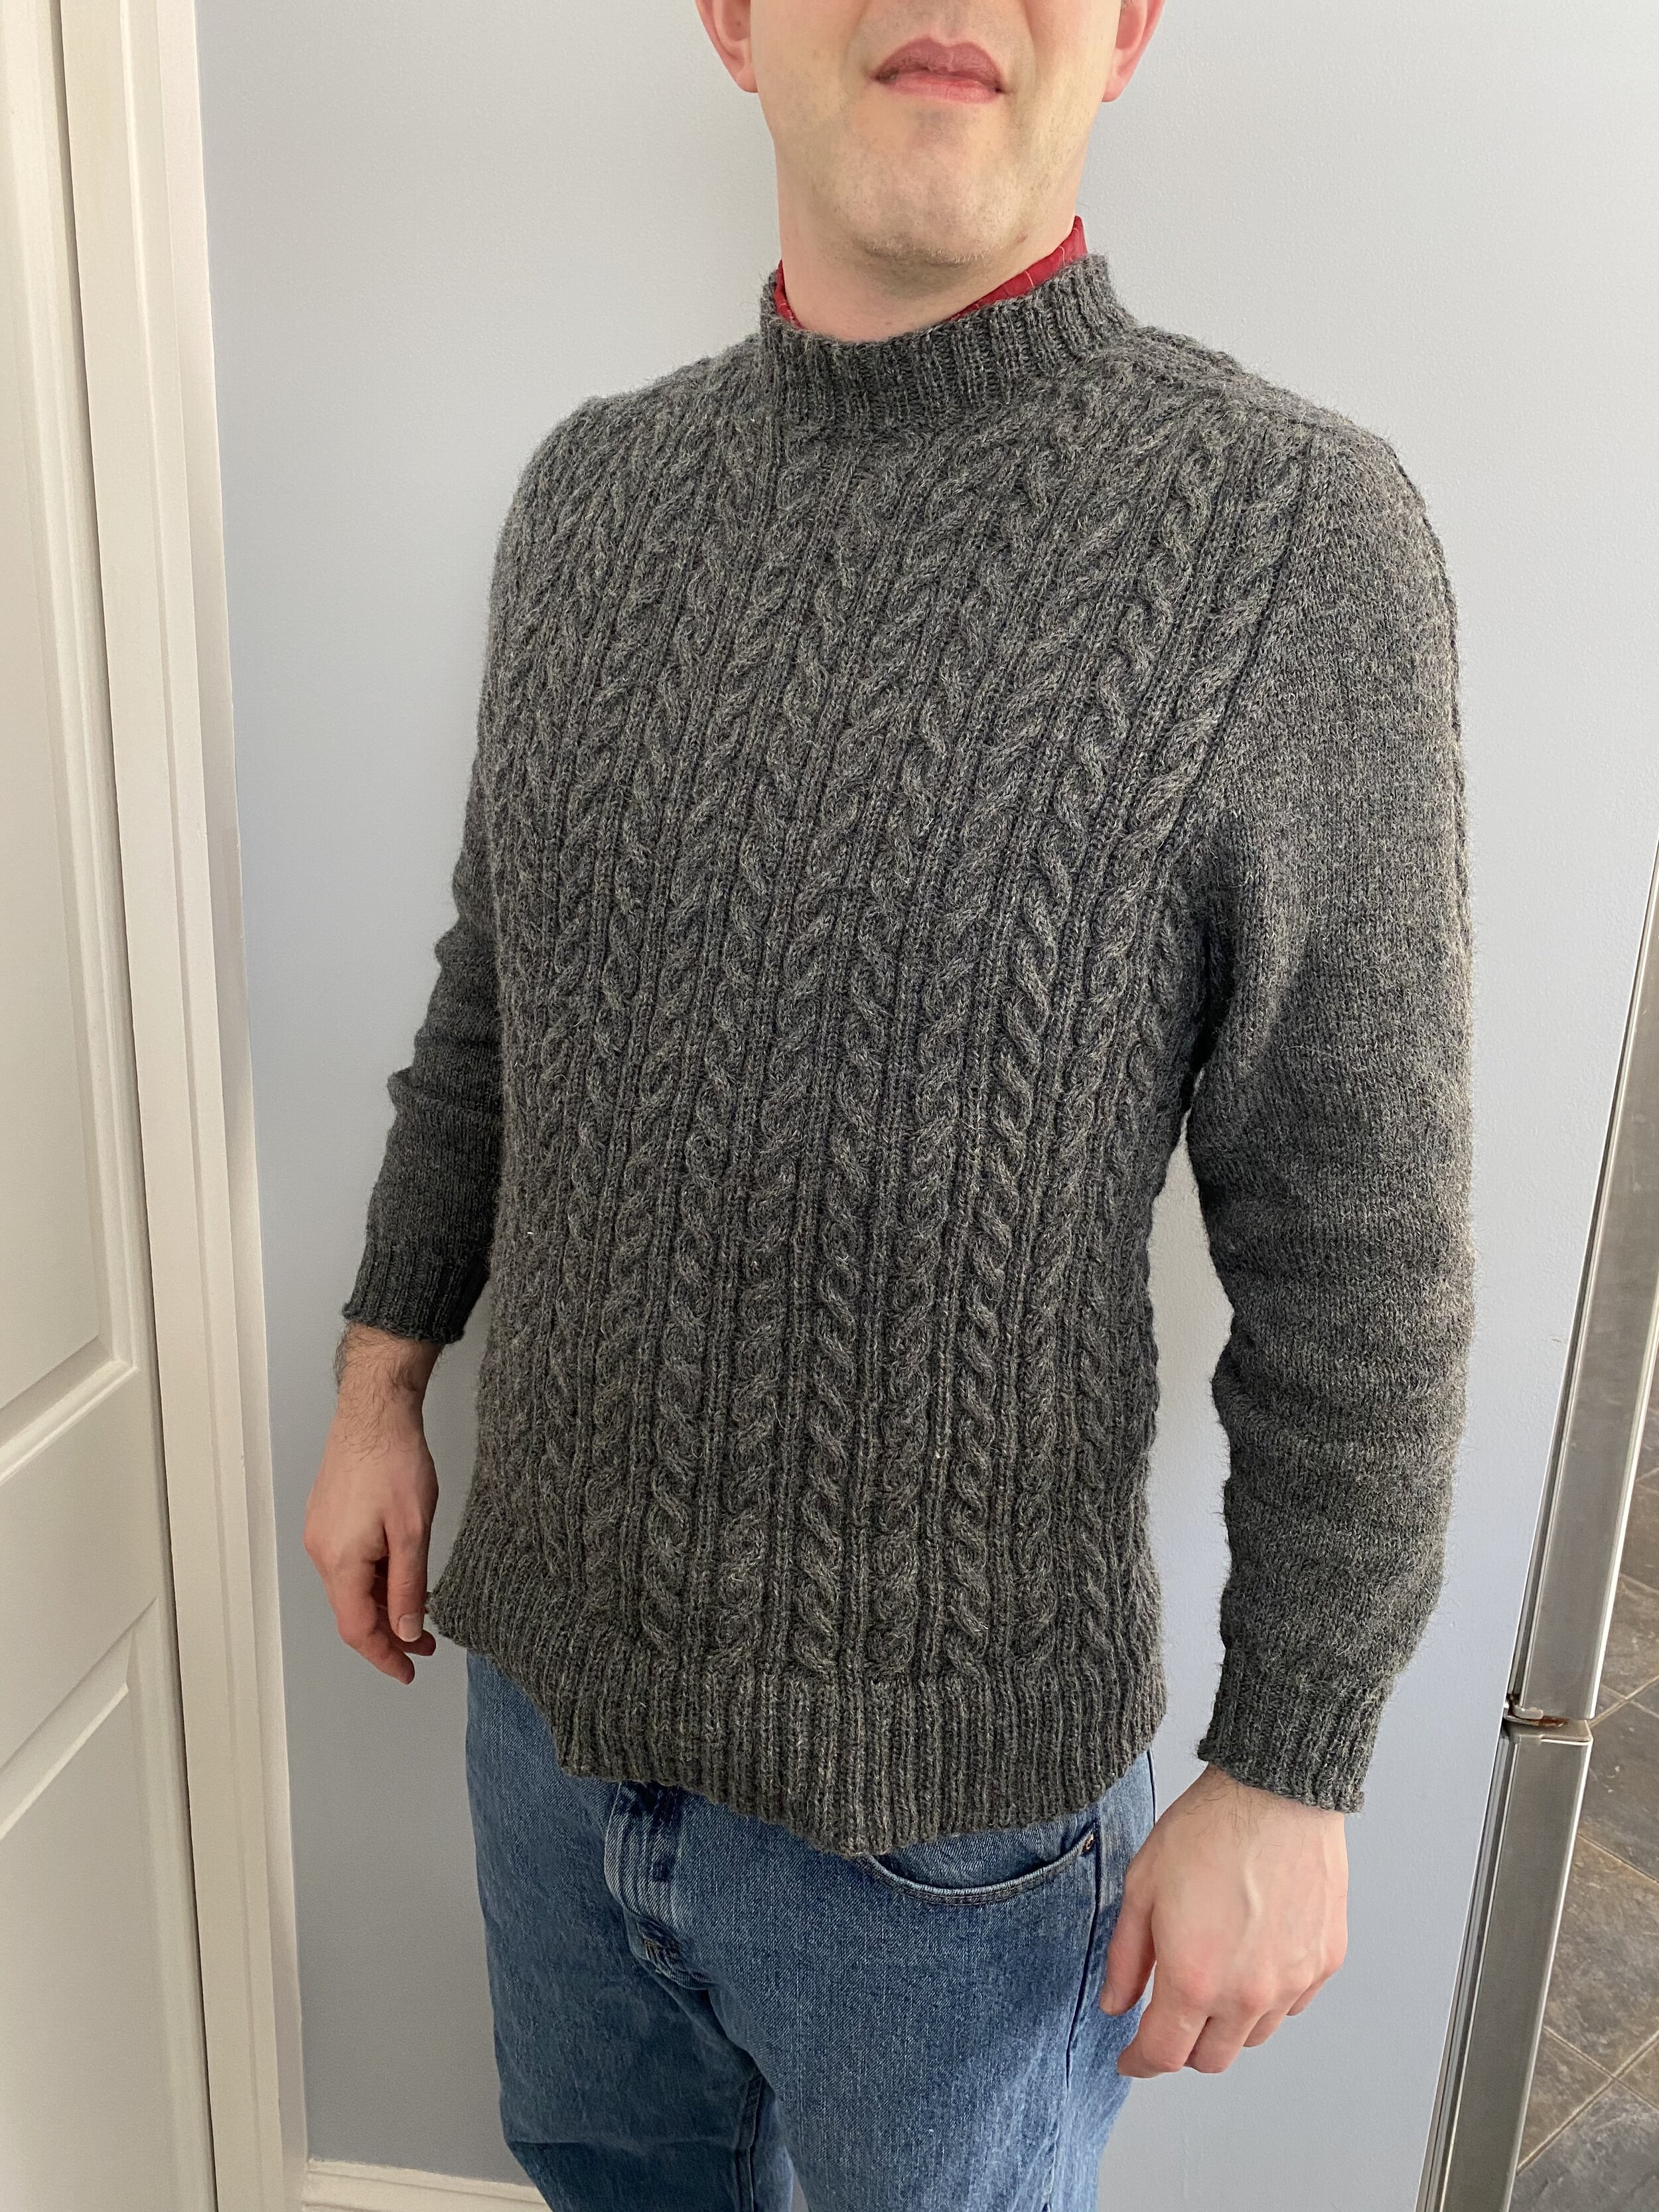
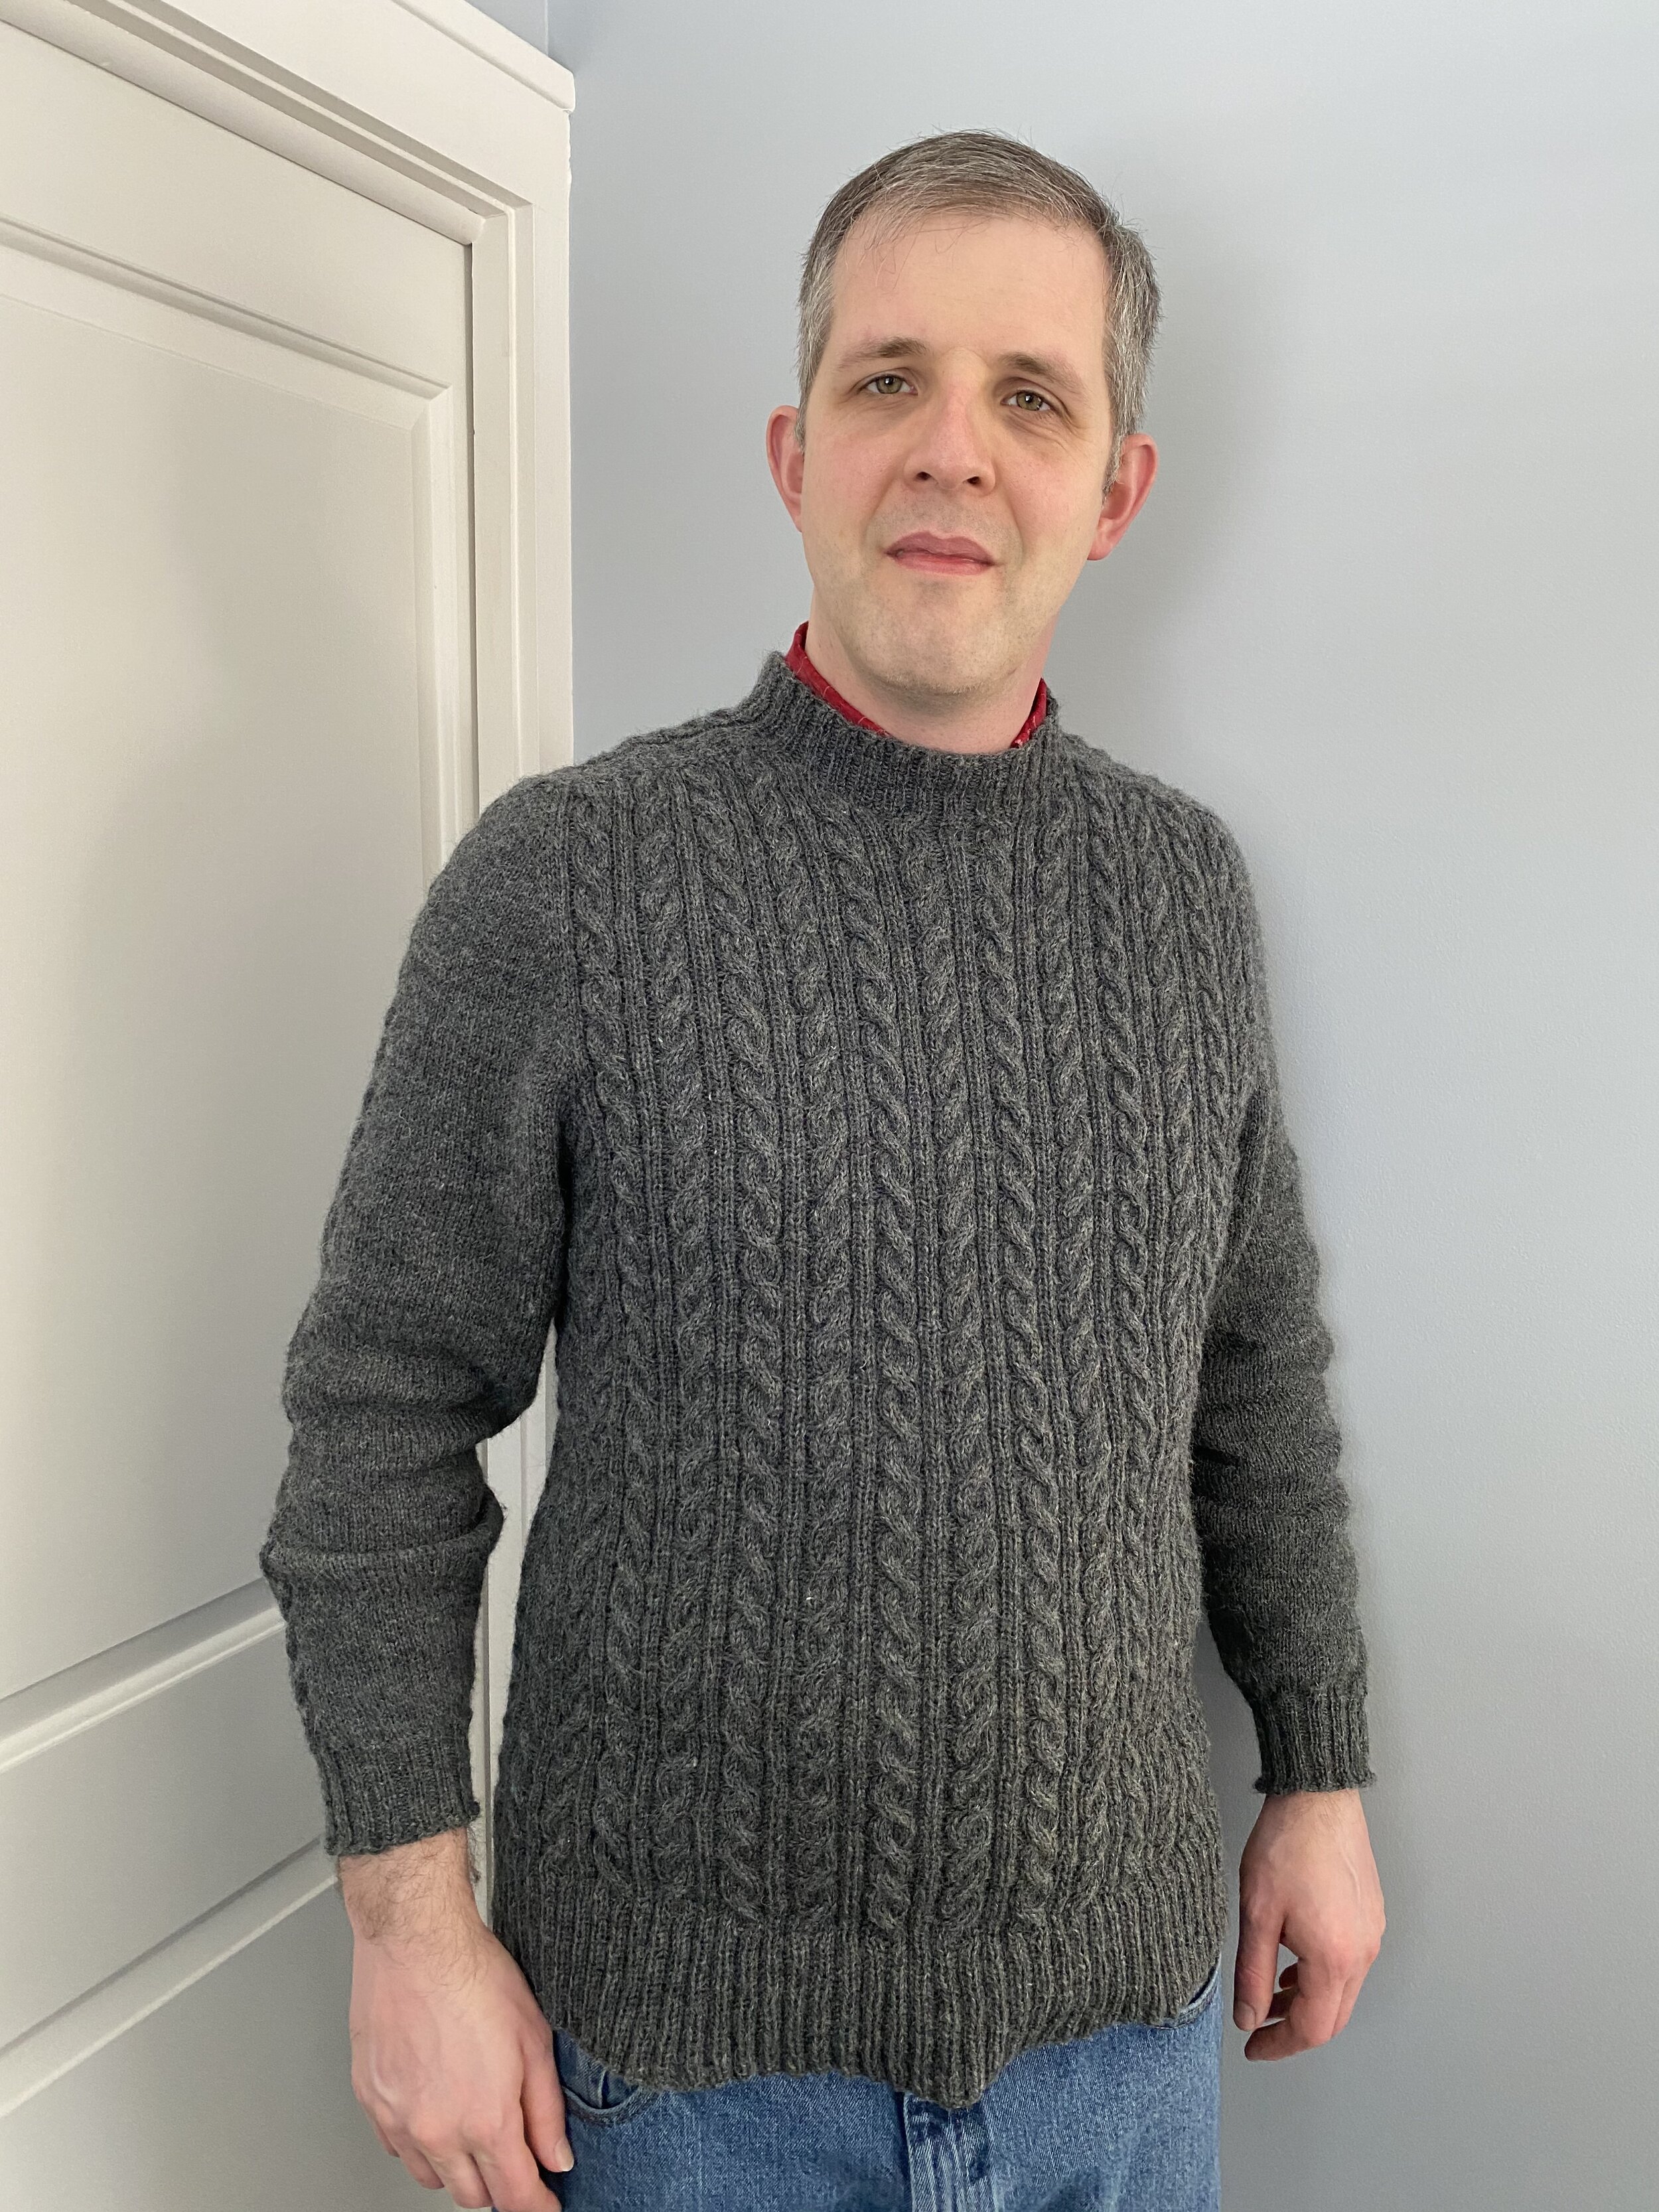
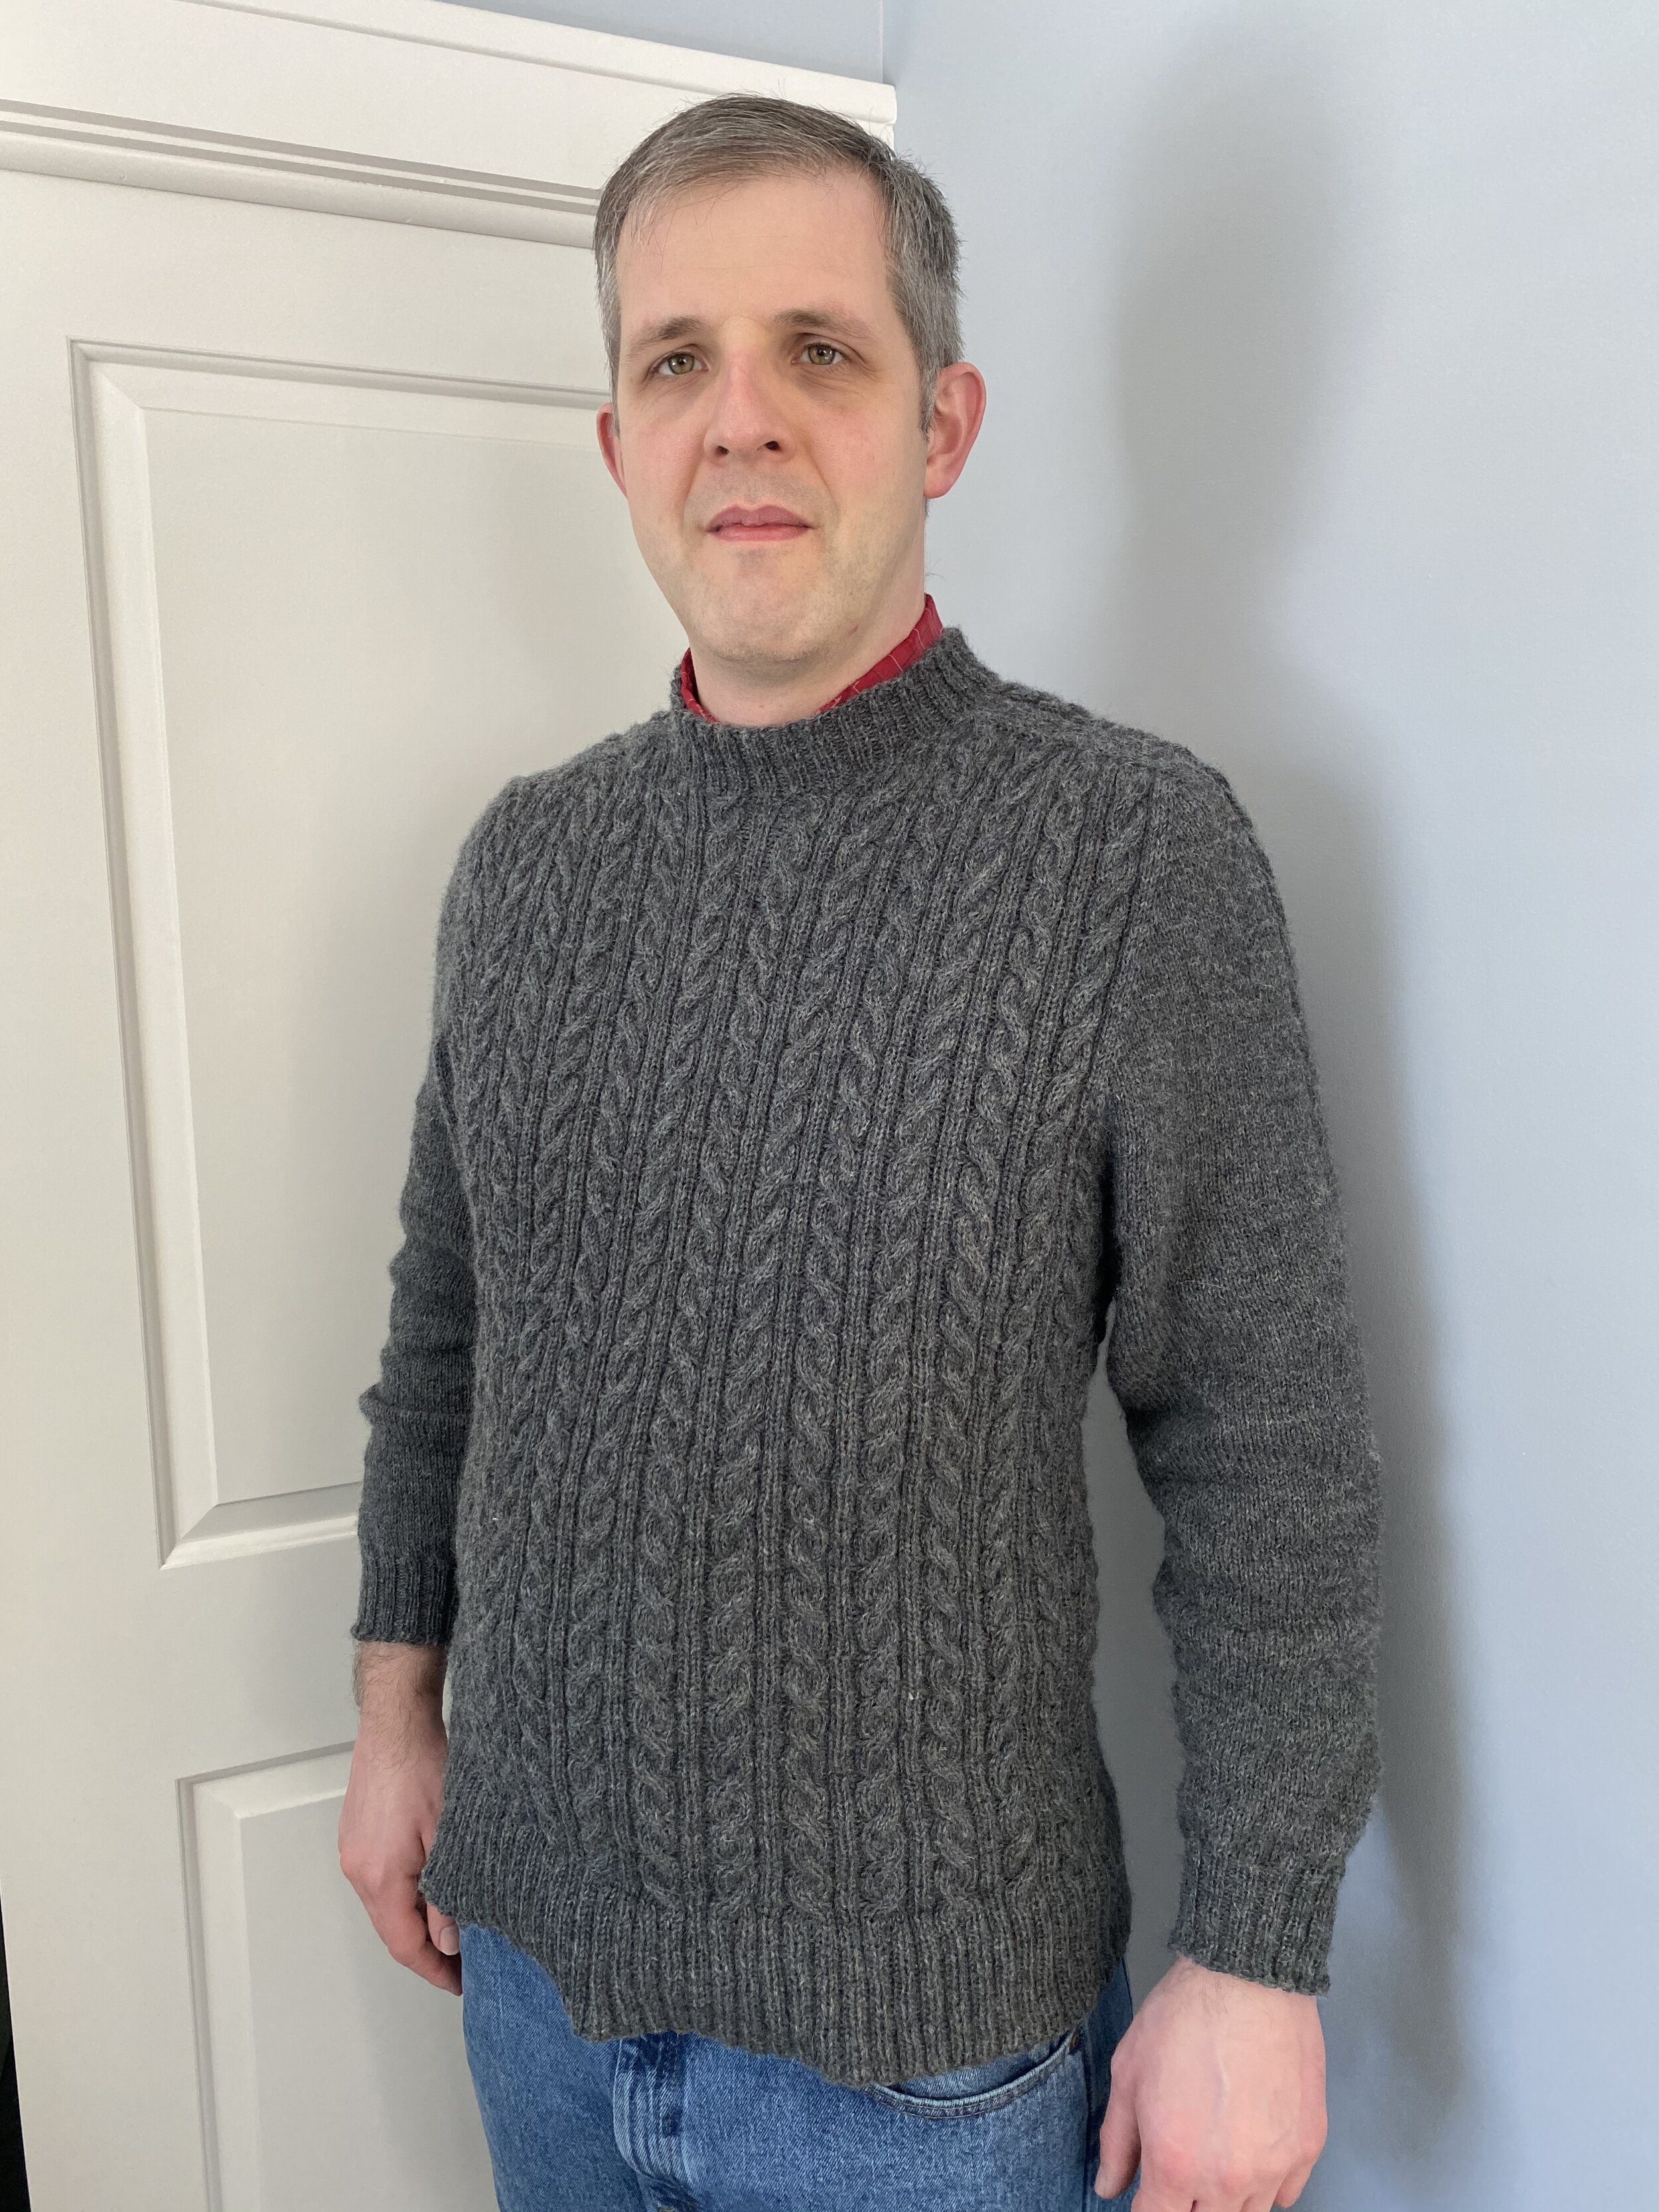
We decided it was time to defy the sweater curse. The first question: what type of sweater do you want? Ummm… Do you want it to have cables on it, color work, be plain knit, or…? (I distinctly decided not to ask about construction details, like do you want a raglan, yoke, etc.) We decided cables sounded good, so then there was a long trawl through all the cabled men’s sweater patterns on Ravelry. And when I say all, I don’t actually mean all, because oh my goodness, so many patterns. Once I had a browser window with about 50 tabs of different types of cabled sweaters, we got to flip through them, on and off, for about a week. The first step was to familiarize him with different styles and designs, and let him think about things enough to start rejecting things. Eventually Mommy and I realized that we would have to make a decision on his behalf, and we started rejecting patterns and studying the construction. The final winner was the ‘Wuthering Heights’ sweater by Les Tricoteurs Volants. I kept most of the construction details (though I did have to modify some of them), but went with an all-over cable ribbing pattern. Since my main body pattern is more stretchy/pulls in a lot more, that meant I had to significantly modify most of the numbers with regards to how many body stitches, how quickly to add stitches at the sleeves, etc., but other than that I was able to use a lot of the construction information from the pattern. I’m really happy with how the construction worked out, though if I do this again, I’d need to add more sleeve stitches sooner, because the sleeves were almost way too small. I’d also shrink the armhole size, though that was something I went back and forth on with mum as I was figuring it out, and we went with a large armhole since the button down shirts he’ll wear this with all have huge armholes.
At the same time we were choosing a pattern, we also had to pick out a yarn. We ended up deciding on the Heather Line sport weight yarn from Jaggerspun, in charcoal. There are so many things to like about this yarn, including that: it comes on a cone, which means less time balling and way fewer ends to sew in, it isn’t a super fine wool, so it should hold up better in a sweater that will be heavily worn in the winter, it’s made by a local mill (1 hr drive), and it isn’t super expensive. I also like the heathered colors, and this charcoal is a lovely grey with a lot of depth to it.
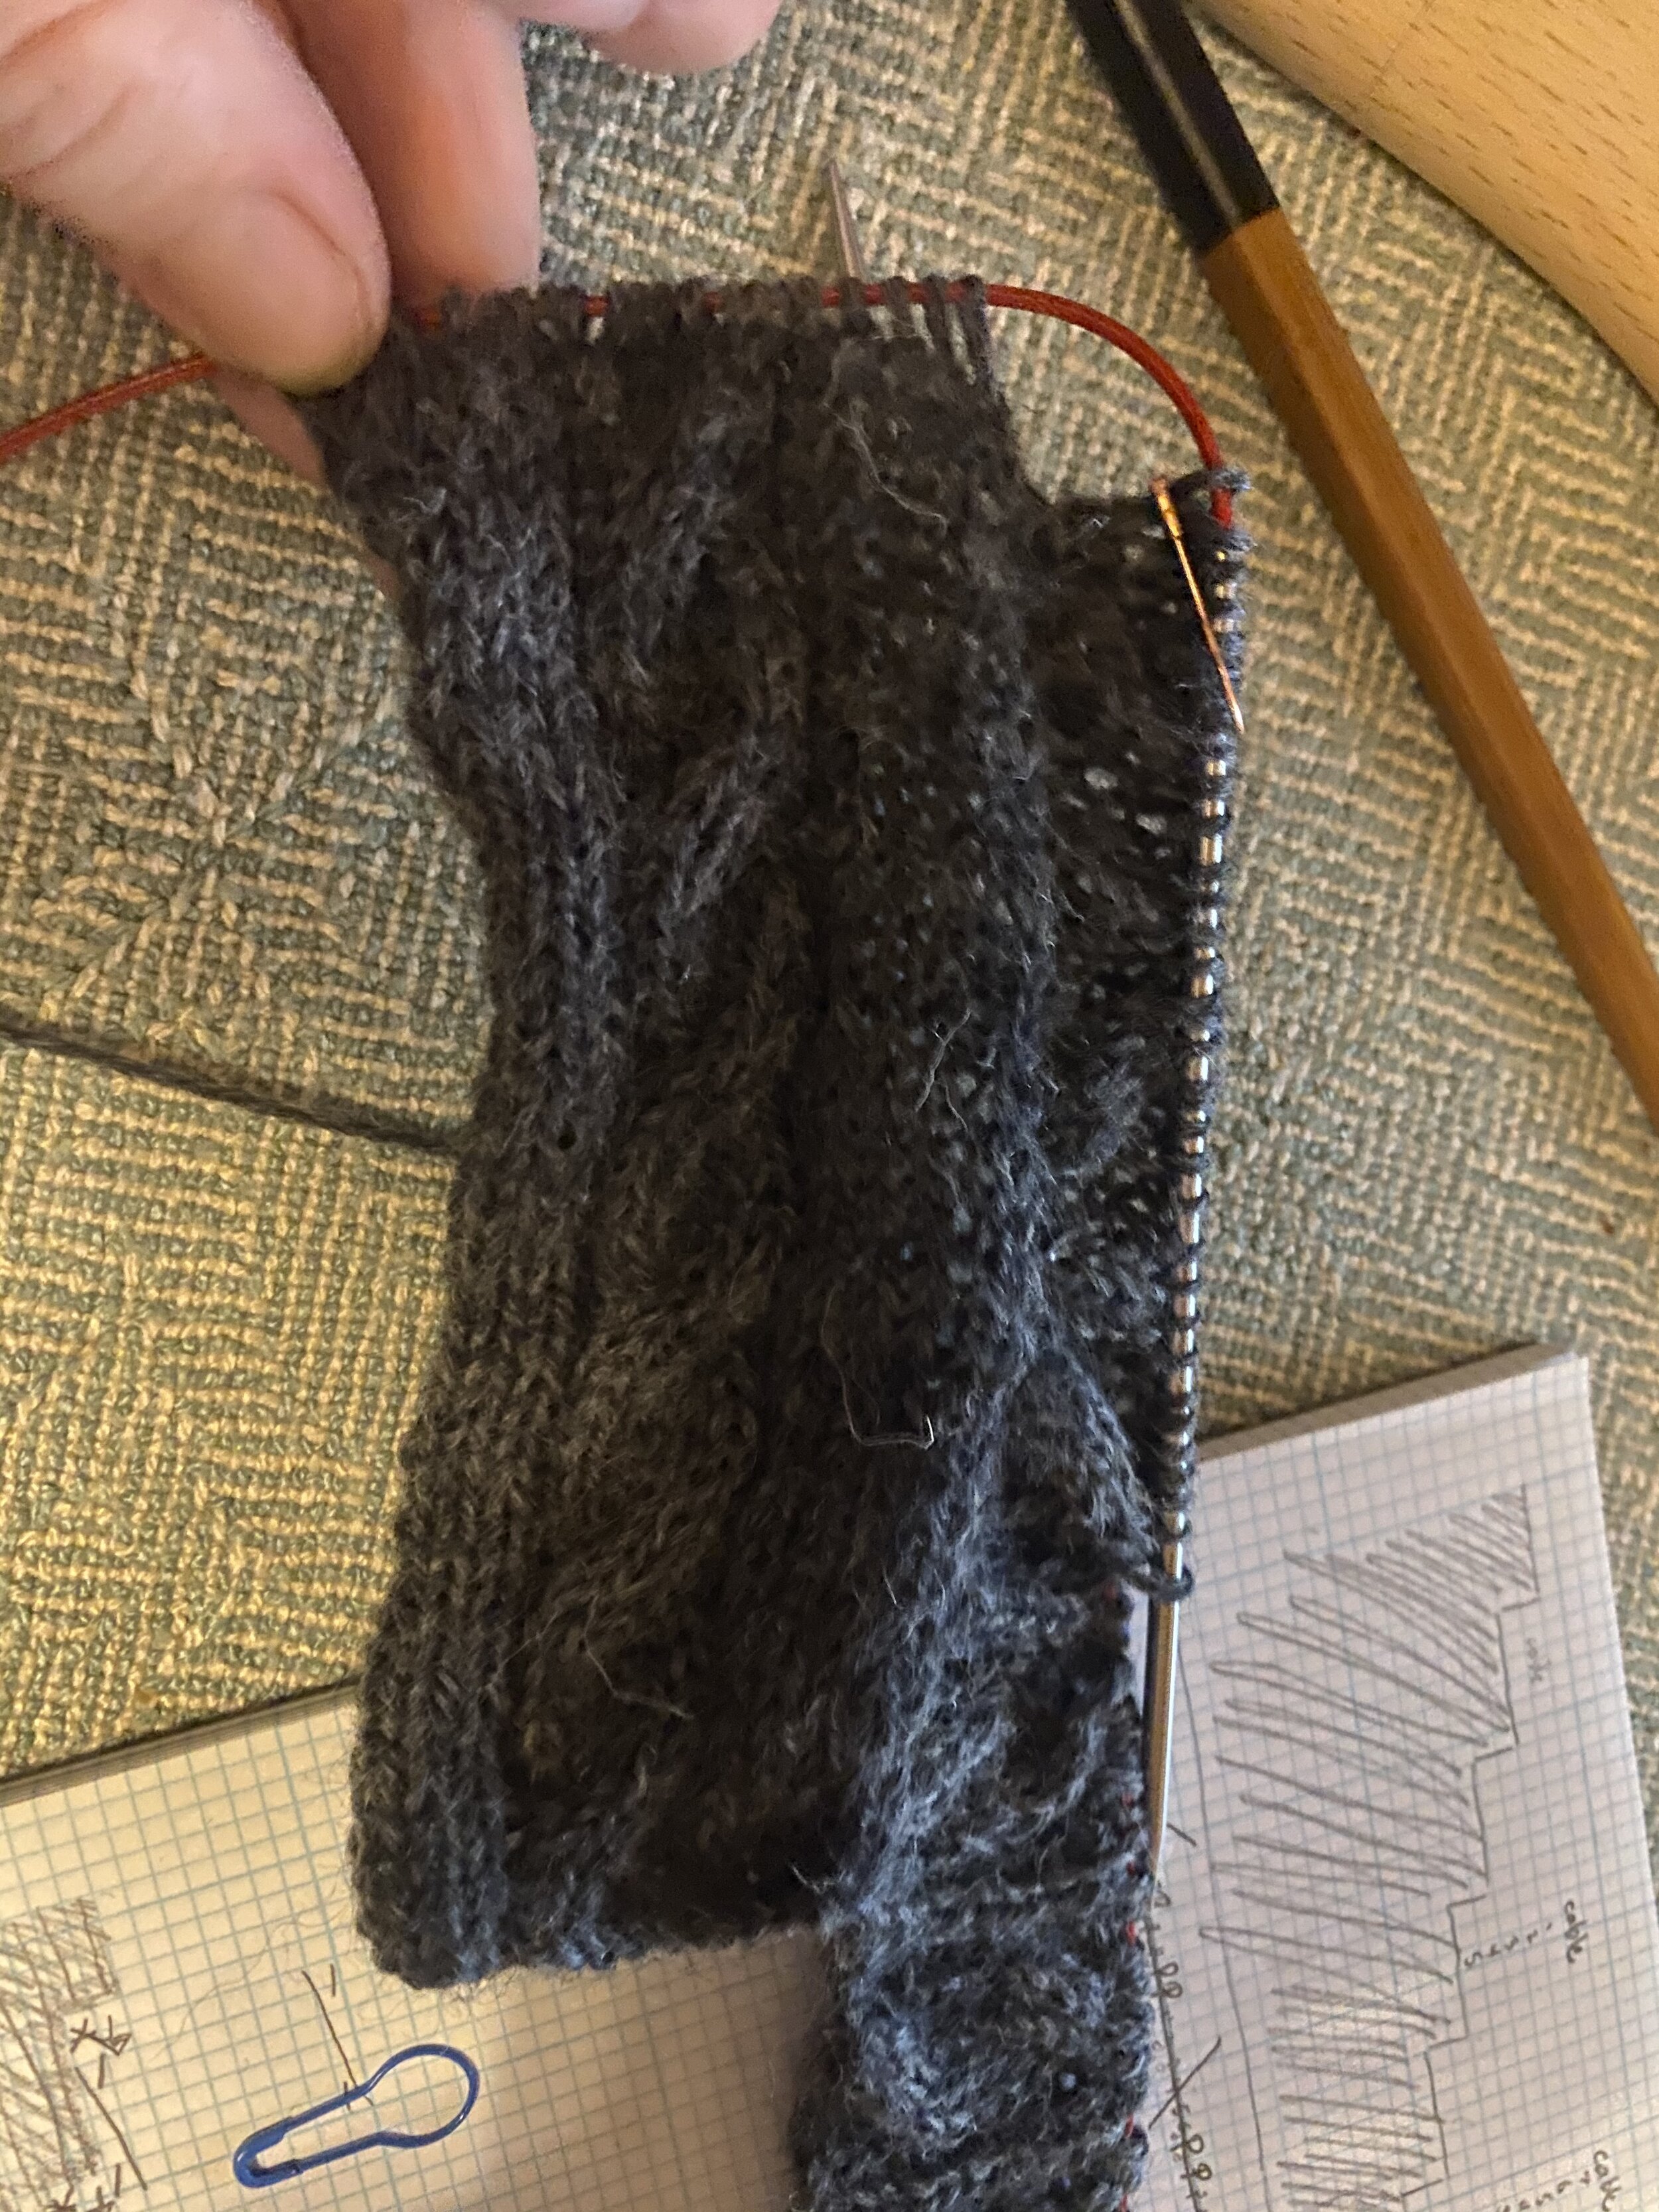
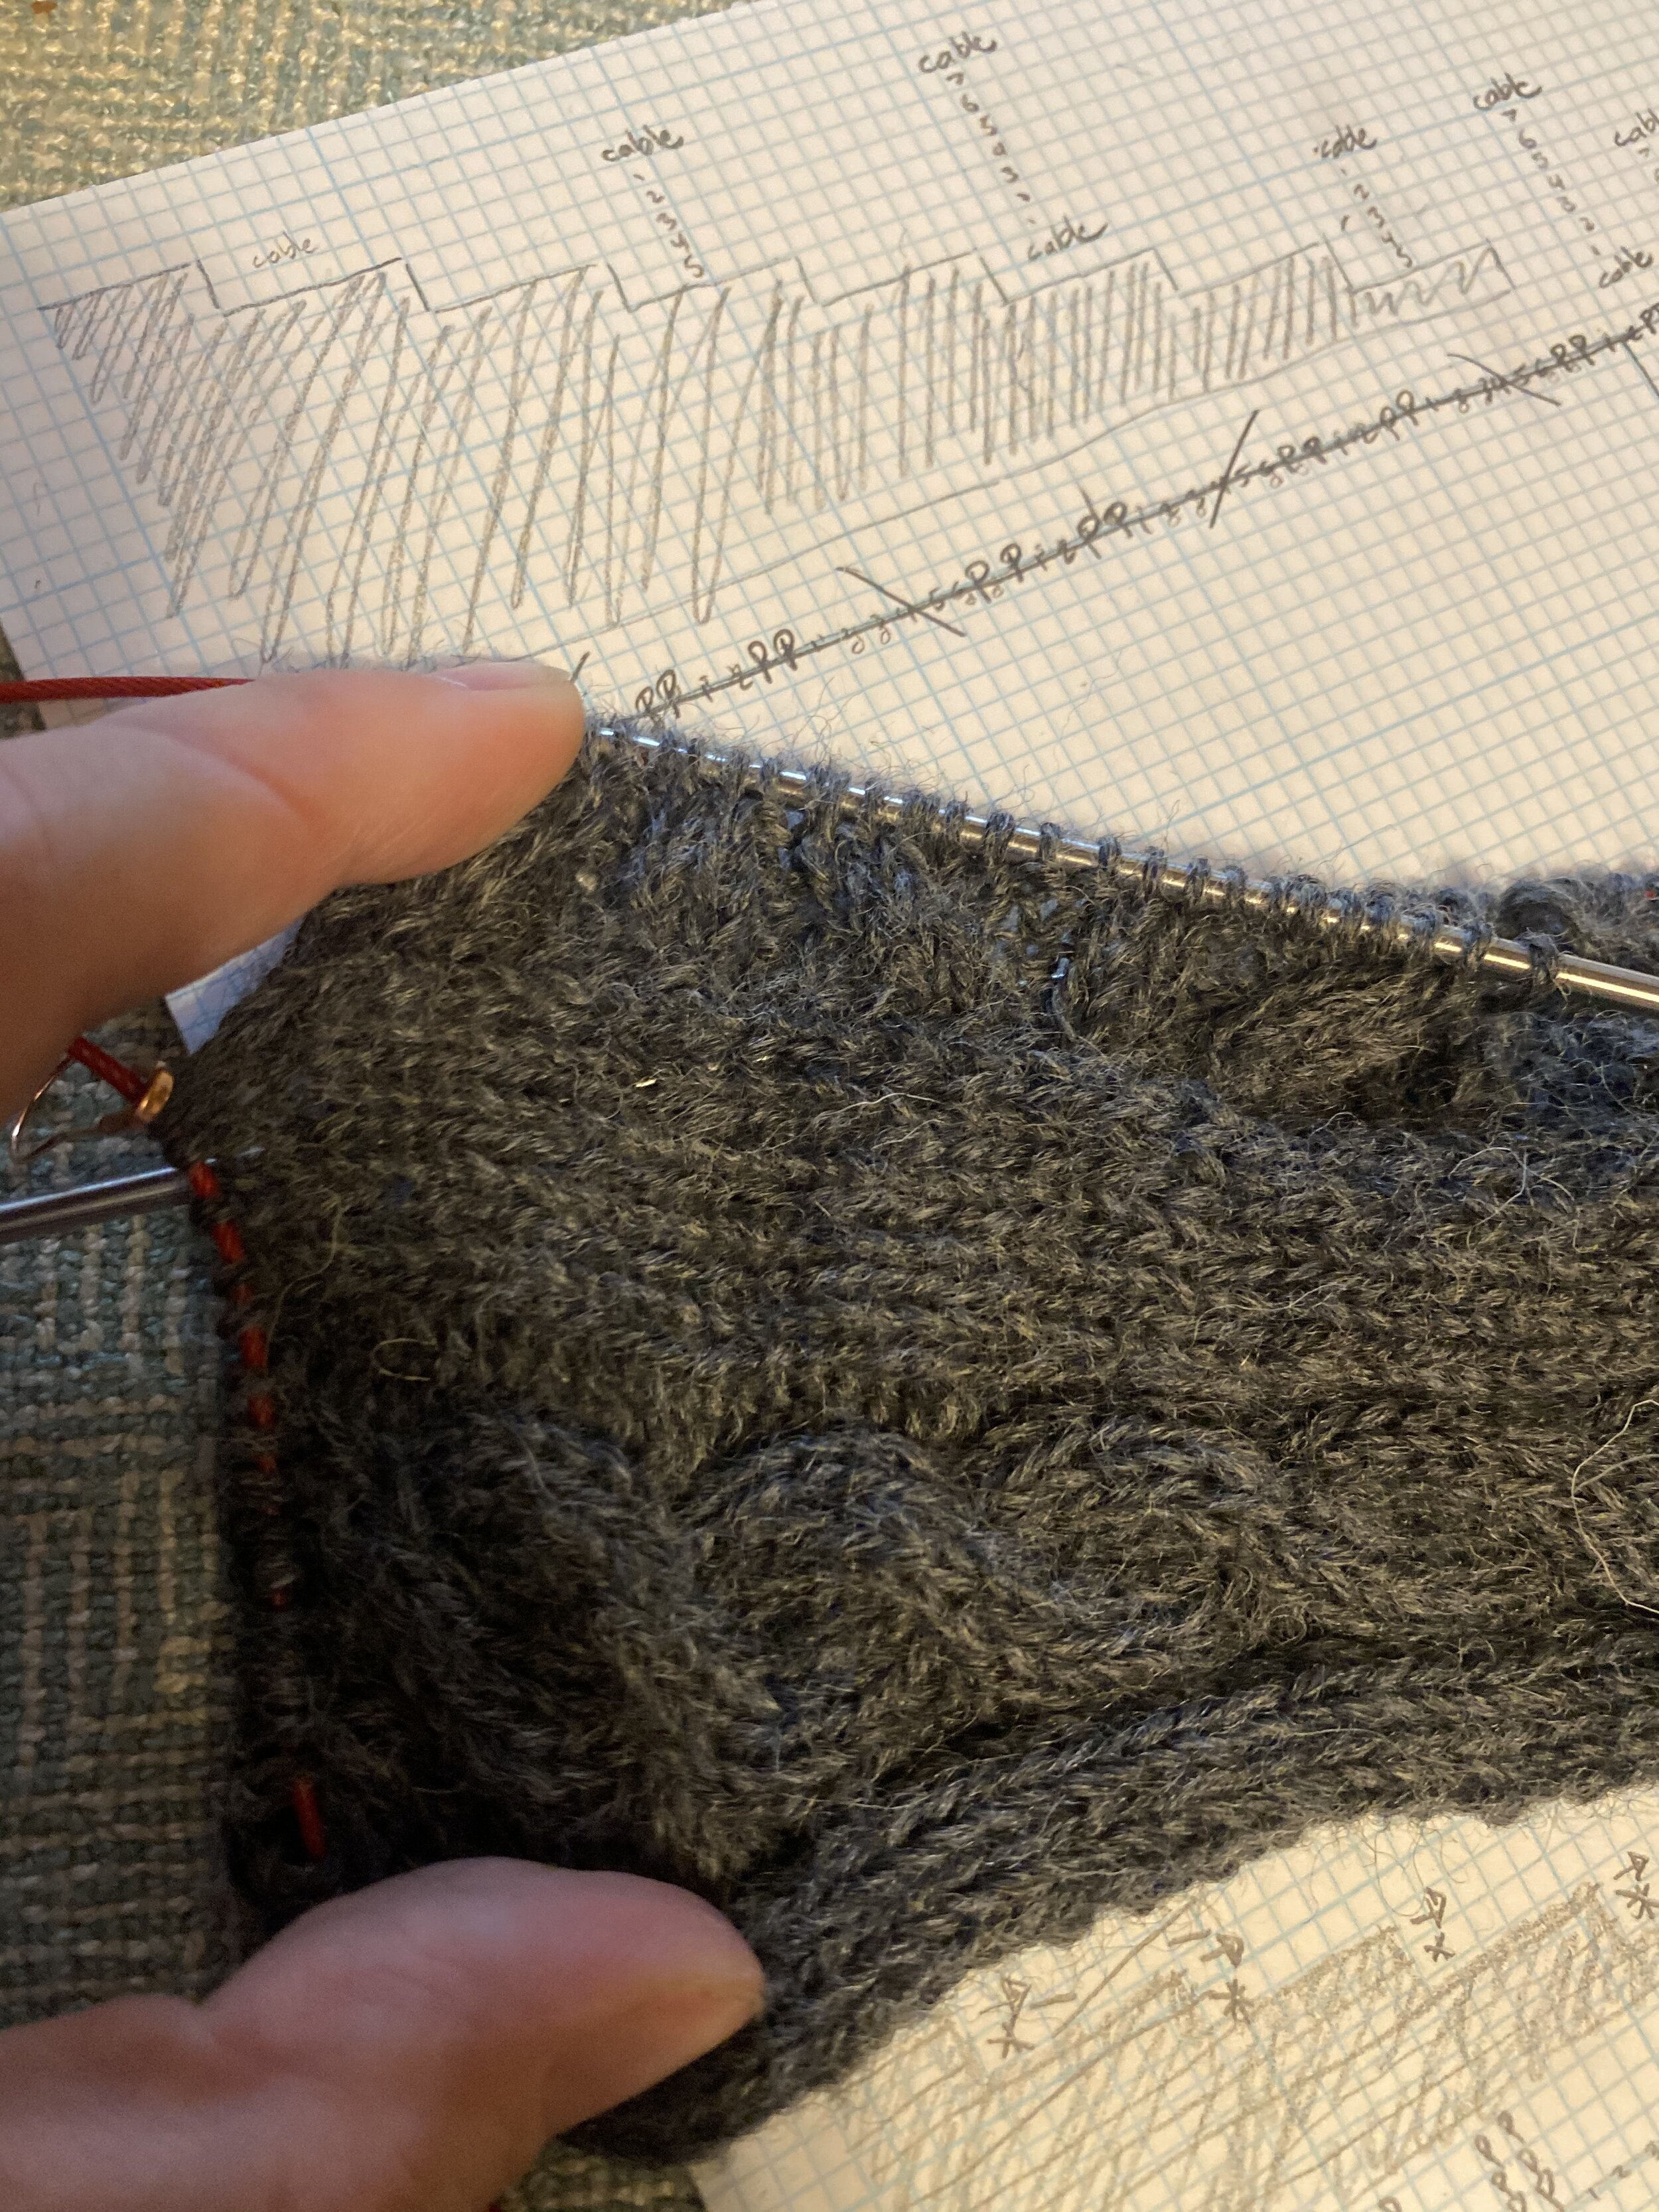
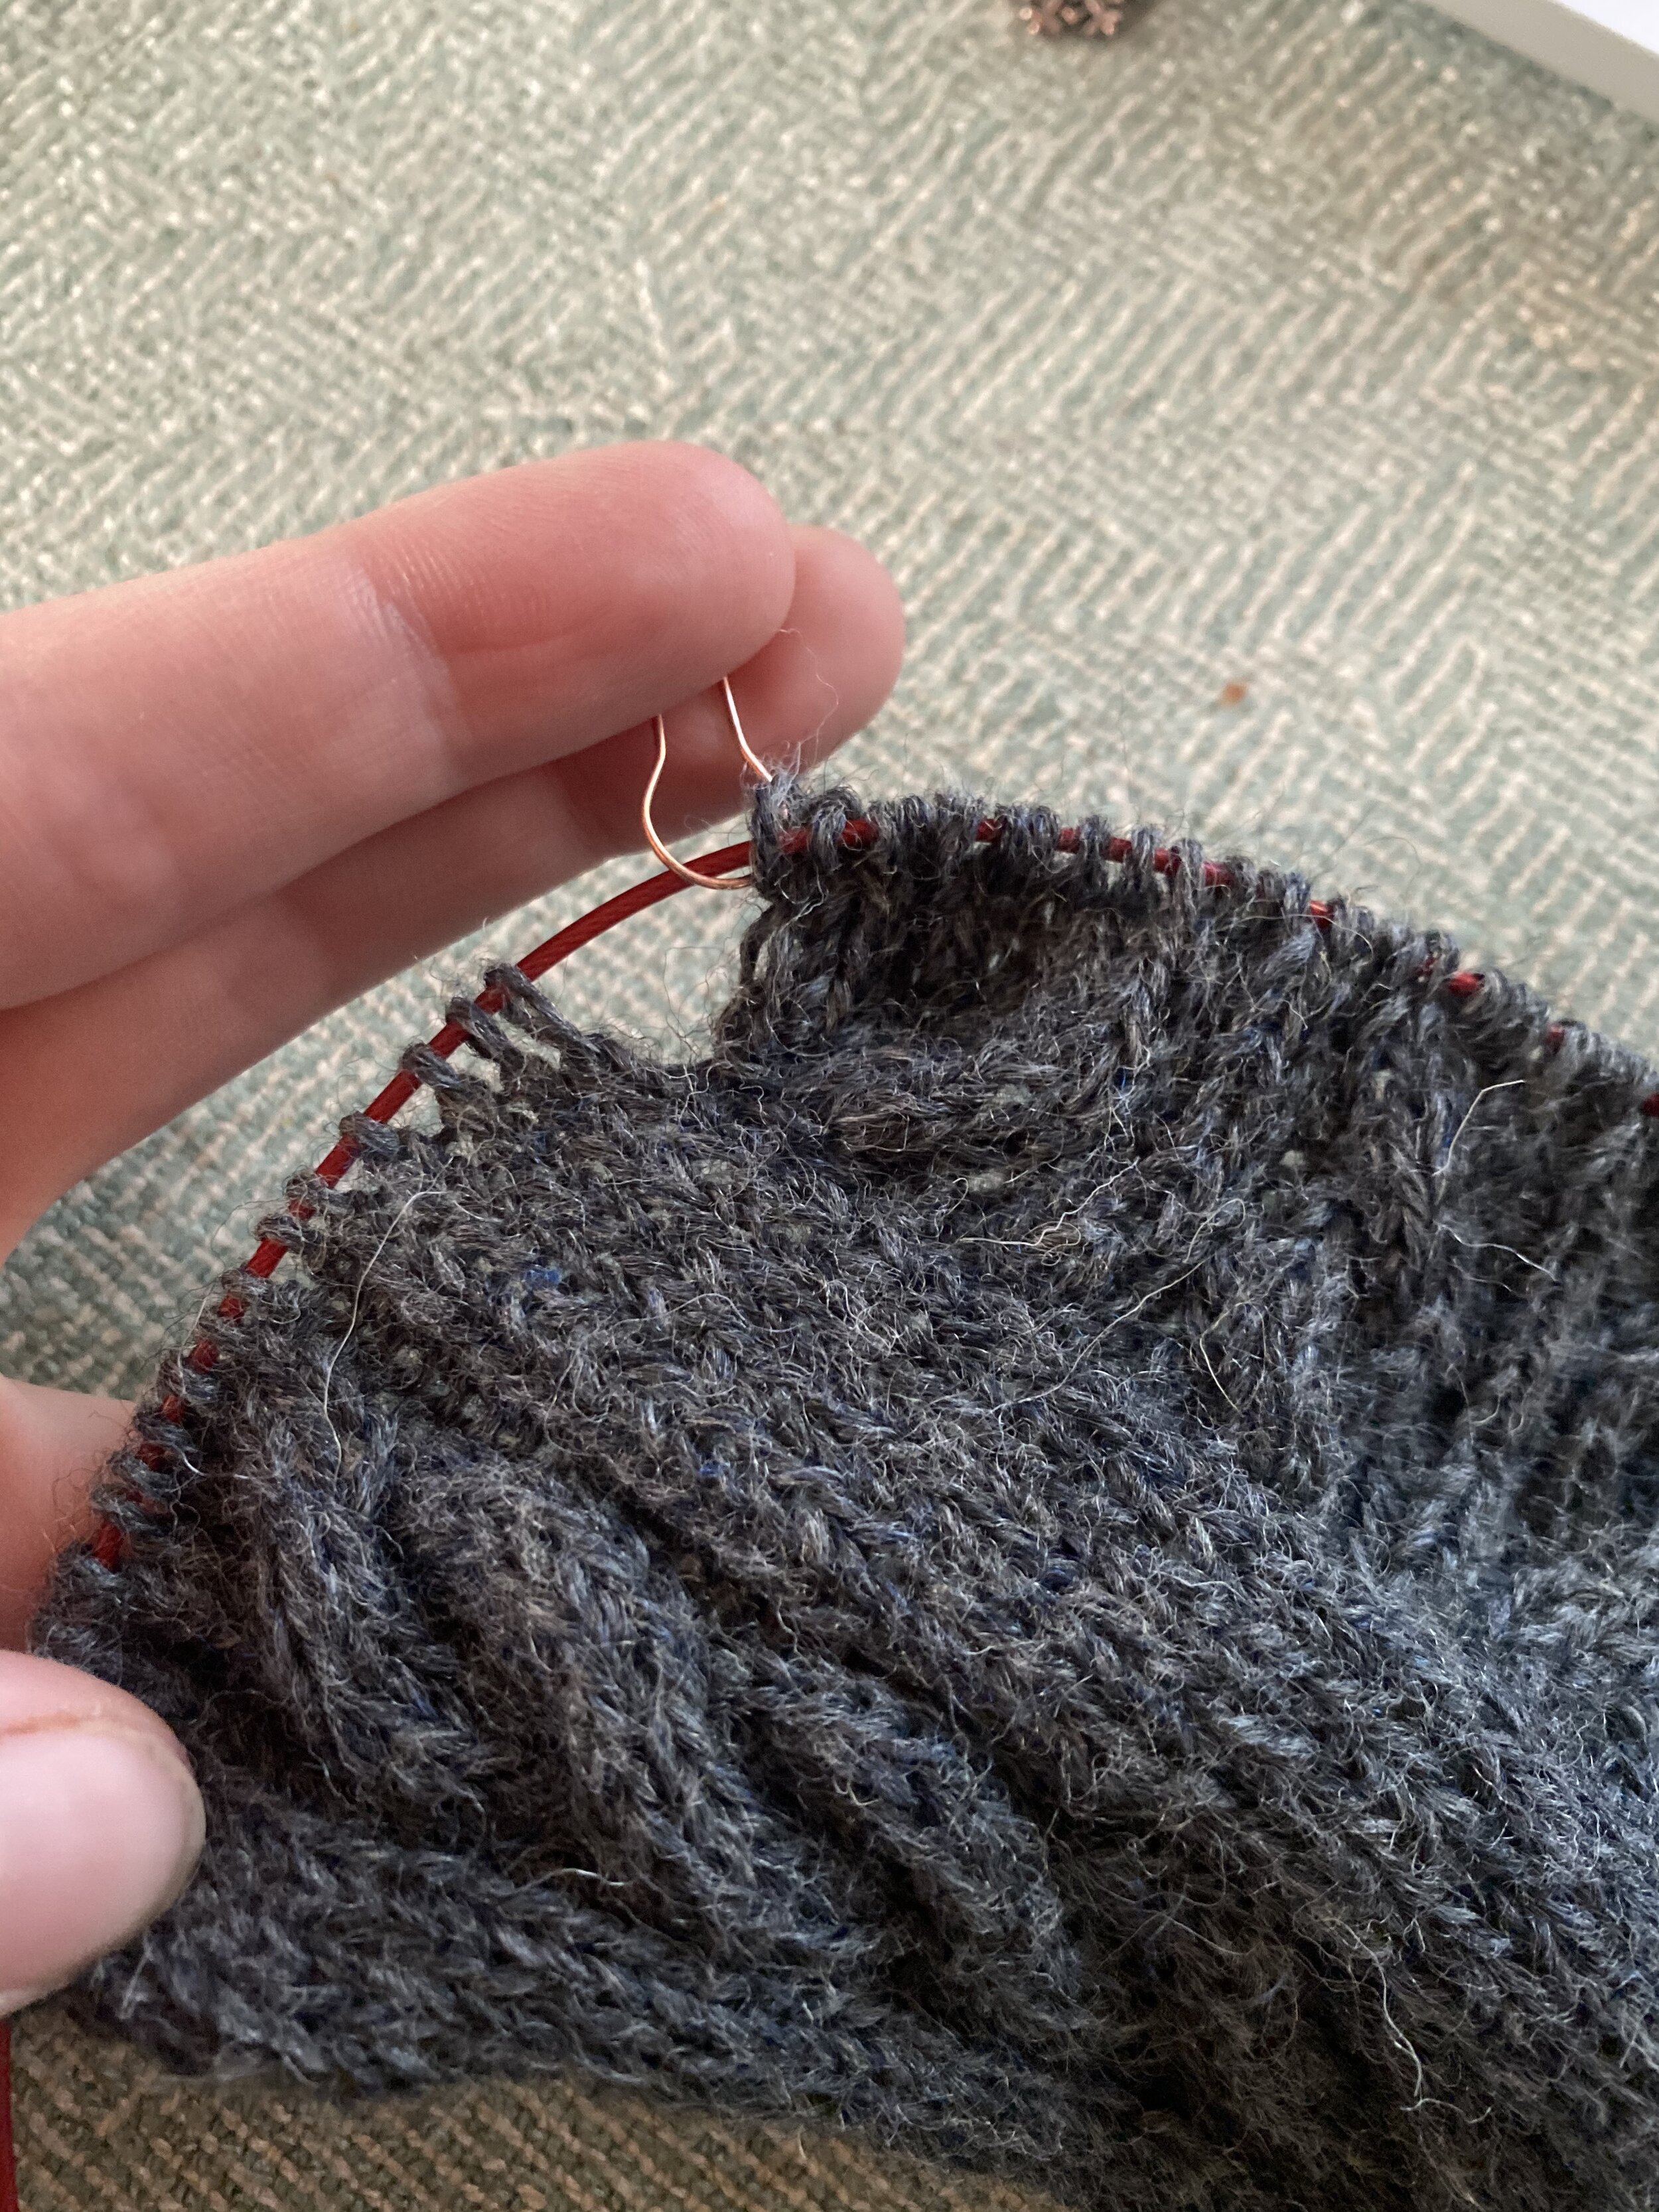
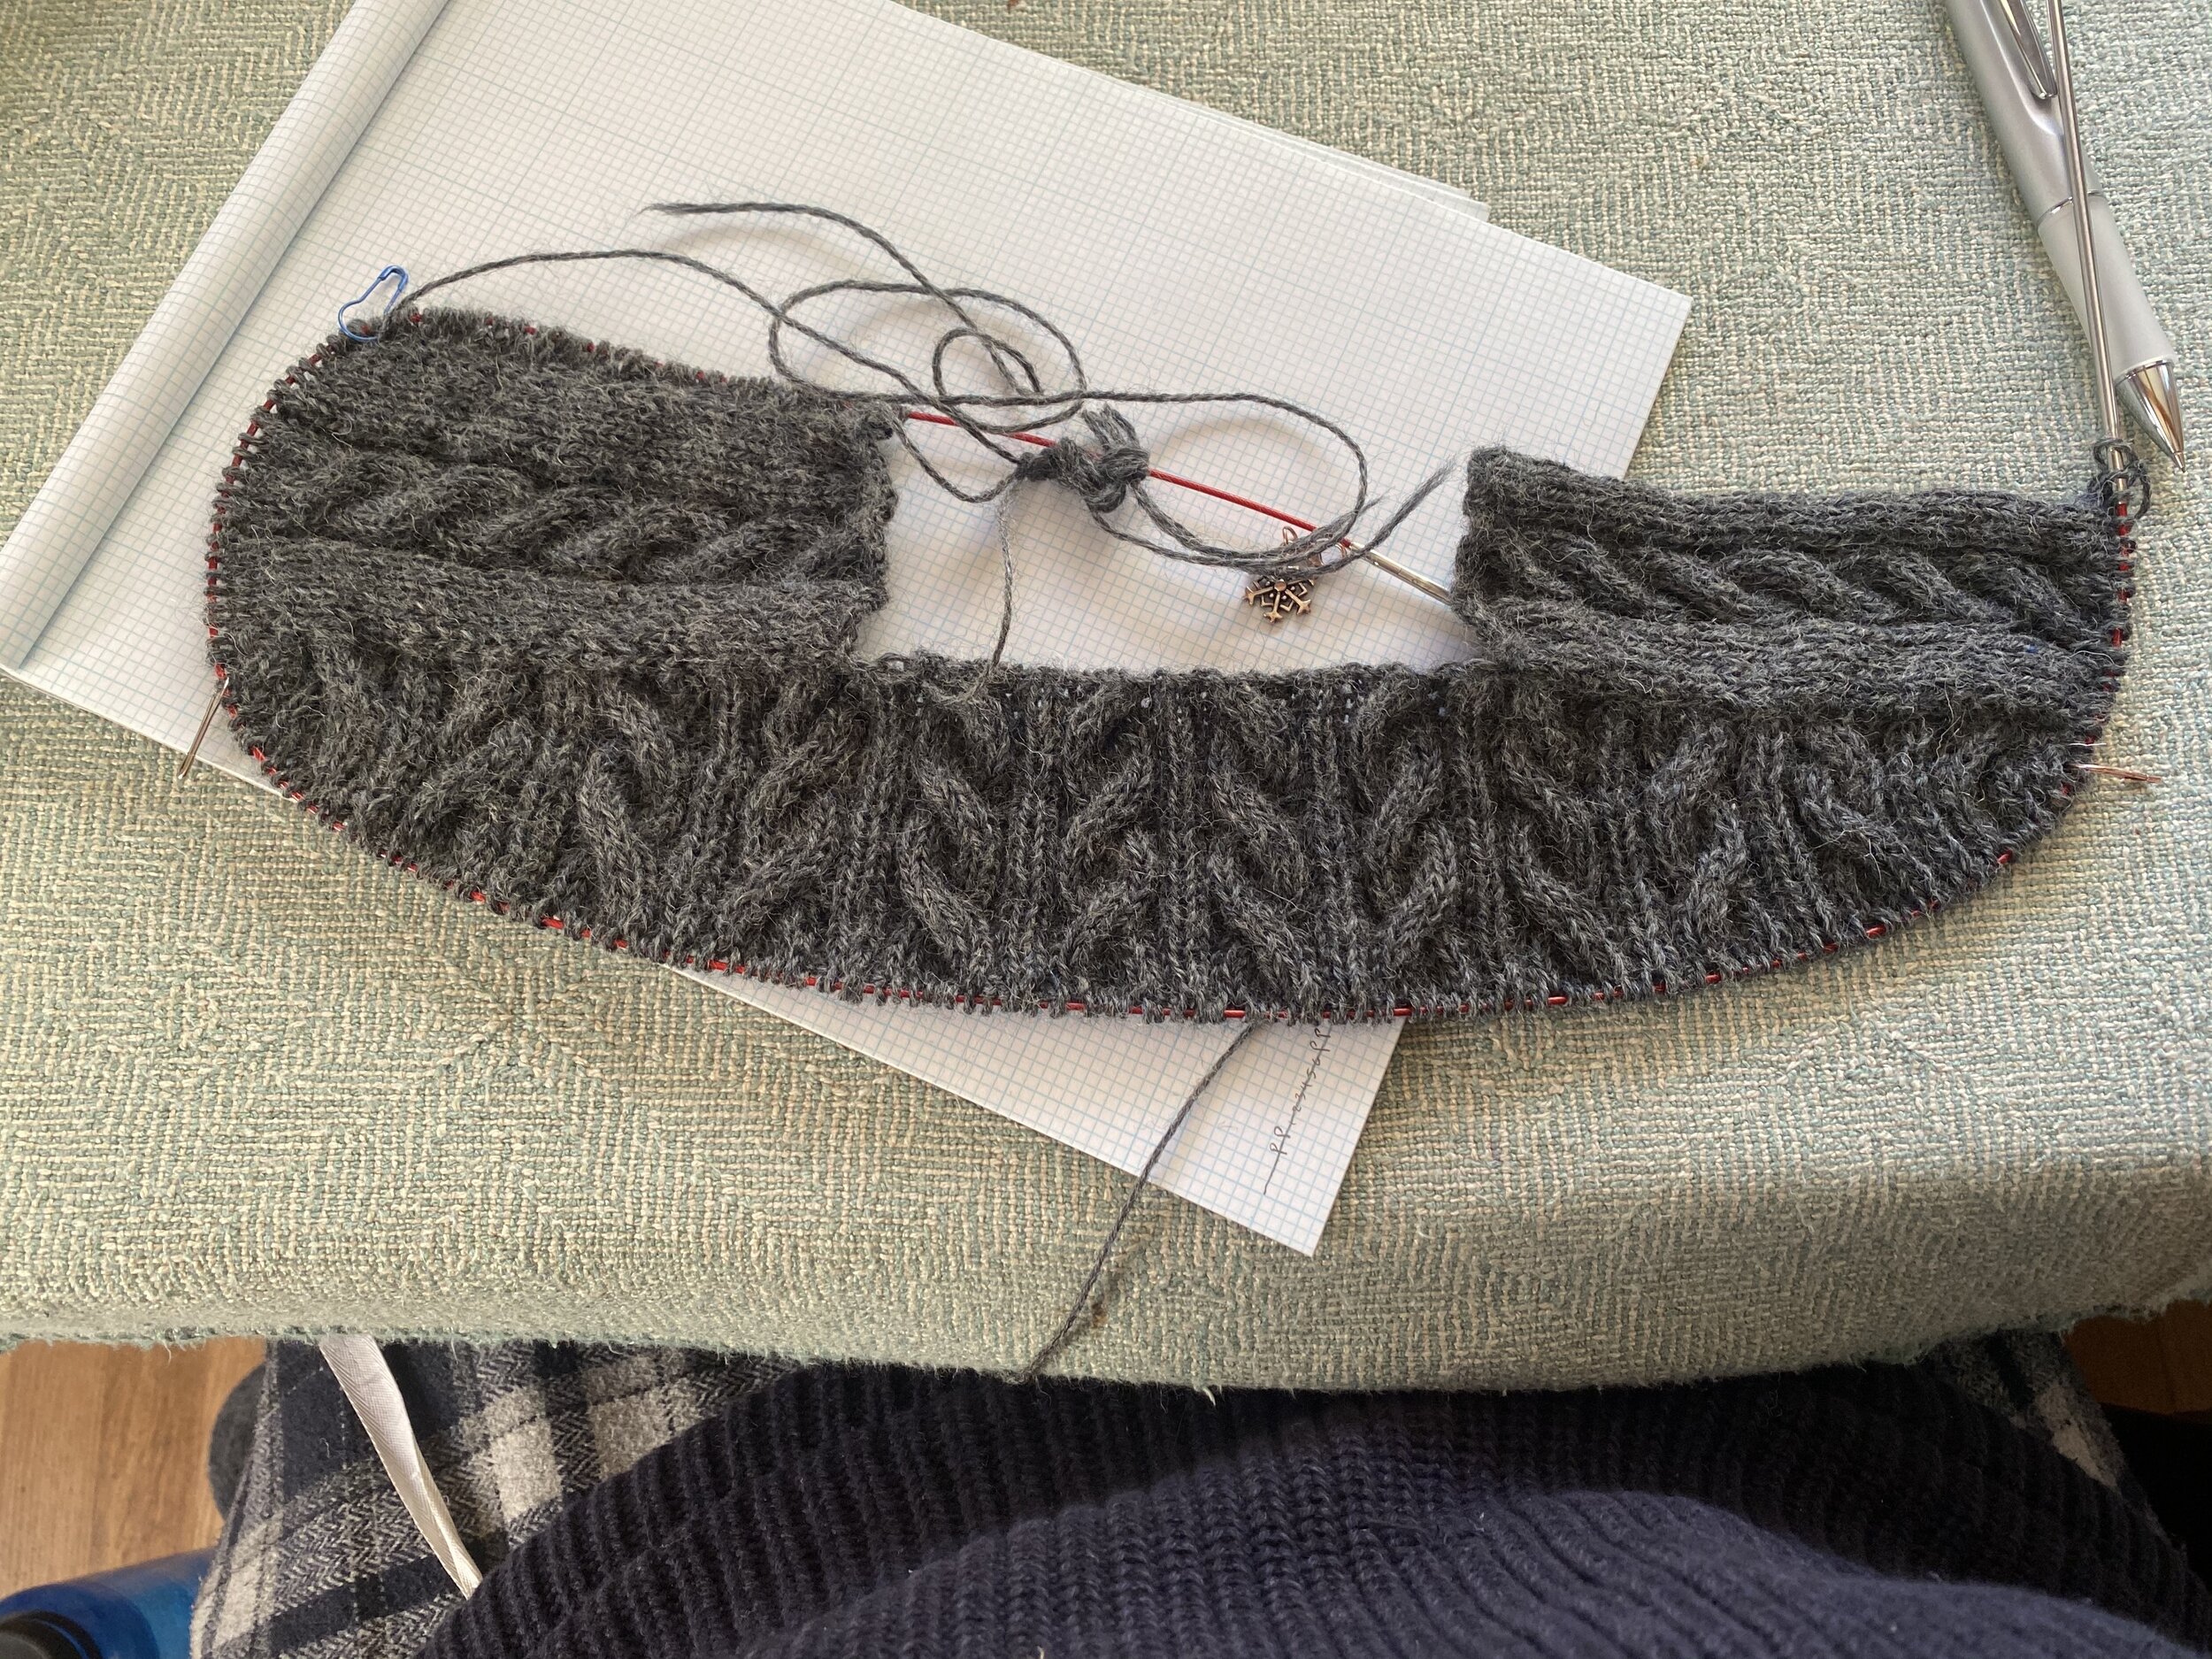
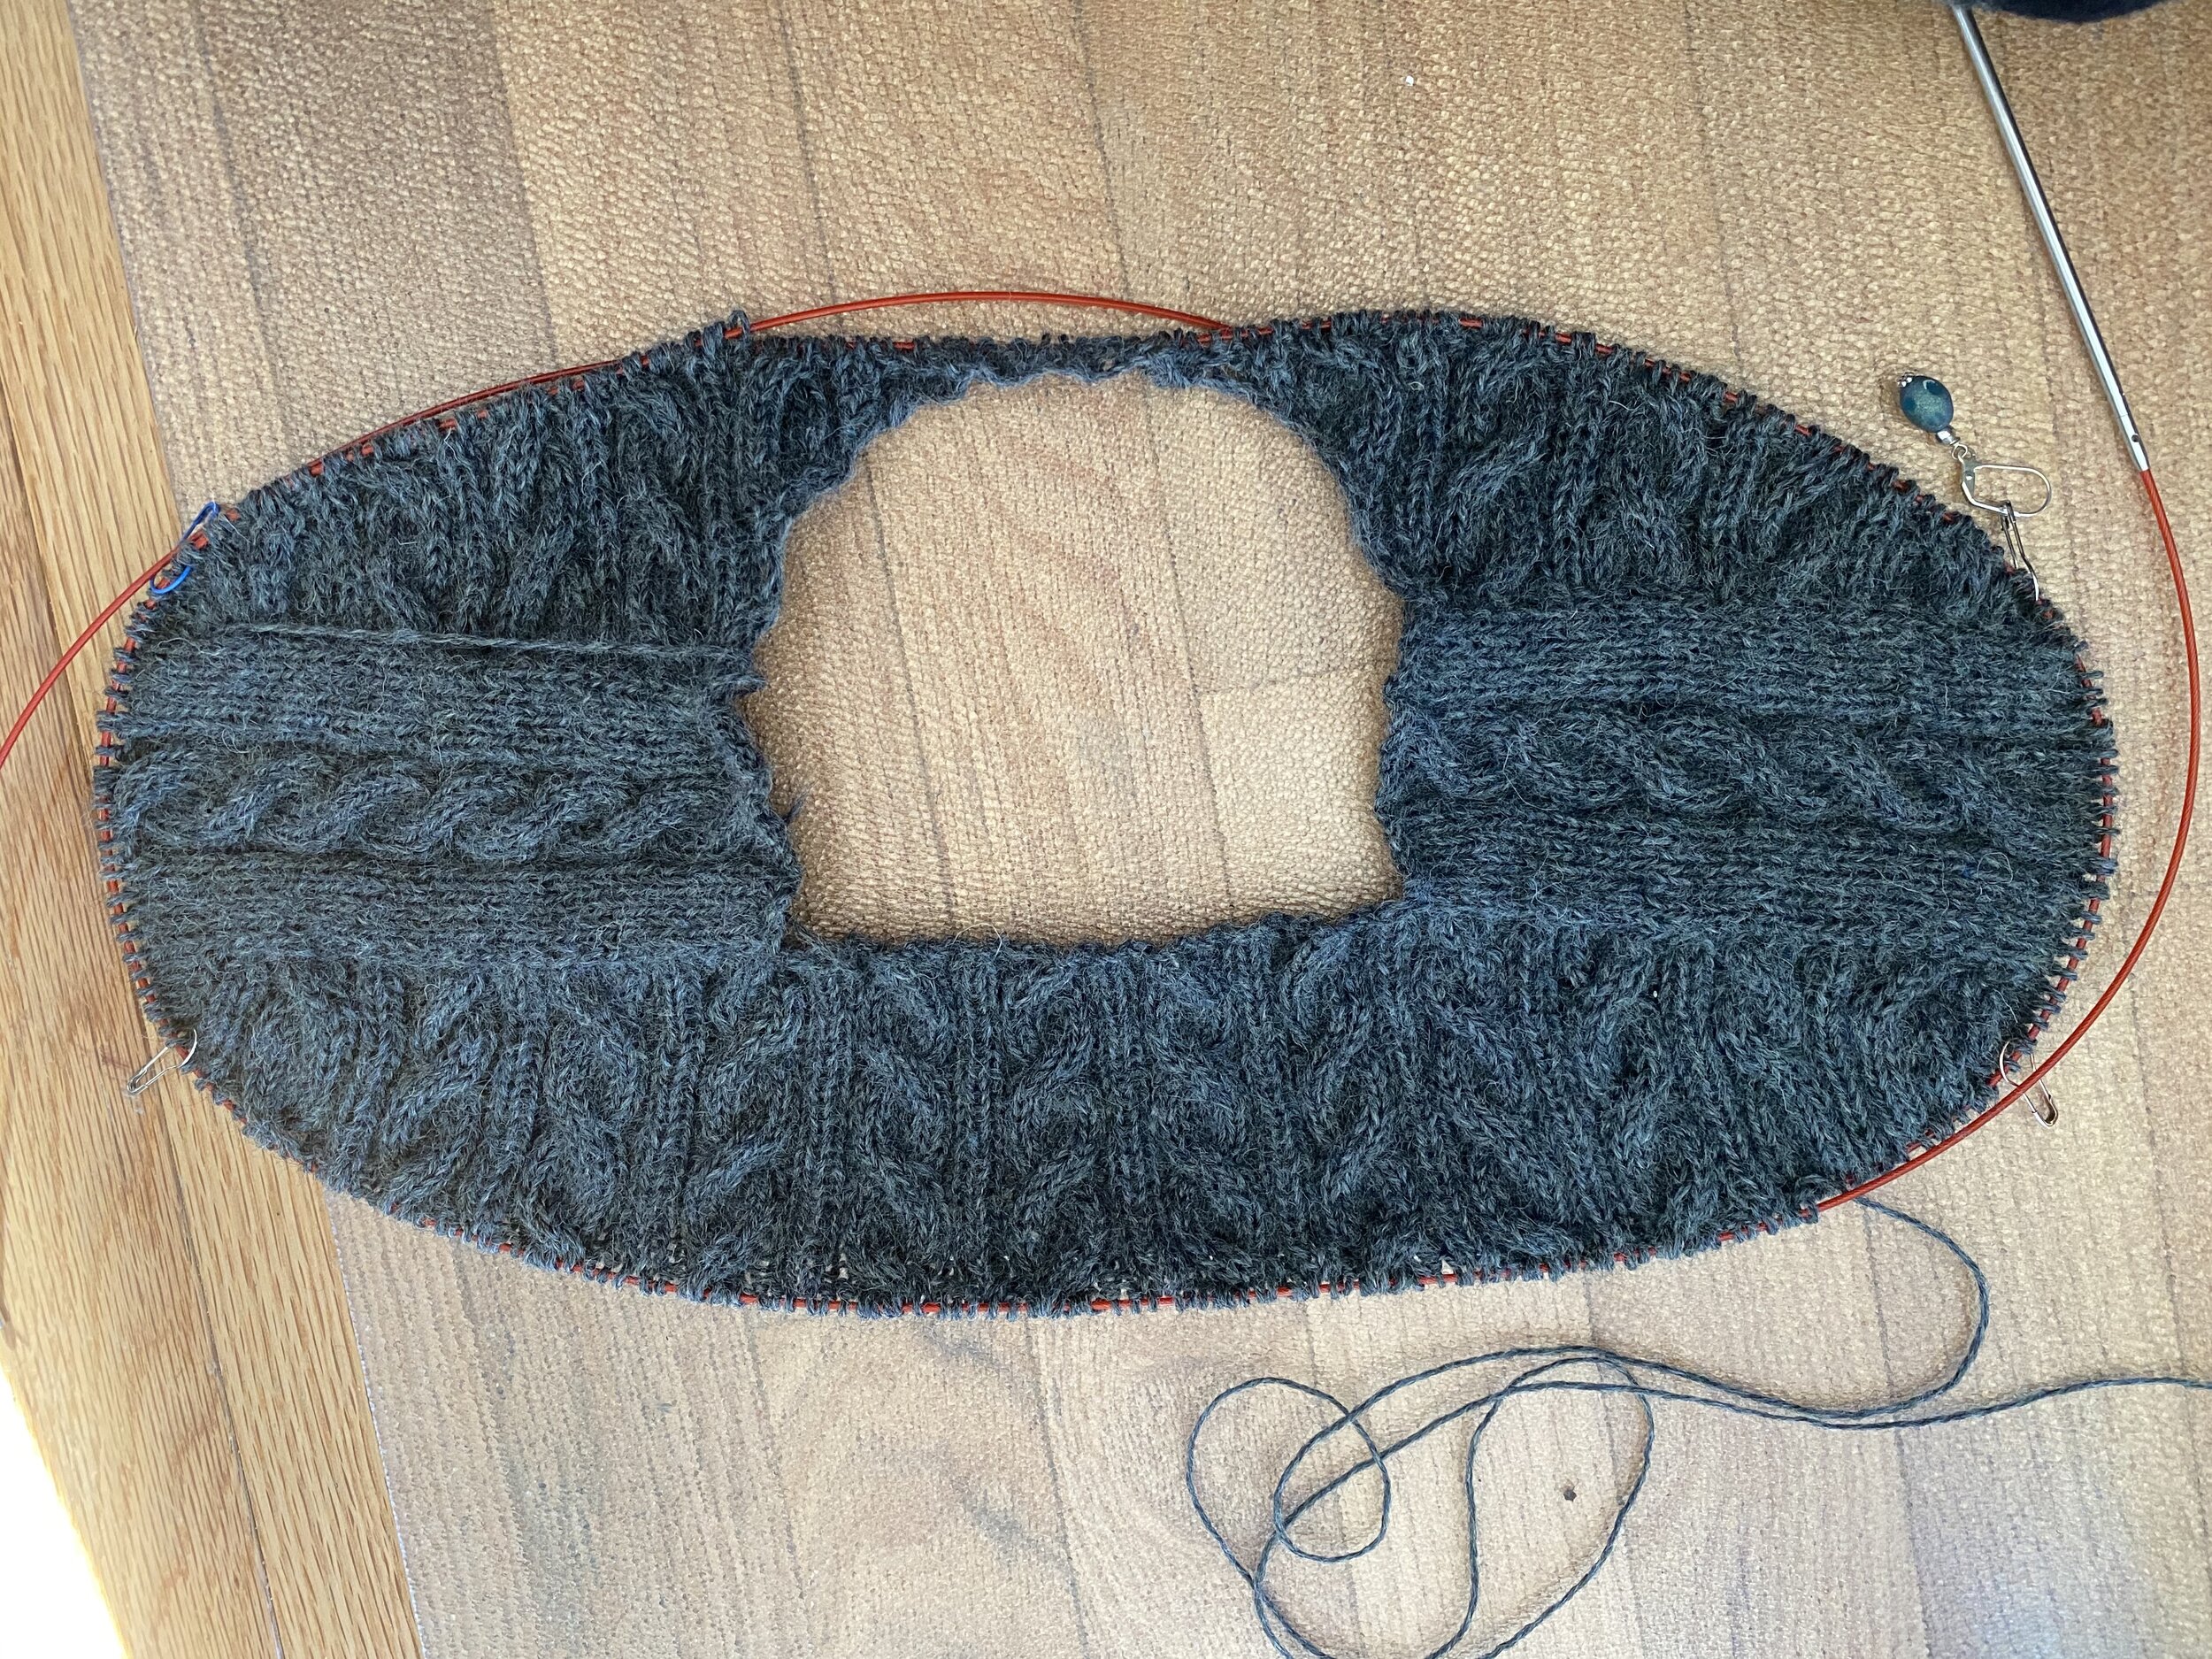
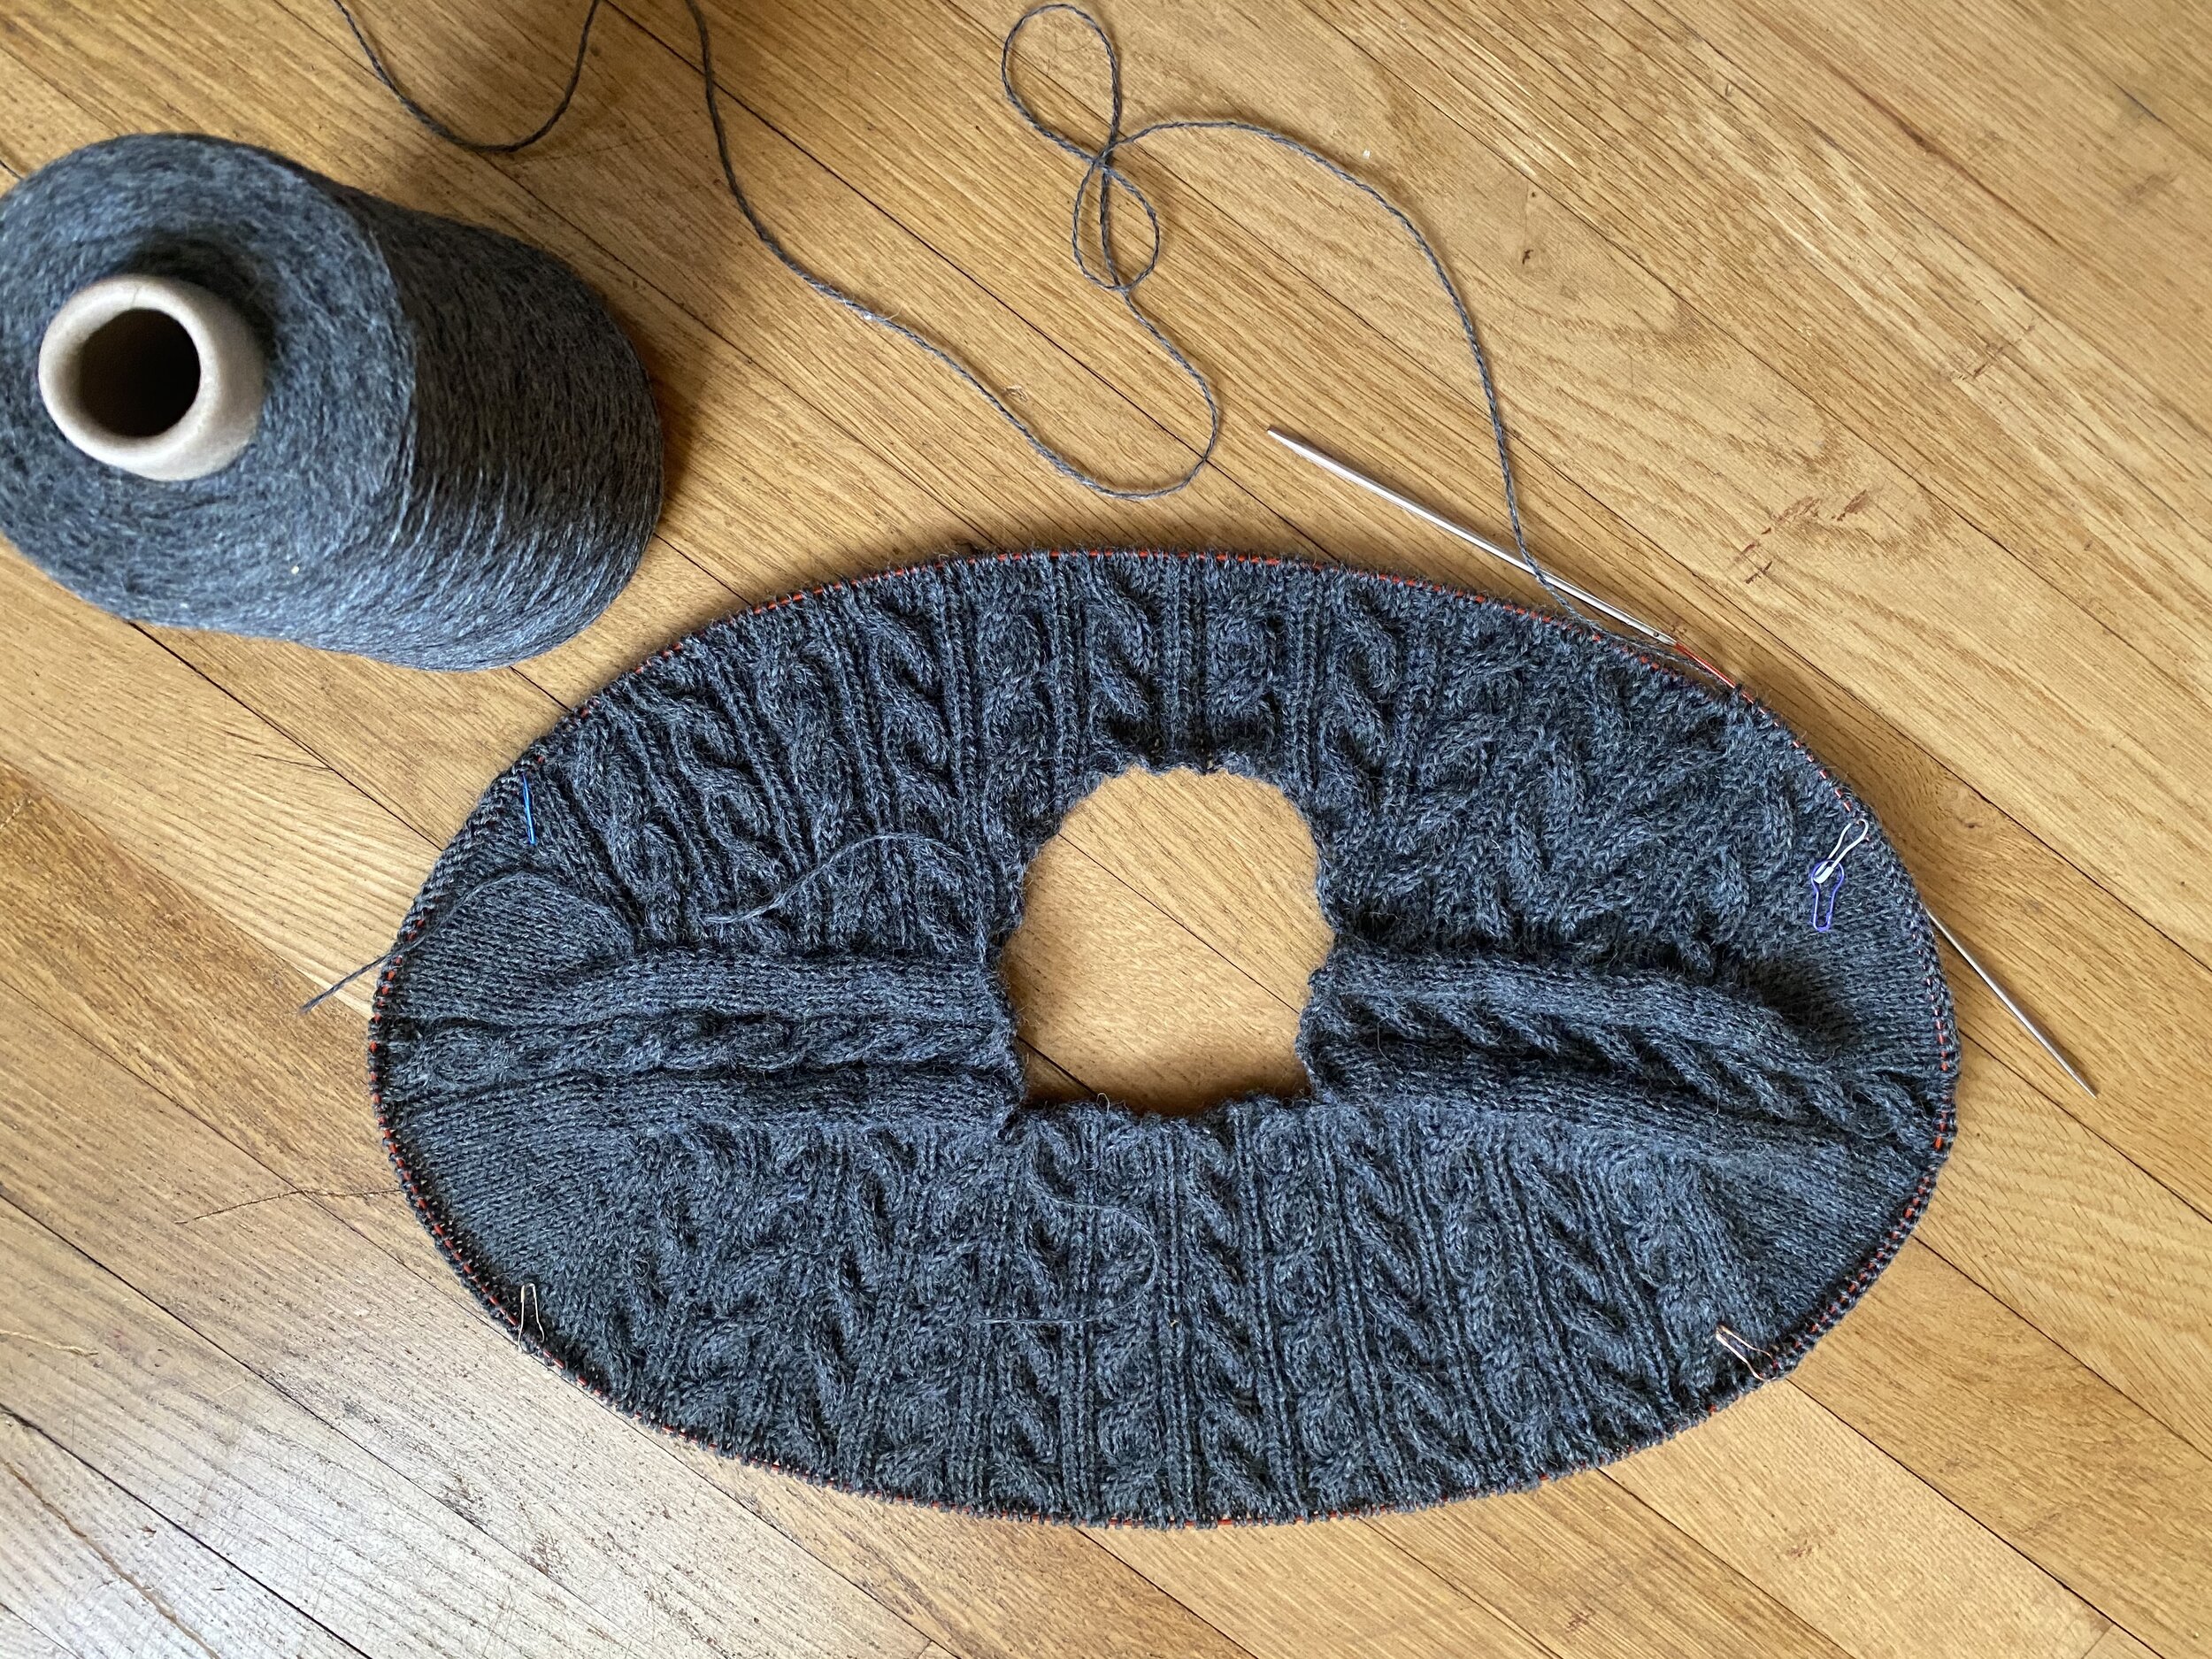
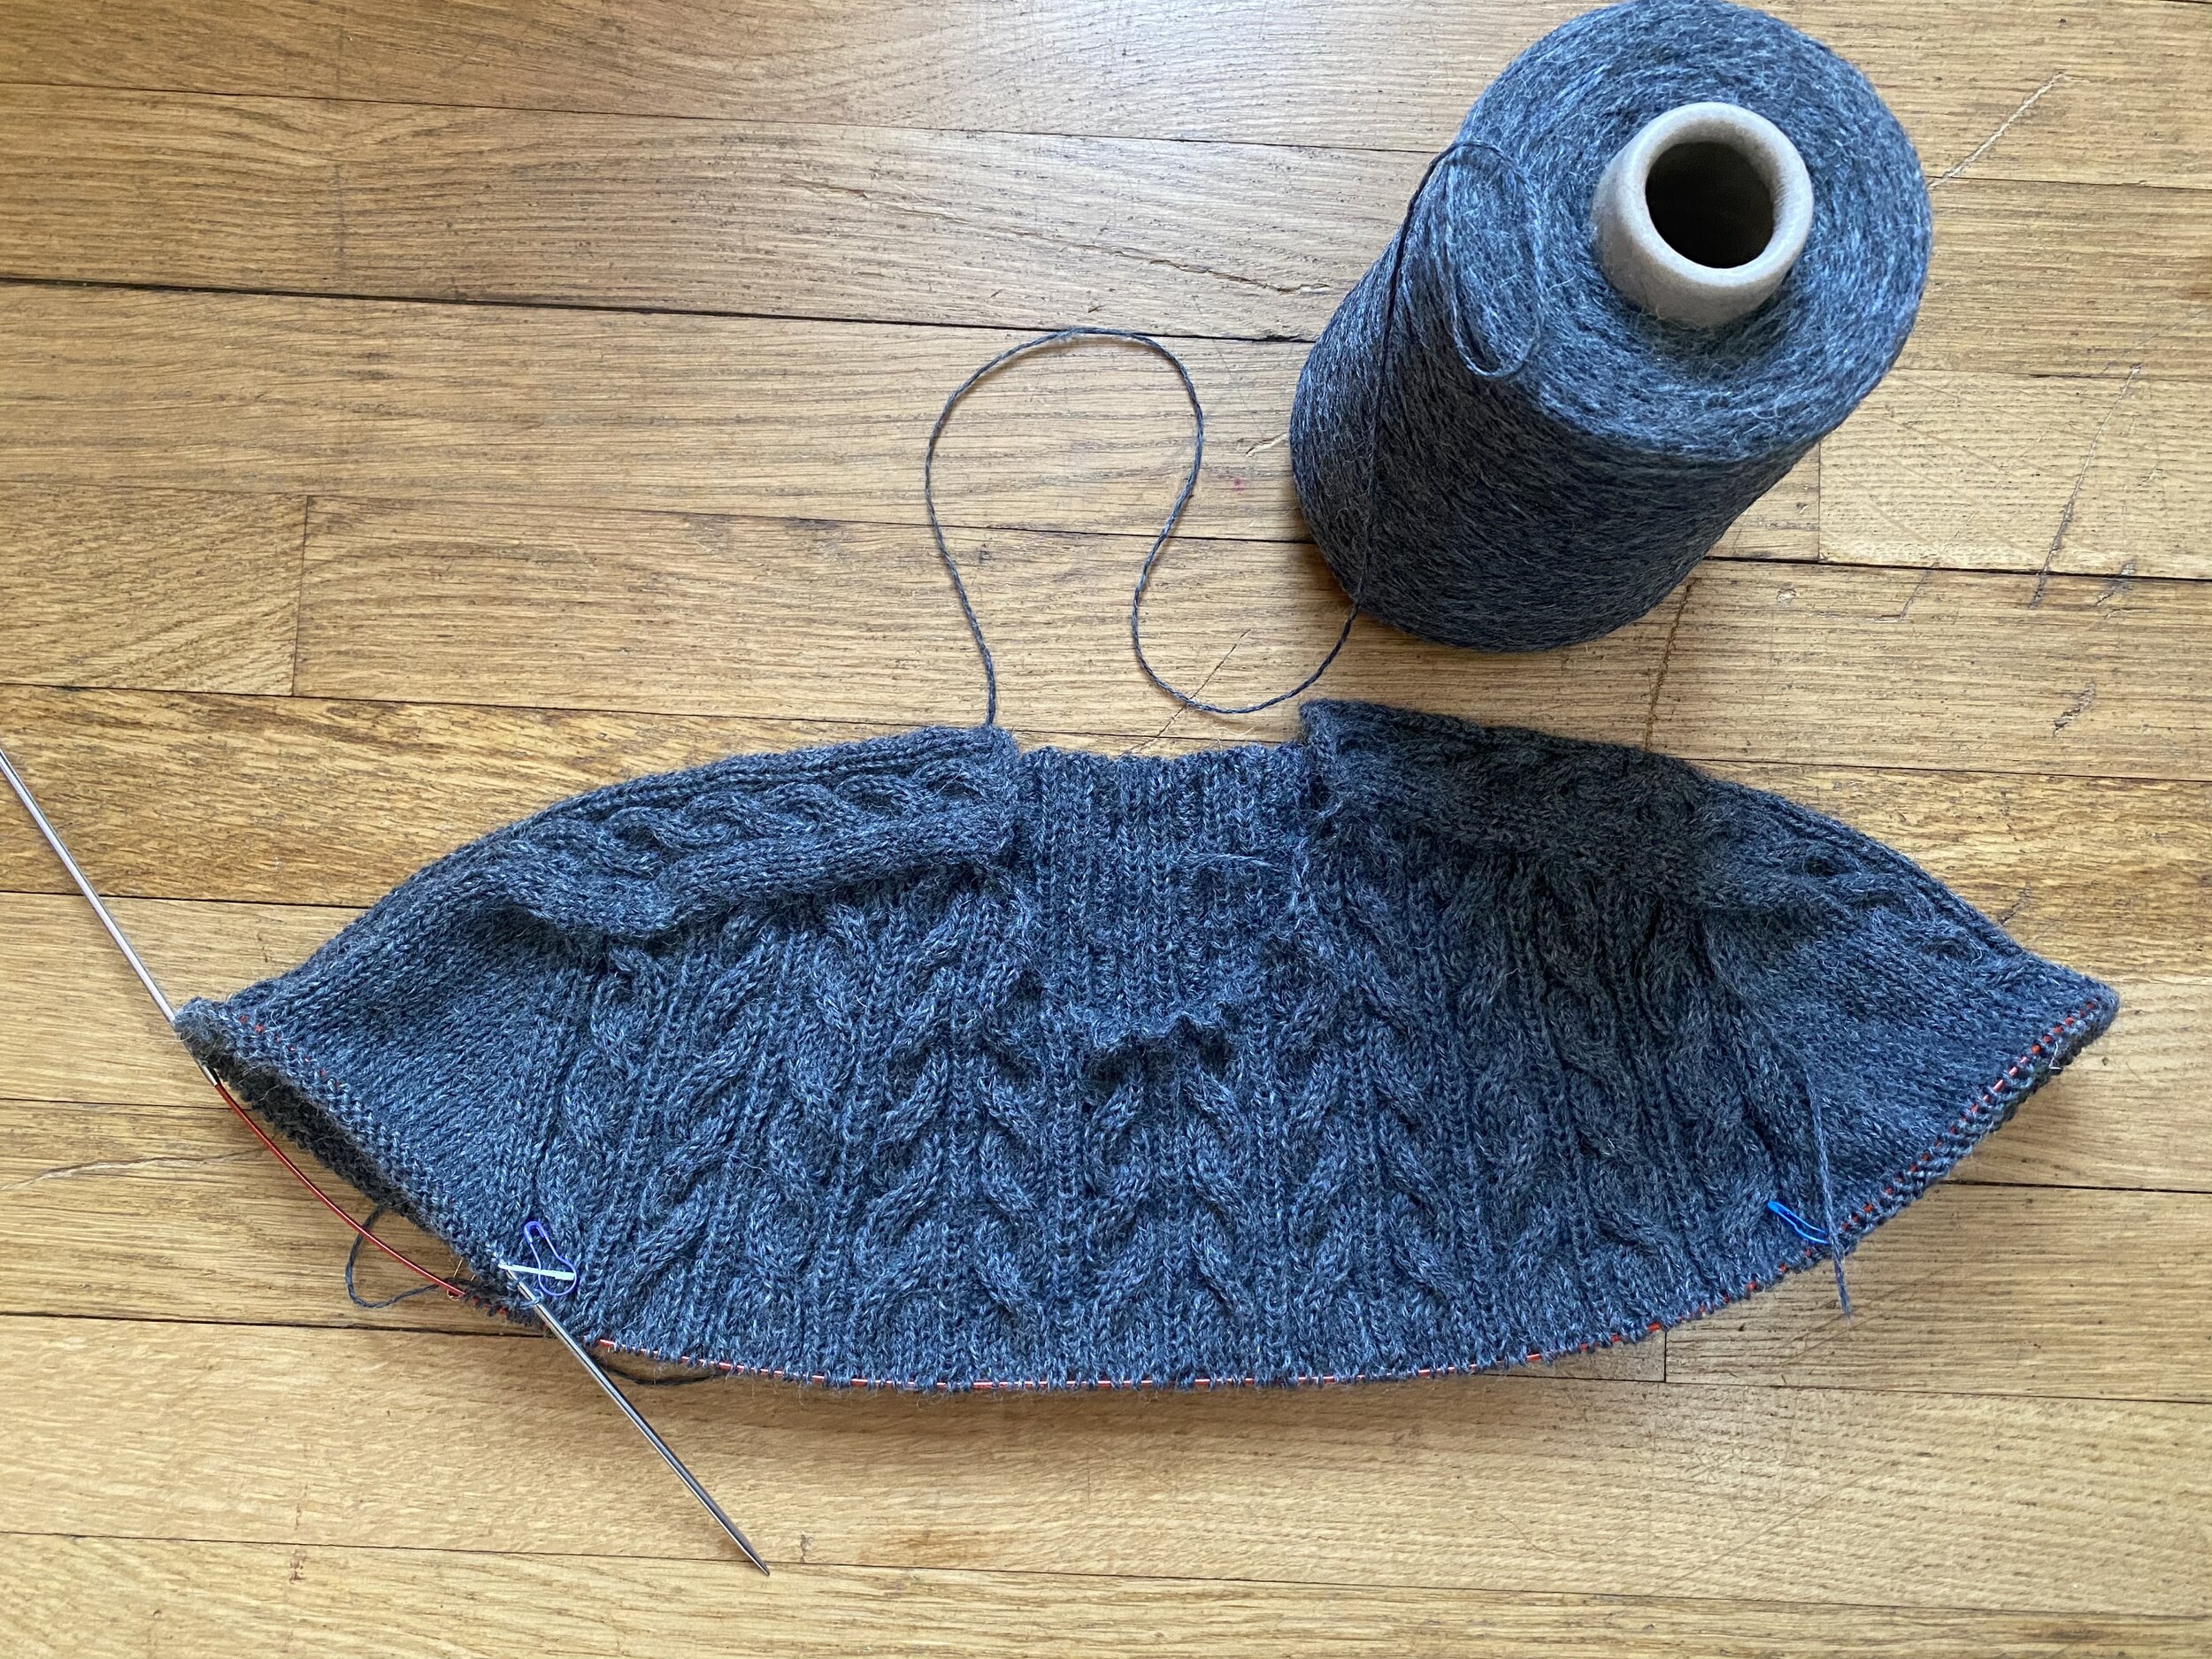
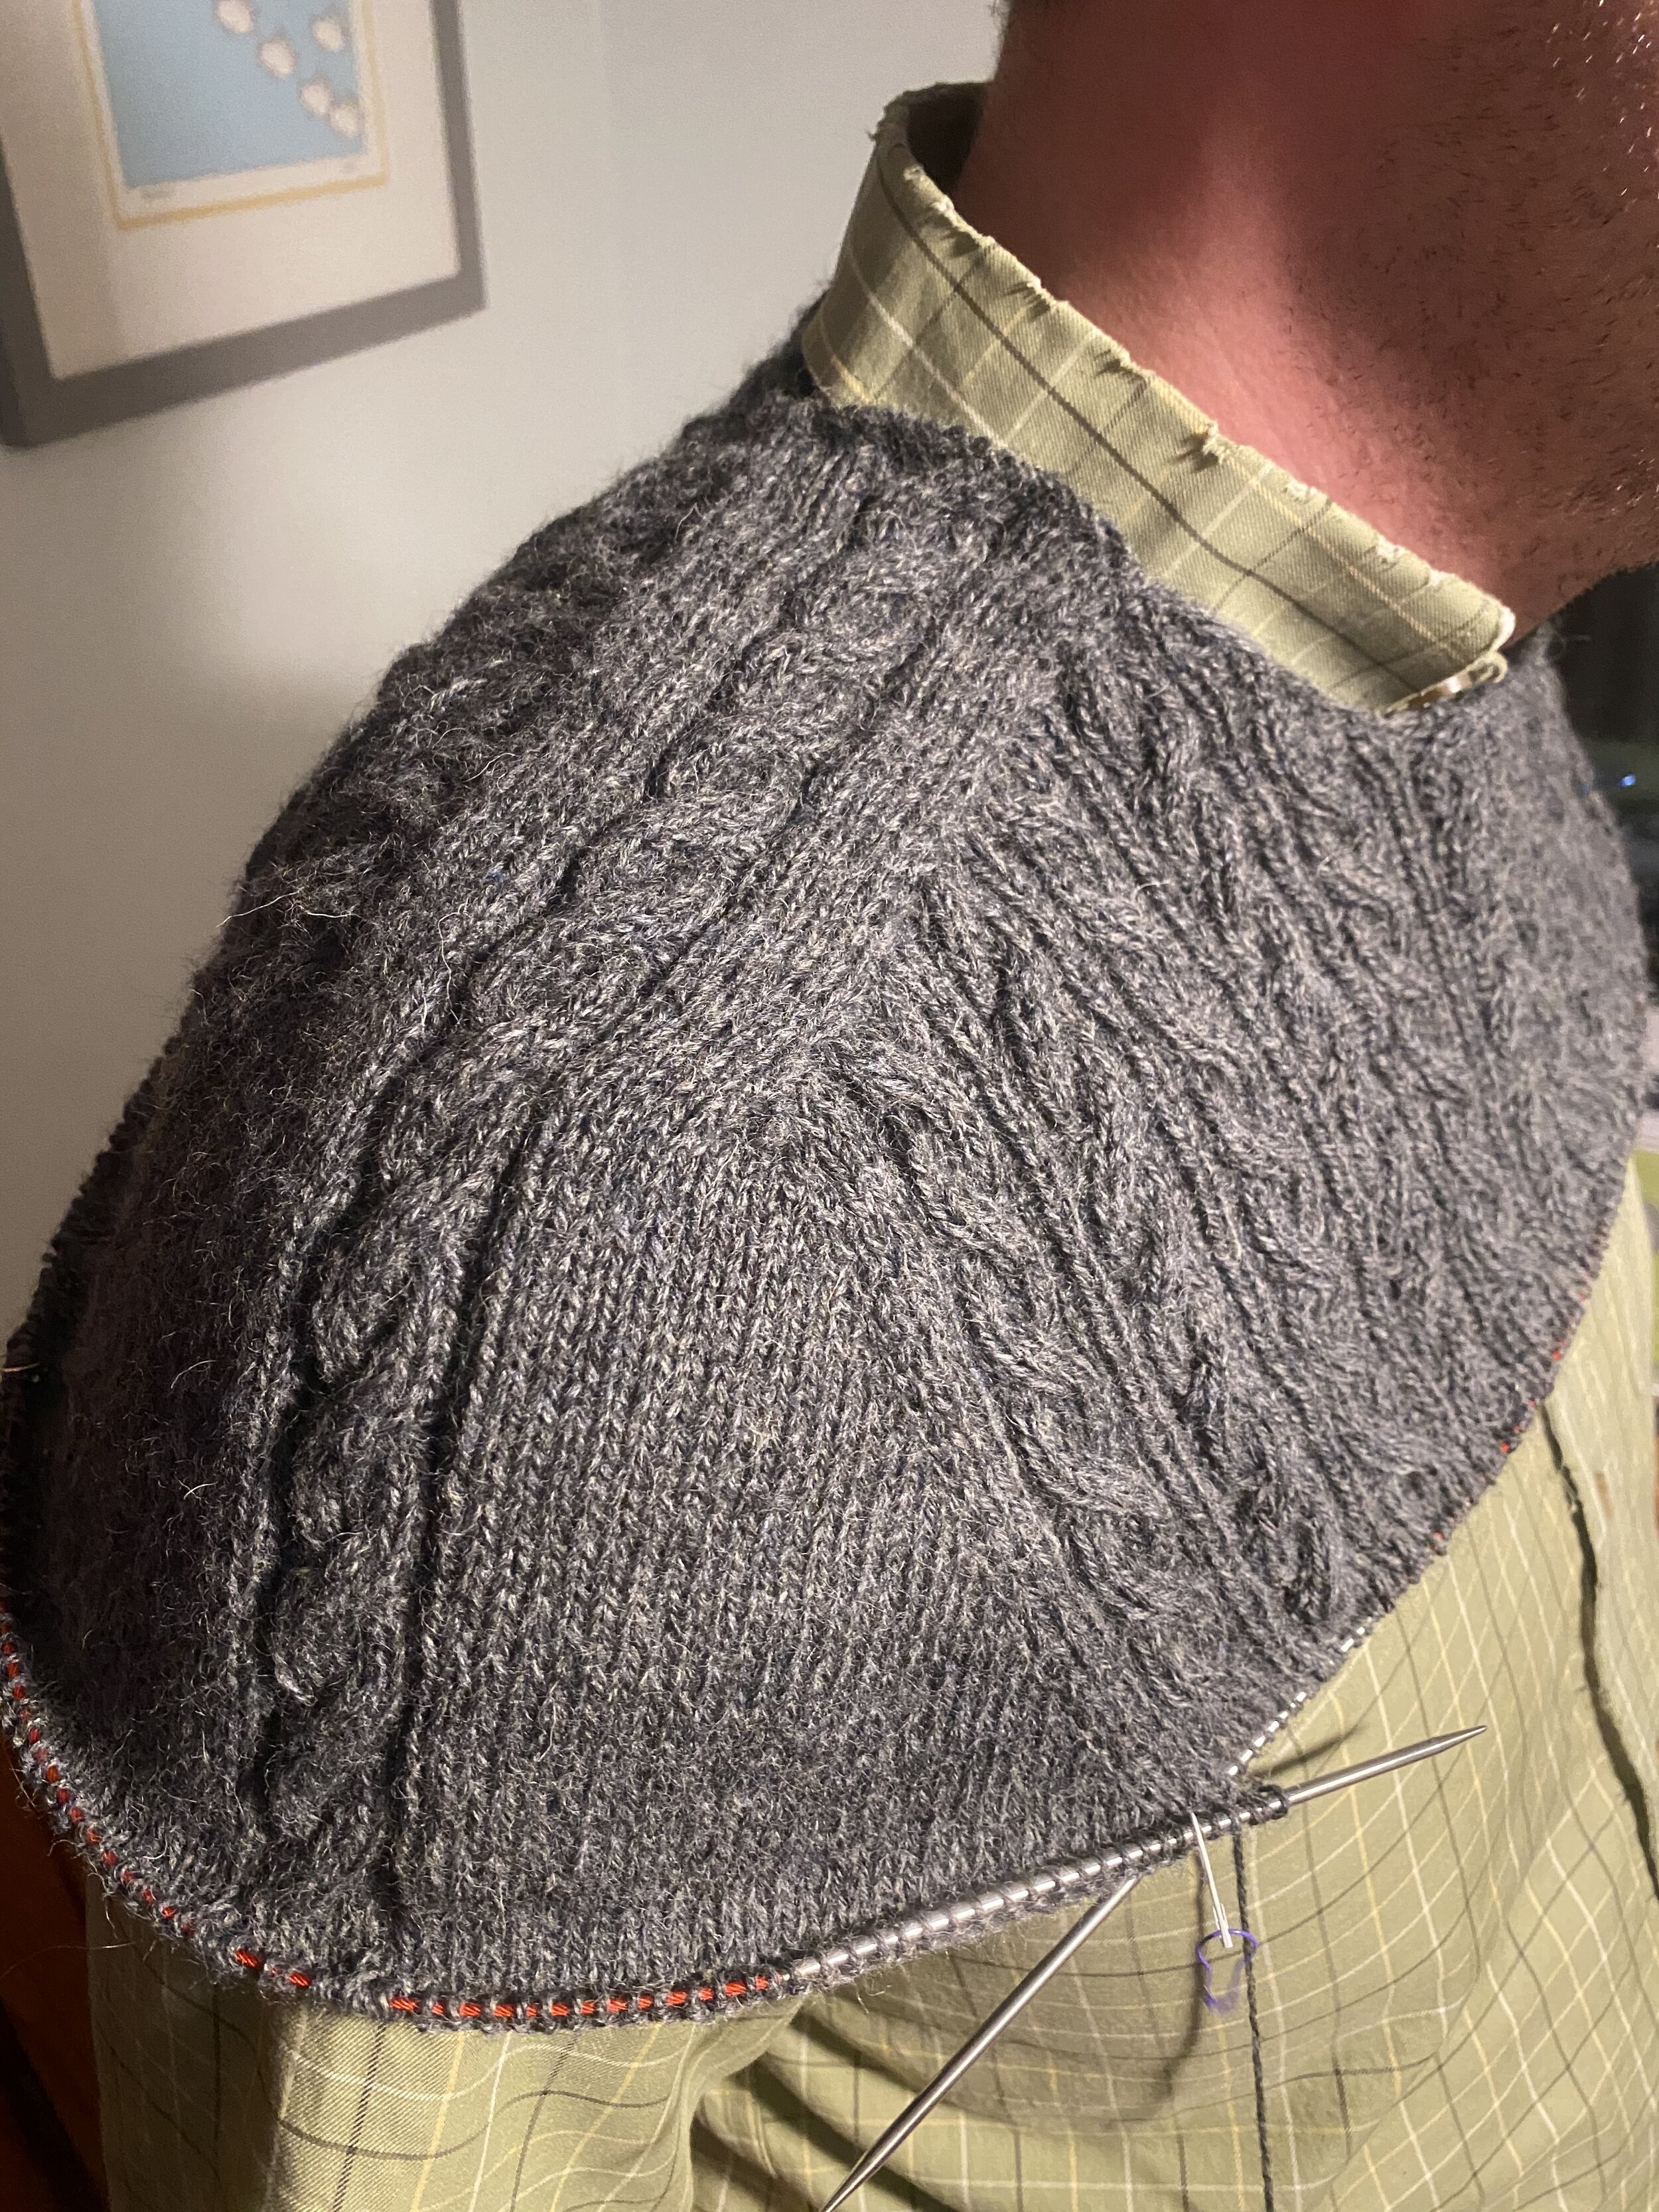
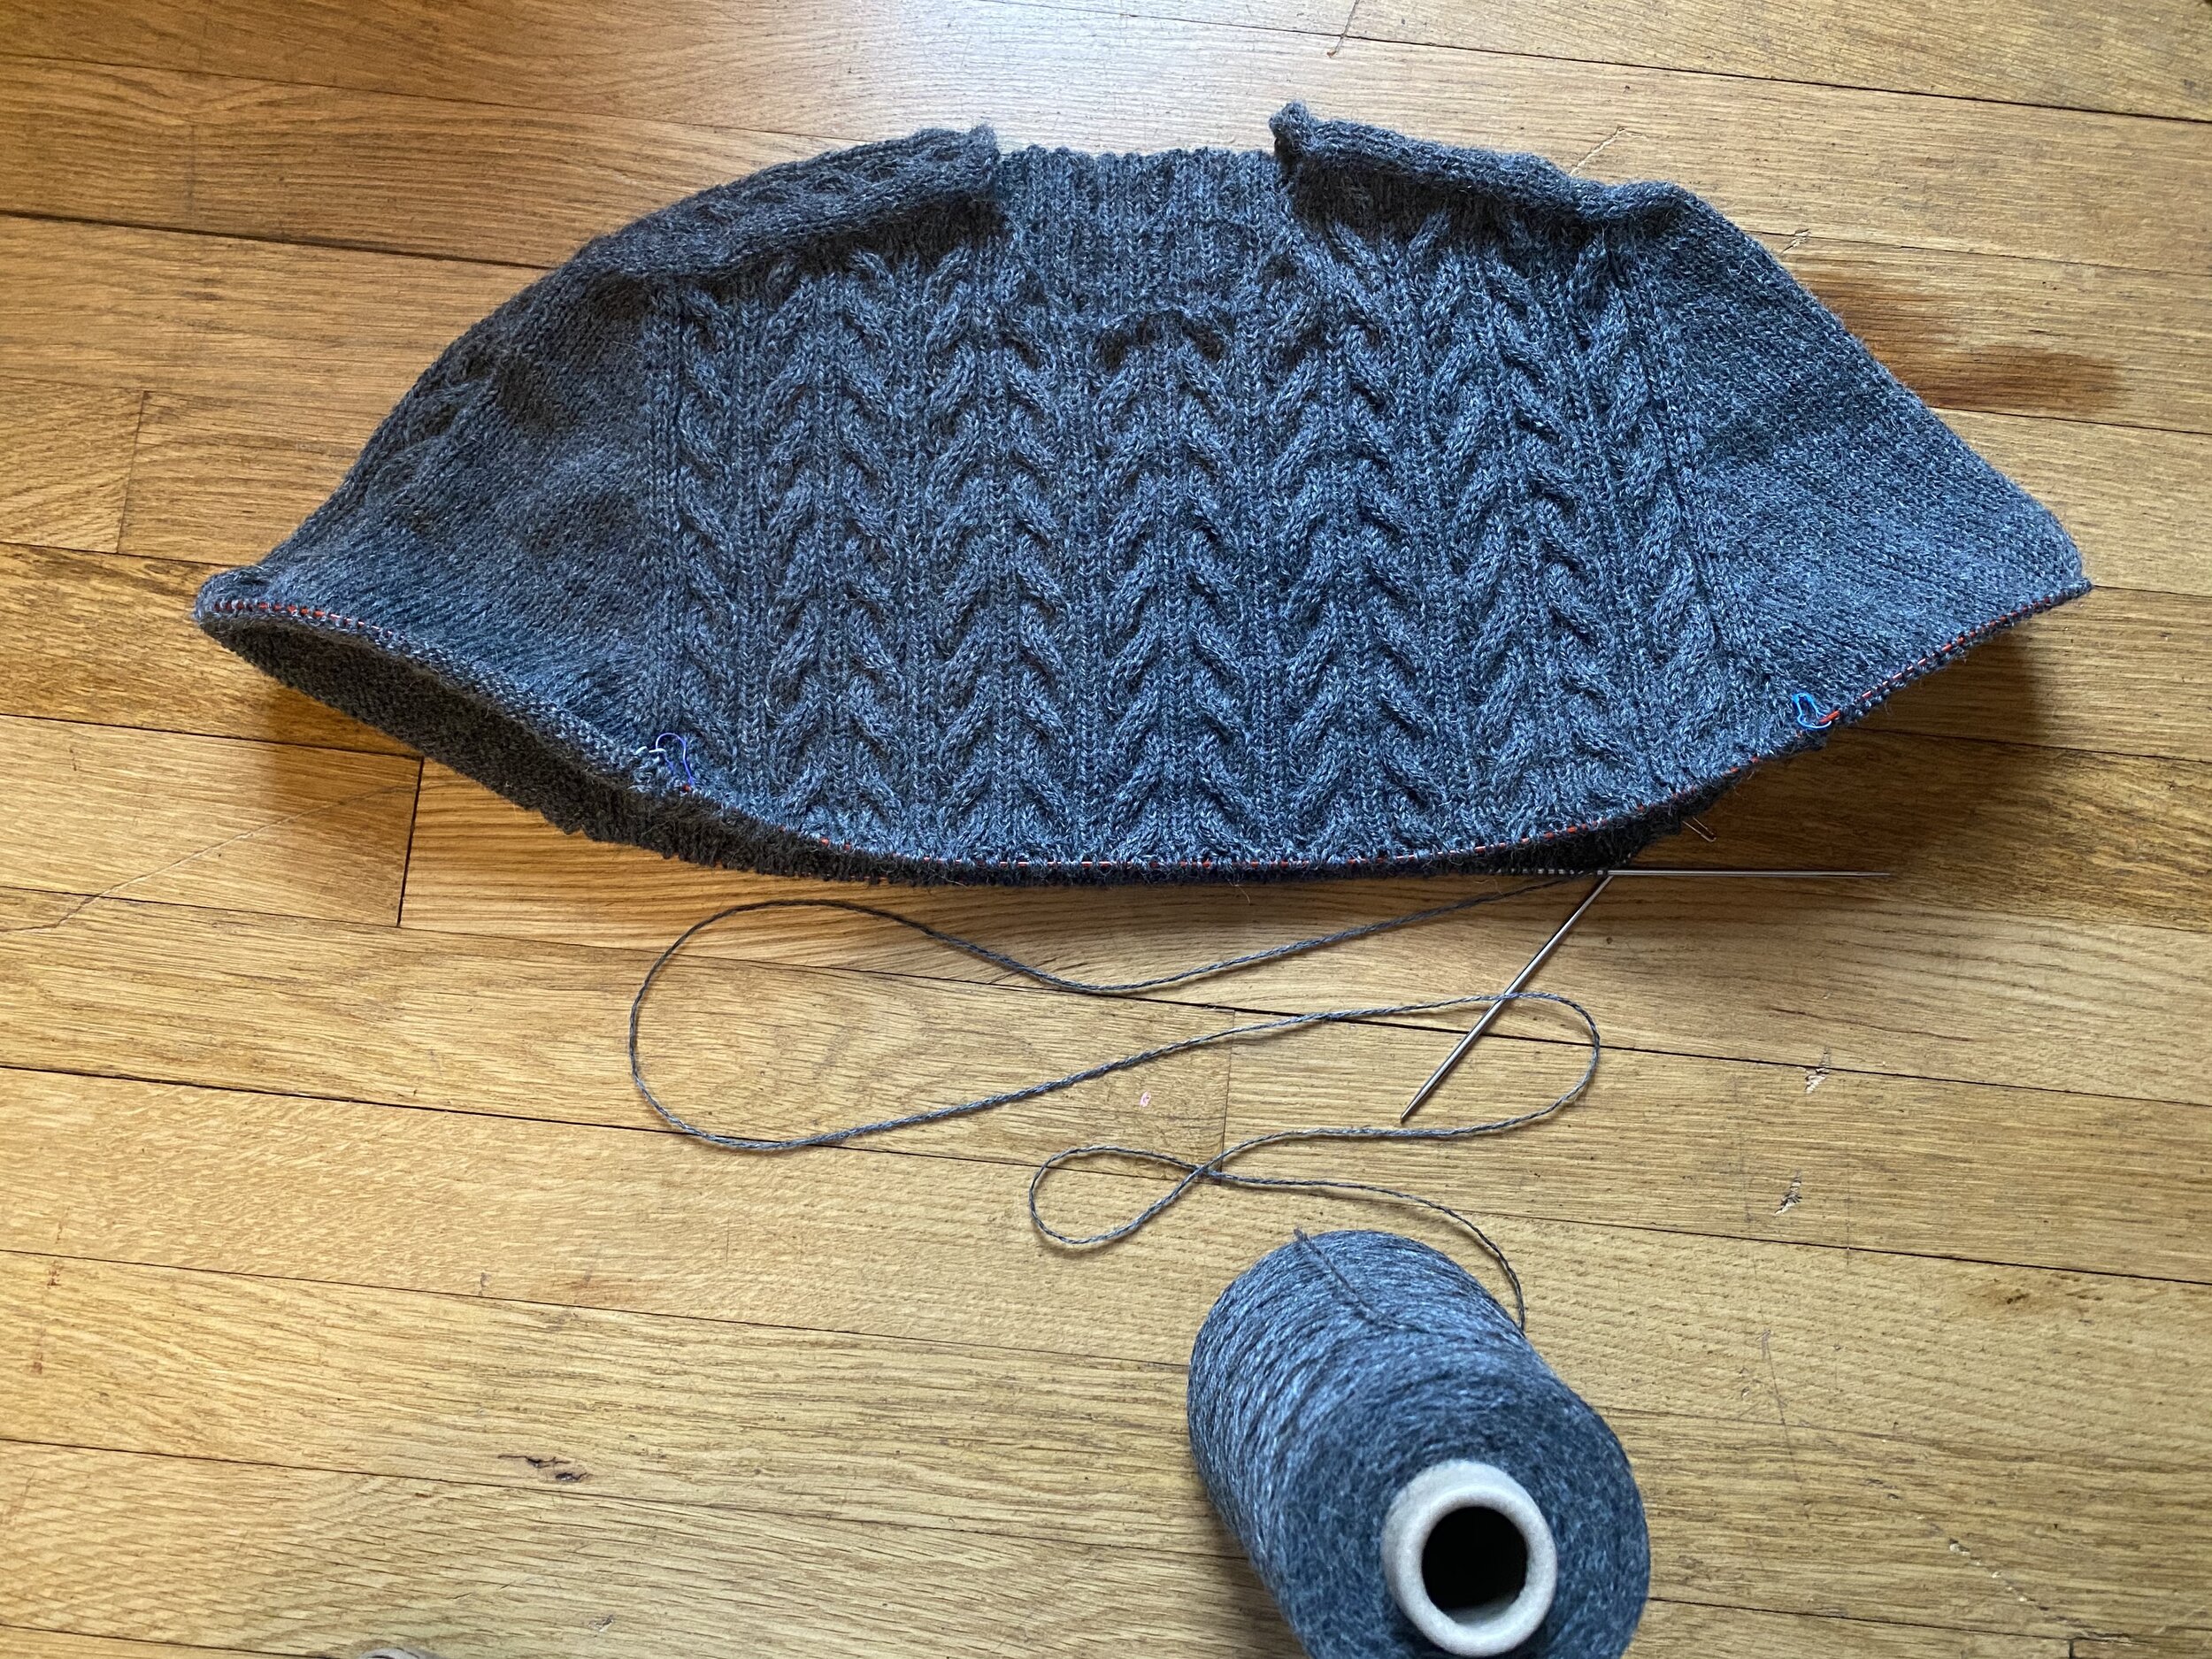
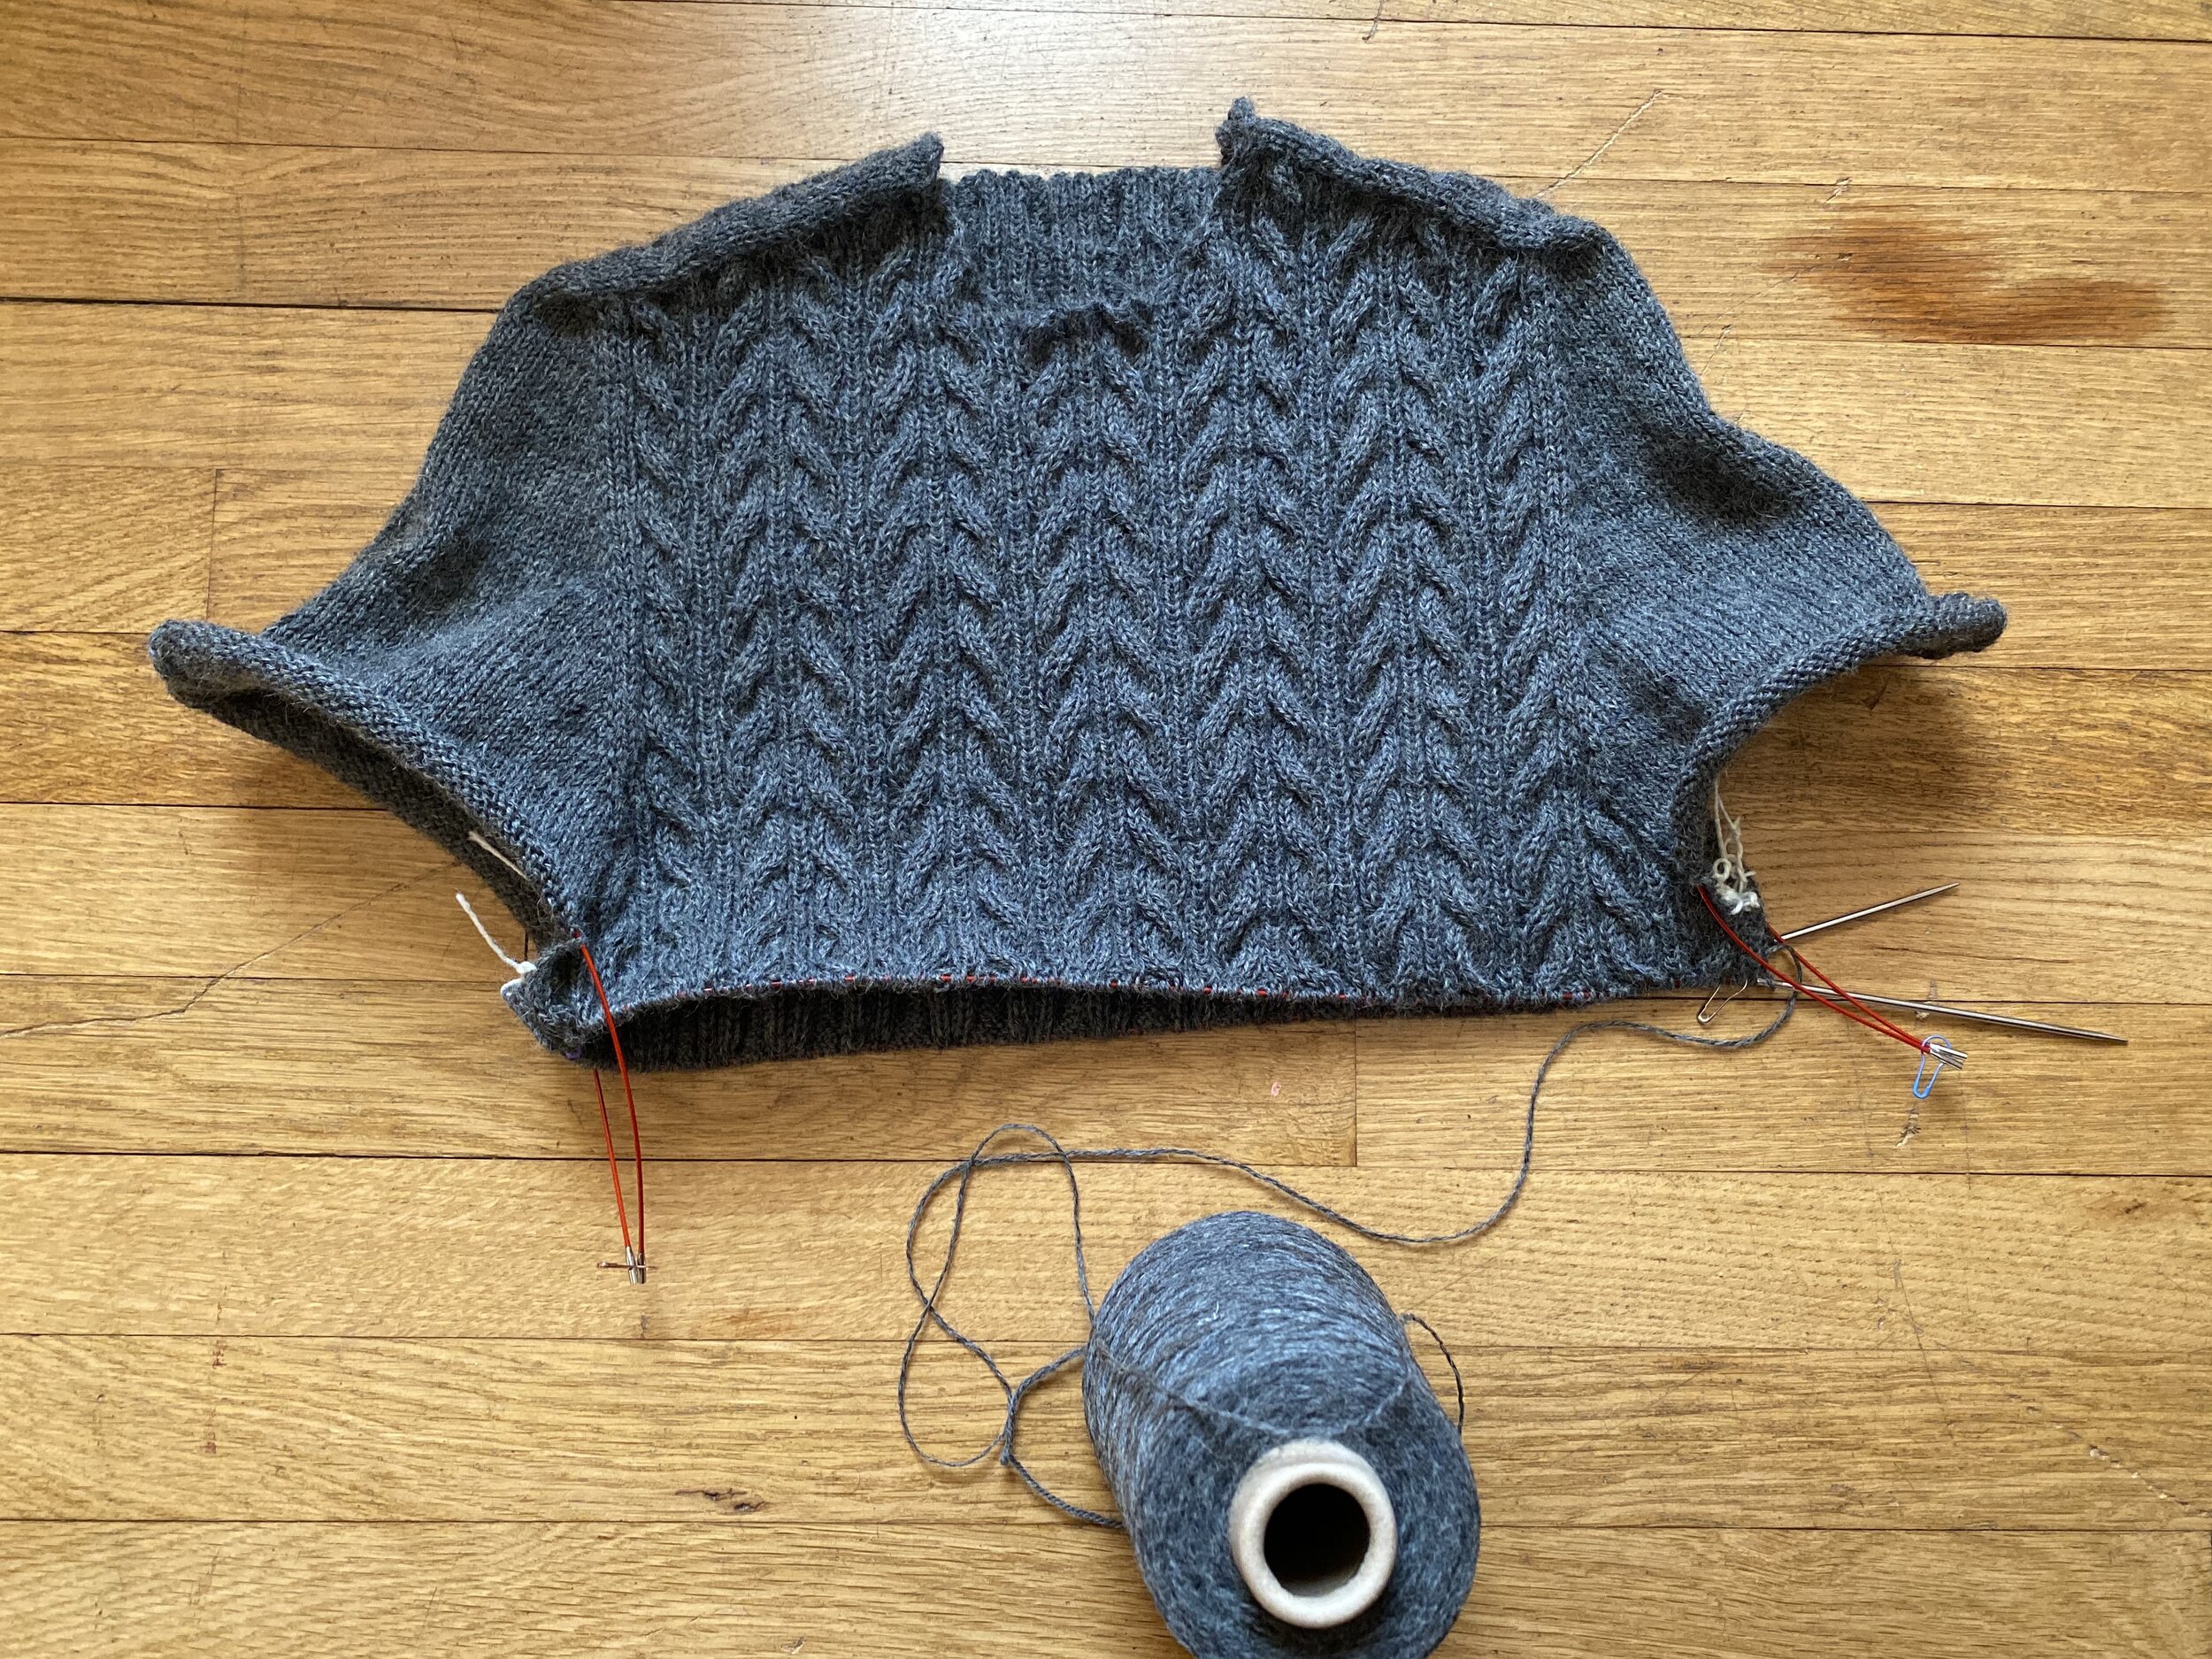
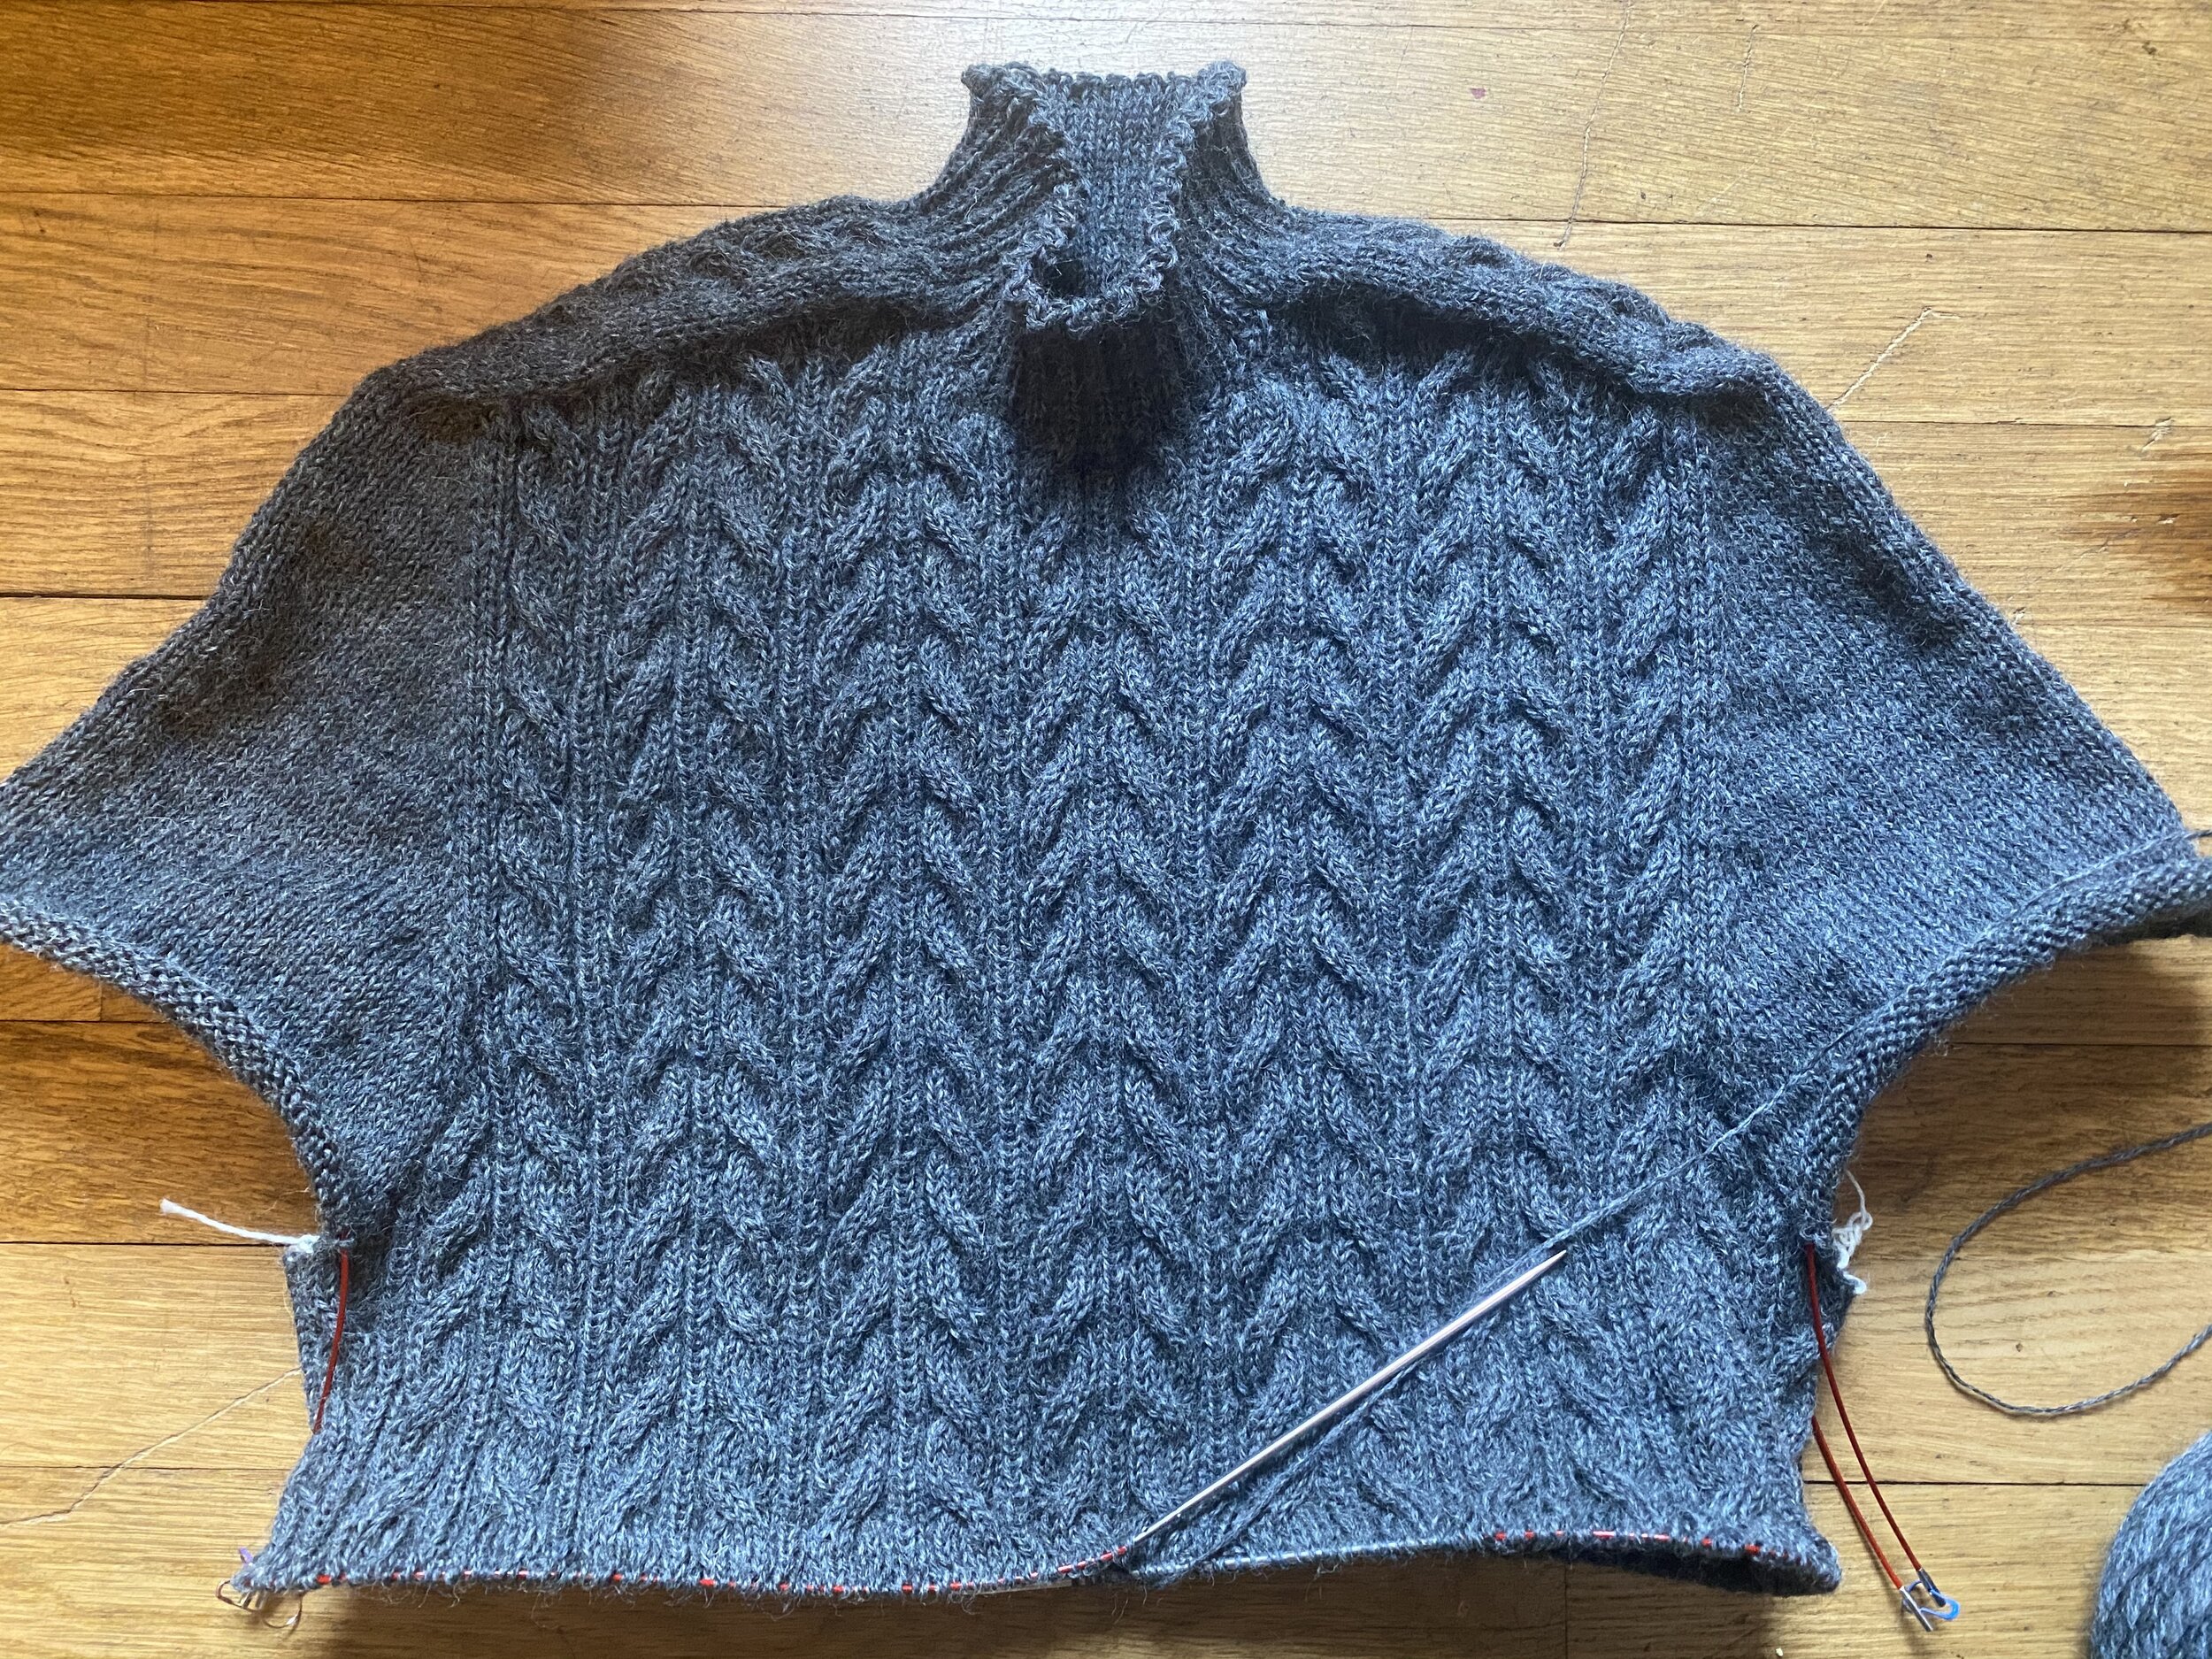
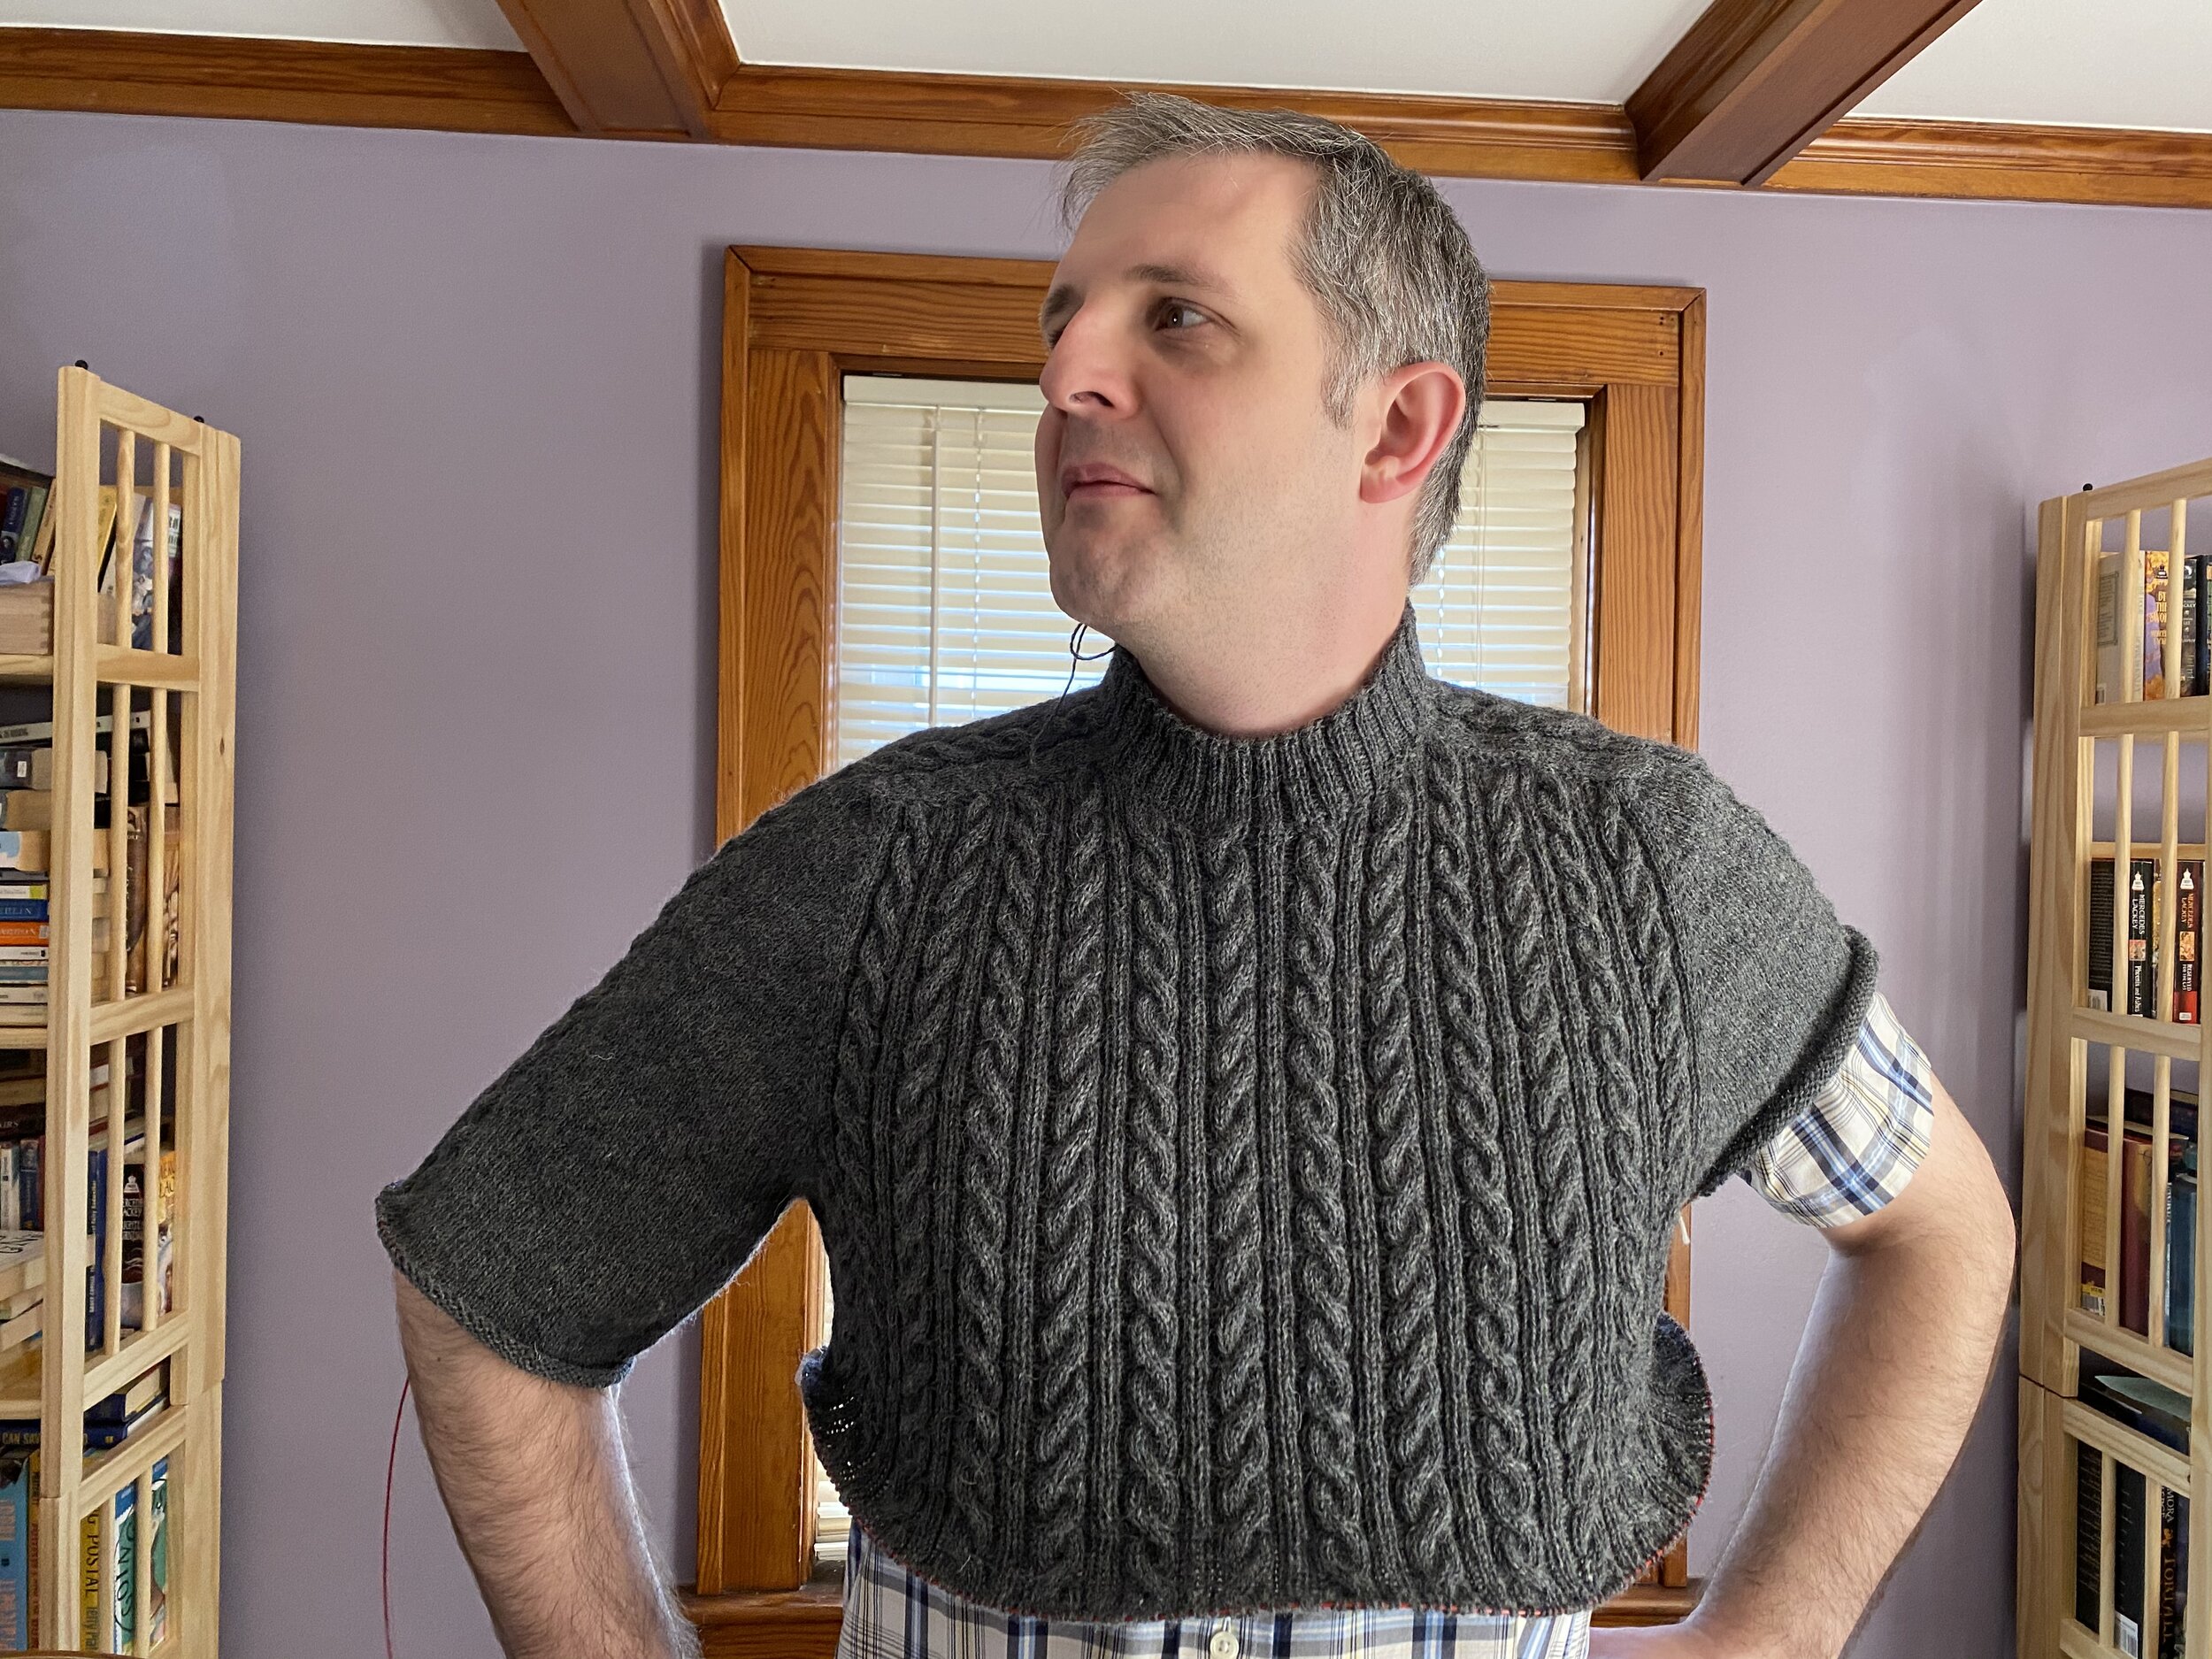
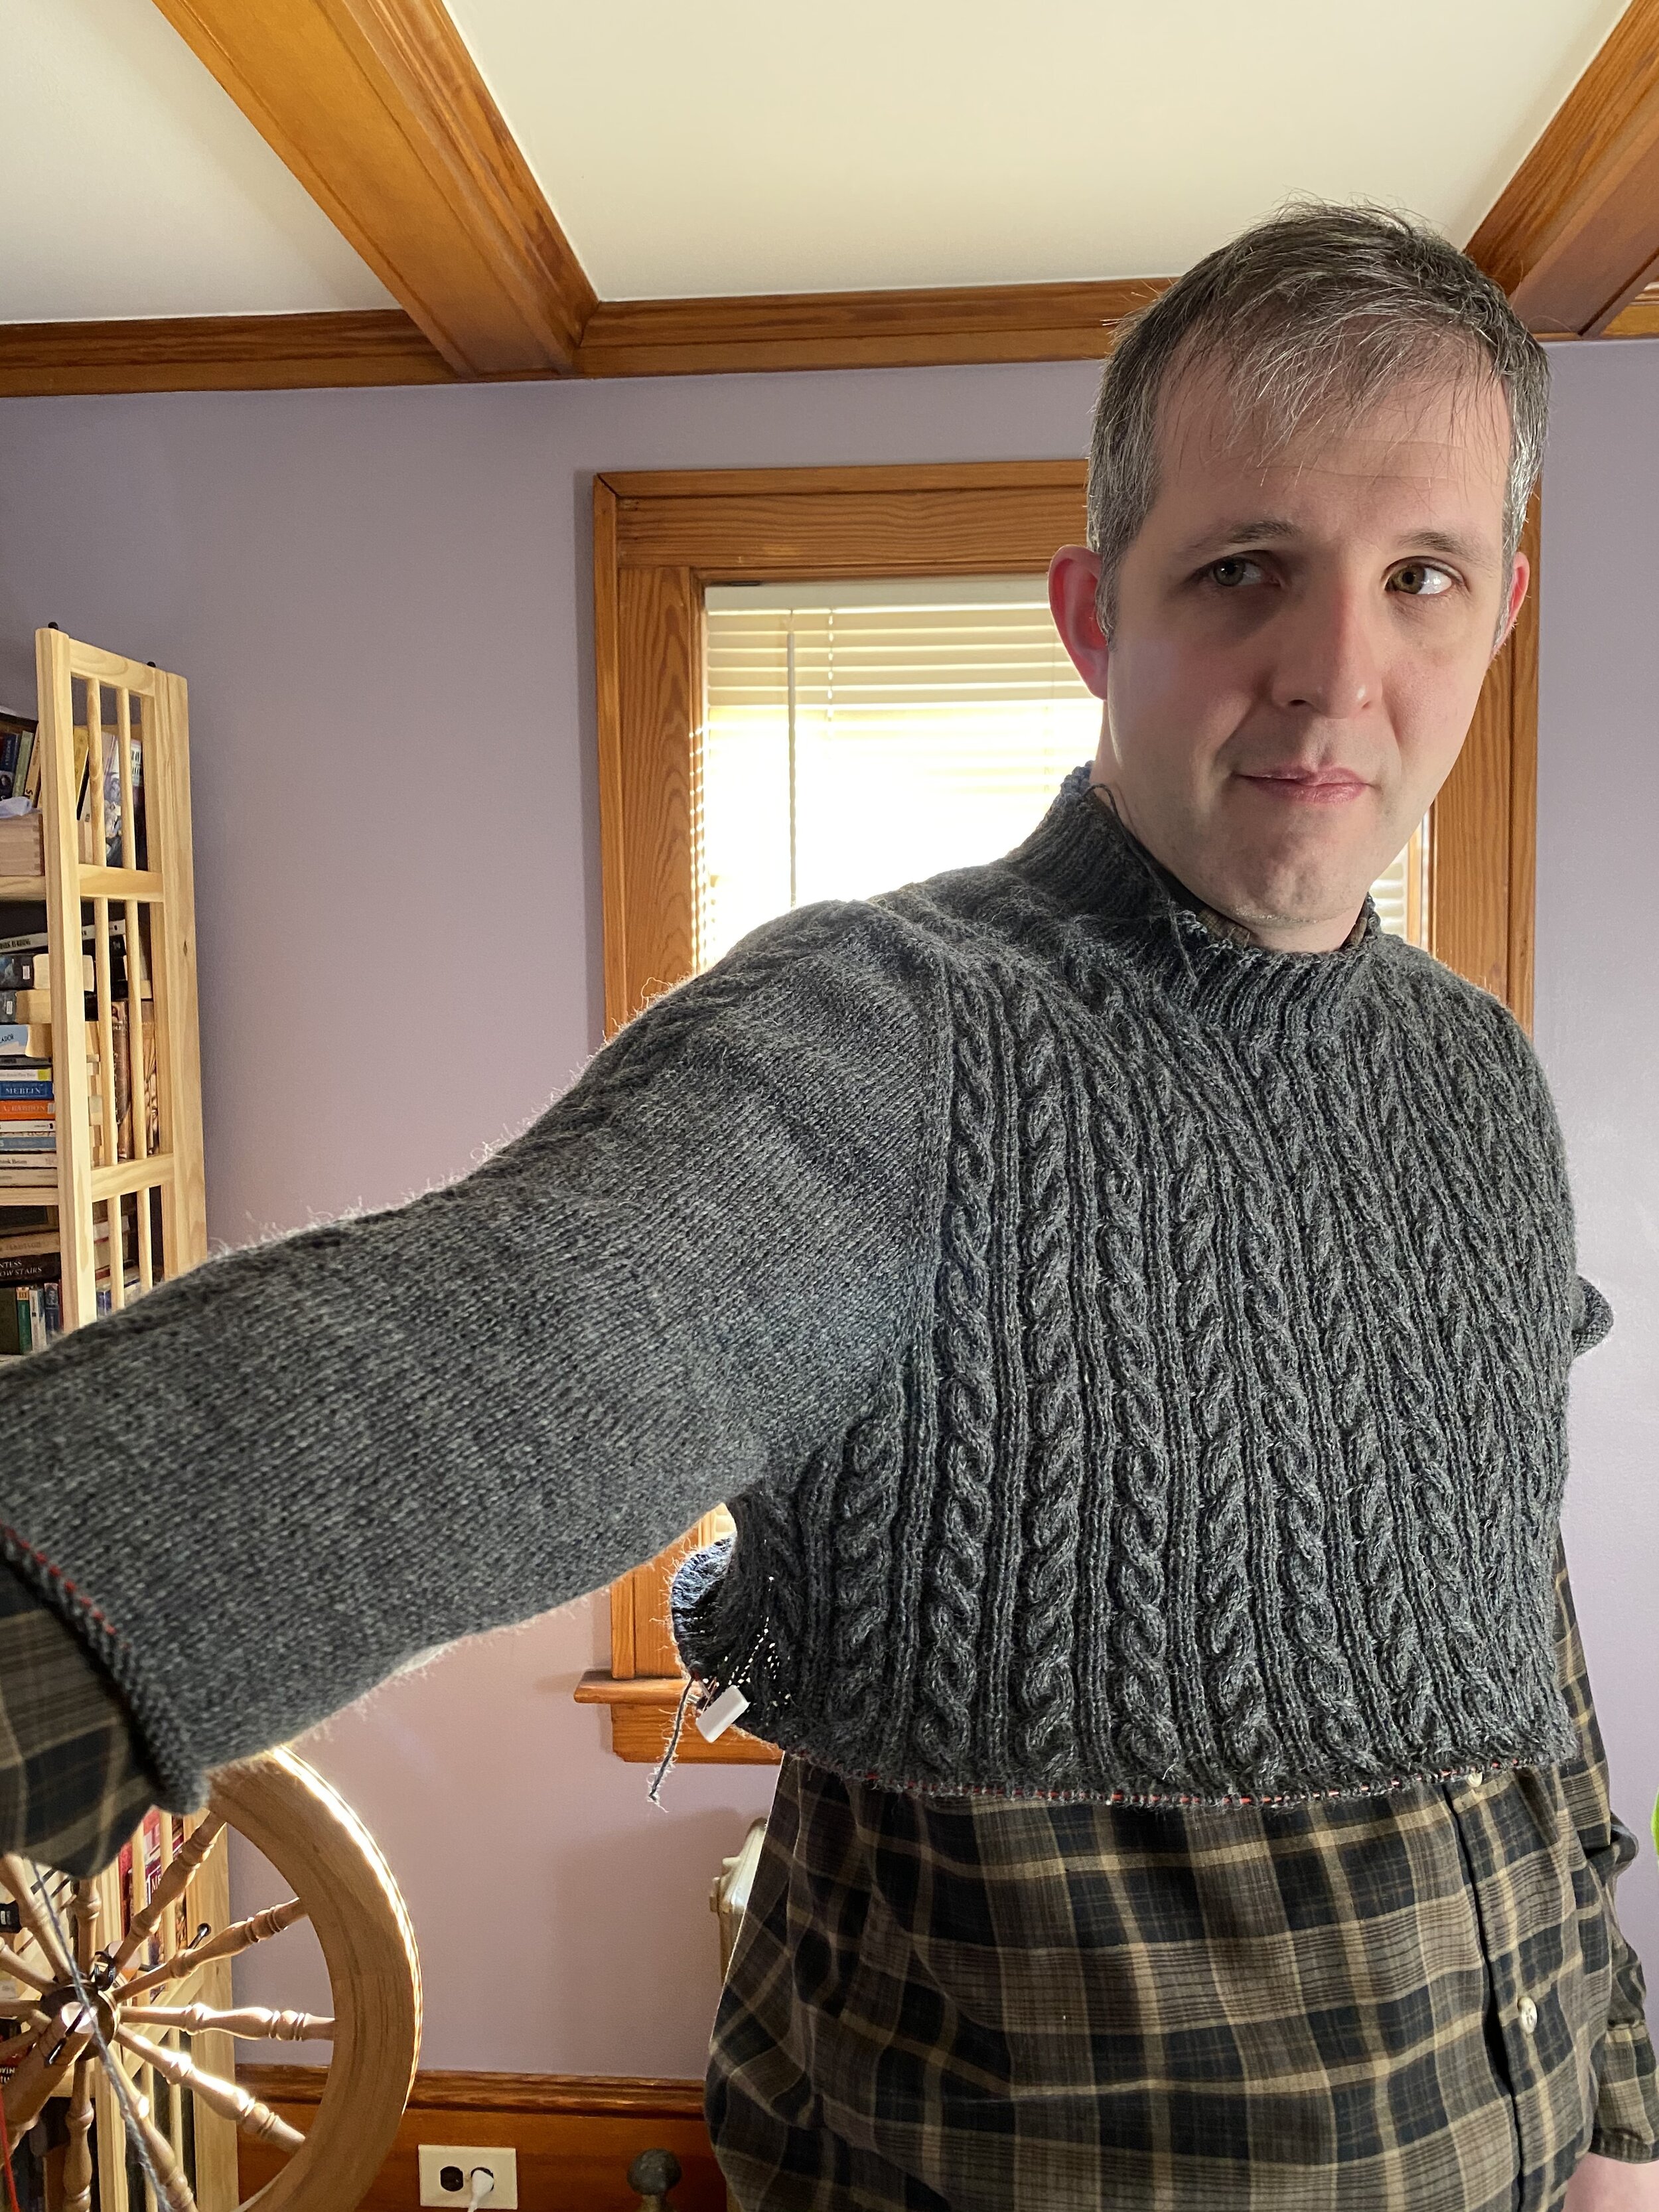
There are a lot of in progress shots this time, because oh my goodness is there a lot of knitting in this sweater. The body had 384 stitches around, and I used about a pound and a half of yarn…. So you all get a chance to appreciate it, step by step. Well, I only put in about half the distinct steps. There was a lot of trying it on to make sure everything was going well, particularly at first.
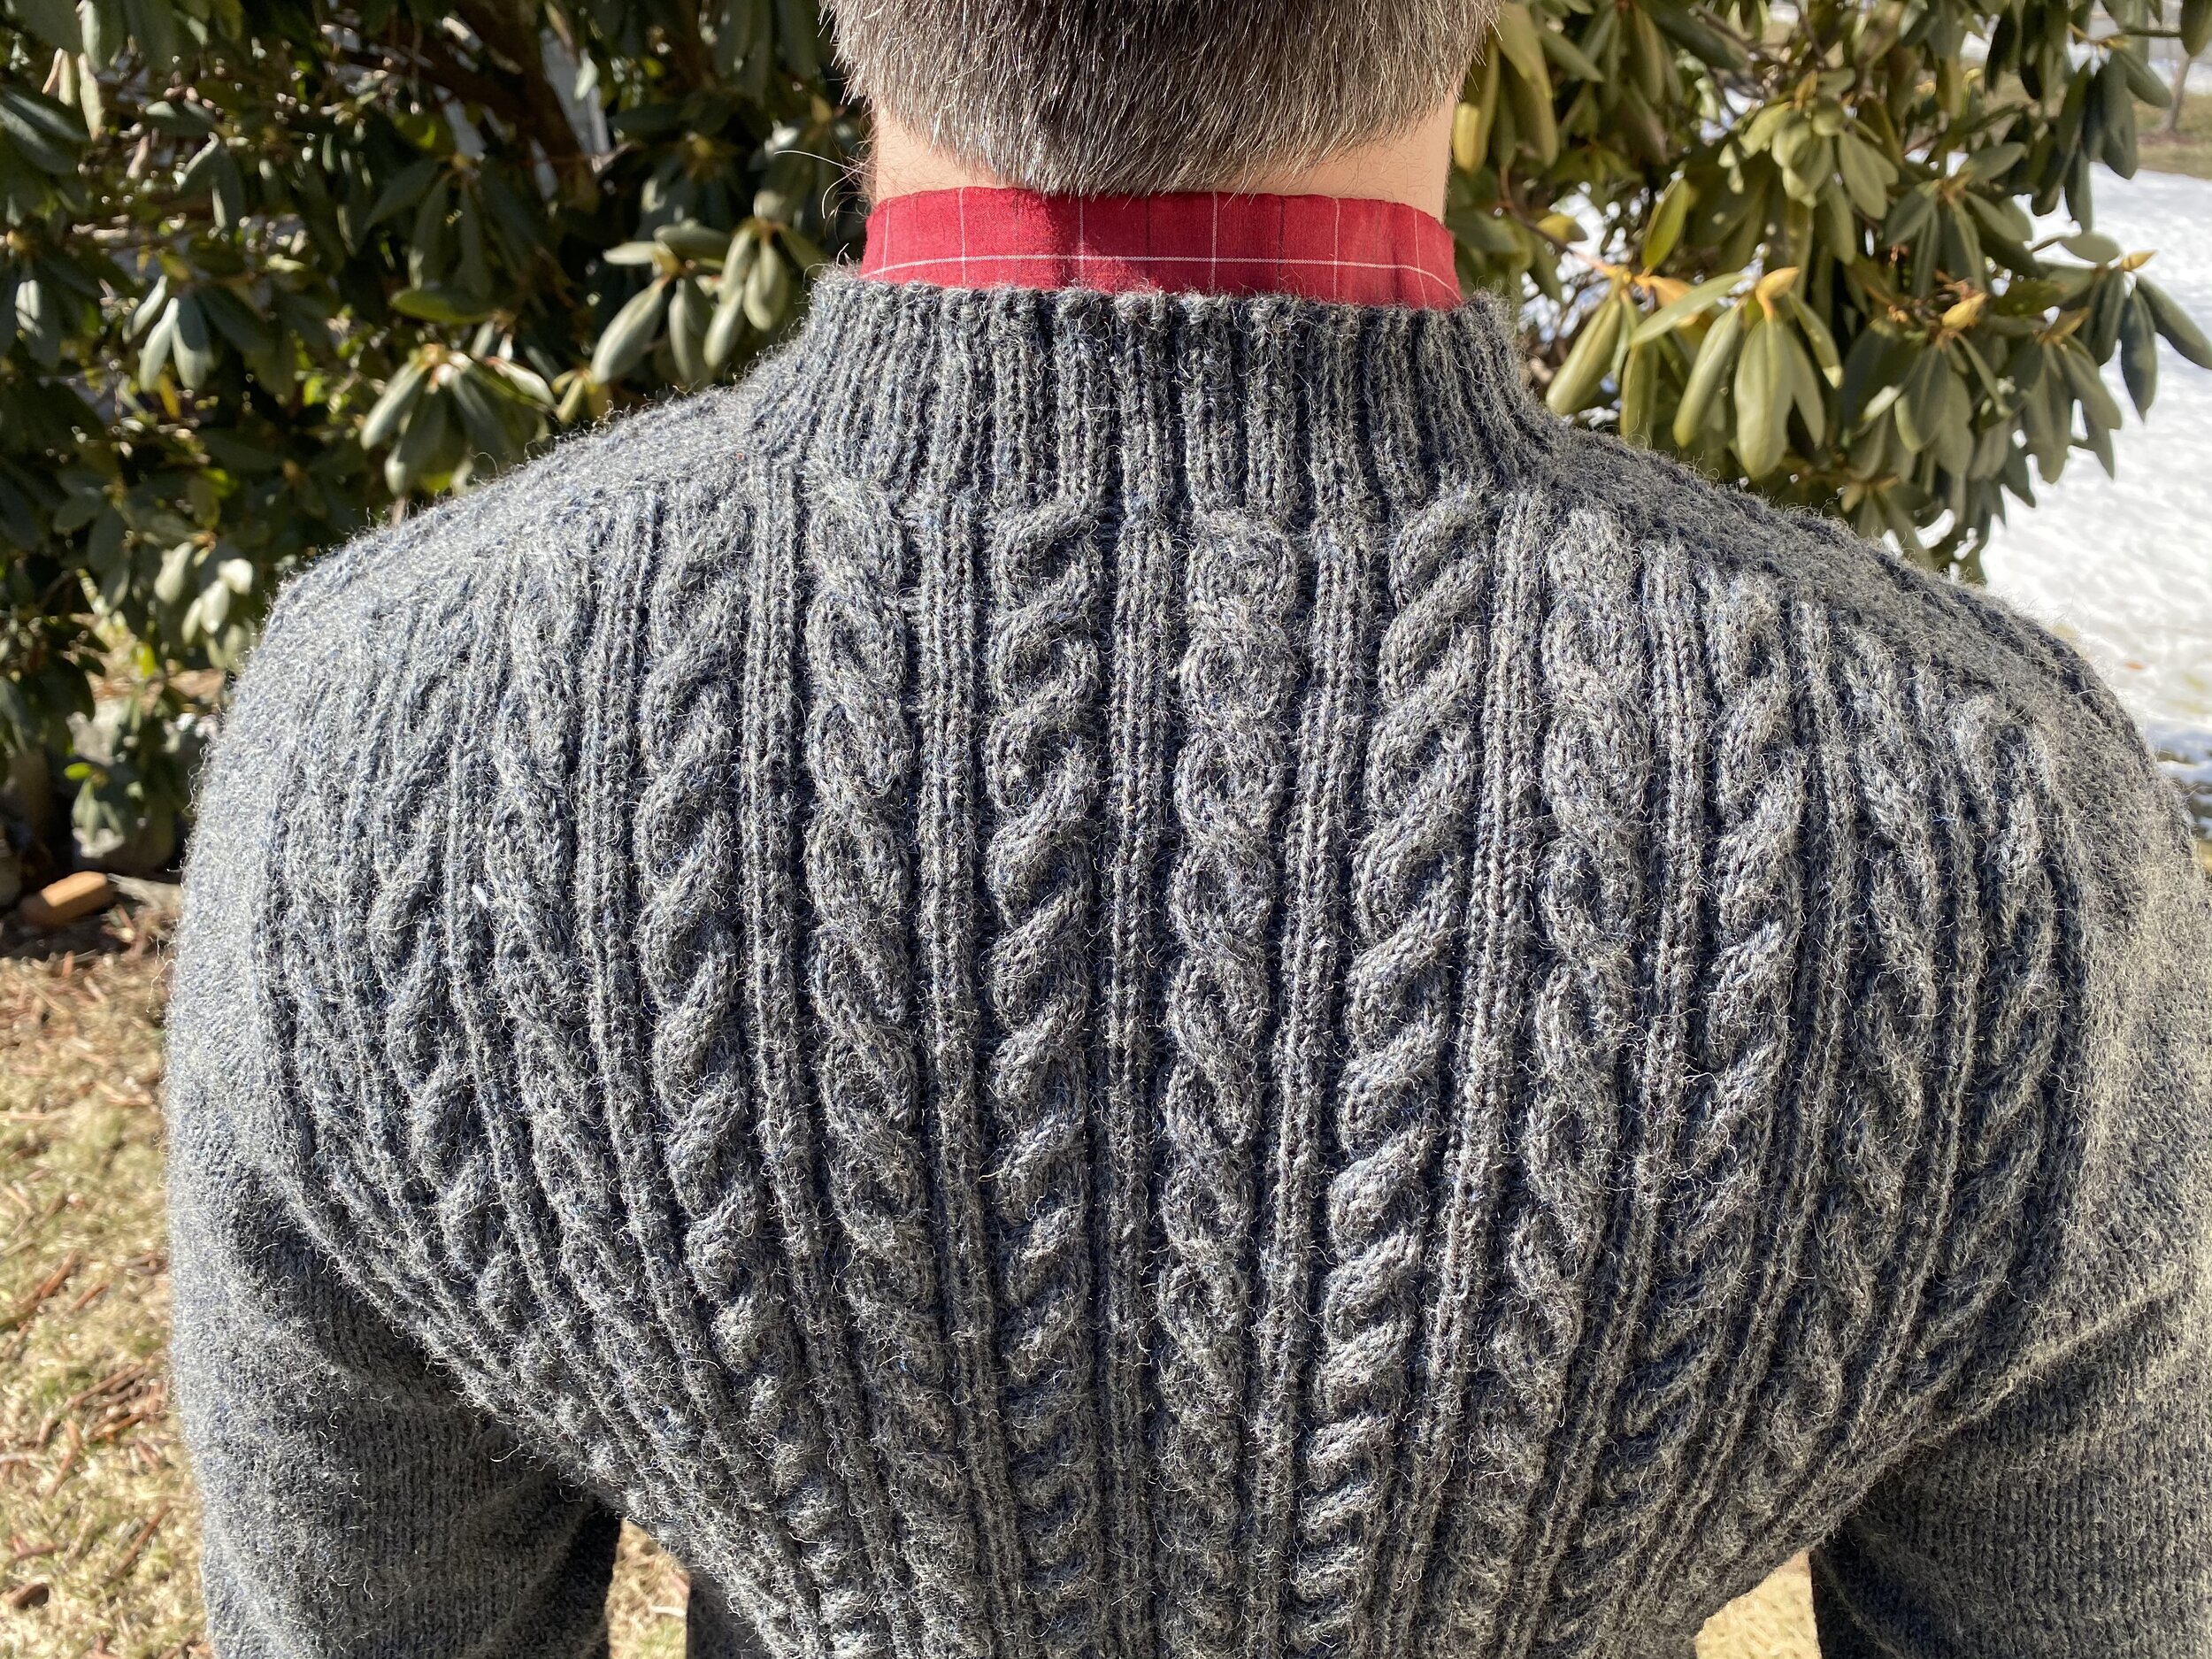
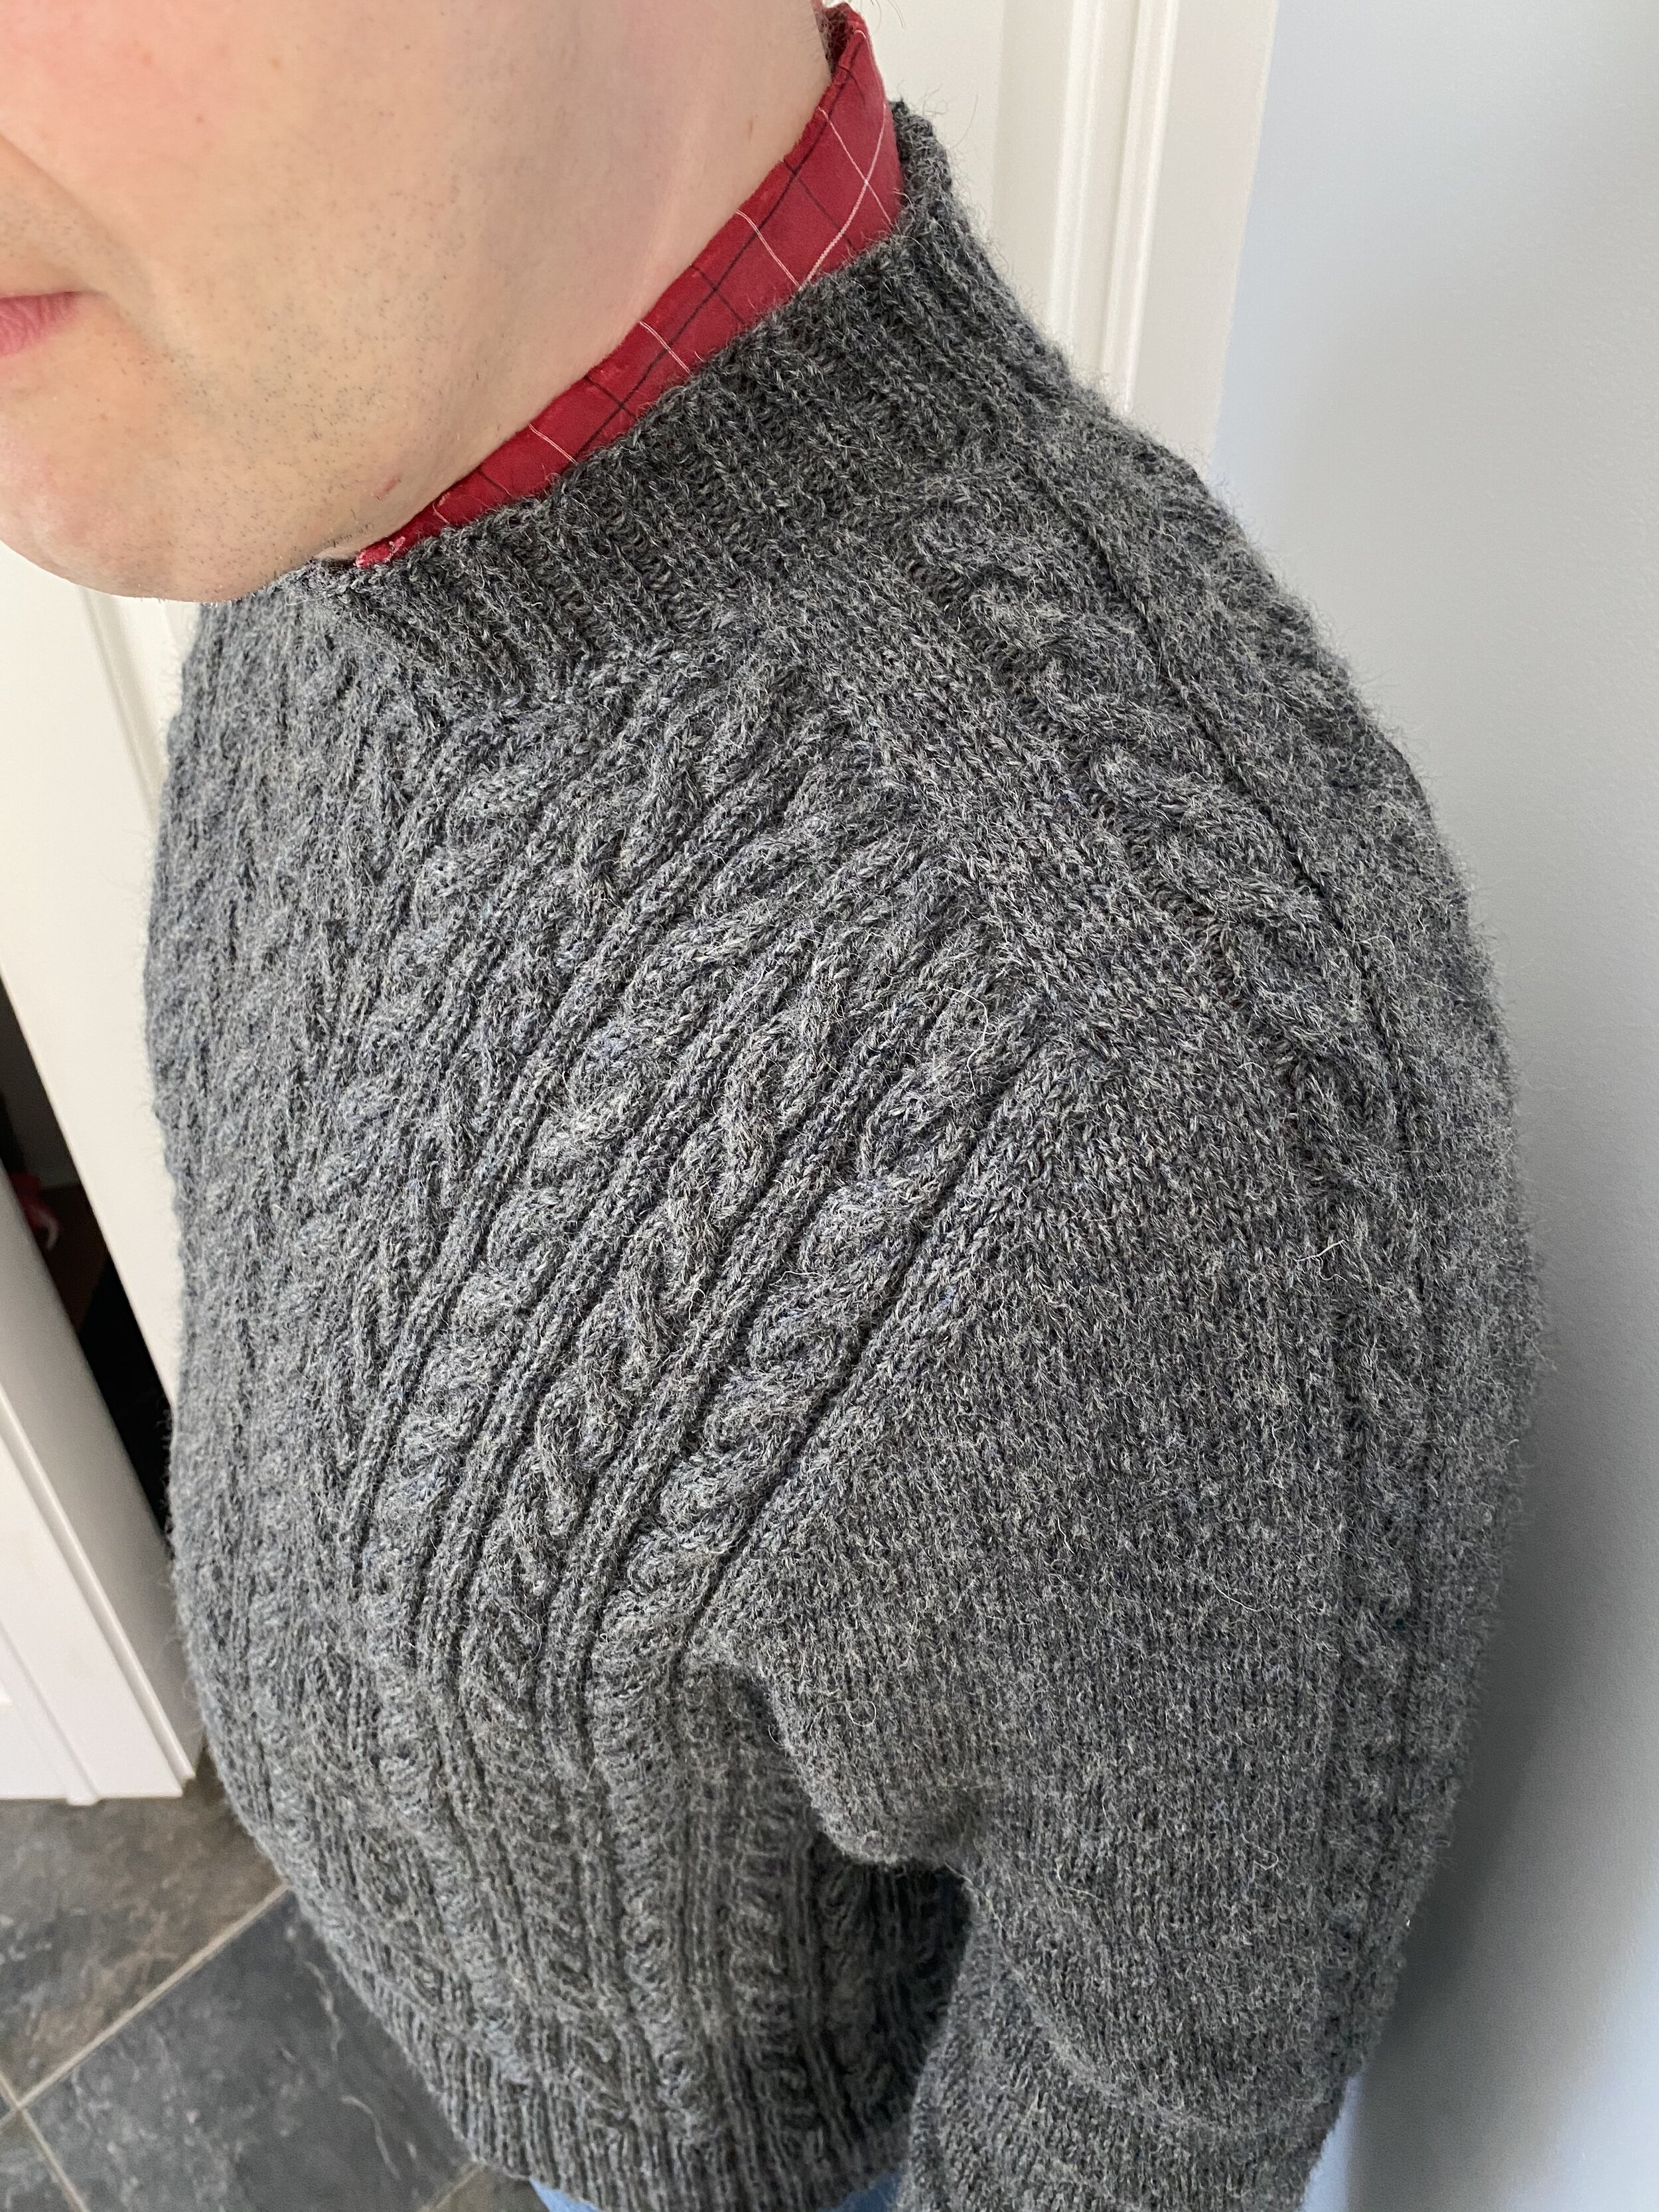
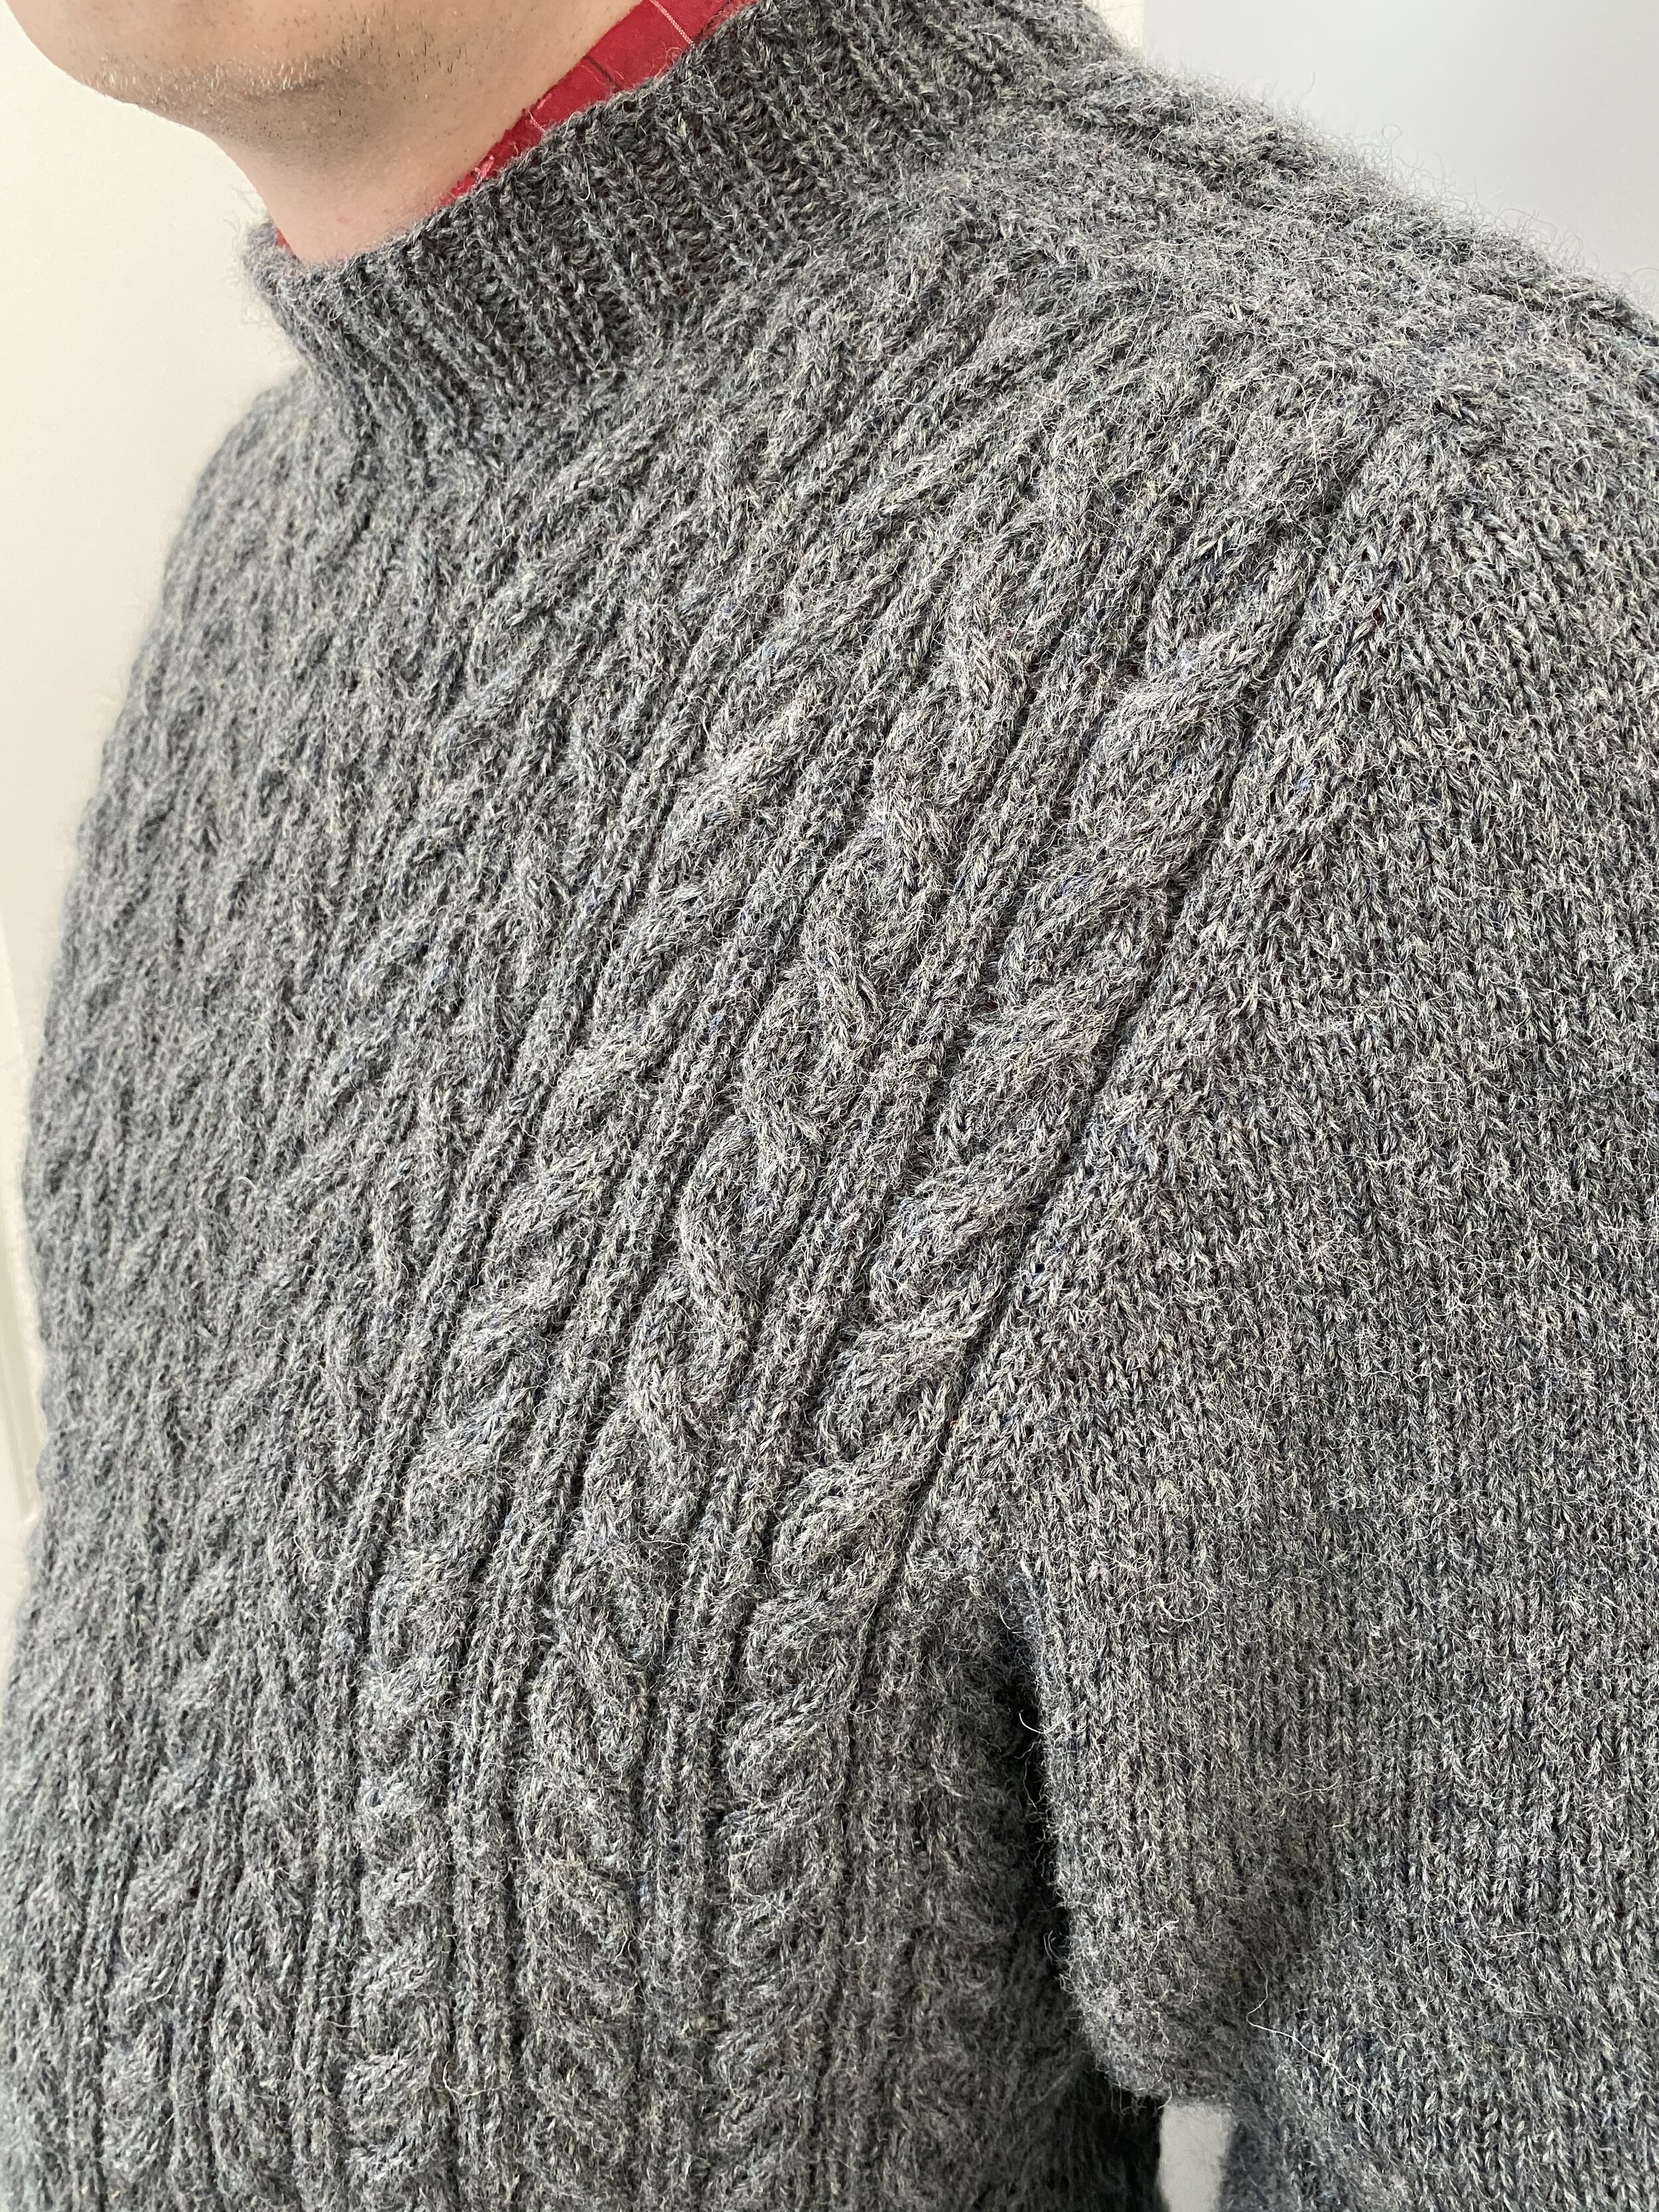
The sweater starts with little shoulder pieces, that I’ve been calling ‘epaulettes’. Once you have these two shoulder rectangles, you pick up the long side on each of the epaulettes and between then cast on stitches for the back of the neck. Then there’s some short row shaping to build up the back (I had to play with graph paper to make sure that I’d be in the right spot in all my cables at the end of the short rows). For the front you work the two sides separately, doing the short rows, and you start knitting back and forth over the arms, doing semi-raglan style sleeve increases. When you get far enough down the front you get to add in the front of the neck stitches, and then knit in the round. For forever. What I hadn’t expected from just looking at pictures of people in their sweaters, was that the pattern I was basing this off has you switch from sleeve increases to body increases near the bottom of the armhole-it’s a nice touch, and it hadn’t occurred to me. I also cast on a few stitches in the armpit when the sleeves separated. At that point it was fairly straightforward-the body just keeps on going down, with the same number of stitches (a lot of them) to the hem, and the sleeves slowly decrease along the length to the cuff. Straightforward, however, does not mean fast. SO MANY STITCHES!!!
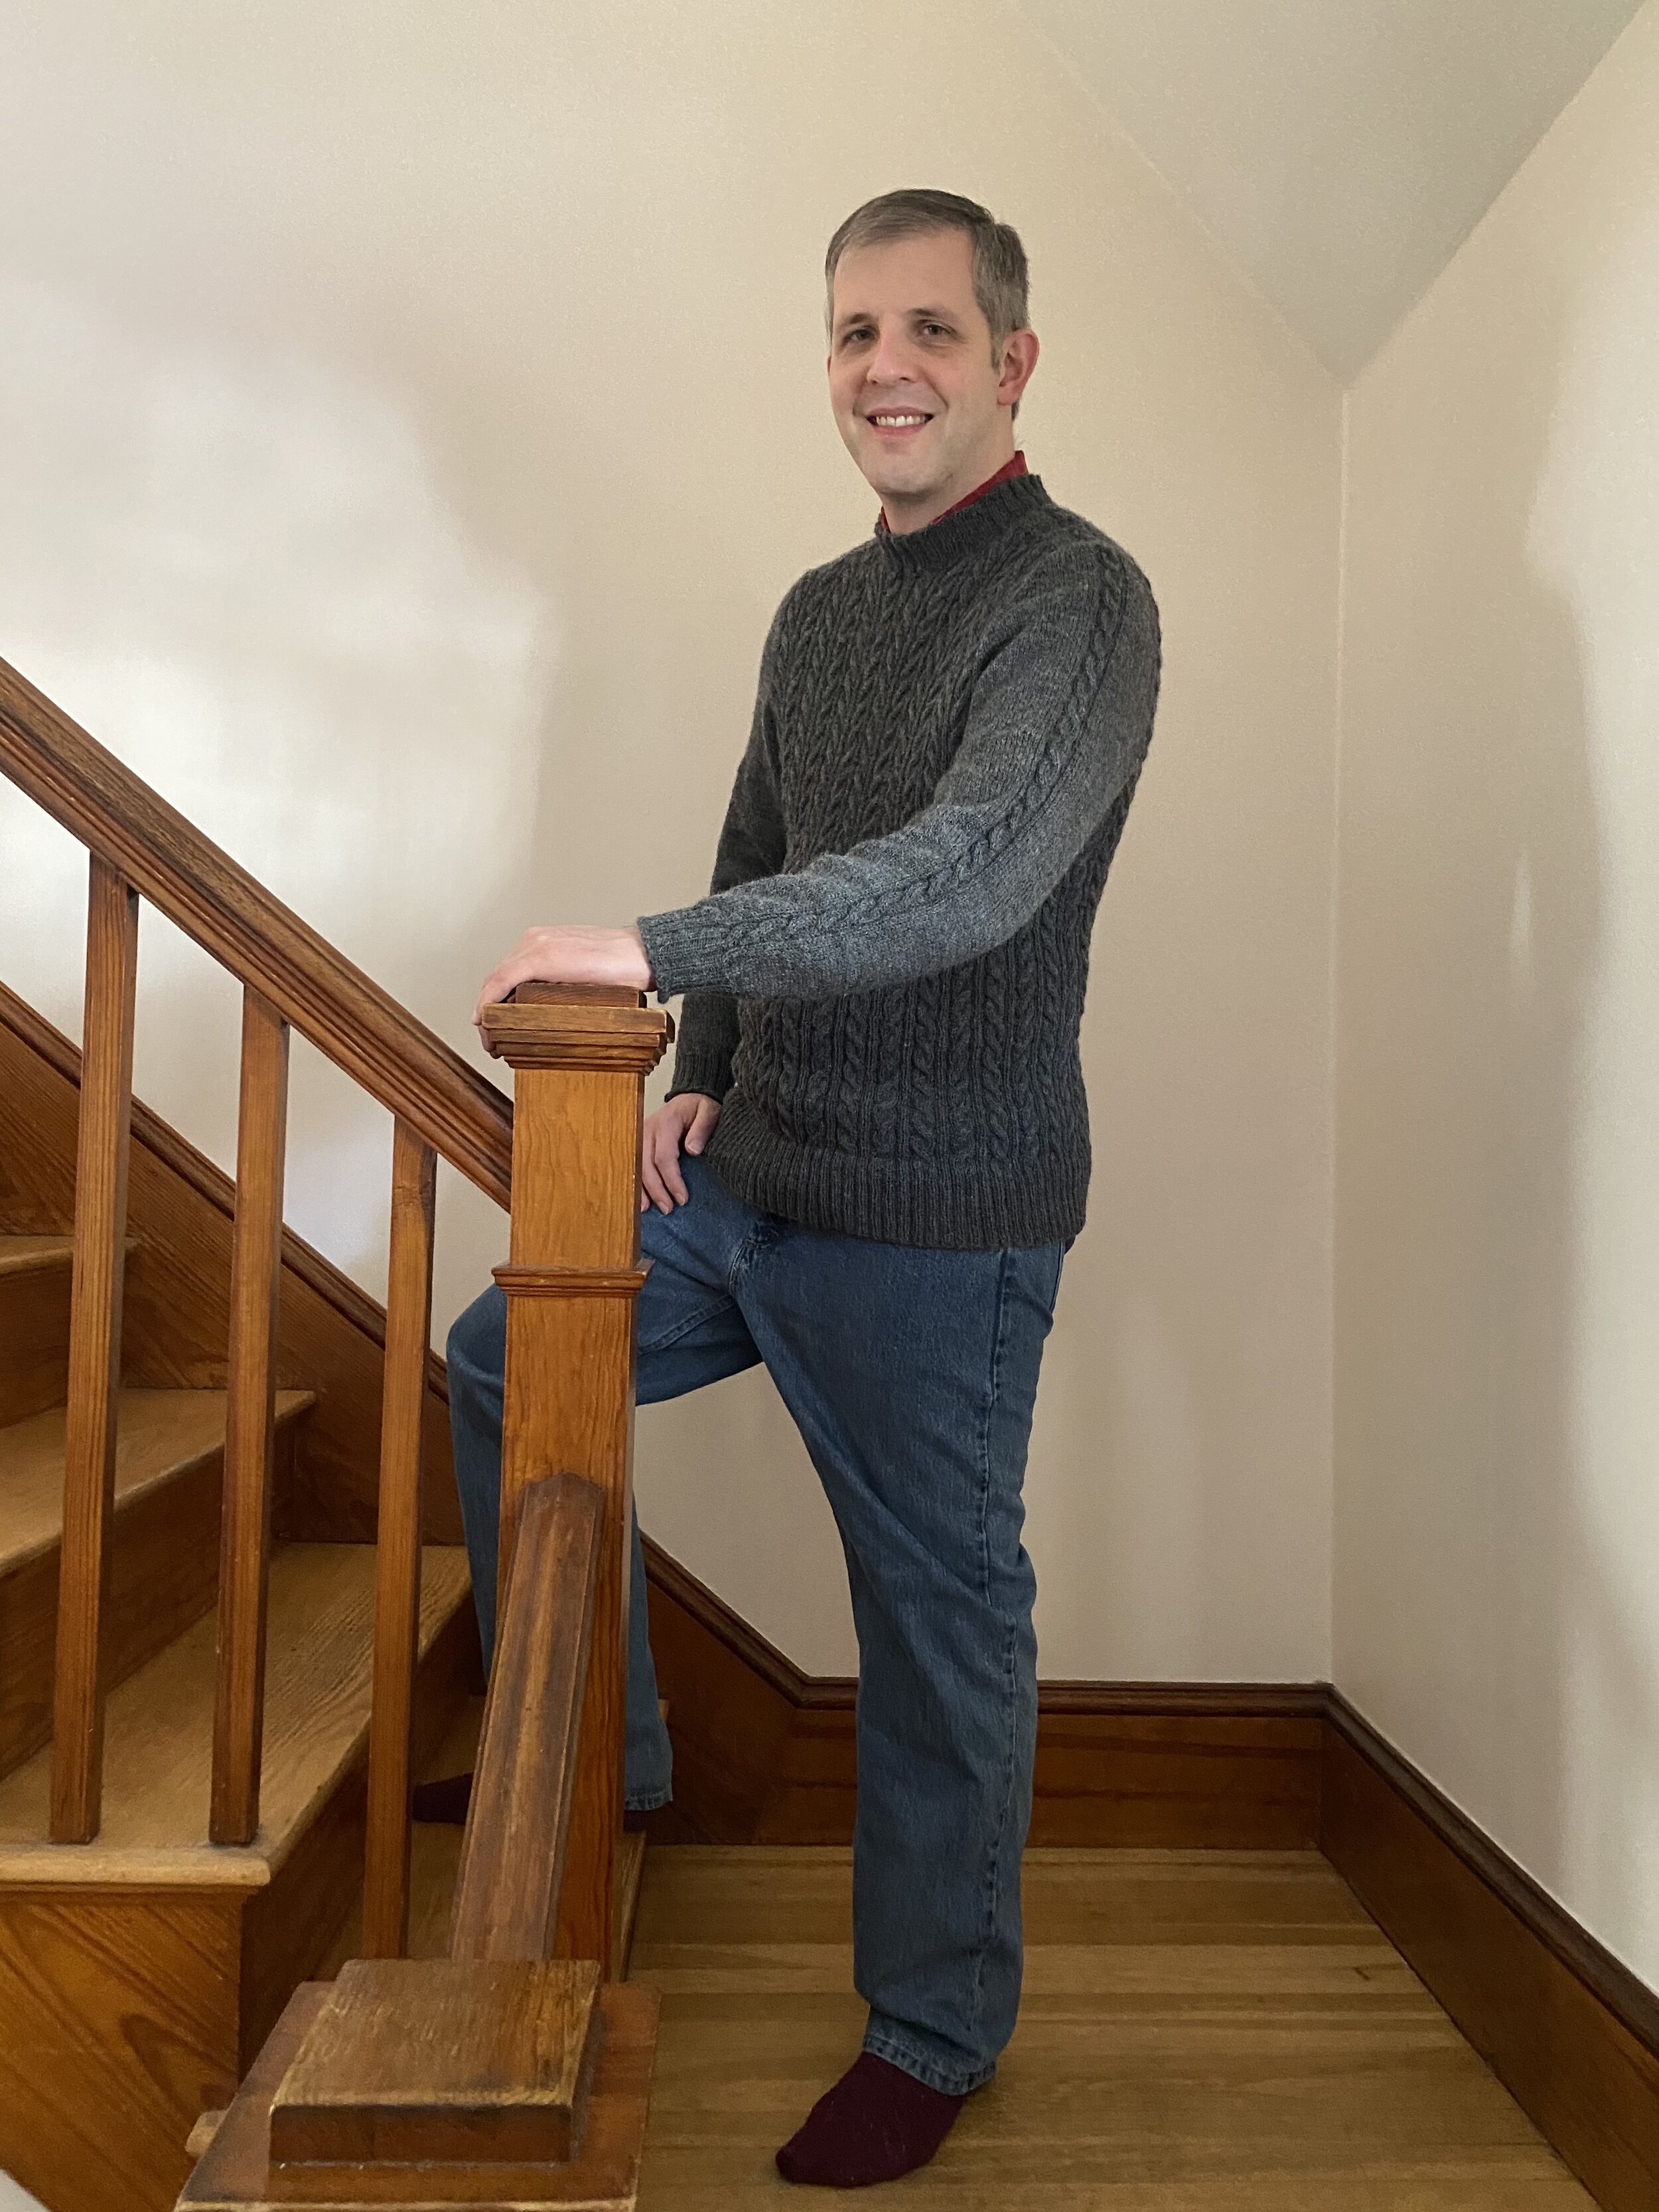
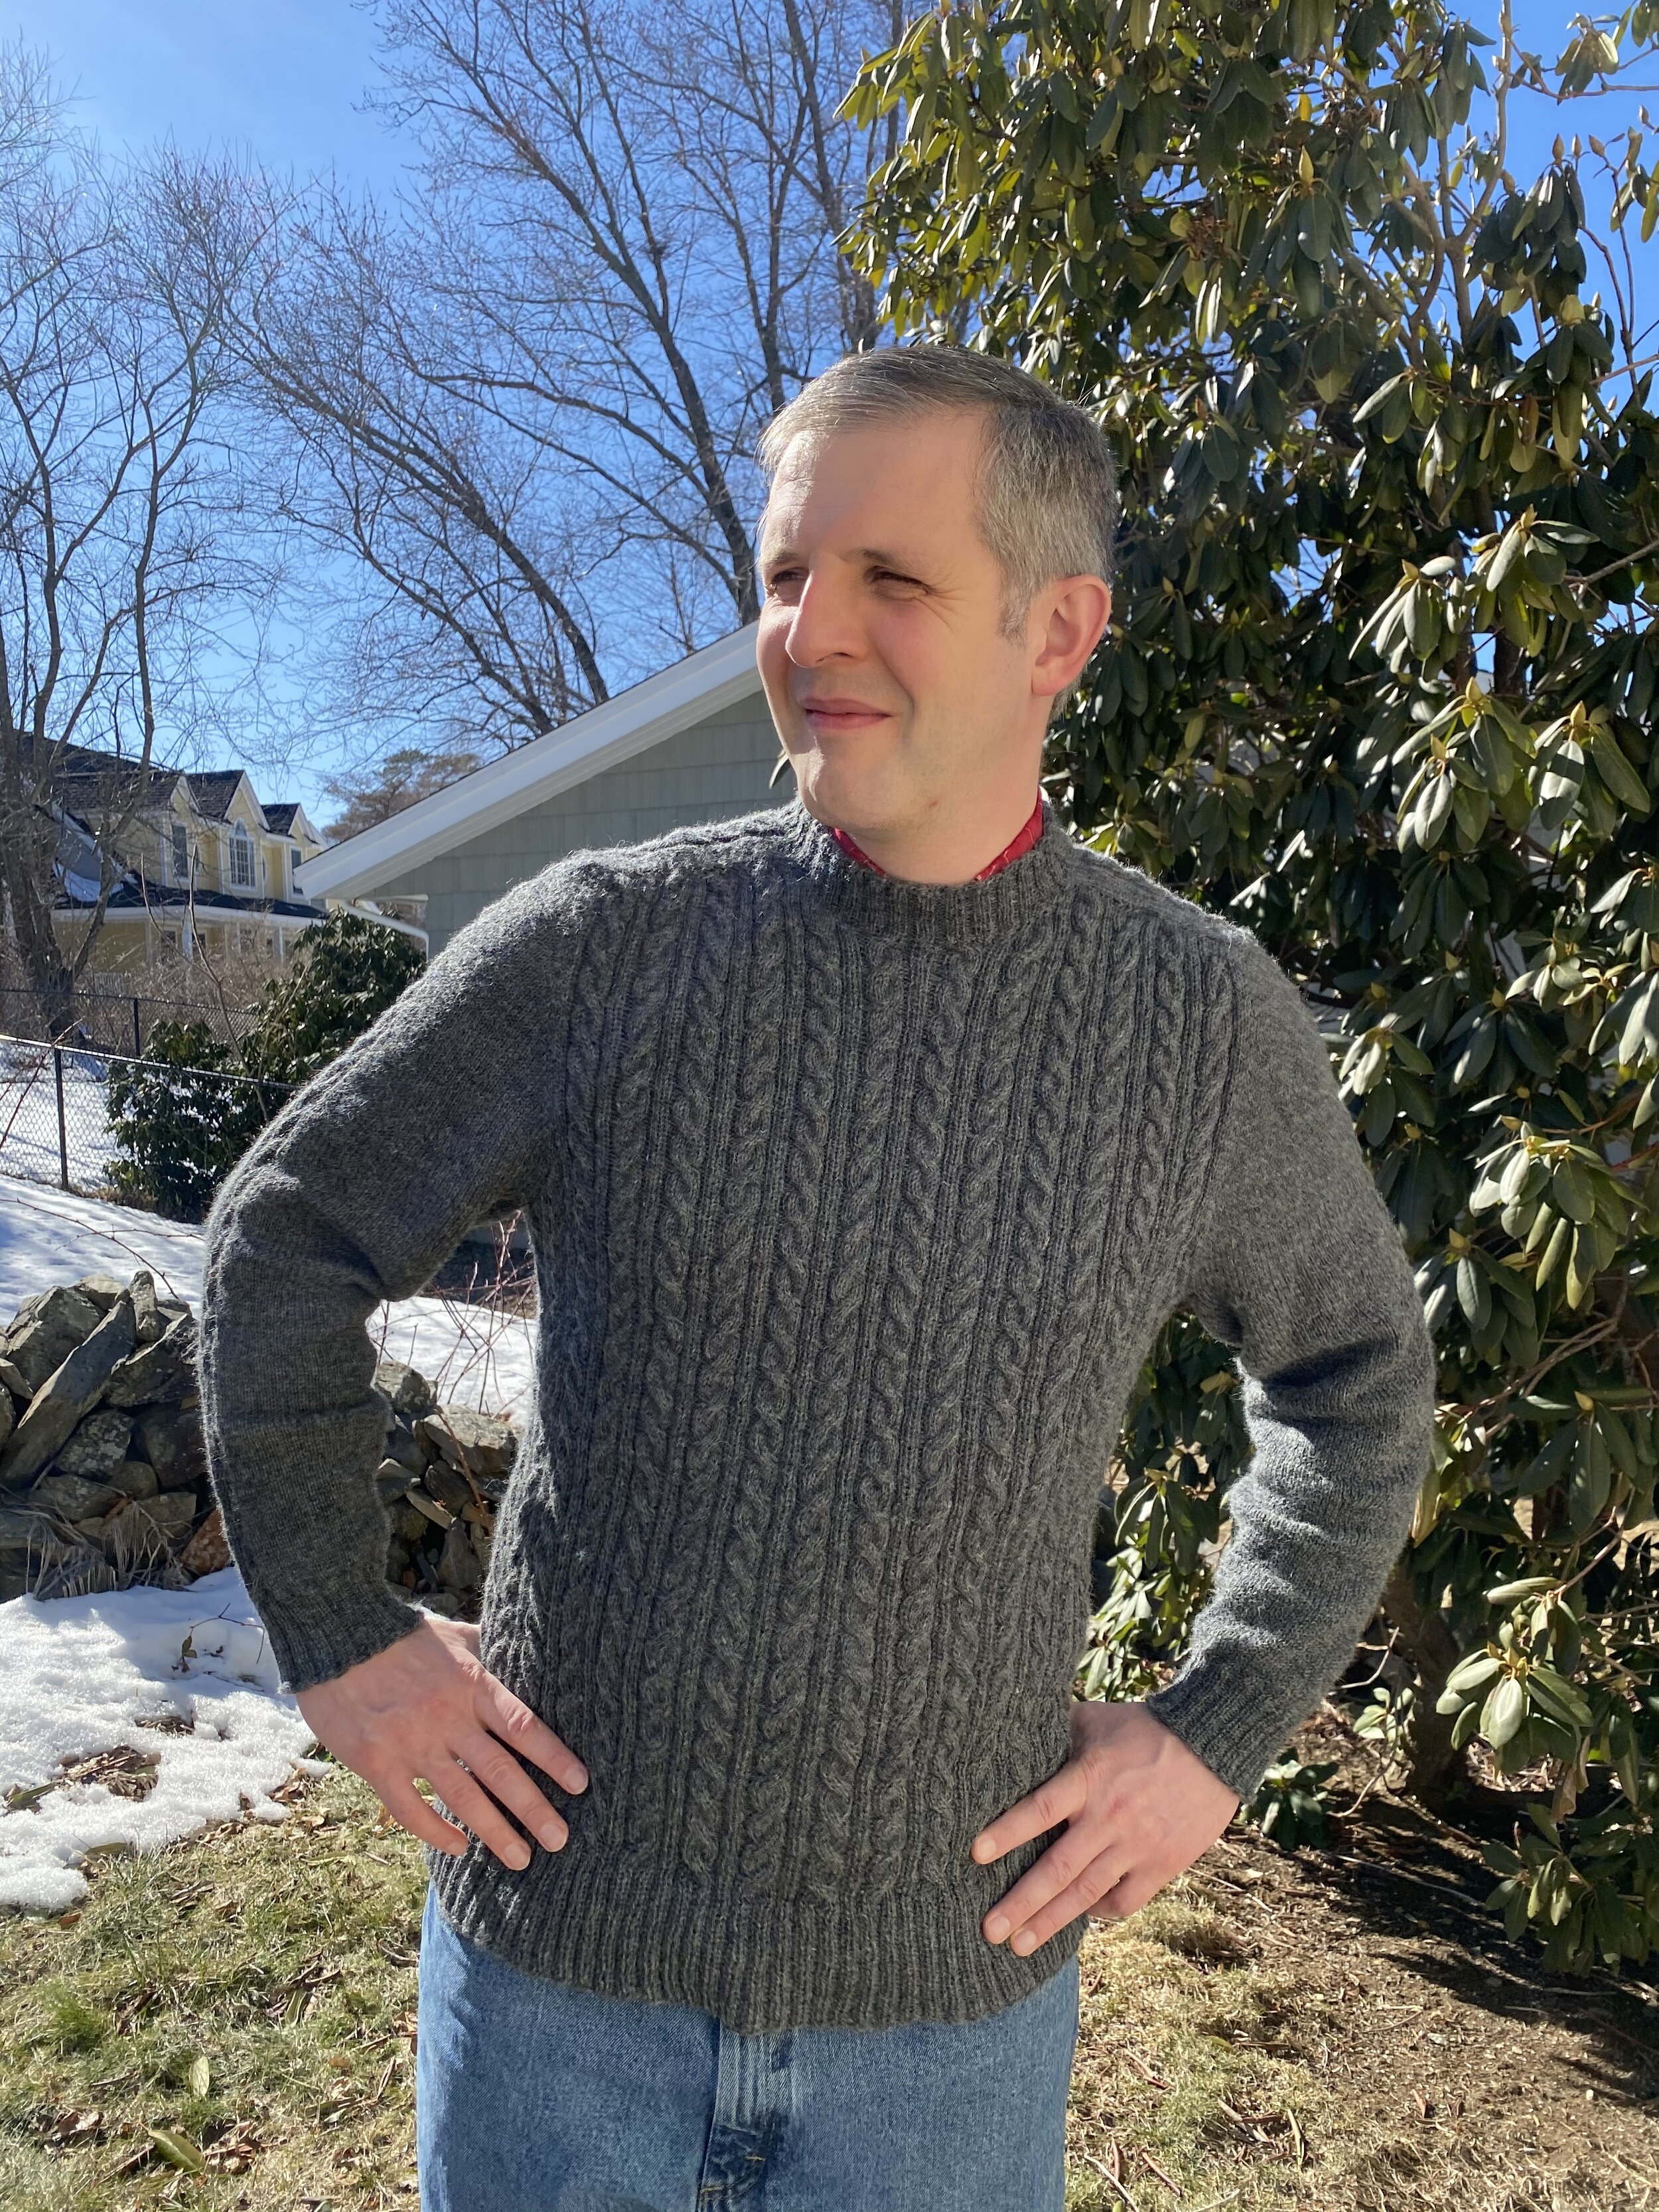
We’re both really happy with the result. There are some changes I’d make (I should have increased faster at the top of the sleeves, and maybe switched needle sizes on the ribbing at the bottom), but on the whole it was a resounding success.

