o Tannenbaum hat

I put my mitten pattern up on yarnpond to look for test knitters, and I was overwhelmed by the response. Within 2 days I’d had 16 knitters offer to test knit, not including my mom. She’s currently finished four pairs of the mittens, each slightly different. It was while she was wearing her new mittens that she decided there should be a hat pattern to go with them. When Mommy tells me I need to write a hat pattern, I sit down and do it!

Conceptual design for the hat

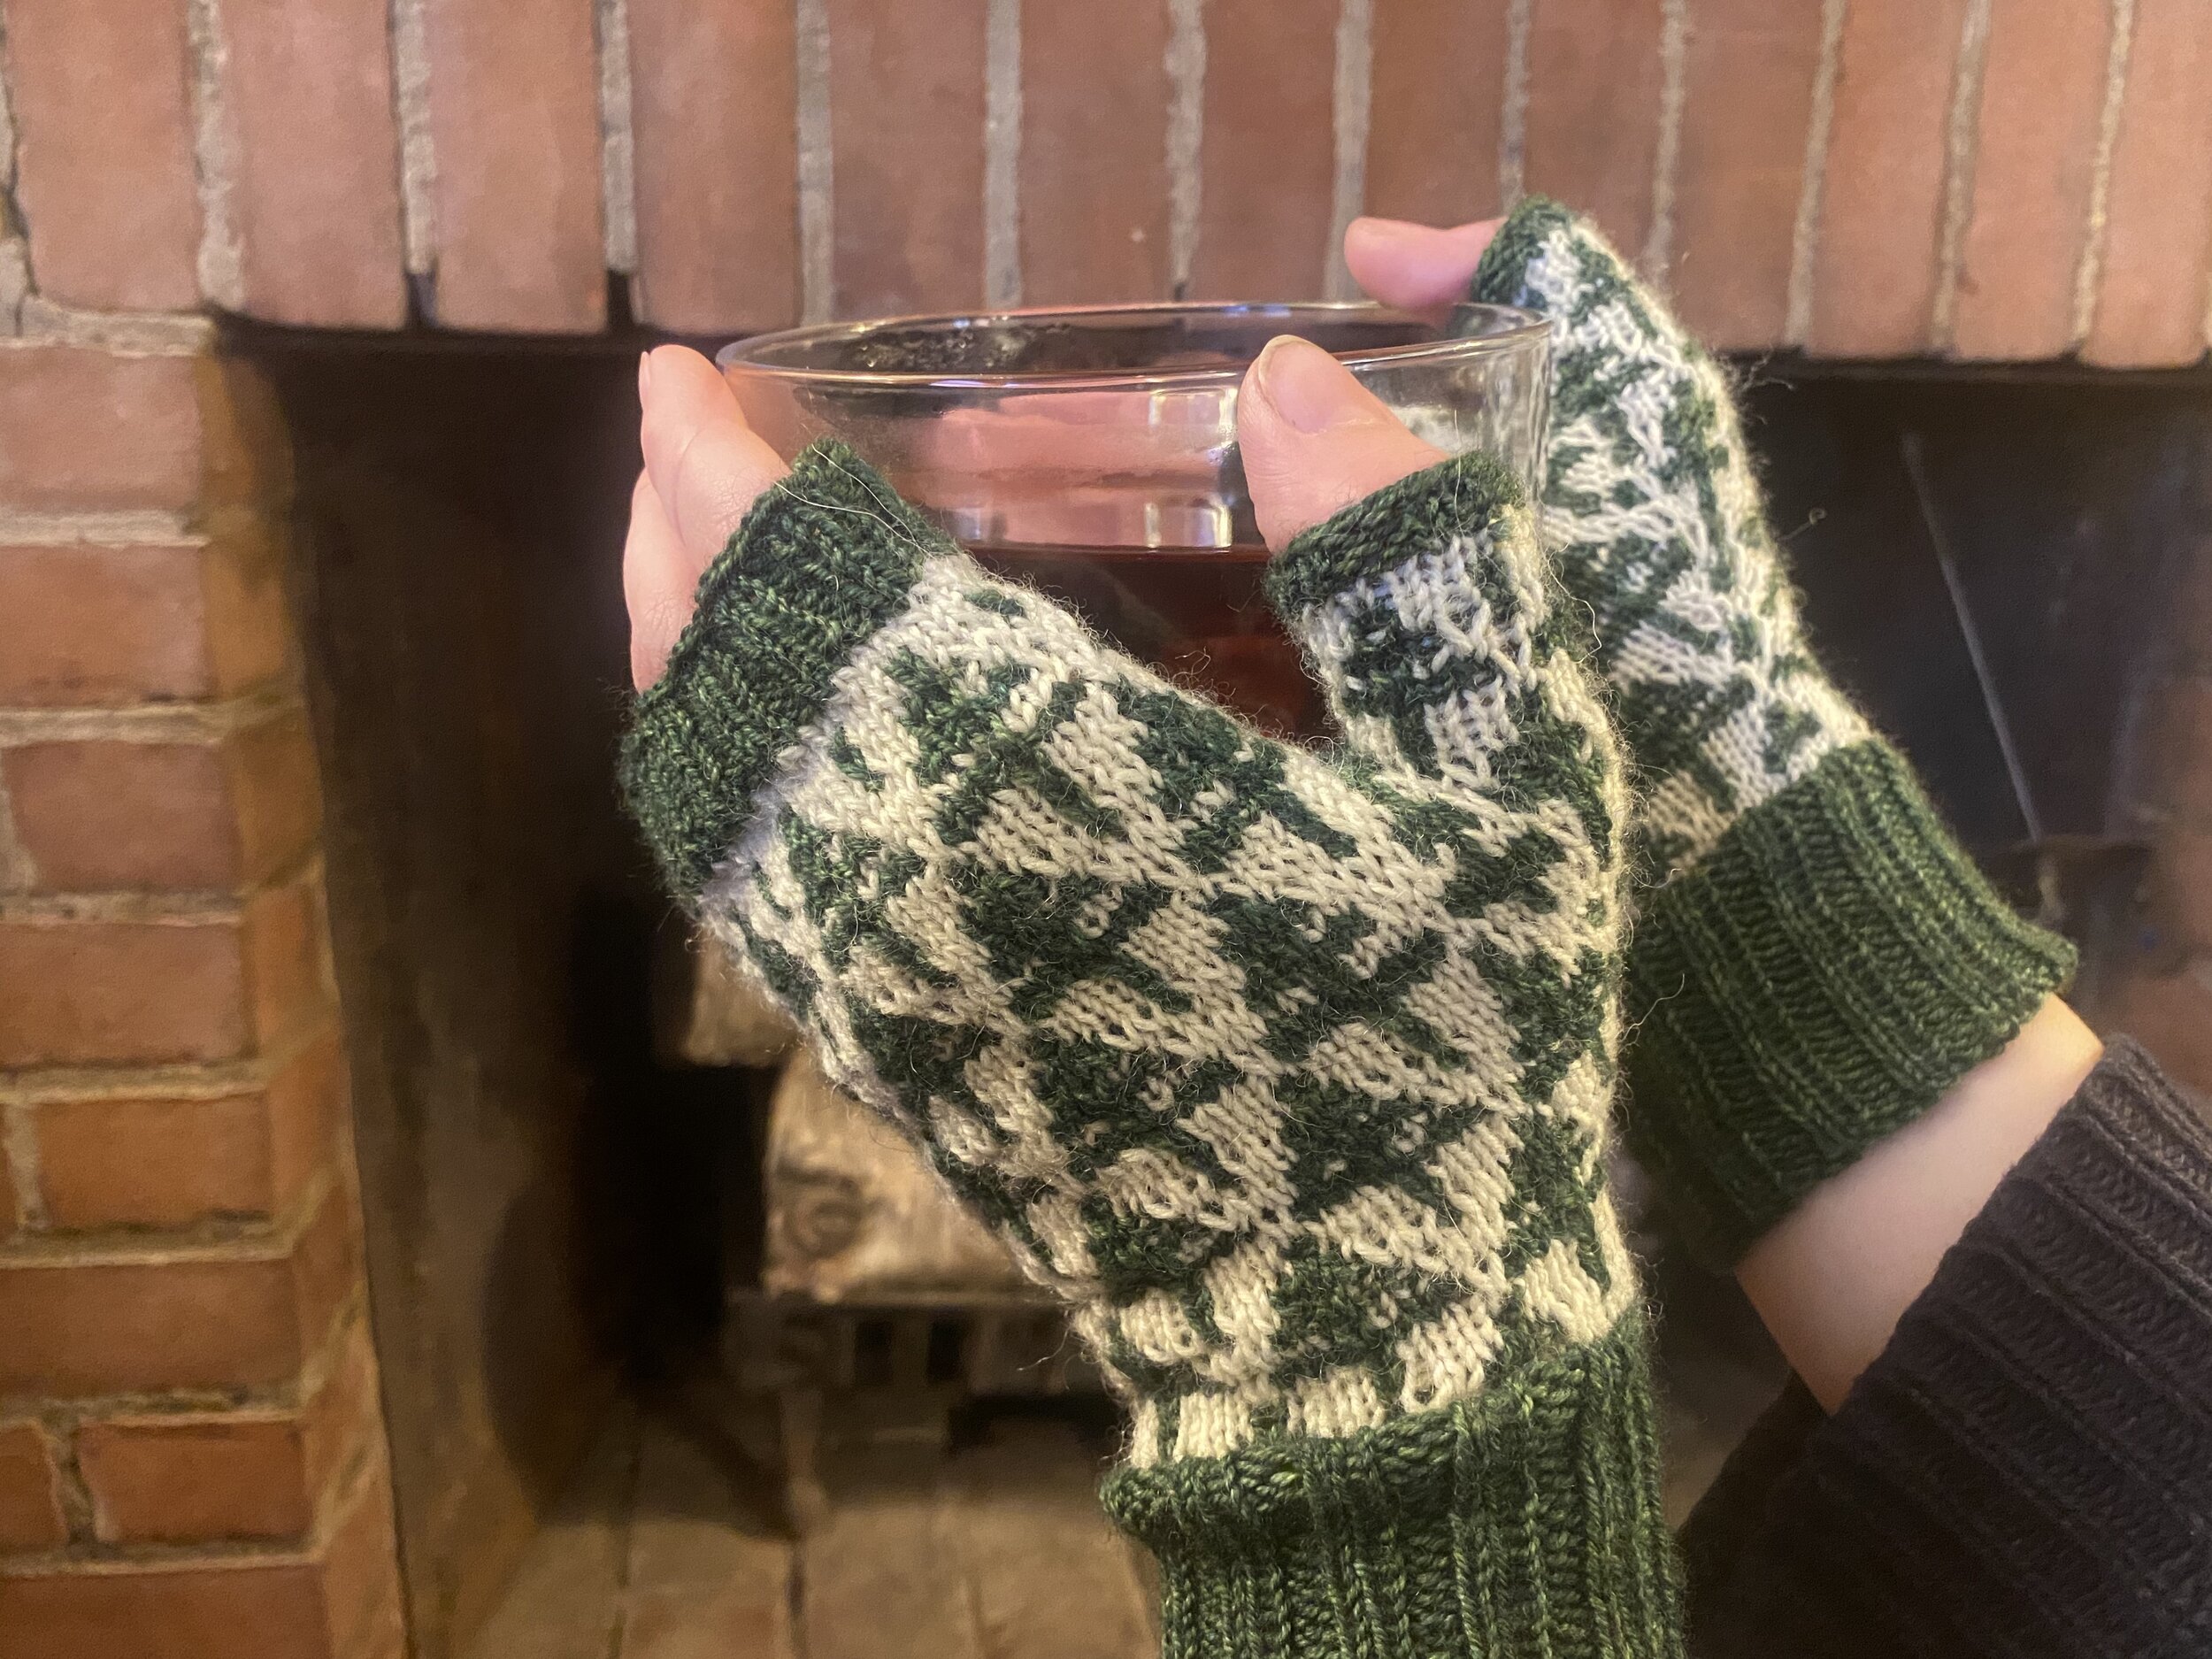
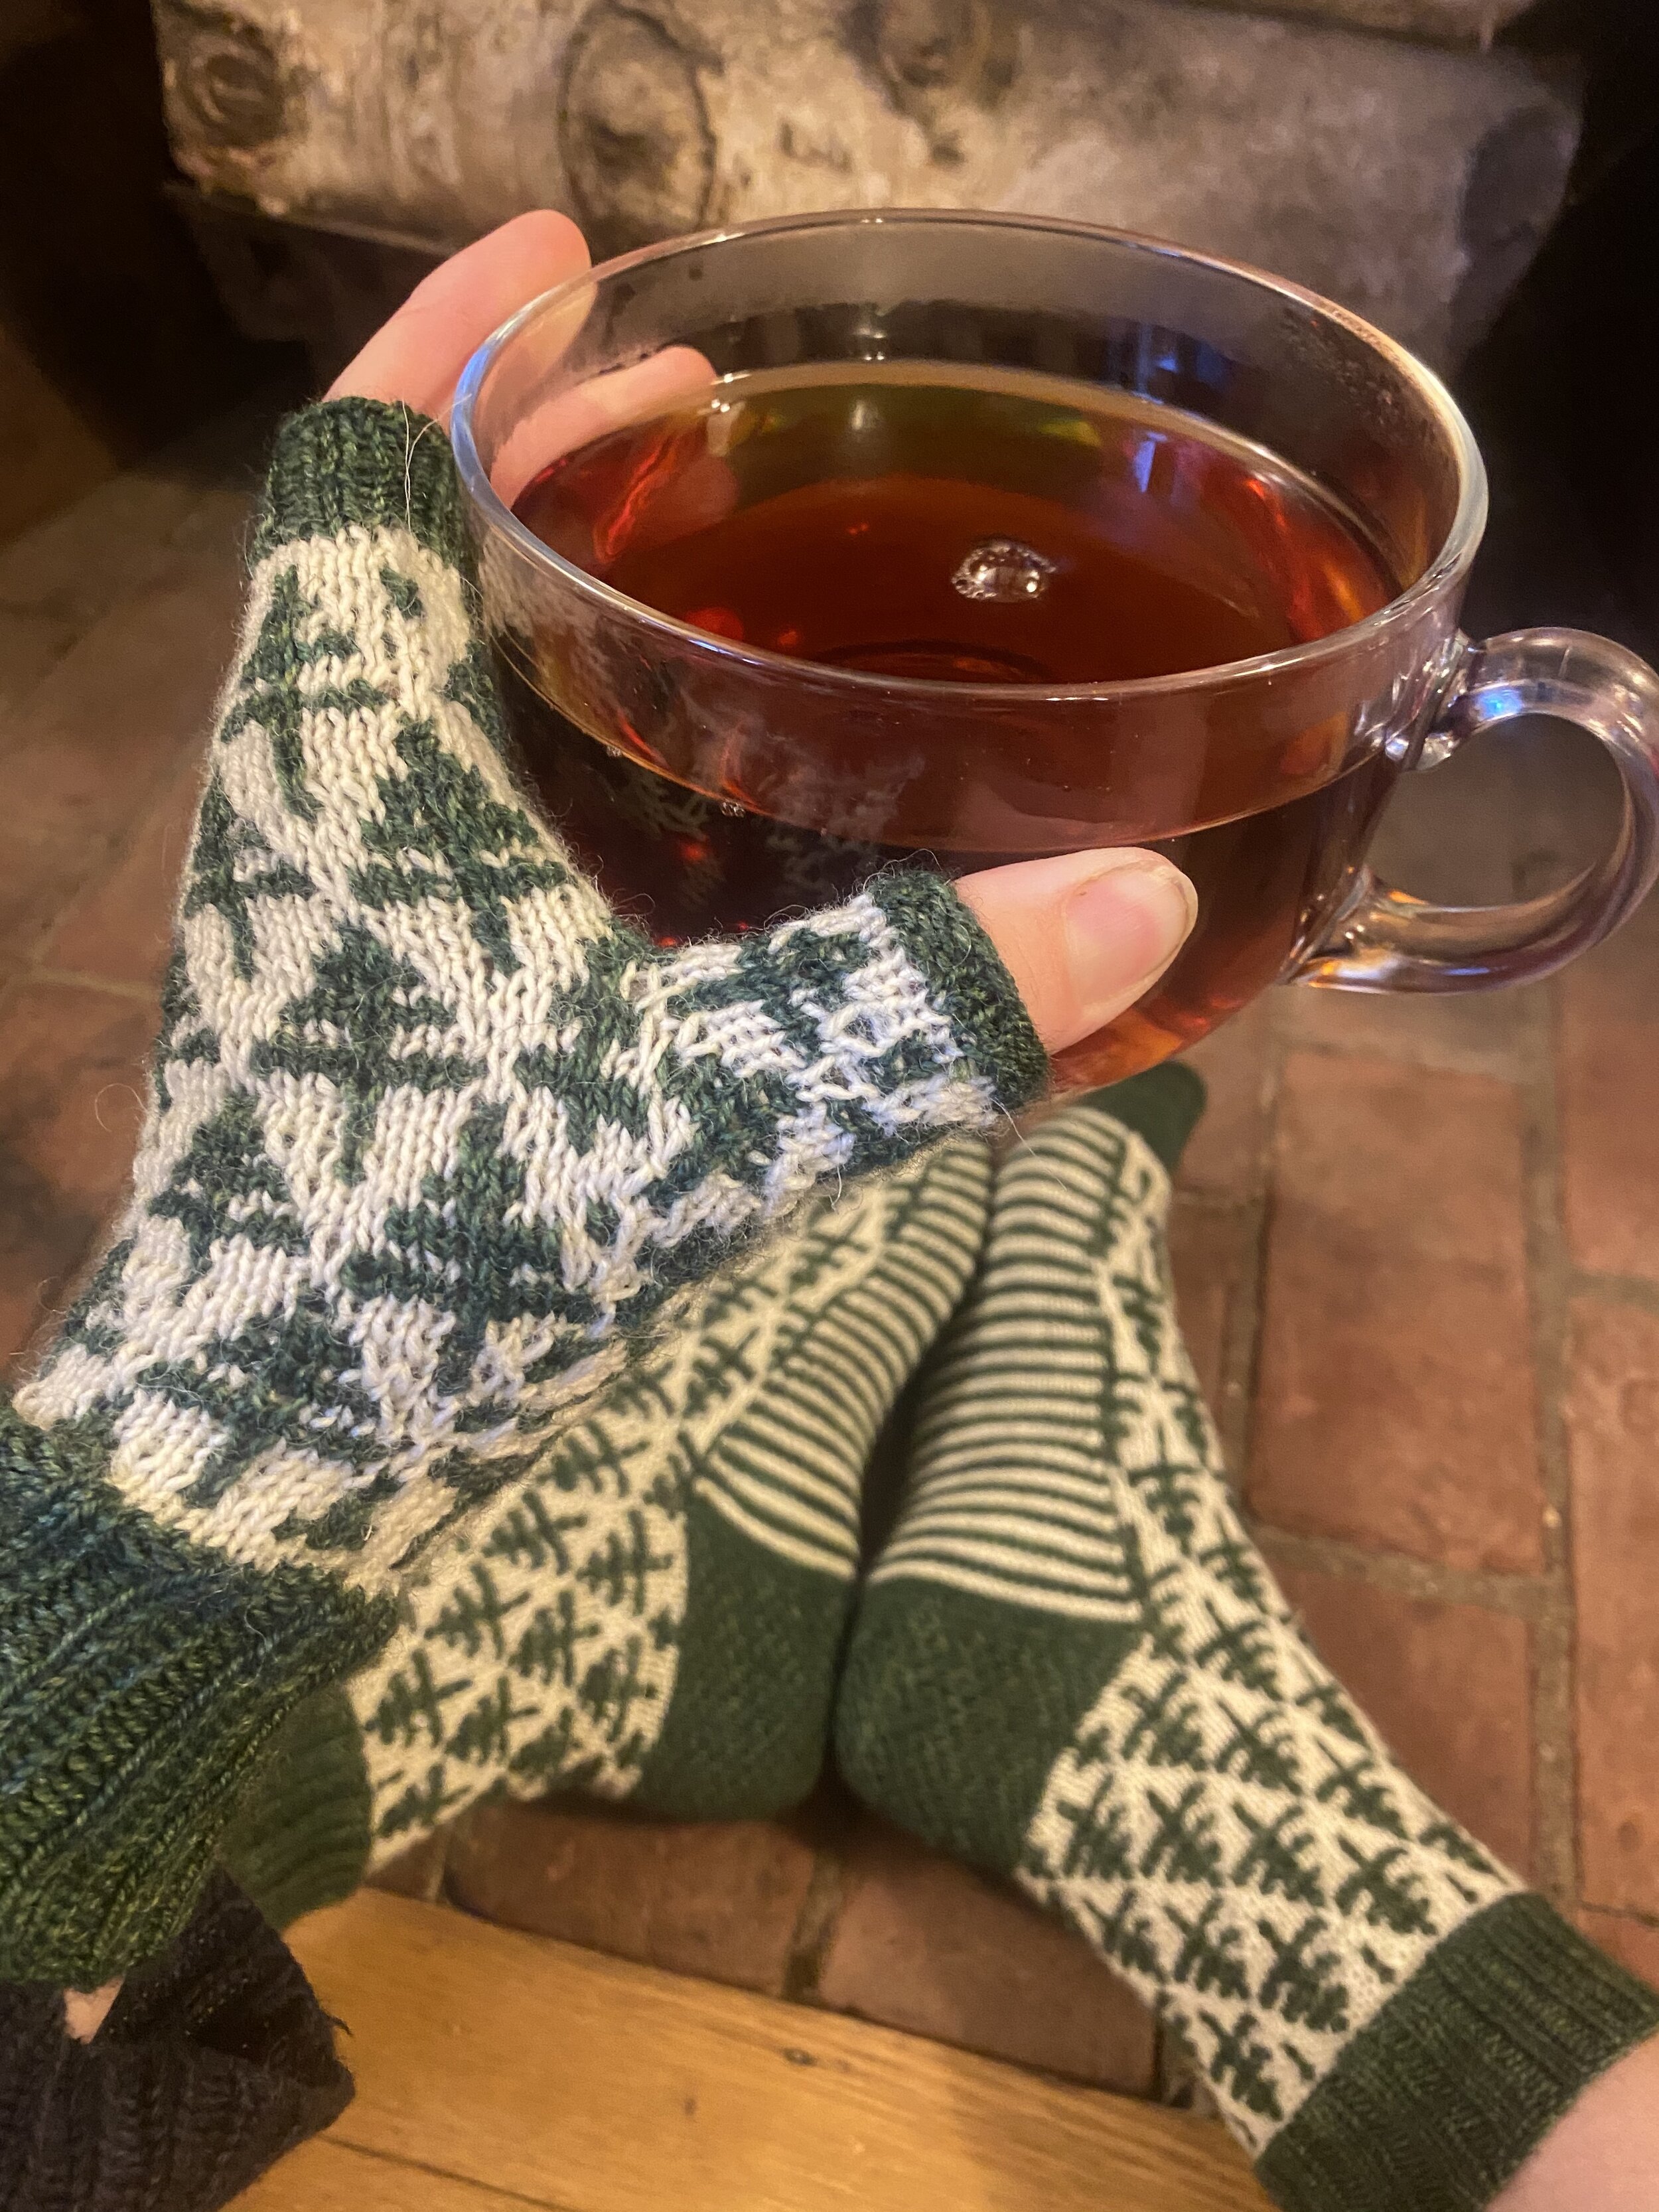
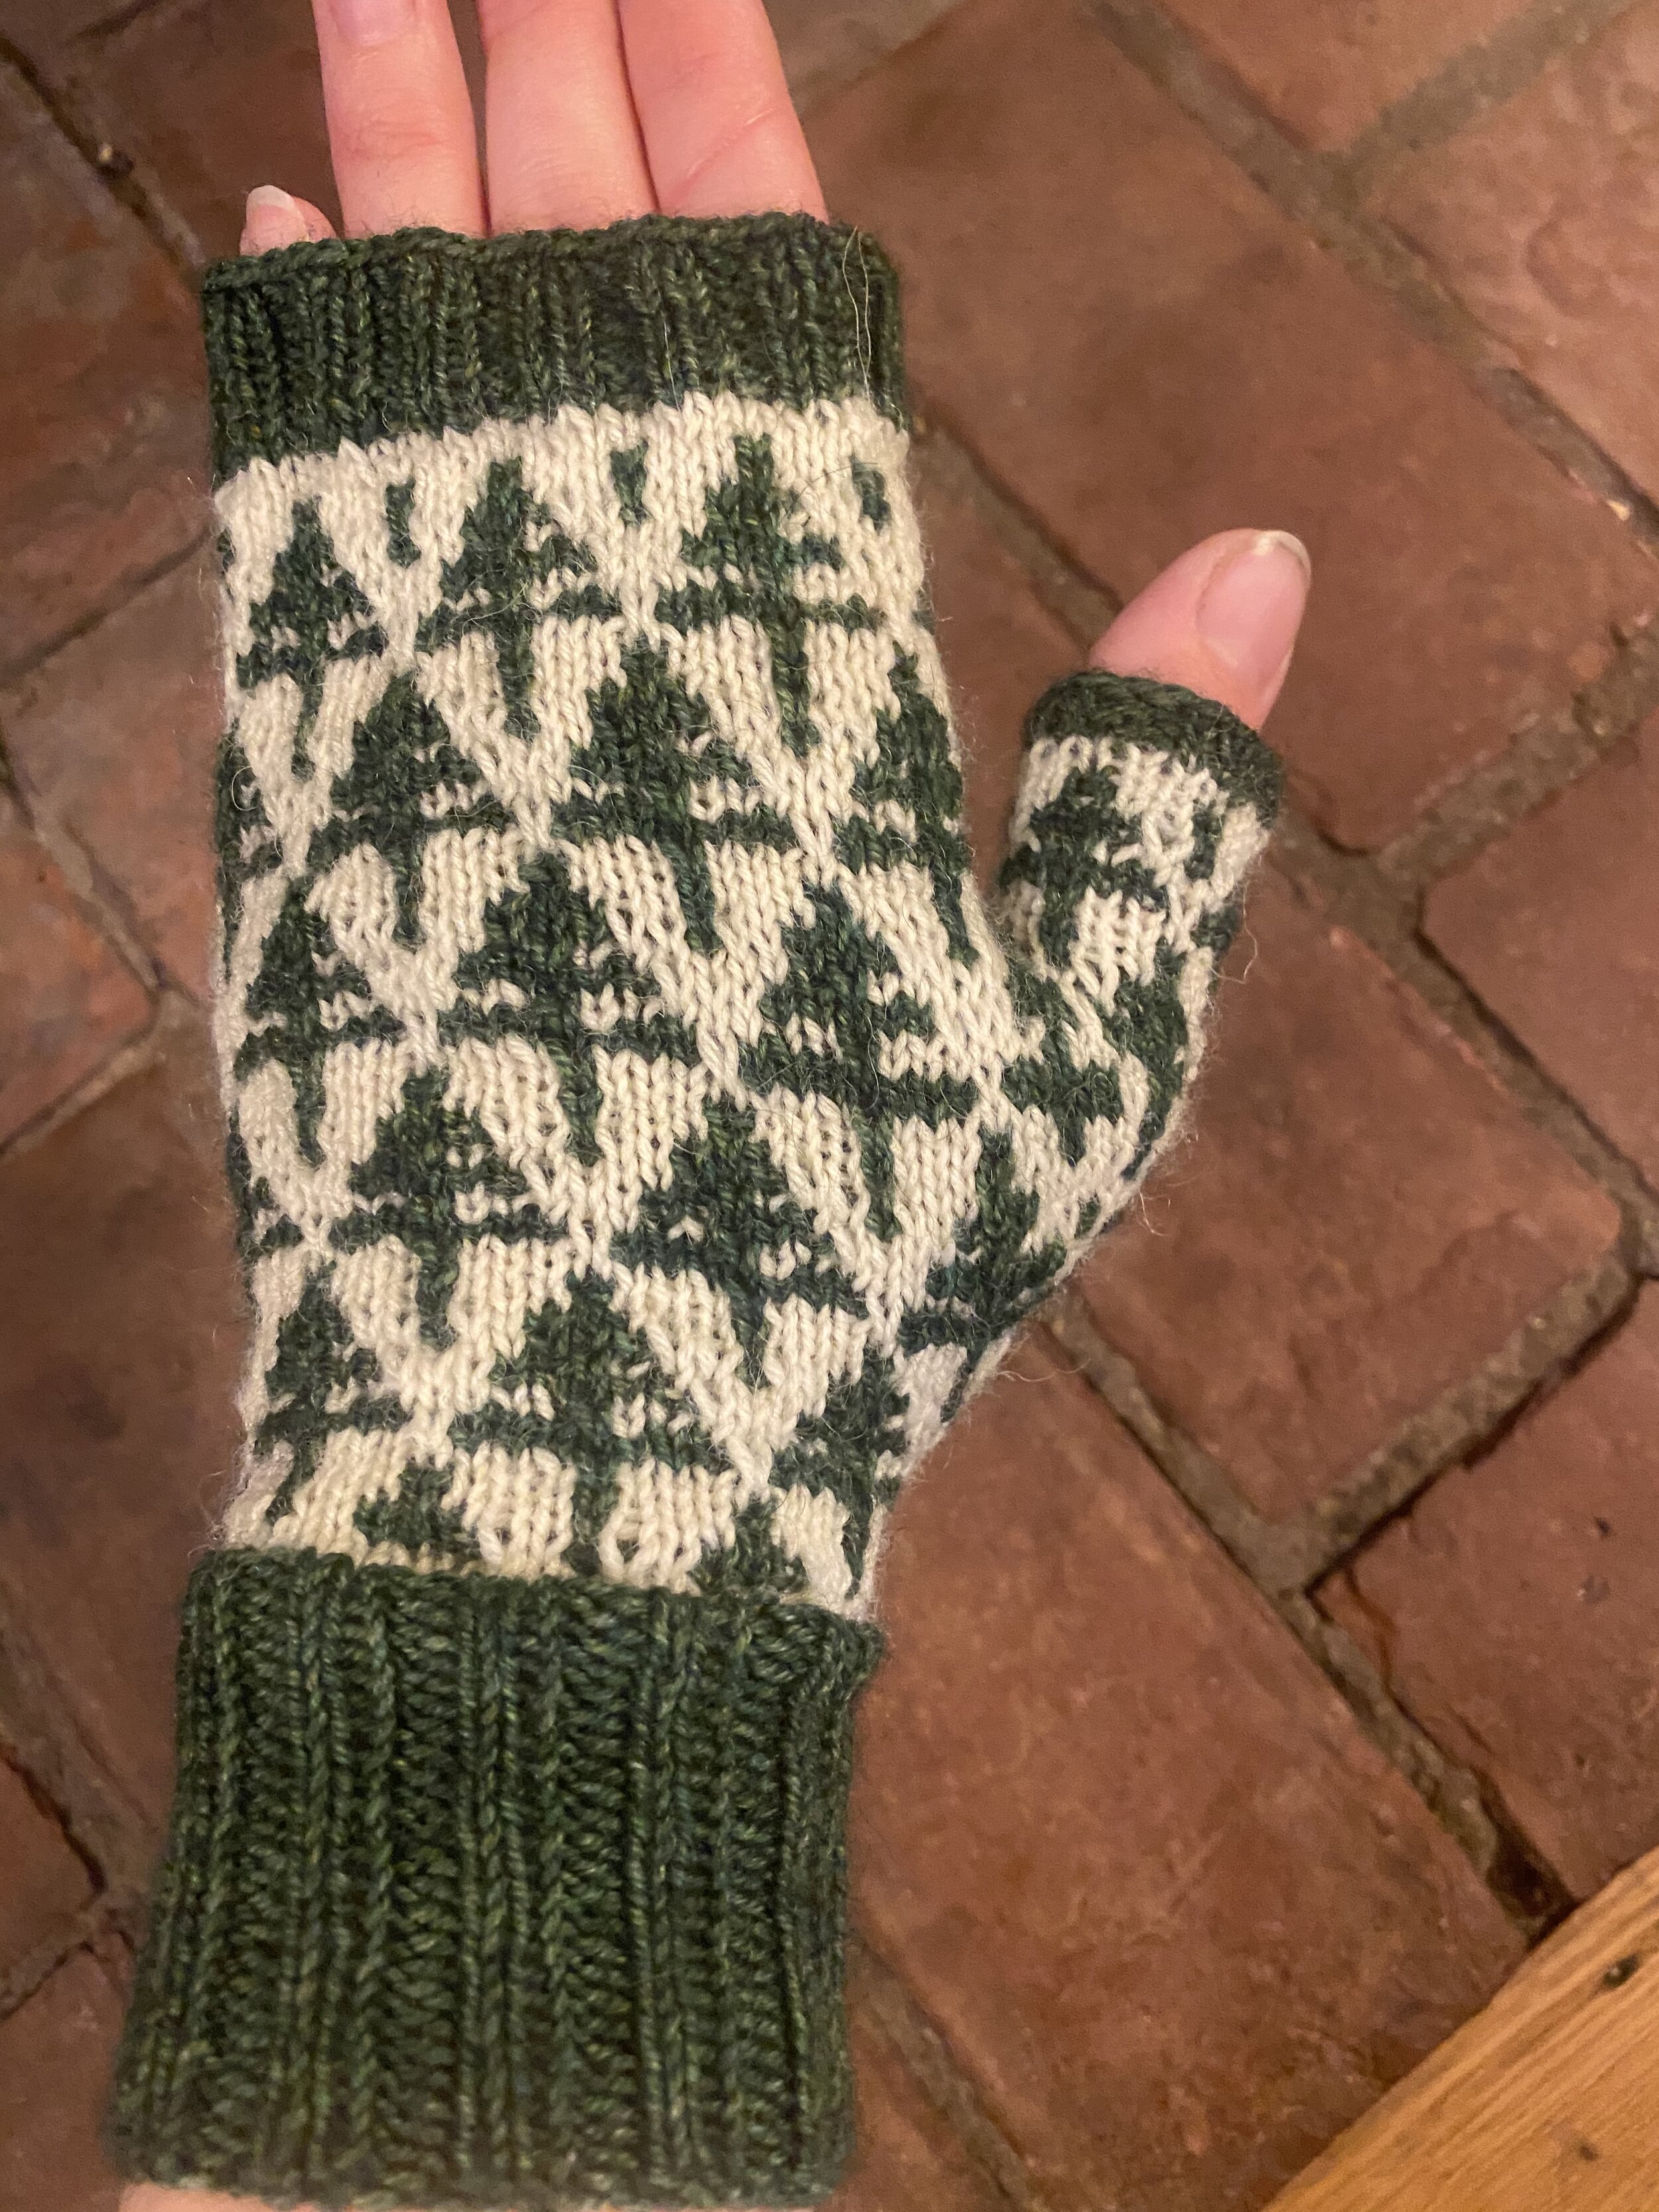
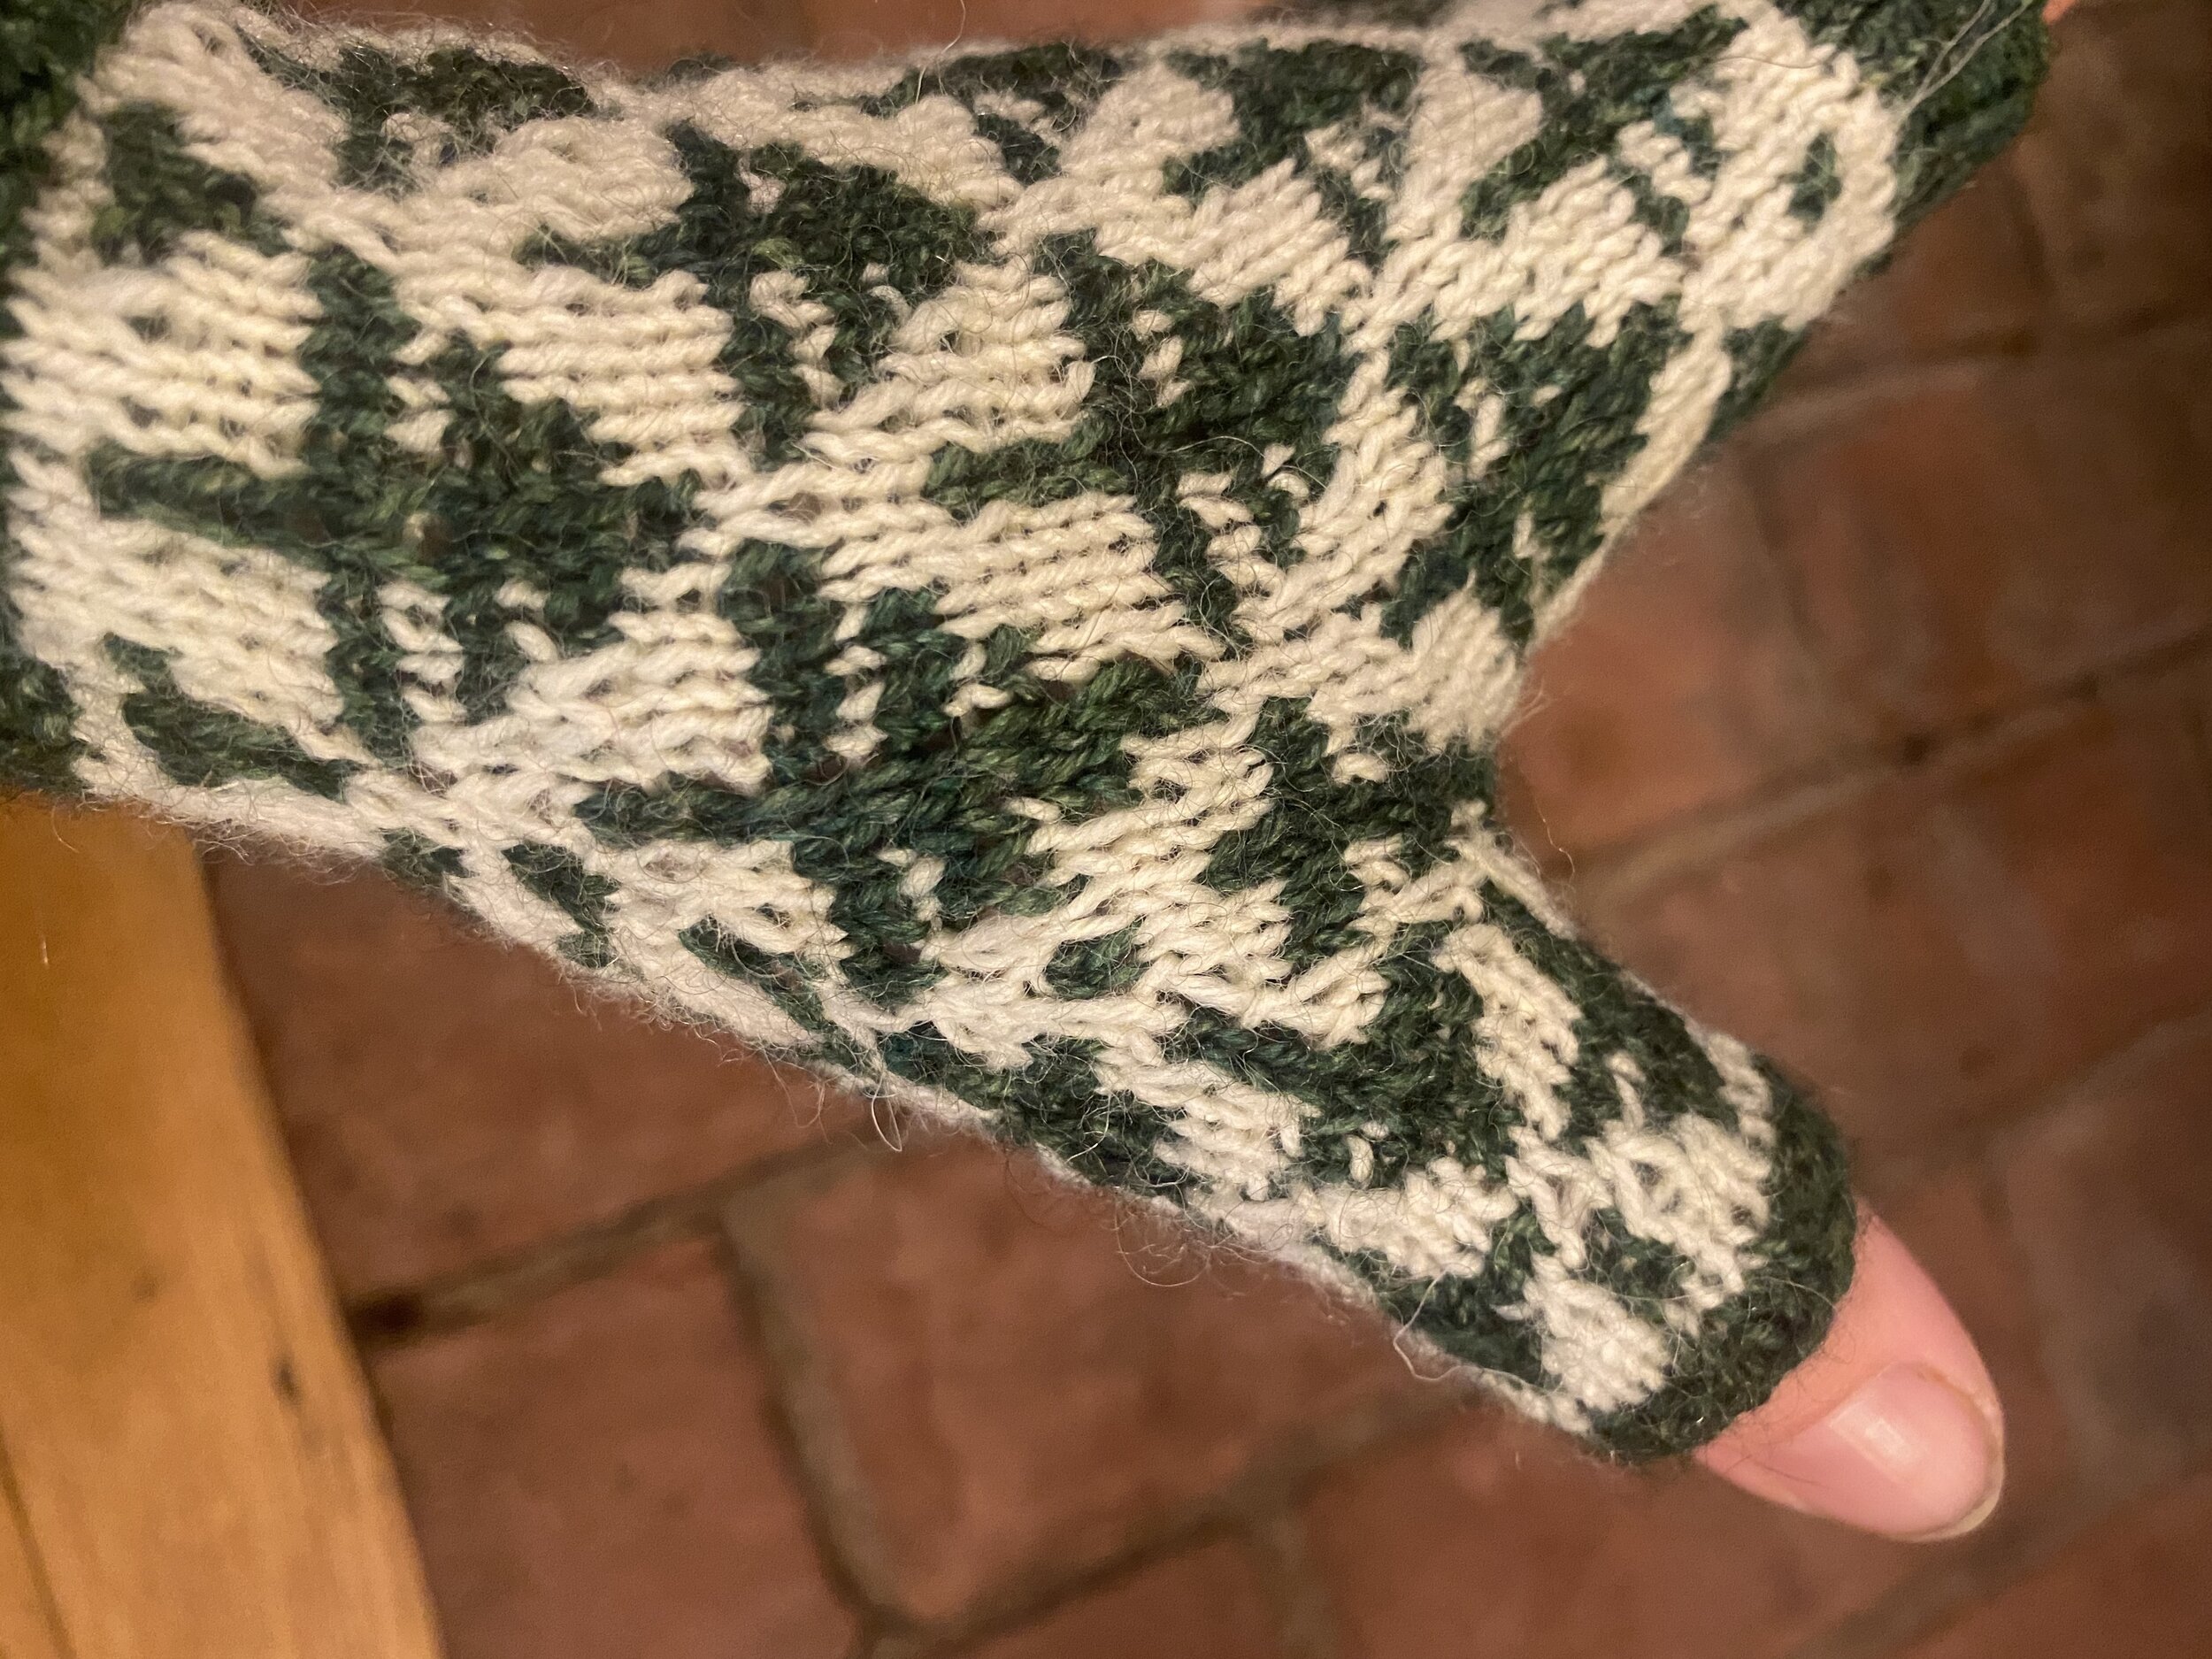
I started by jotting down instructions on a piece of paper, complete with this picture that I am inordinately proud of. Mum had sport weight yarn in the appropriate colors, while I had worsted. I decided to write the pattern up for both. With worsted weight I can keep the same 8 stitch pattern decrease that I used on the full mittens, while a sport weight adult hat requires slower decreases. By the time we both cast on our respective samples, the pattern was already all typed up, with this drawing and a picture of my fingerless mittens as placeholders.

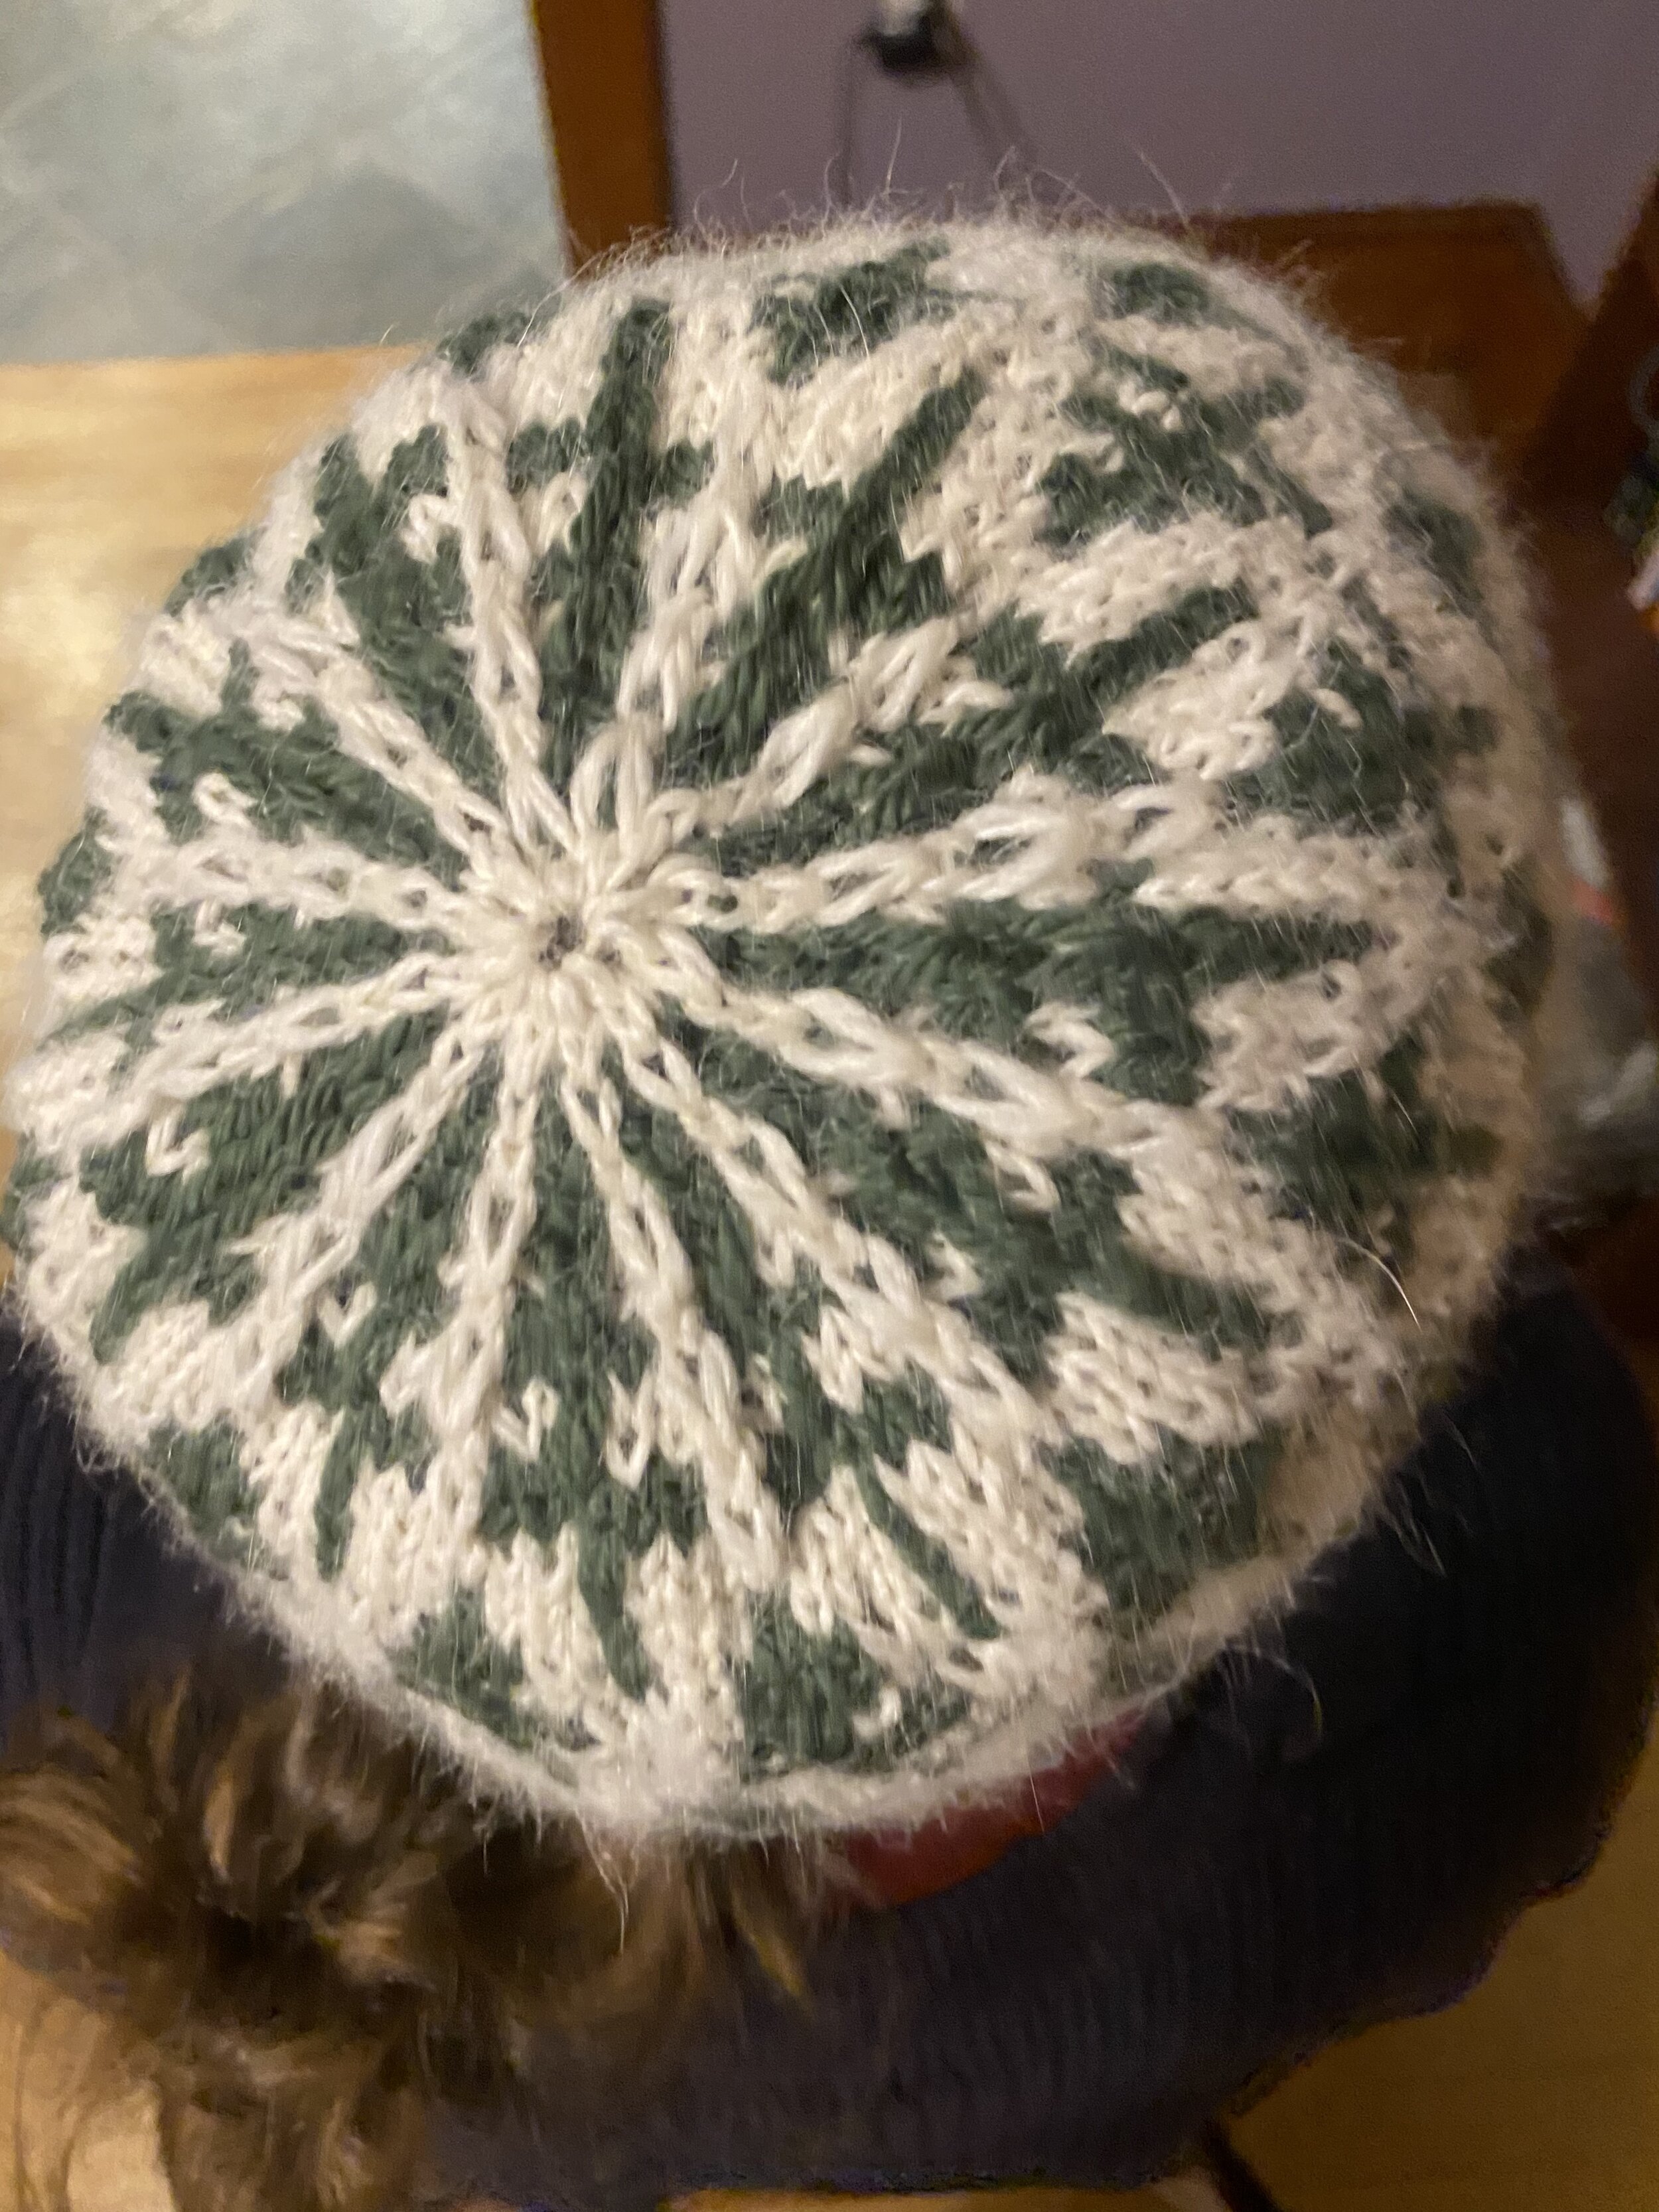
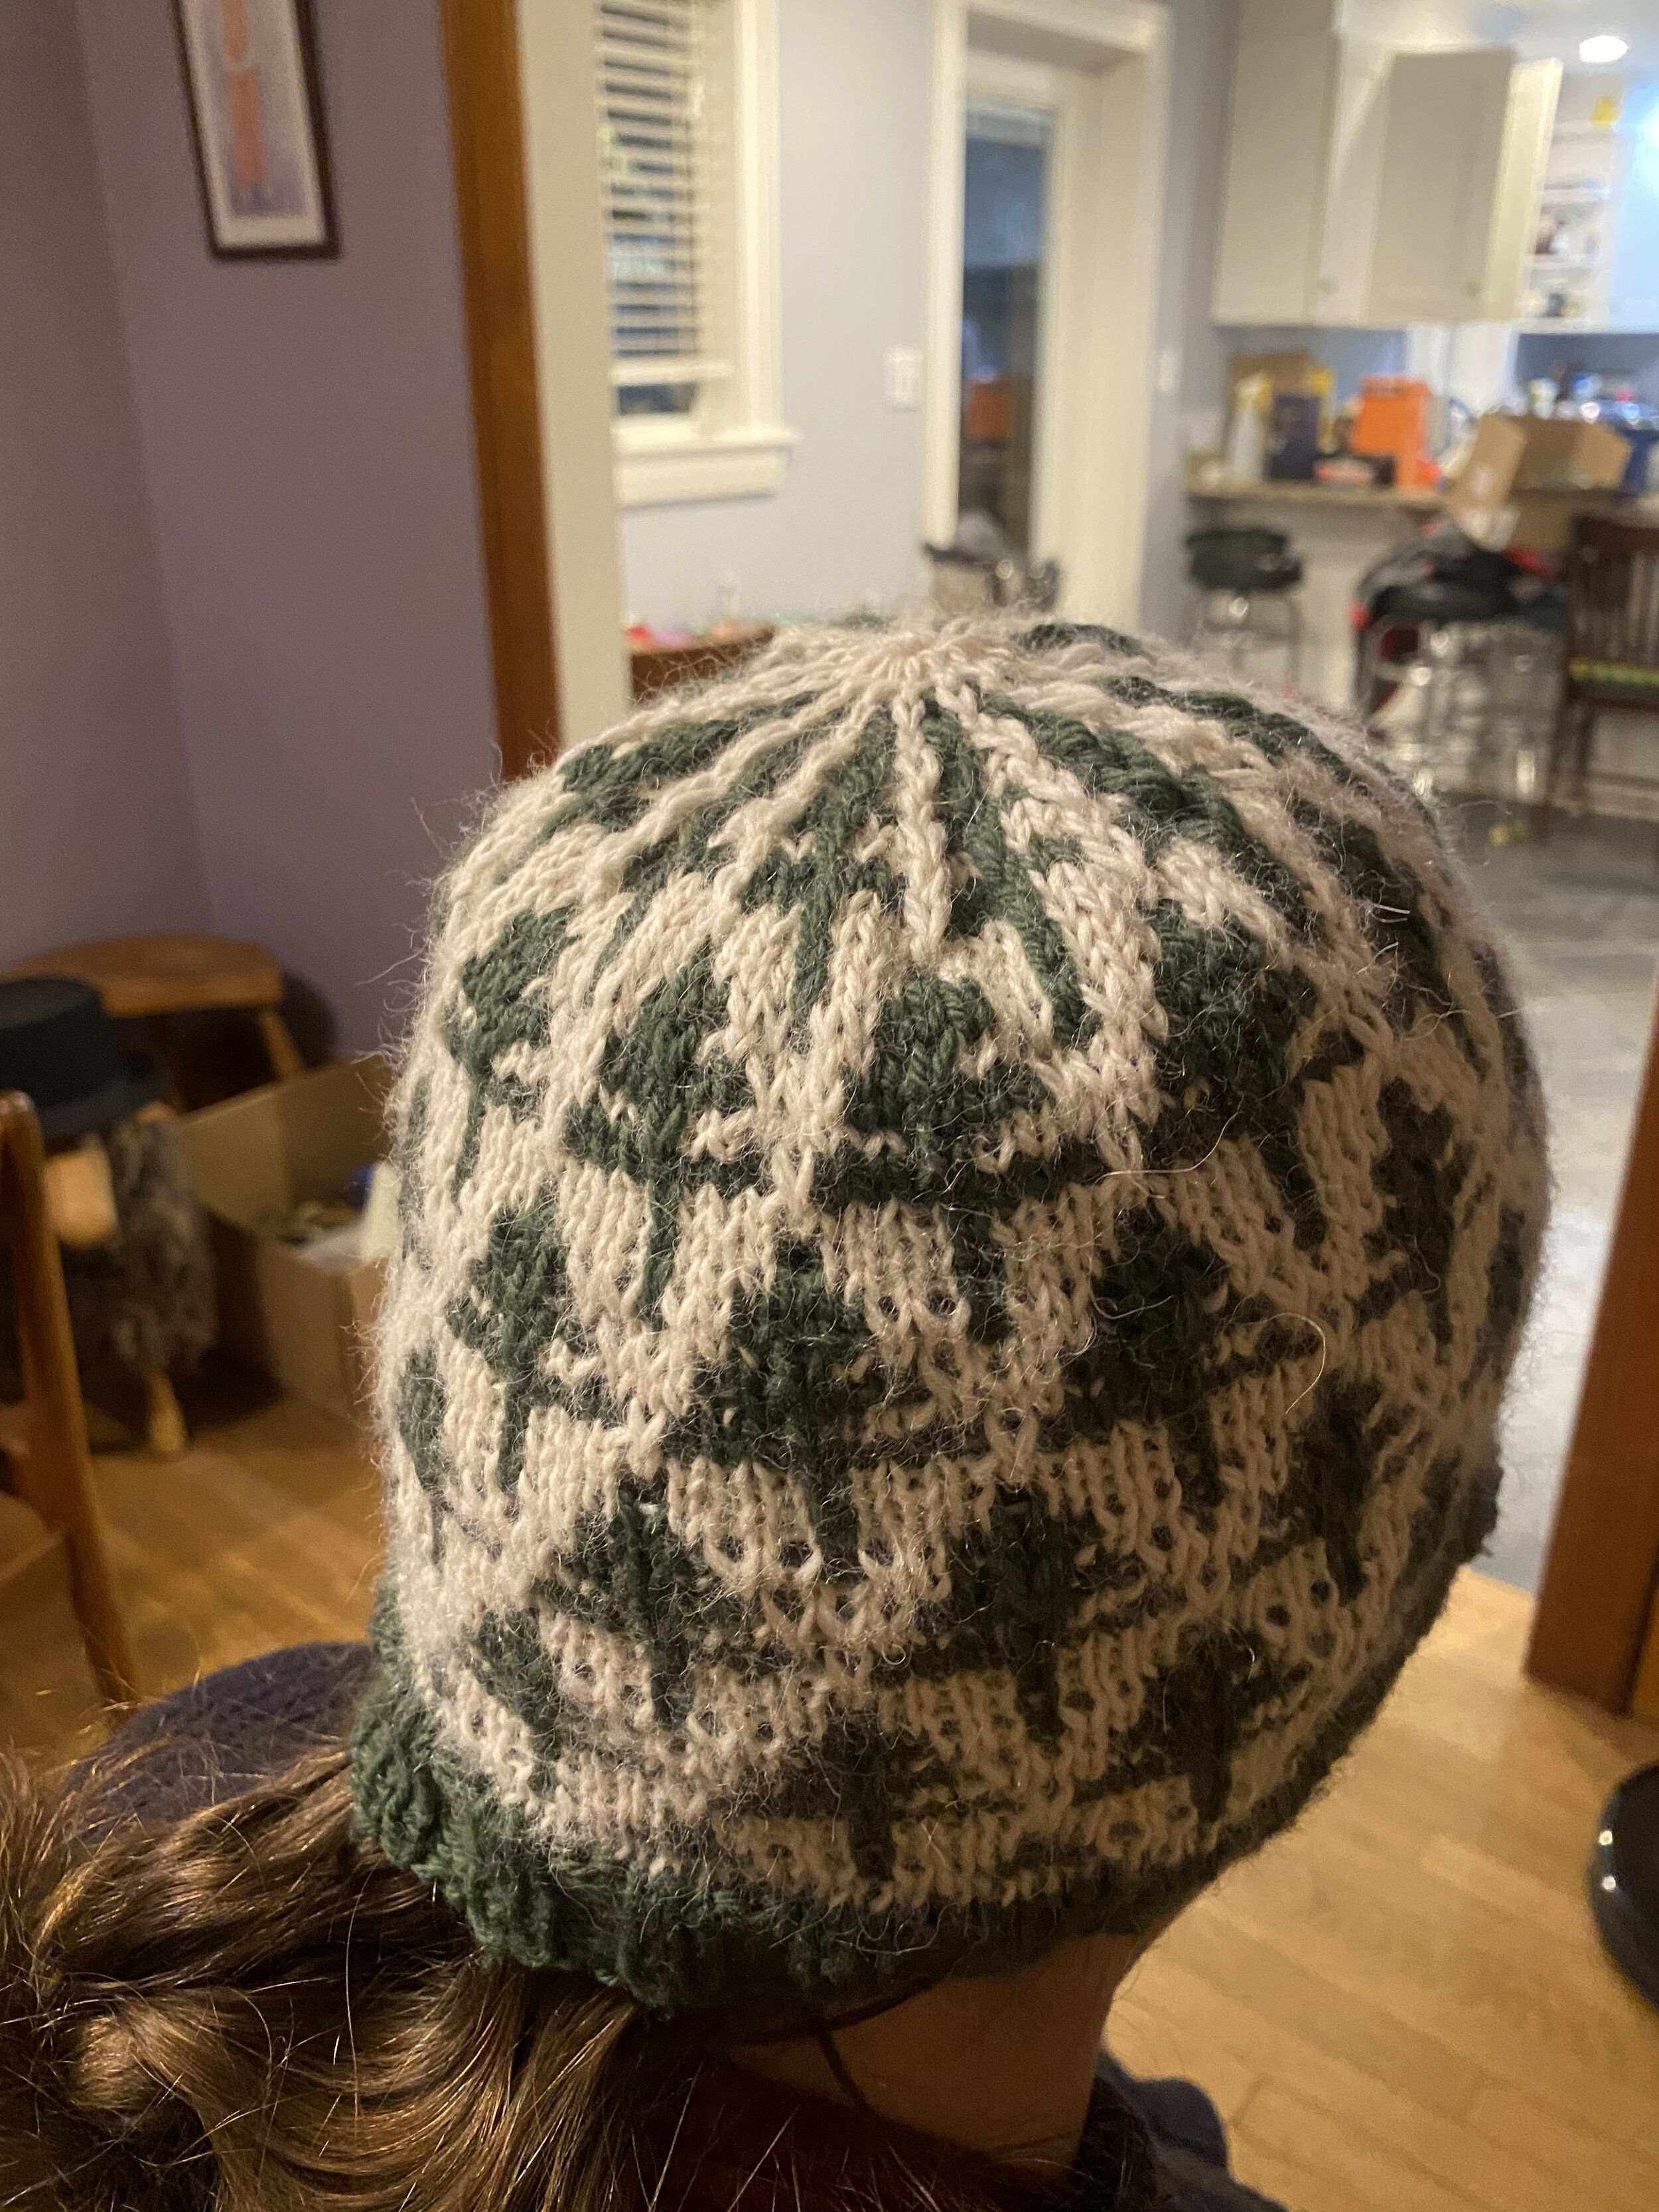
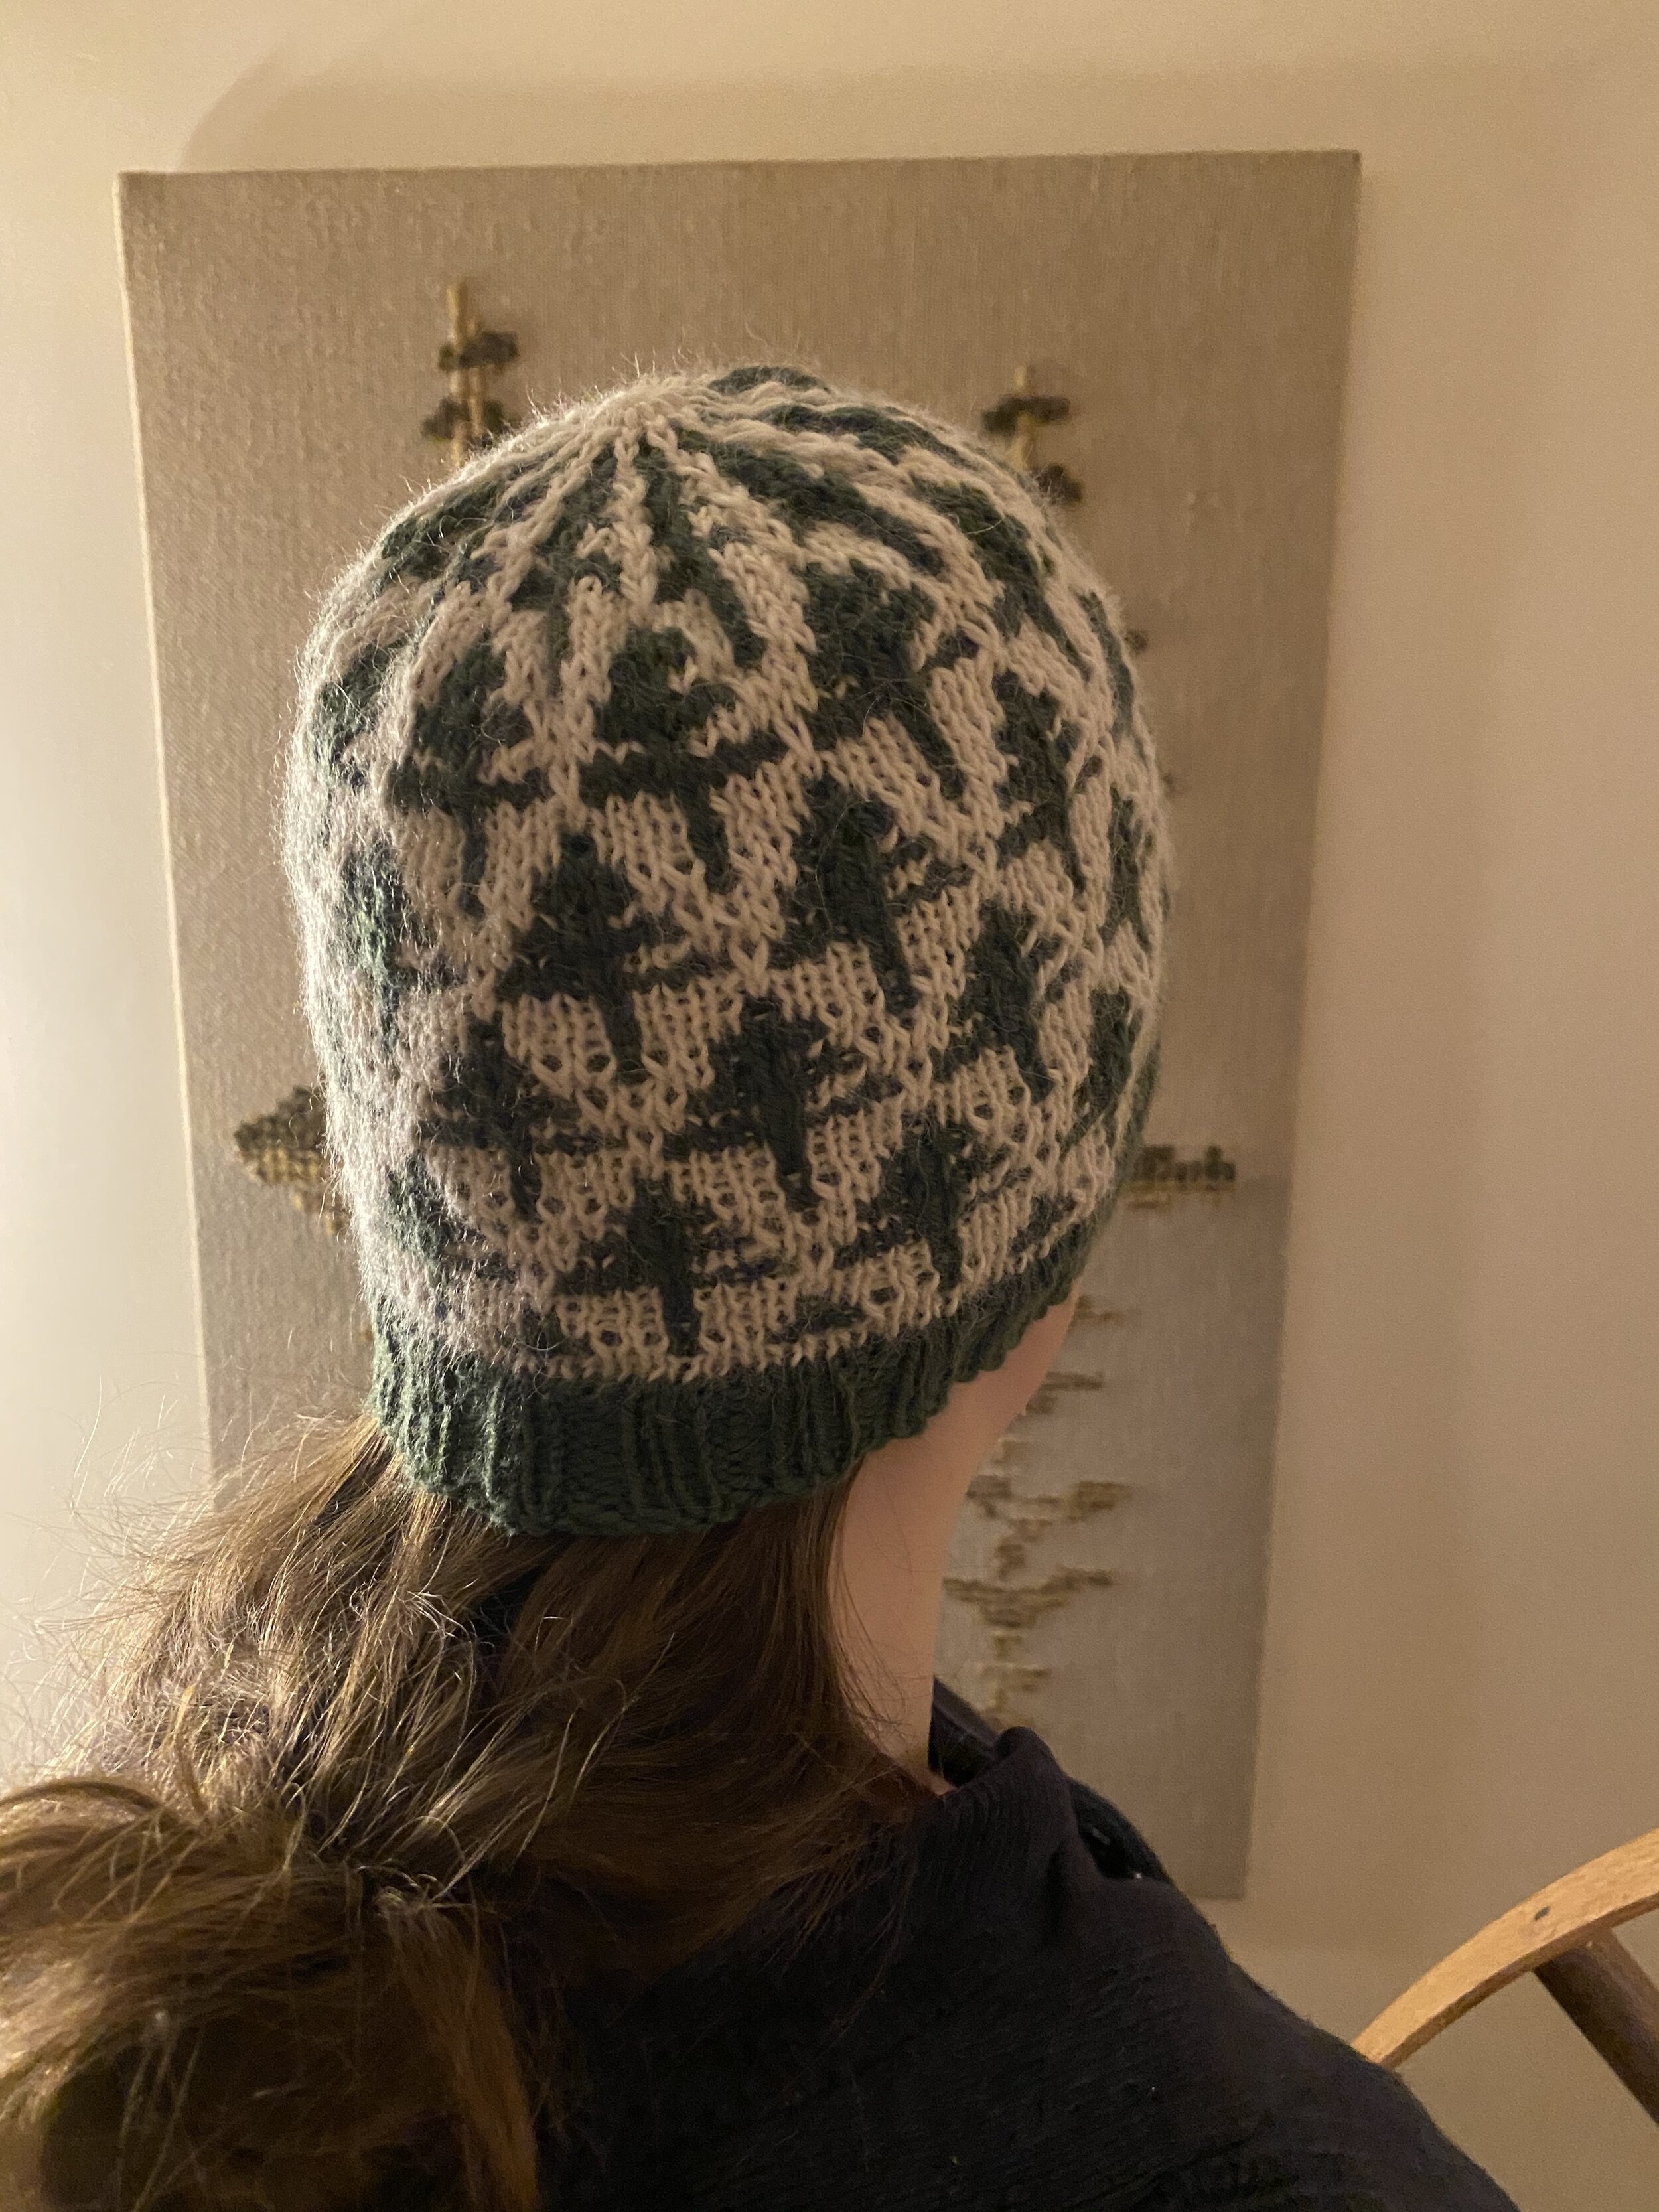
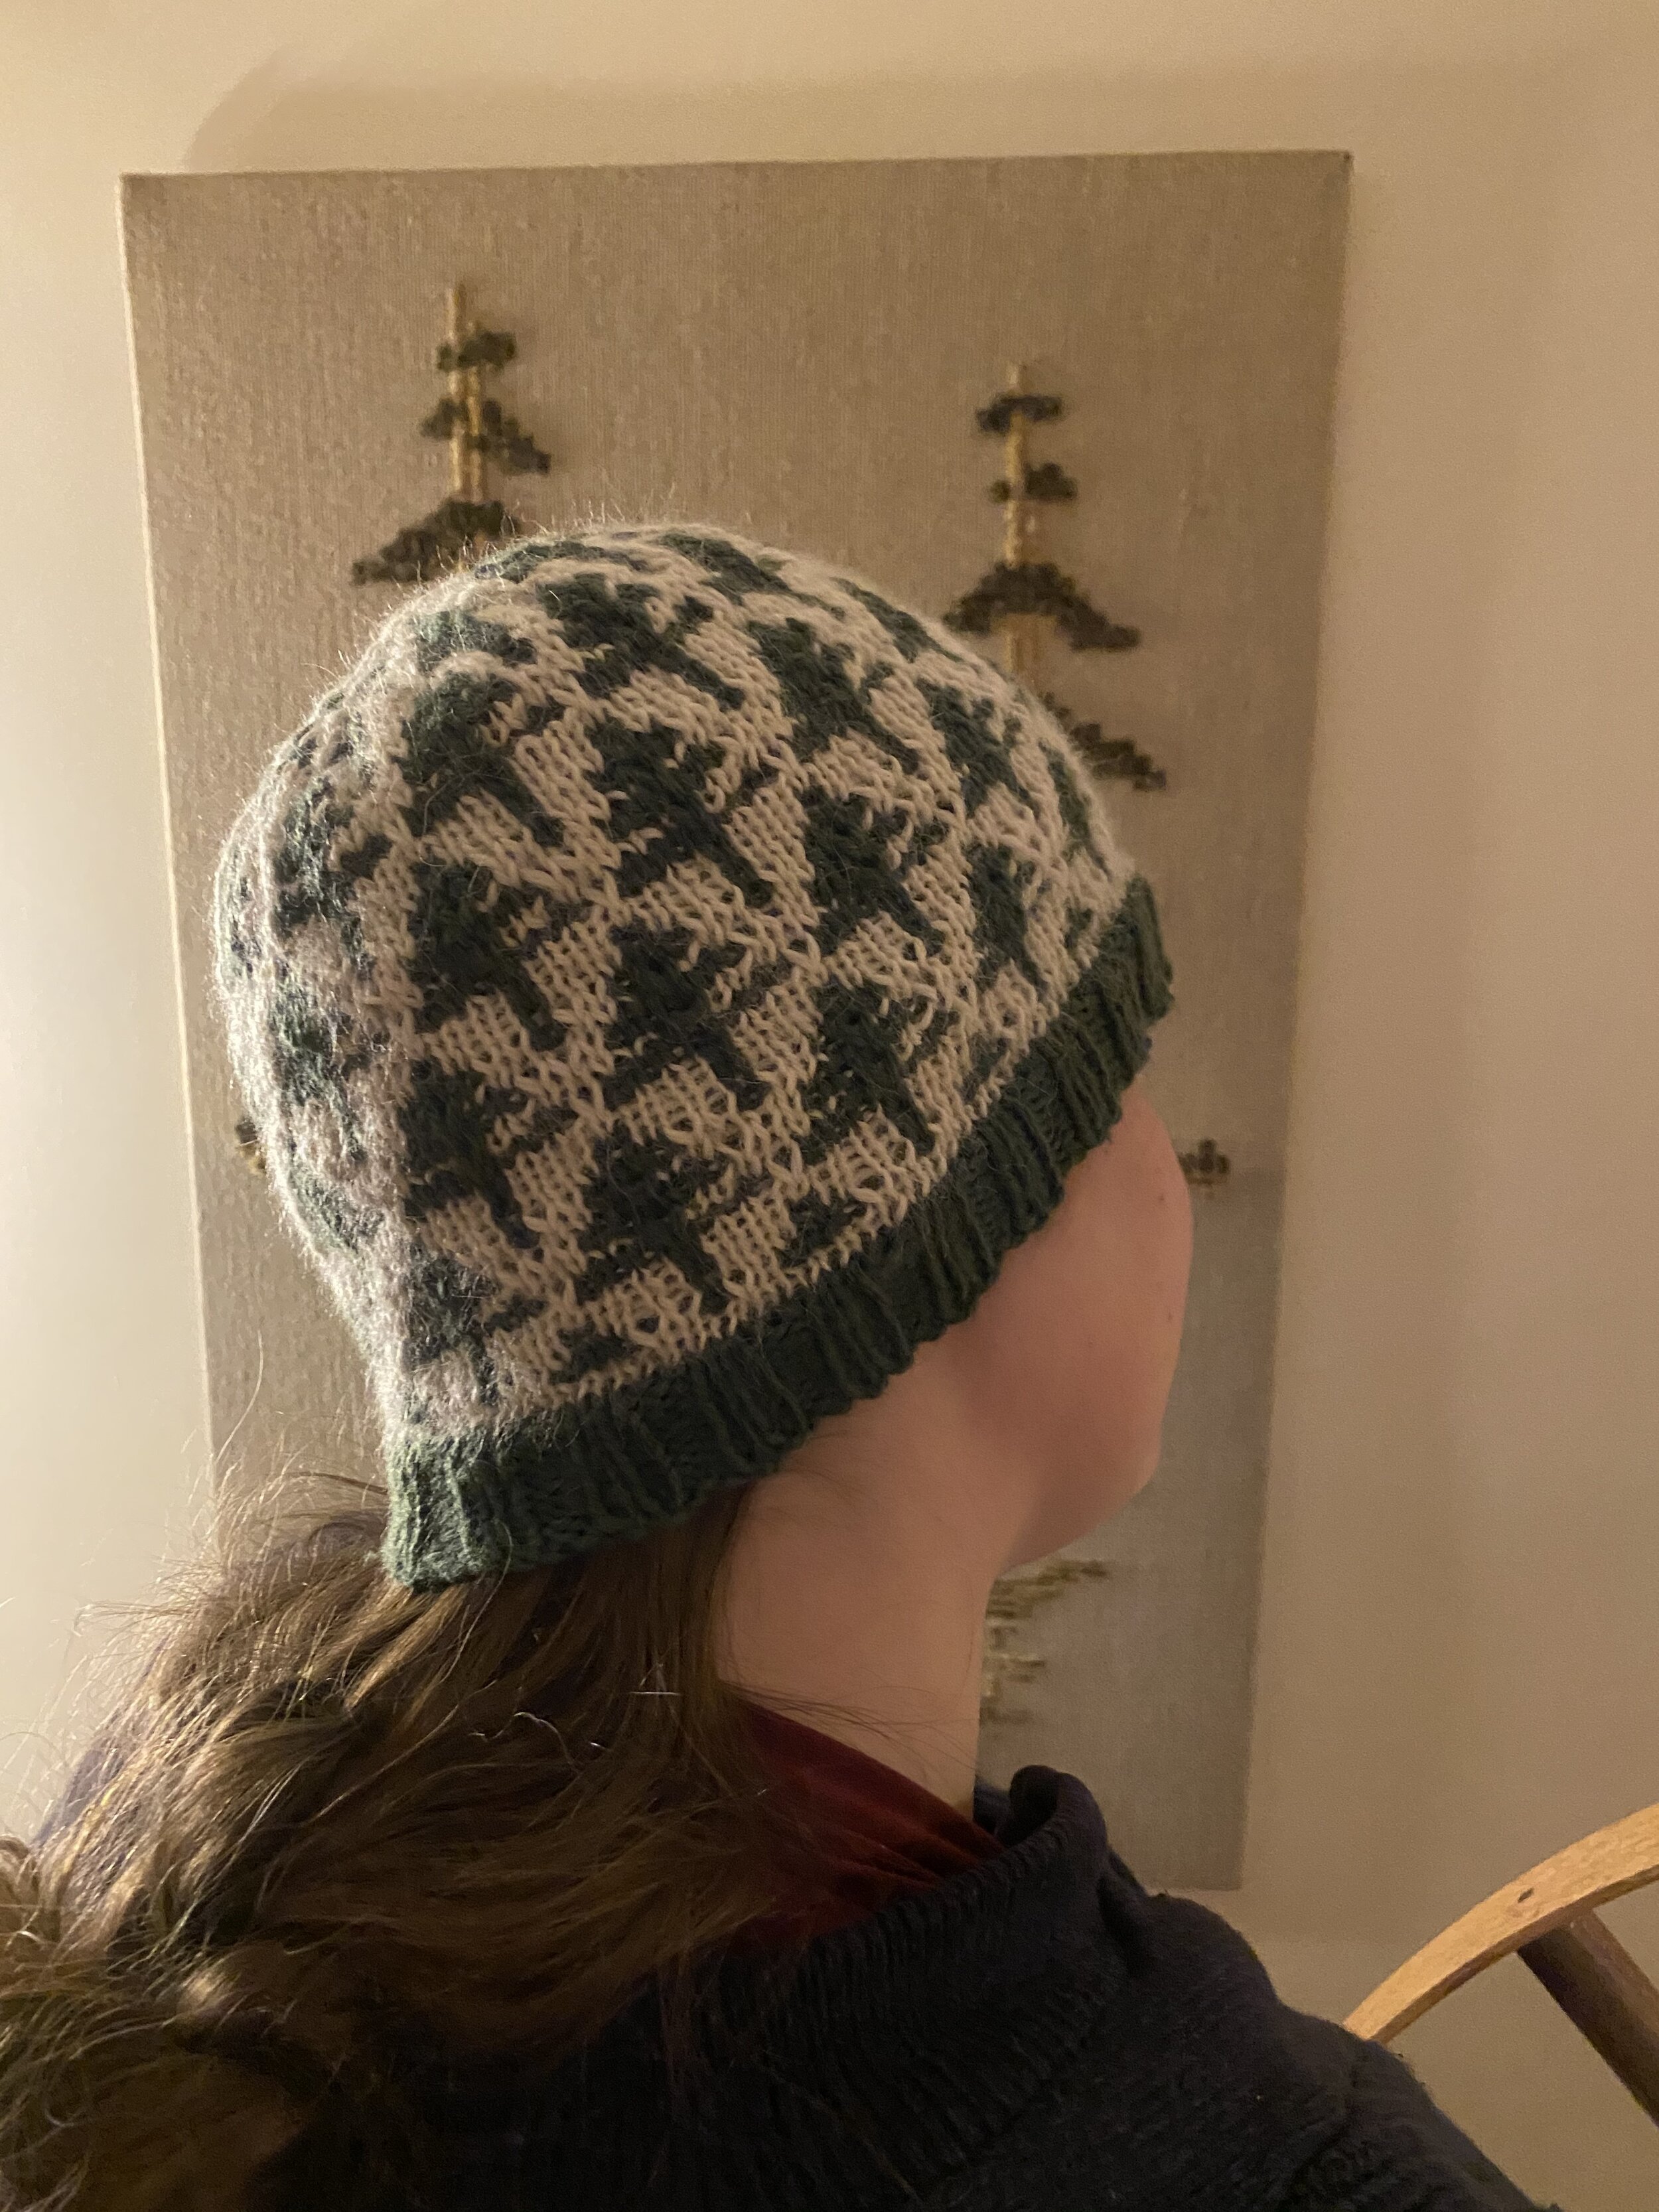
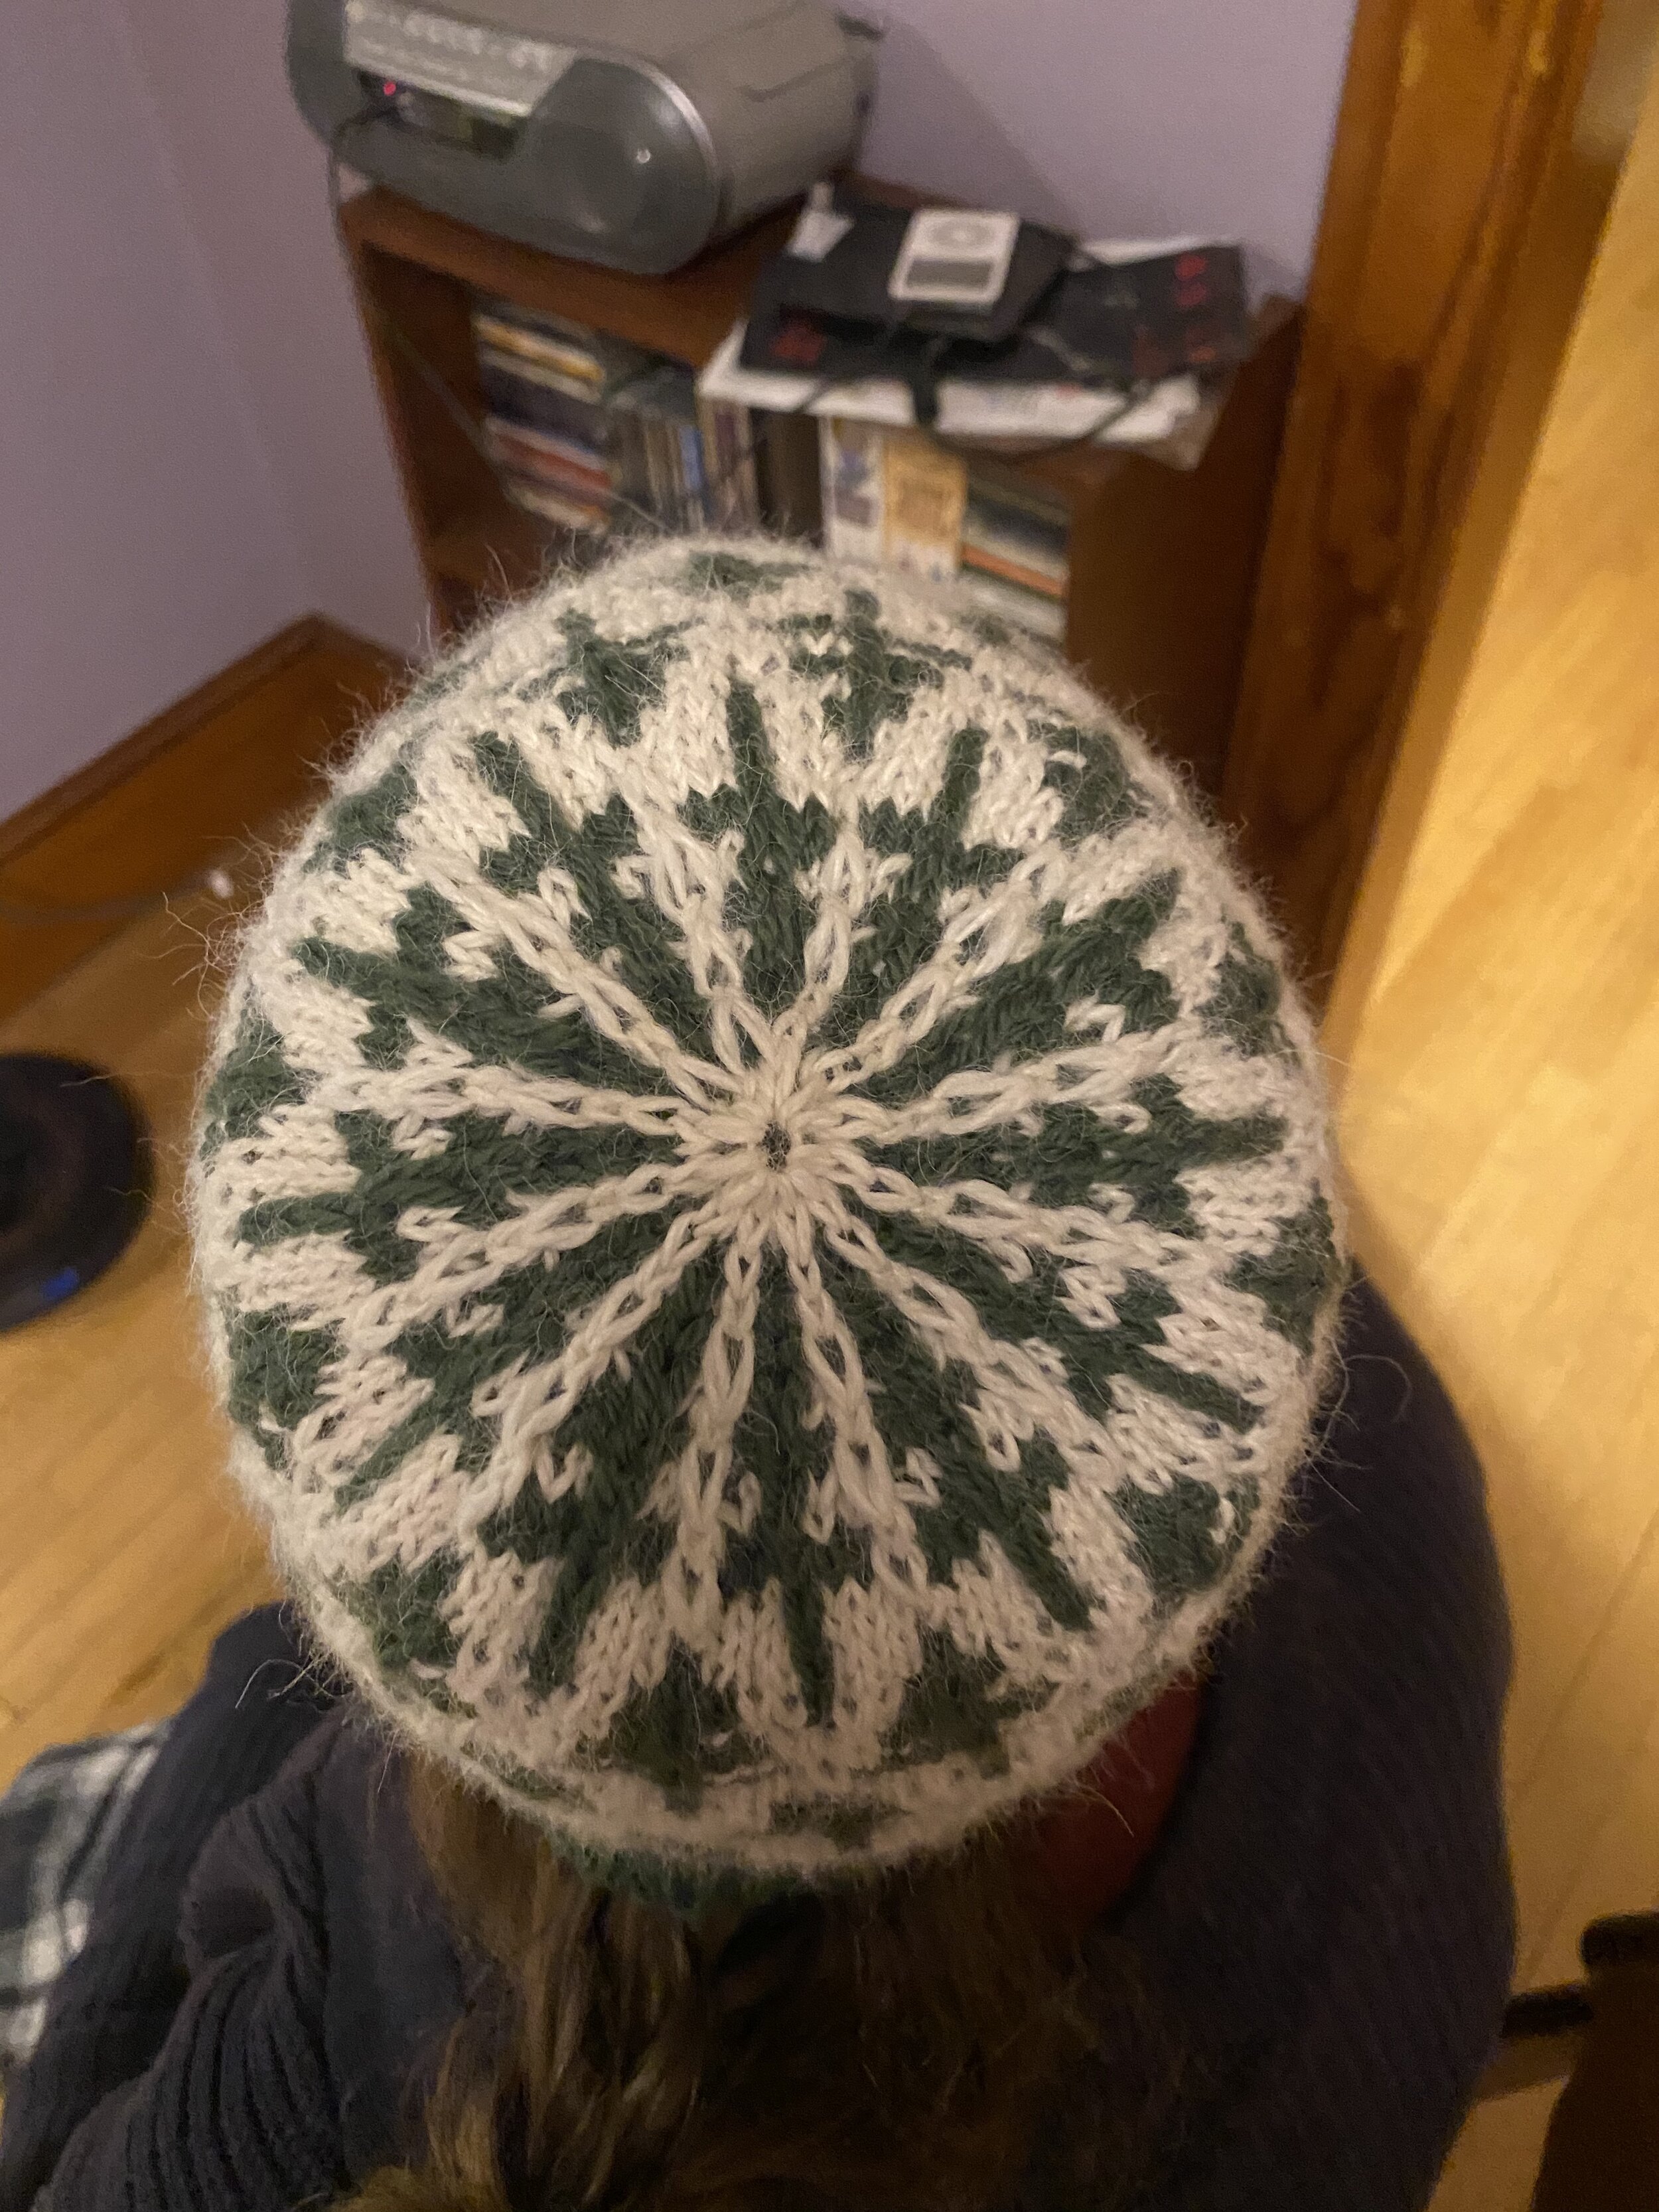
I made the large child size, which I think may be a bit small for me, even though I do have a smaller head. It was a quick knit, and I’m really pleased with how it turned out-particularly how the decreases look from above. I’m still working on training up my photographer, so I don’t have the best pictures ever, and we will need to iterate a bit more to get the pattern pictures… I tried showing him exactly the style of picture we were aiming for, that my mum took of me in a different hat, and while that helped get a good angle of the hat, we apparently weren’t super picky about making sure the background looked good. I’m really considering getting a head model, to put on the mantelpiece next to my foot model.

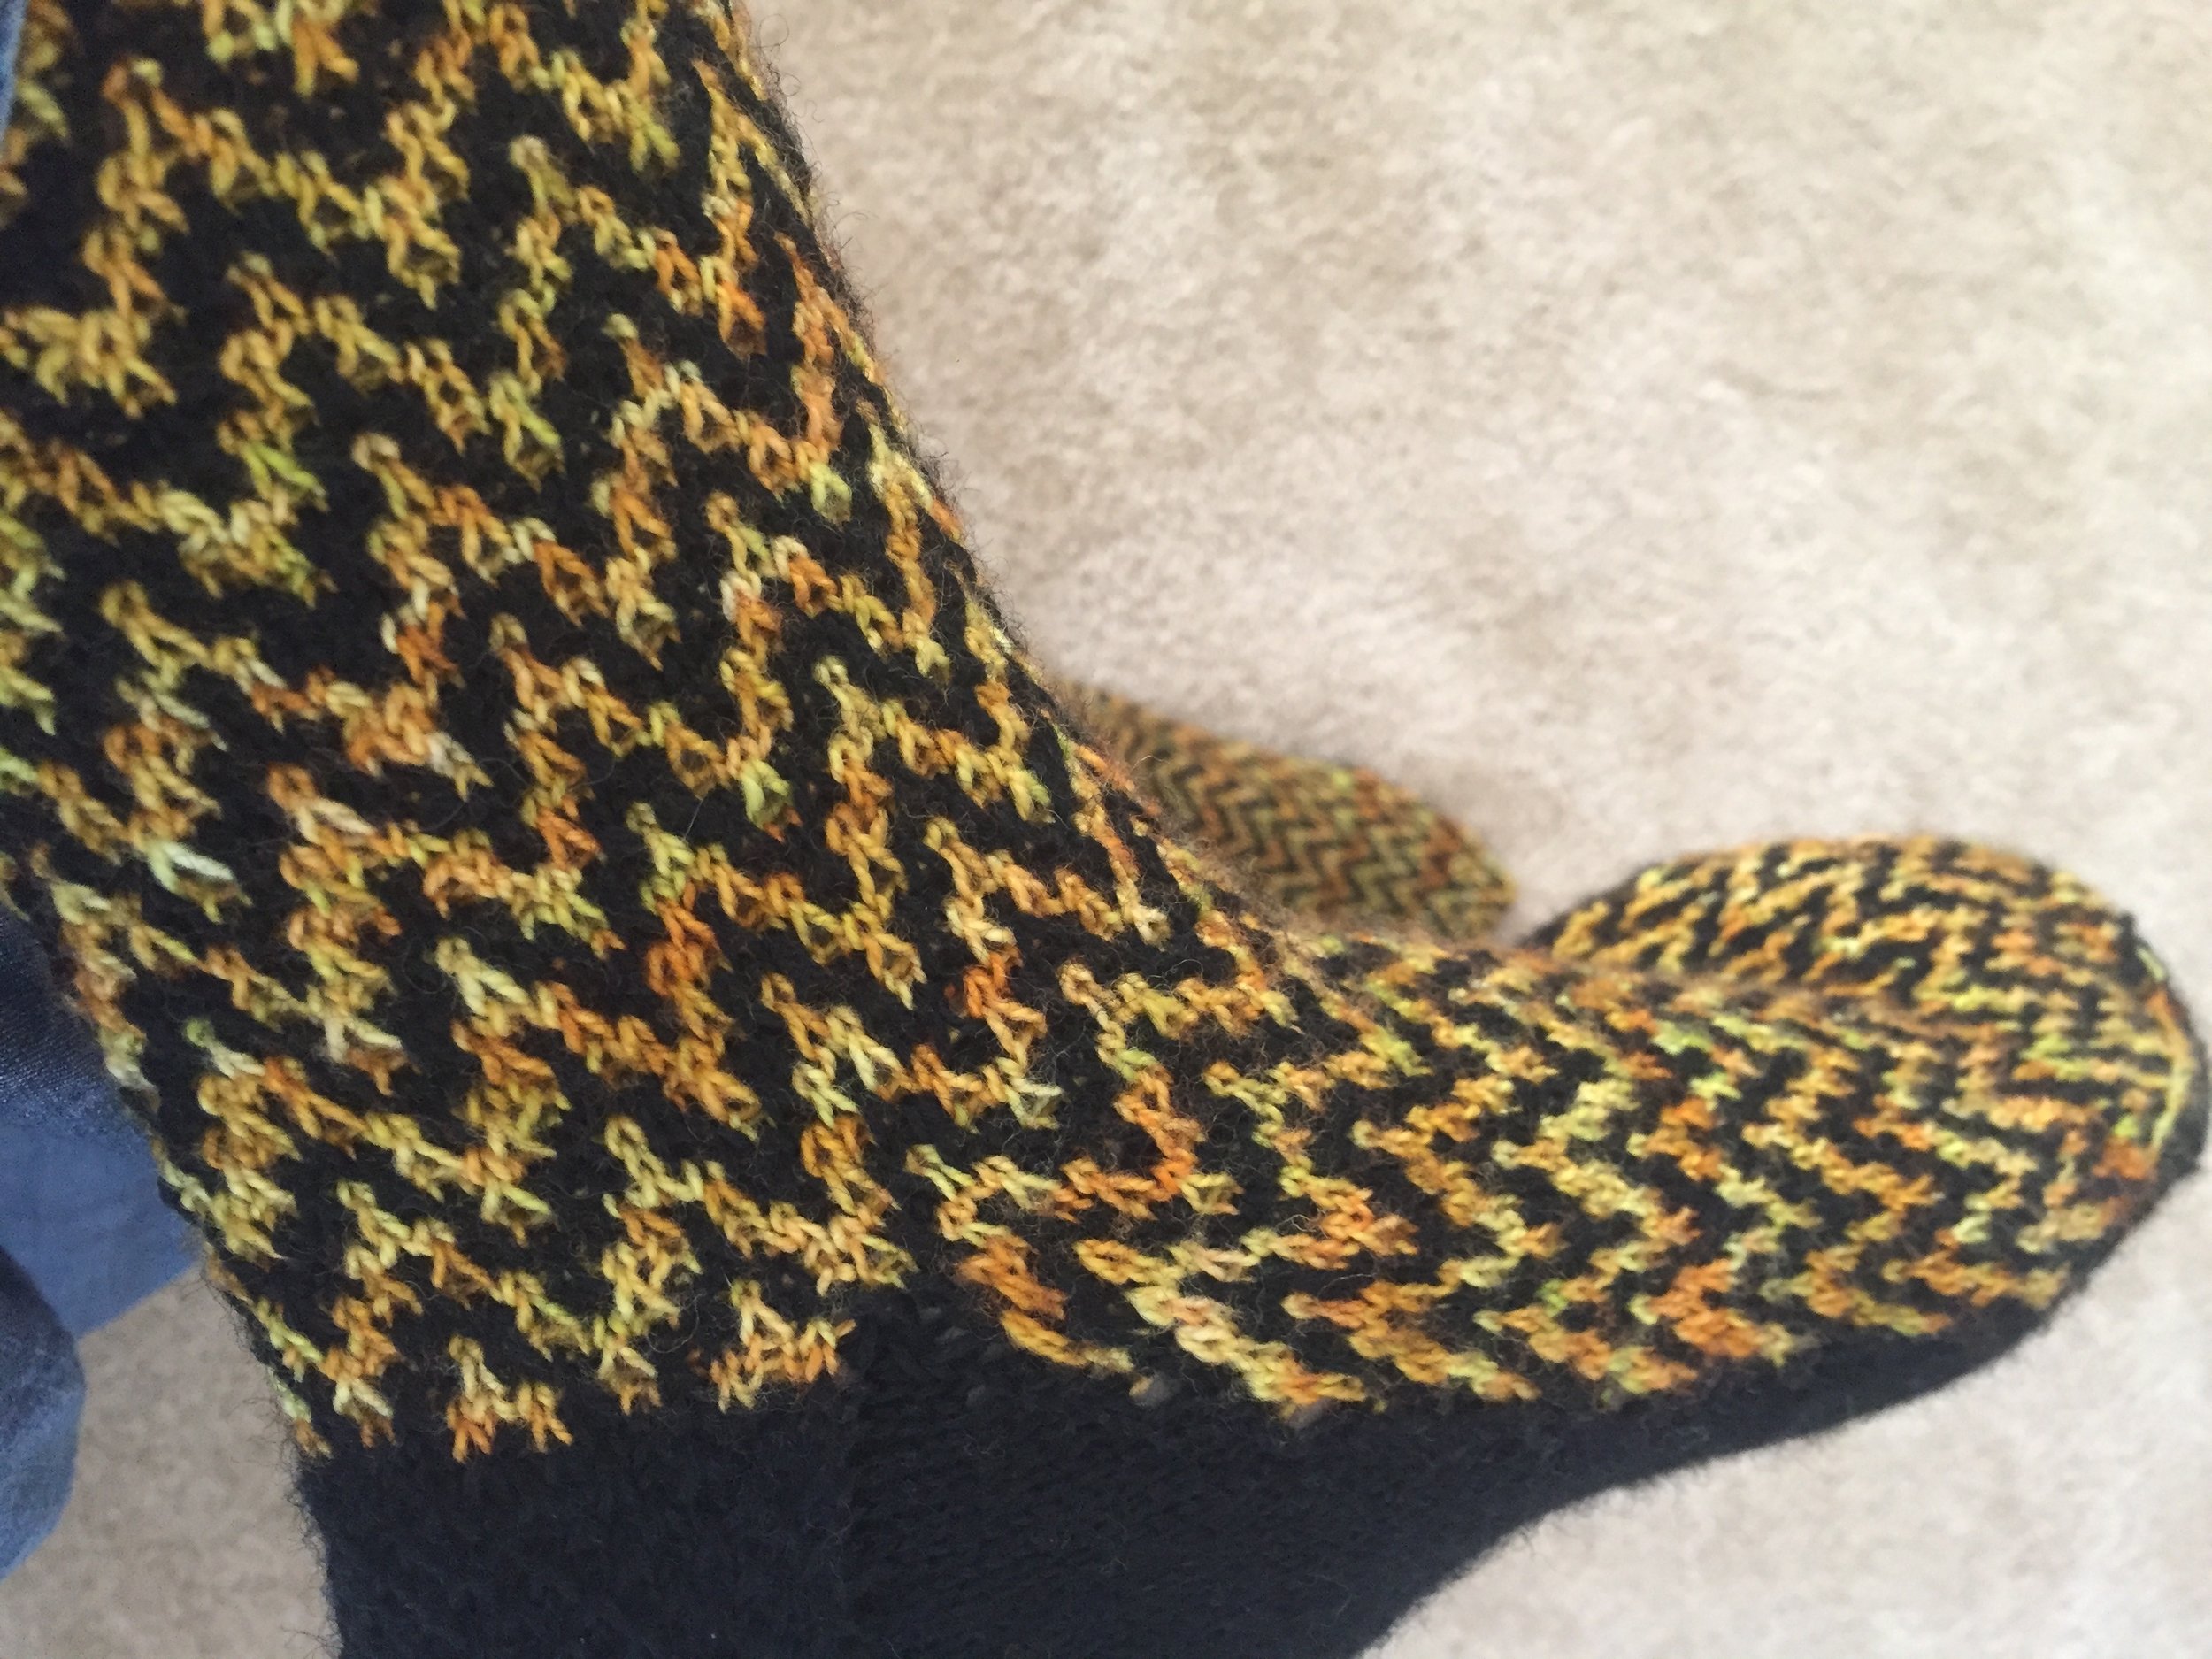
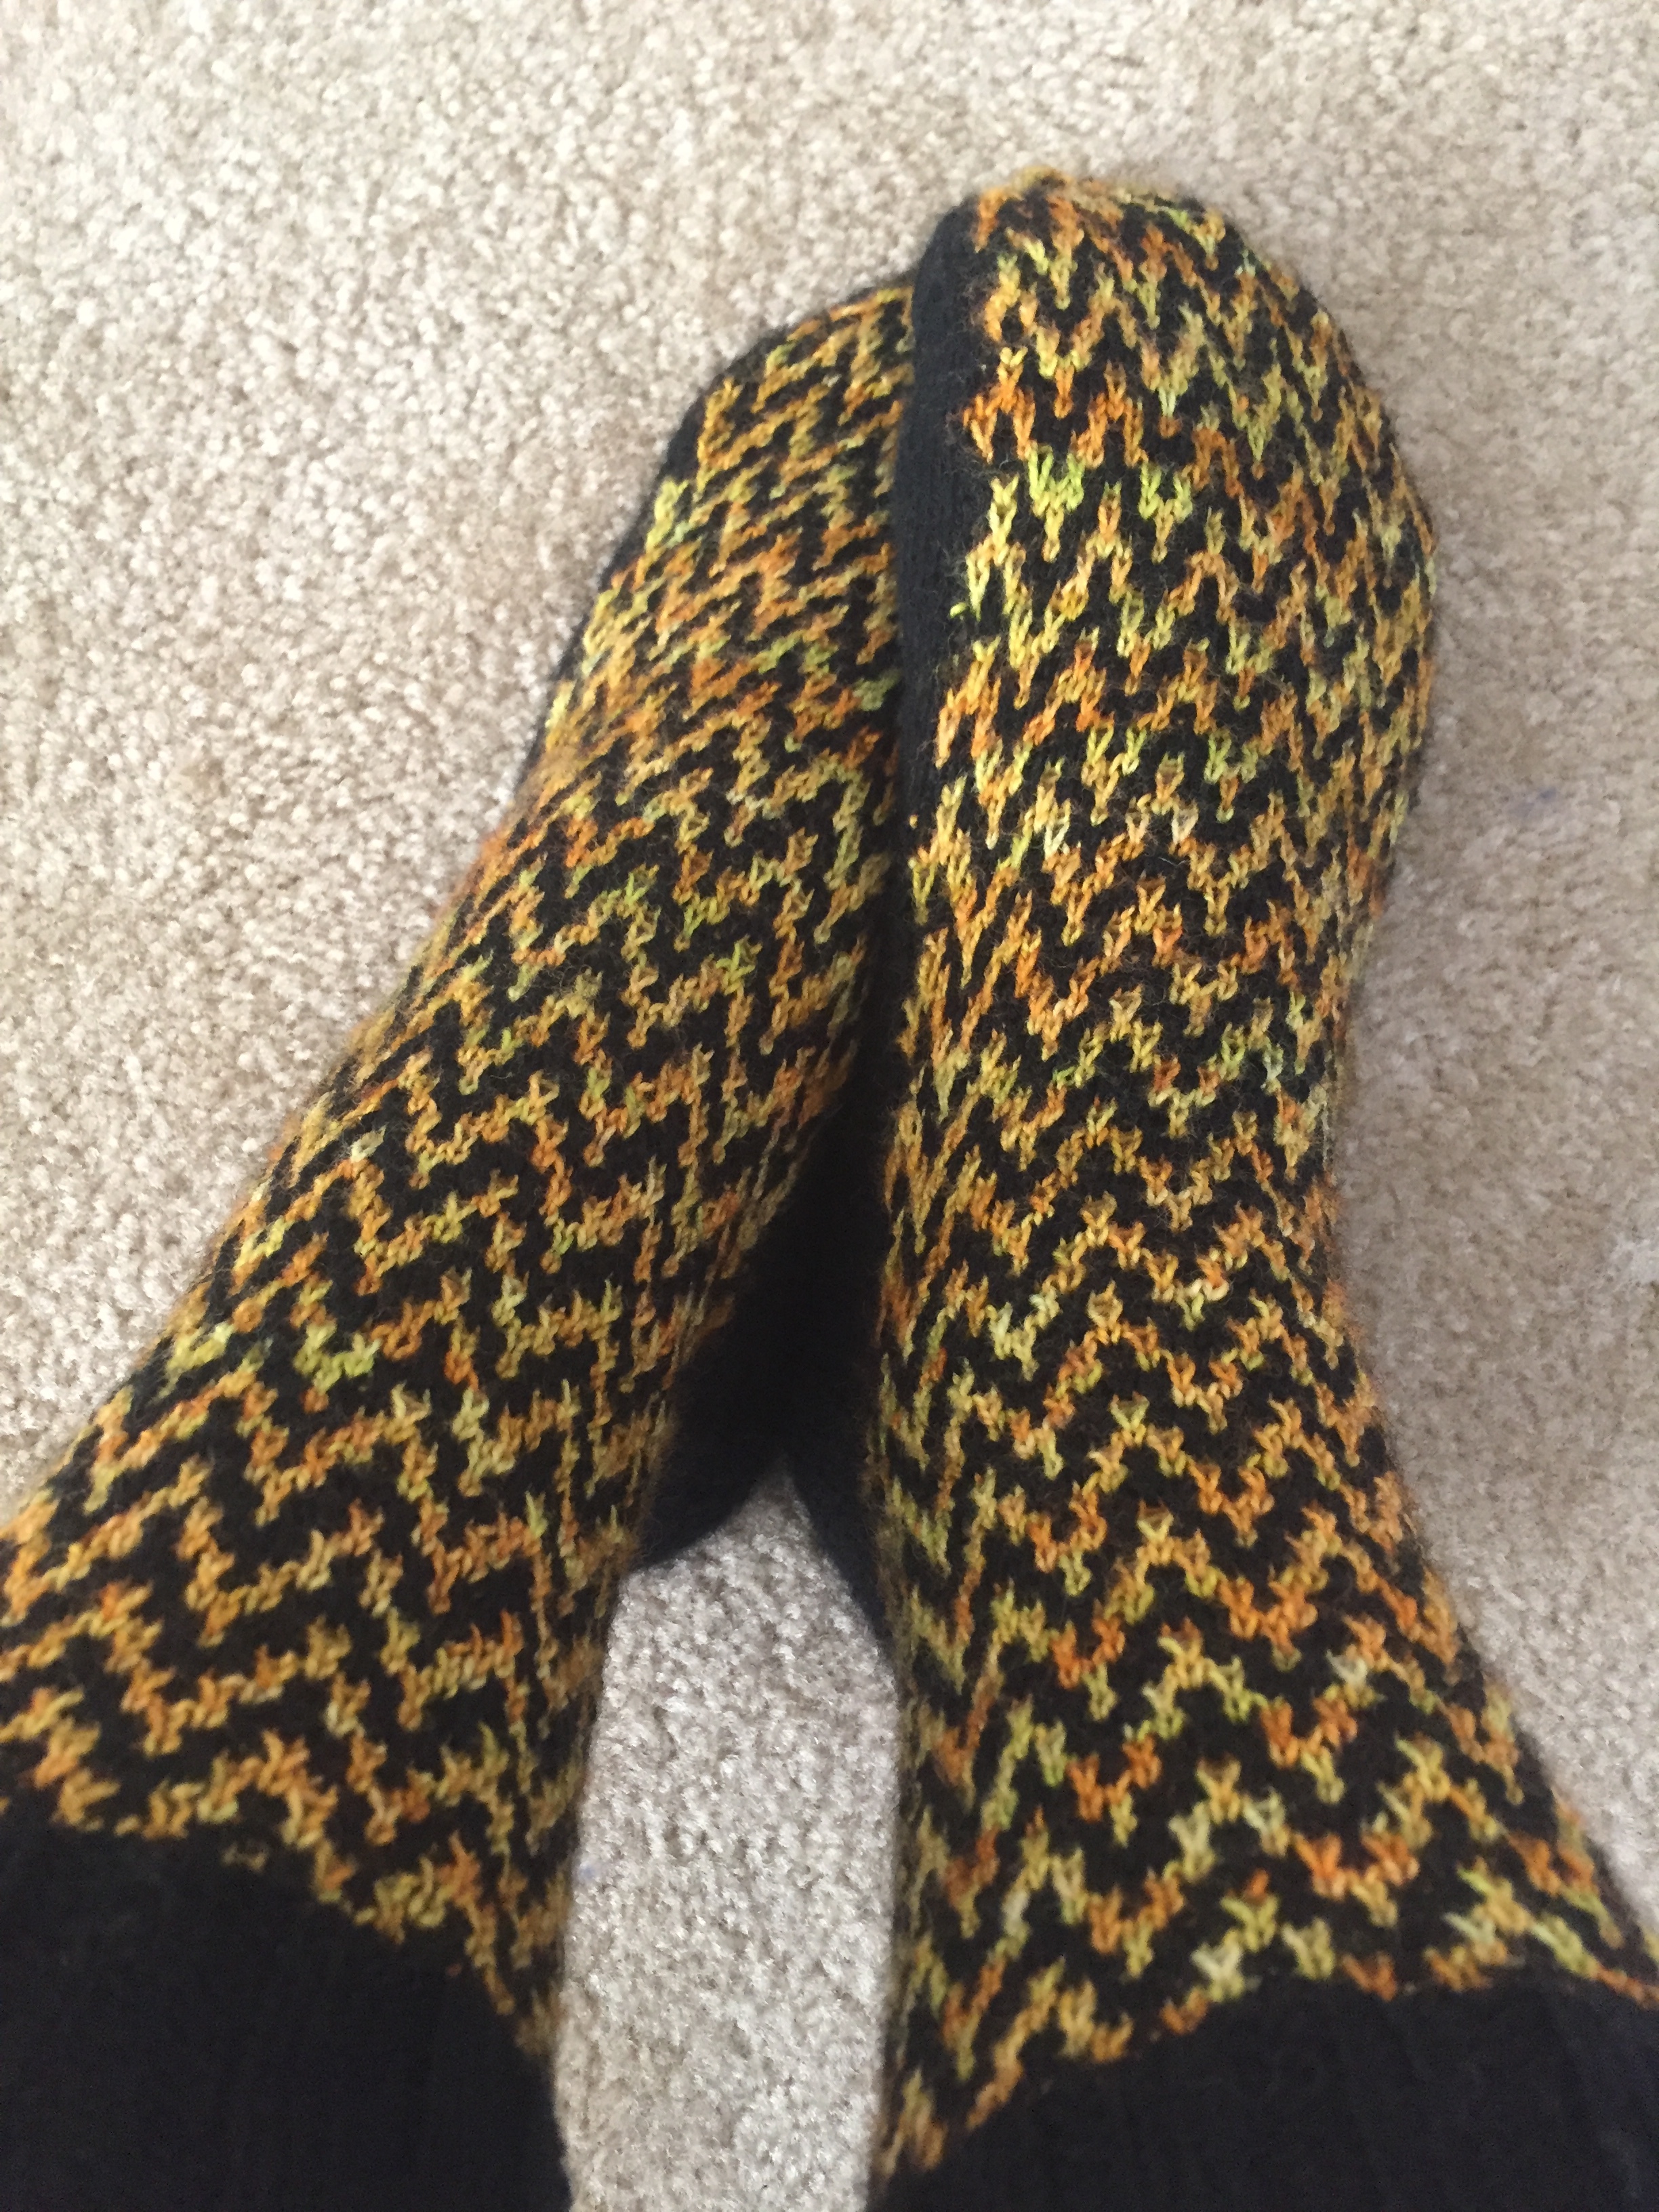
My plan is to look for test knitters for this one as soon as mom finishes (and photographs) her second hat, which she’s making to be her size. Then I’ll have a matching set of sock, mitten and hat patterns!

o Tannenbaum fingerless mittens

Since my Christmas present pair of socks was a year late, I determined that I needed to make matching fingerless mittens to go along with! I debated a fair amount how to go about the thumb, mainly if I should try to do it in pattern, with trees, or if I should do green and white stripes. I ended up carefully charting increases so that I could maintain some level of trees along the thumb, though the thumb trees are slightly smaller than the trees on the rest of the mitten. I think they turned out pretty cute!

IMG_4851.jpg

I am really pleased with how these mitts turned out, though I had to block the thumbs a bit so that they weren’t way too small! I ended up sticking a large lip balm and a chopstick in each thumb while they were drying. After that, they seem to fit me pretty well, but I don’t know how big my hands are compared to others… One difference in these mitts is that there’s one extra pattern (tree) repeat in the palm as compared to the wrist. I measured my hand, and it’s about an inch smaller before the thumb as compared to after the thumb, so I’m reflecting that in the actual pattern. Thus, some of the increases for the thumb actually turn into body stitches, and stick around for the rest of the mitten. I’m really happy with how they fit me, and interested to see how they fit others.

I’ve decided to write up this mitten pattern, and I’m calling the size I knit ‘extra small’, though I don’t think I quite stuck to the gauge I’m writing up, so it isn’t quite clear exactly what size they are. These ones only have 18 stitches around on the thumb, but I’ve also figured out charts for 24 stitch and 30 stitch thumbs. I got my mum to test knit the ‘medium’ size, and she made full mittens (as compared to fingerless).

With the full mittens I had to figure out how to end the pattern. Normally I wouldn’t decrease as quickly, but I was limited in how I could get the decreases to fit with the tree motif, so the top of the mittens (and thumb) dive in pretty fast. I originally thought I’d go with a more standard stranded colorwork mitten top, but then I realized that some of the sizes have odd numbers of trees, which wouldn’t frame as nicely in those triangles that the standard mitten top has, since I didn’t really want half a tree. I’m quite pleased with how these decreases turned out on my mum’s sample, so I feel that I made the right choice.

o Tannenbaum socks

I first cast these on over a year ago, with the idea that they would be a Christmas gift for a friend. I got as far as the ribbing on the cuff, and then the yarn languished in a box for a year. This is my second time knitting this pattern, and I really love this color for it-it’s called ‘Central Park’ by Forbidden Fiber Co. It is a lovely deep green, and it was nice to work with. For the white I used some Opal sock yarn. The pattern is one I designed and published! I’m really happy with how the pattern has turned out, and it’s been fun seeing the socks people have made with it. I think its my most popular pattern.

Caution, zig-zags!

The yellow and black diagonal stripes remind me of caution tape, though maybe bumblebee stripes would be more accurate. This pair of socks was inspired by these socks here, though I didn’t follow that pattern and instead made up a pattern based on the pictures.

To get the bottom of the sock to be all black, I had to keep the yellow at the top. Since mosaic knitting always uses two rows of each color, that allowed me to knit across the top of the sock, and then purl back across of the top with the yellow each time it was used. I then had to do some extra rows with black on the bottom of the sock, so half of the time I knit across the top with the yellow, purled across the bottom with the black, twisted the yarns together, then knit back across the bottom with the black and purled back across the top with the yellow. For the other half of the yellow rows I did short rows with a wrap and turn at the left hand side of the pattern. I’m really happy with how small the gaps are, though I find the whole process remarkably tedious. It was worth it in this case though, because the yellow yarn is a 100% superwash merino that doesn’t feel very sturdy (I picked it for its color, for the rainbow shawl - the dyer was Copper Corgi), so by keeping the yellow on top and the sturdy black Opal sock yarn on bottom, I think the socks will wear much better.

Let it snow, let it snow, let it snow!

These socks were inspired by the tour-de-sock stage 4. The main differences between the two socks are that these ones are cuff down instead of toe up, and they’re mosaic. This is my first time designing such a large pattern, and some of the snowflakes are too big. I also originally made the pattern way too long-this is modified from my original pattern. Next time I design a whole sock mosaic it should go much more smoothly. I’m really happy with how the heel worked though-I think it fits quite well.

The blue yarn is Masquerade yarn (80% Bluefaced Leicaster, 20% silk) from Lattes & Llamas, in the color Kasterborous, and the white yarn is knitpicks stroll glimmer.

Bow to the crown

So, I always meant to do mosaic 25 again, the way Barbara meant it to be done, namely as crowns. As I was knitting my little aliens though, I kept thinking how I could tweak them, to make them more like aliens, since I started seeing crowns the whole time I was knitting them. So I tweaked the pattern, and came up with this. But then, do I knit two more pairs, one that is mosaic 25 and one that is my tweaked version? I still have 85 more of these patterns to go, so I decided that my tweaked pattern still looks enough like crowns, and I could give it a test knit as crowns instead of as jellyfish.

With plenty of beads in stock and a desire to no longer have lots of little beads in stock, I decided that crowns really need jewels. Plus I wanted to try a different beading method, to see if I was happier with the results than I was for mosaic 23. If you remember, the beads were not at all centered in their little boxes in mosaic 23. It made me grumpy. Perhaps if I had more beading experience I could have foreseen this result, but beading is new to me. So this time, I put all 75 beads on my black yarn before casting on. I expected them to be super obnoxious to deal with, as I knitted the cuff, but they were actually just fine, and haven't caused a single issue. I do have to keep pushing them down the yarn, but they move relatively smoothly, and don't seem to be damaging anything. I also wasn't sure how well they'd stay in their appropriate place once knitted, since they're large enough to be threaded on two strands of yarn, but they seem fairly secure. The first time I came to a little black box-to-be, I'd put a bead on that stitch. When I came by it on the second pass, I purled the stitch, taking care to make sure the bead was on the outside afterwards. I am very pleased with the result.

I'm a bit less pleased with the heel-I did a short heel flap, such that I wouldn't have to fuss with the riverbed gusset. My complaint is that the stitches decrease too quickly-I did them every other row, and I think I would have been better served to only do them every fourth row (i.e., every other black row). These are shorter socks though, for smaller feet, so hopefully they will still fit well enough. They certainly weren't at all uncomfortable when I tried them on before the toe, but the mosaic 25 socks feel much better.

In other news, I've decided to name all the mosaic patterns I create after songs. The christmas tree pattern from earlier is now 'O Tannenbaum', while the two colored flowers (for a total of 3 colored mosaic socks) is now 'The flowers that bloom in the spring', from Gilbert and Sullivan's The Mikado. This pattern, in this orientation, I'm calling 'Bow to the crown', a song by Heather Dale. Upside down I'm thinking of calling it 'octopus's garden', even though it's two legs short.

O Tannenbaum

The first mosaic I ever designed from scratch, that is. Why I feel the need to knit Christmas trees in July I don't know, but I was overcome with the urge to knit trees. There are some things you have to keep in mind when designing mosaic patterns. I had to design the trees upside down, to make sure they would be rightside up on the socks. I also made sure I never had to slip more than three stitches at once-that seems to be the limit that Barbara has set for her patterns, so I stuck with it. The major trick though, is that with mosaic knitting, you're slipping stitches to pull the color from the previous row up into this row. So if the color isn't in the previous row, you can't pull it up.

The green yarn is Knitpicks alpaca sock yarn, and the white is Dye For Me dancing toes. I ended the socks with 8 yards of the green left-perfect! I think I have enough white for only one more pair of alpaca mosaic socks. I may have to go in search of more white alpaca sock yarn!

Mosaic 12: Sprig (Barbara’s name) or 'The flowers that bloom in the spring' (my modified version), or men shrugging their shoulders

I was so excited about this pattern that I had to do my modification of it first! I wanted to make the top of the flower a different color from the leaves, which meant that the pattern needed to be changed (green yarn is knitpicks glimmer stroll, pink is knitpicks stroll, and white is cascade heritage sock yarn). I also knitted it from the top to the bottom, instead of bottom up, in order to have the flowers vertical when the sock is worn. I was super pleased with how these ones turned out. I keep meaning to write this one up into an actual pattern, so that others might be able to make them too! I imagine them with each row of flowers being different colors, or even just with a higher contrast flower color. Still, I have a schedule to keep if I’m going to get through all of these patterns, so we continue…

This is the pattern as it is written in the book (blue is Regia stretch sock, white is cascade heritage sock yarn). To me, in this orientation, they look like men shrugging their shoulders. I misjudged the pattern slightly-I thought I could get away with never doing a row of white on the bottom, and so the tops of the socks are longer than the bottom. I’m not thrilled about that, I’d rather have the bottoms longer than the tops, but I think it works. I do really like the pattern.